Air Assist Not Working

Hi. I am trying to set up air assist on my Ruida RDC6445G controller. The solenoid is connected to +24V and the STATUS connector, nothing happens. I tried connecting it to the WIND connector and again nothing changed. The voltage on the connectors drops to +3V, but if you connect the solenoid to the +24V and GND connector, then it works. I found a post on the forum with a similar problem, but there was no solution in it, maybe someone can help me.

I measured the voltage at the +24V connectors and the no-load STATES and got +24V. When connecting the solenoid and re-measuring, I get +3.2V and a dimly lit solenoid bulb.

You have to connect on Wind and +24 and then you have to enable the air assist in the controller parameters, otherwise it will not work for you

I have +24V on the WIND pin constantly, even when nothing is being cut and the laser is just in standby mode, this is not normal

Here are my measurements of the voltage on the WIND connector in standby mode, the laser does not cut anything, but the voltage on the connector is present

Actually it might be normal. You have to have it enabled within the controller and you have to have a layer running that has air assist enabled in the software.

If either of these are not true, the output will not be active and you’ll read the supply voltage.


On my (6442) and most Ruida, the ‘Status’ is active (sink) anytime the machine is in ‘run’ mode. As soon as you press ‘start’ it goes low until the job ends.

If you have air assist enabled within the controller, it will sink when the executing layer has air assist option enabled in the software.


This is not right and indicates a problem with the controller output circuits. The measurement of ‘status’ should go active as soon as ‘start’ is pressed. That should close your solenoid and work, just like grounding it. Sorry… :frowning:

I don’t know what else to tell you at this point.

Good luck

:smile_cat:

I checked the elements Q6, Q4, Q5, Q3 with a multimeter and found that the elements Q5 and Q3 behave strangely, they also go to the WIND and STATUS connectors

Don’t know what you mean here, but people have replaced these. I have no schematic or anything to go on so I don’t know if those are the semiconductors you need to swap out. Do they have any kind of id on them?

If you can get it working, you can check the gate for an appropriate signal… ?

:smile_cat:

They are marked 1P, and I plan to move the neighboring working transistors to their place. If I succeed, I will definitely let you know

Might peruse this thread…

:smile_cat:

Yes, I read this topic earlier, it helped me and gave me a hint

2 transistors were faulty on the controller board, they were marked as 1P. After searching for the transistor marking on Google, I came across the MMBT2222A transistor I needed. Tonight I soldered out the old faulty transistors and soldered new ones. Now the outputs are working fine, the signal is being sent, I have connected the solenoid and have already checked it in operation. Thank you all for your help.

1 Like

No perspiration…

Thanks for the photos and how you solved it…

I was under the impression it was a mosfet, not bipolar.


My Ruida water protect input has failed. I can see it illuminate the led on the controller, but the Ruida diagnostic screen doesn’t show it as active. I’ve moved it to the unused door protect. Stops the machine anyway…

Take care

:smile_cat:

Which two transistors were faulty? Really hoping this is my problem too.
Mine is enabled but I’ve been having to use the ground pin to default the solenoid to a run state while looking for other ideas. Would really love to have the laser control it for once…

FYI, the controller will ground the signal to enable it. You connect one side of the solenoid to power and the other side to the controller. When the controller wants to enable, it will Ground the the side of the solenoid connected to the controller, enabling it.

These are inputs, not outputs. They are active low.

I can see the wp on the Ruida itself indicating that the wp is active (low), however via the diagnostic screen, it doesn’t see it as active.

:smile_cat:

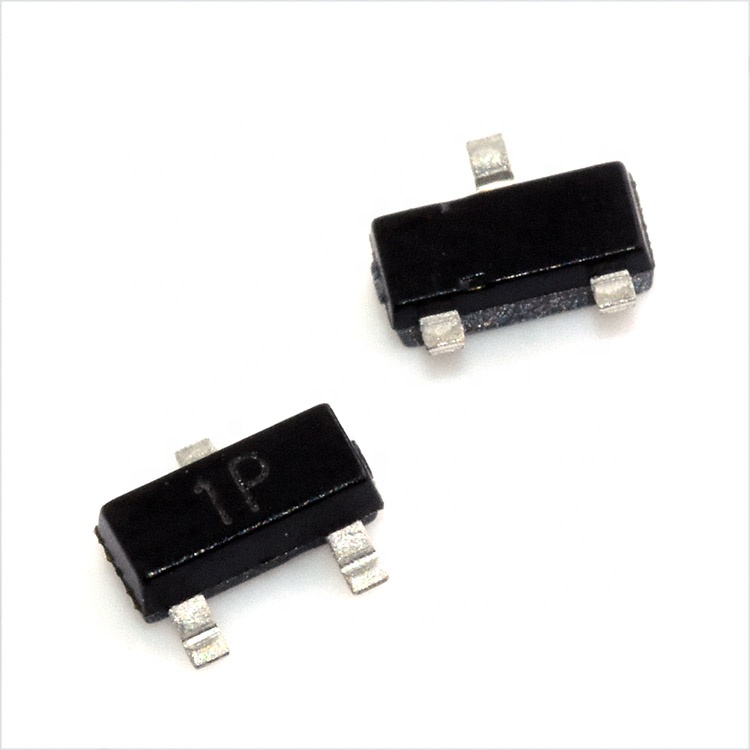
You need to buy these transistors and check the integrity of the circuit using a multimeter at the outputs of the controller. I had 2 faulty elements, they are soldered and circled in the attached photo.

This topic was automatically closed 30 days after the last reply. New replies are no longer allowed.