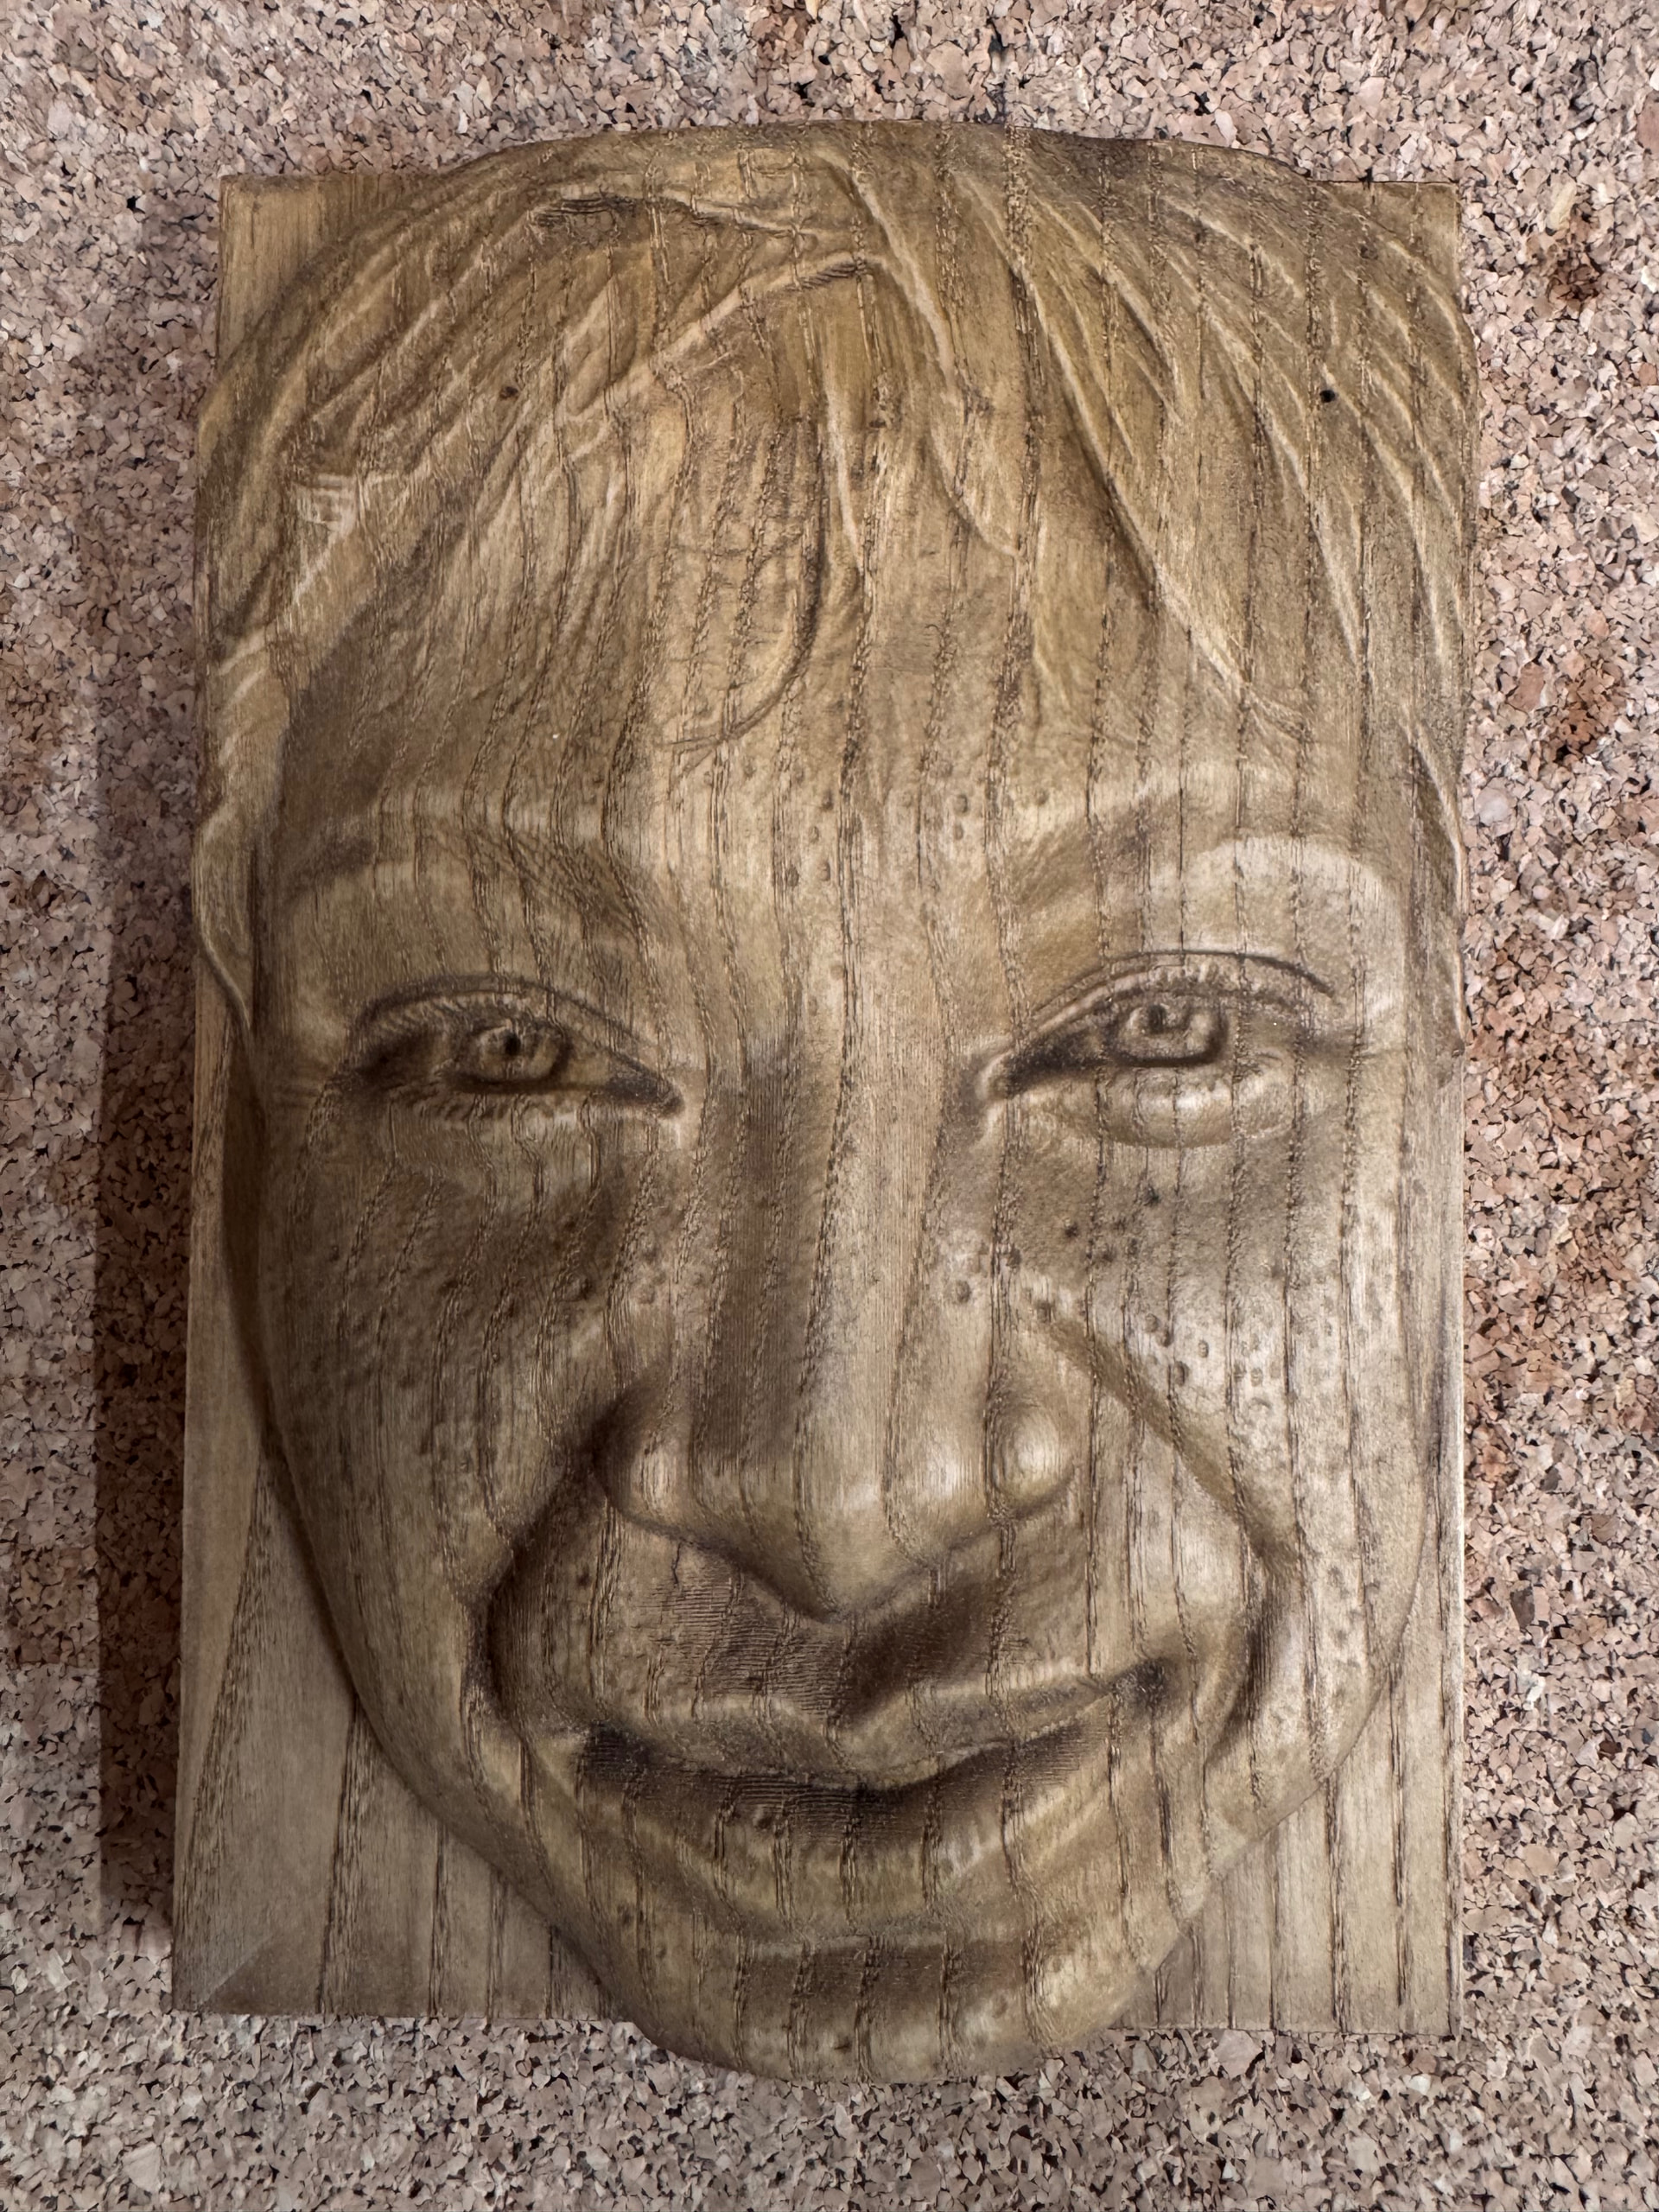
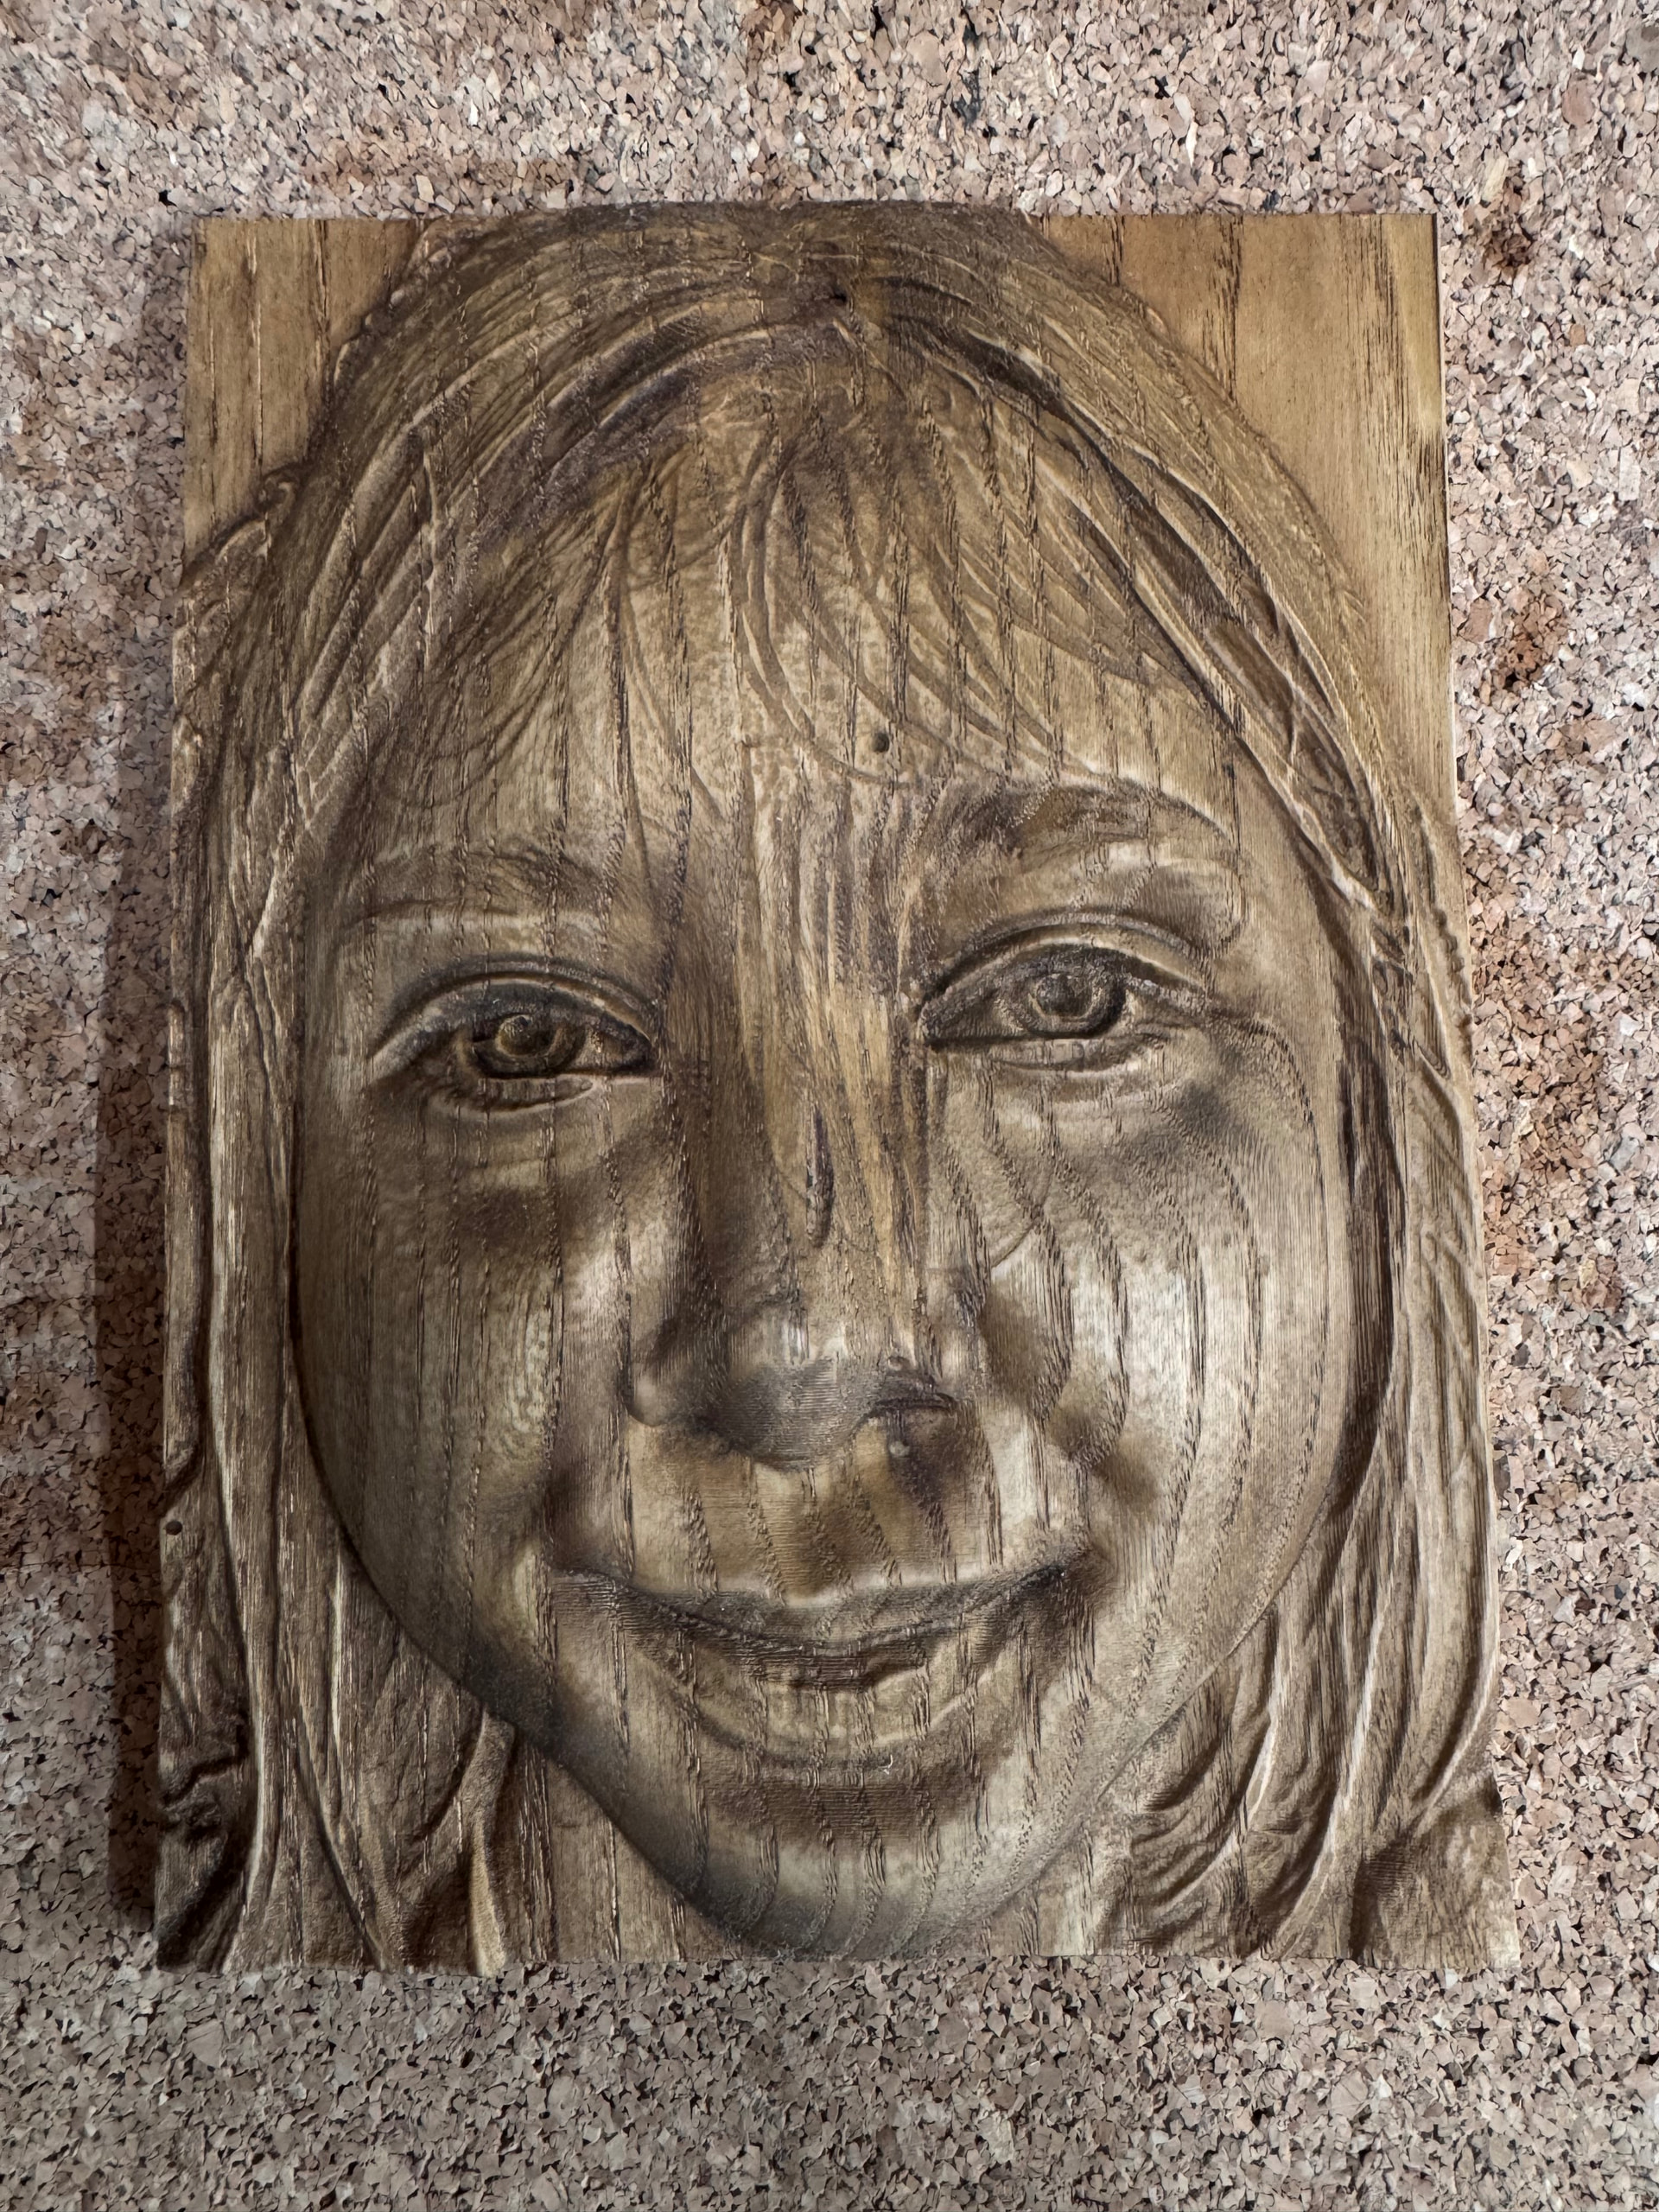
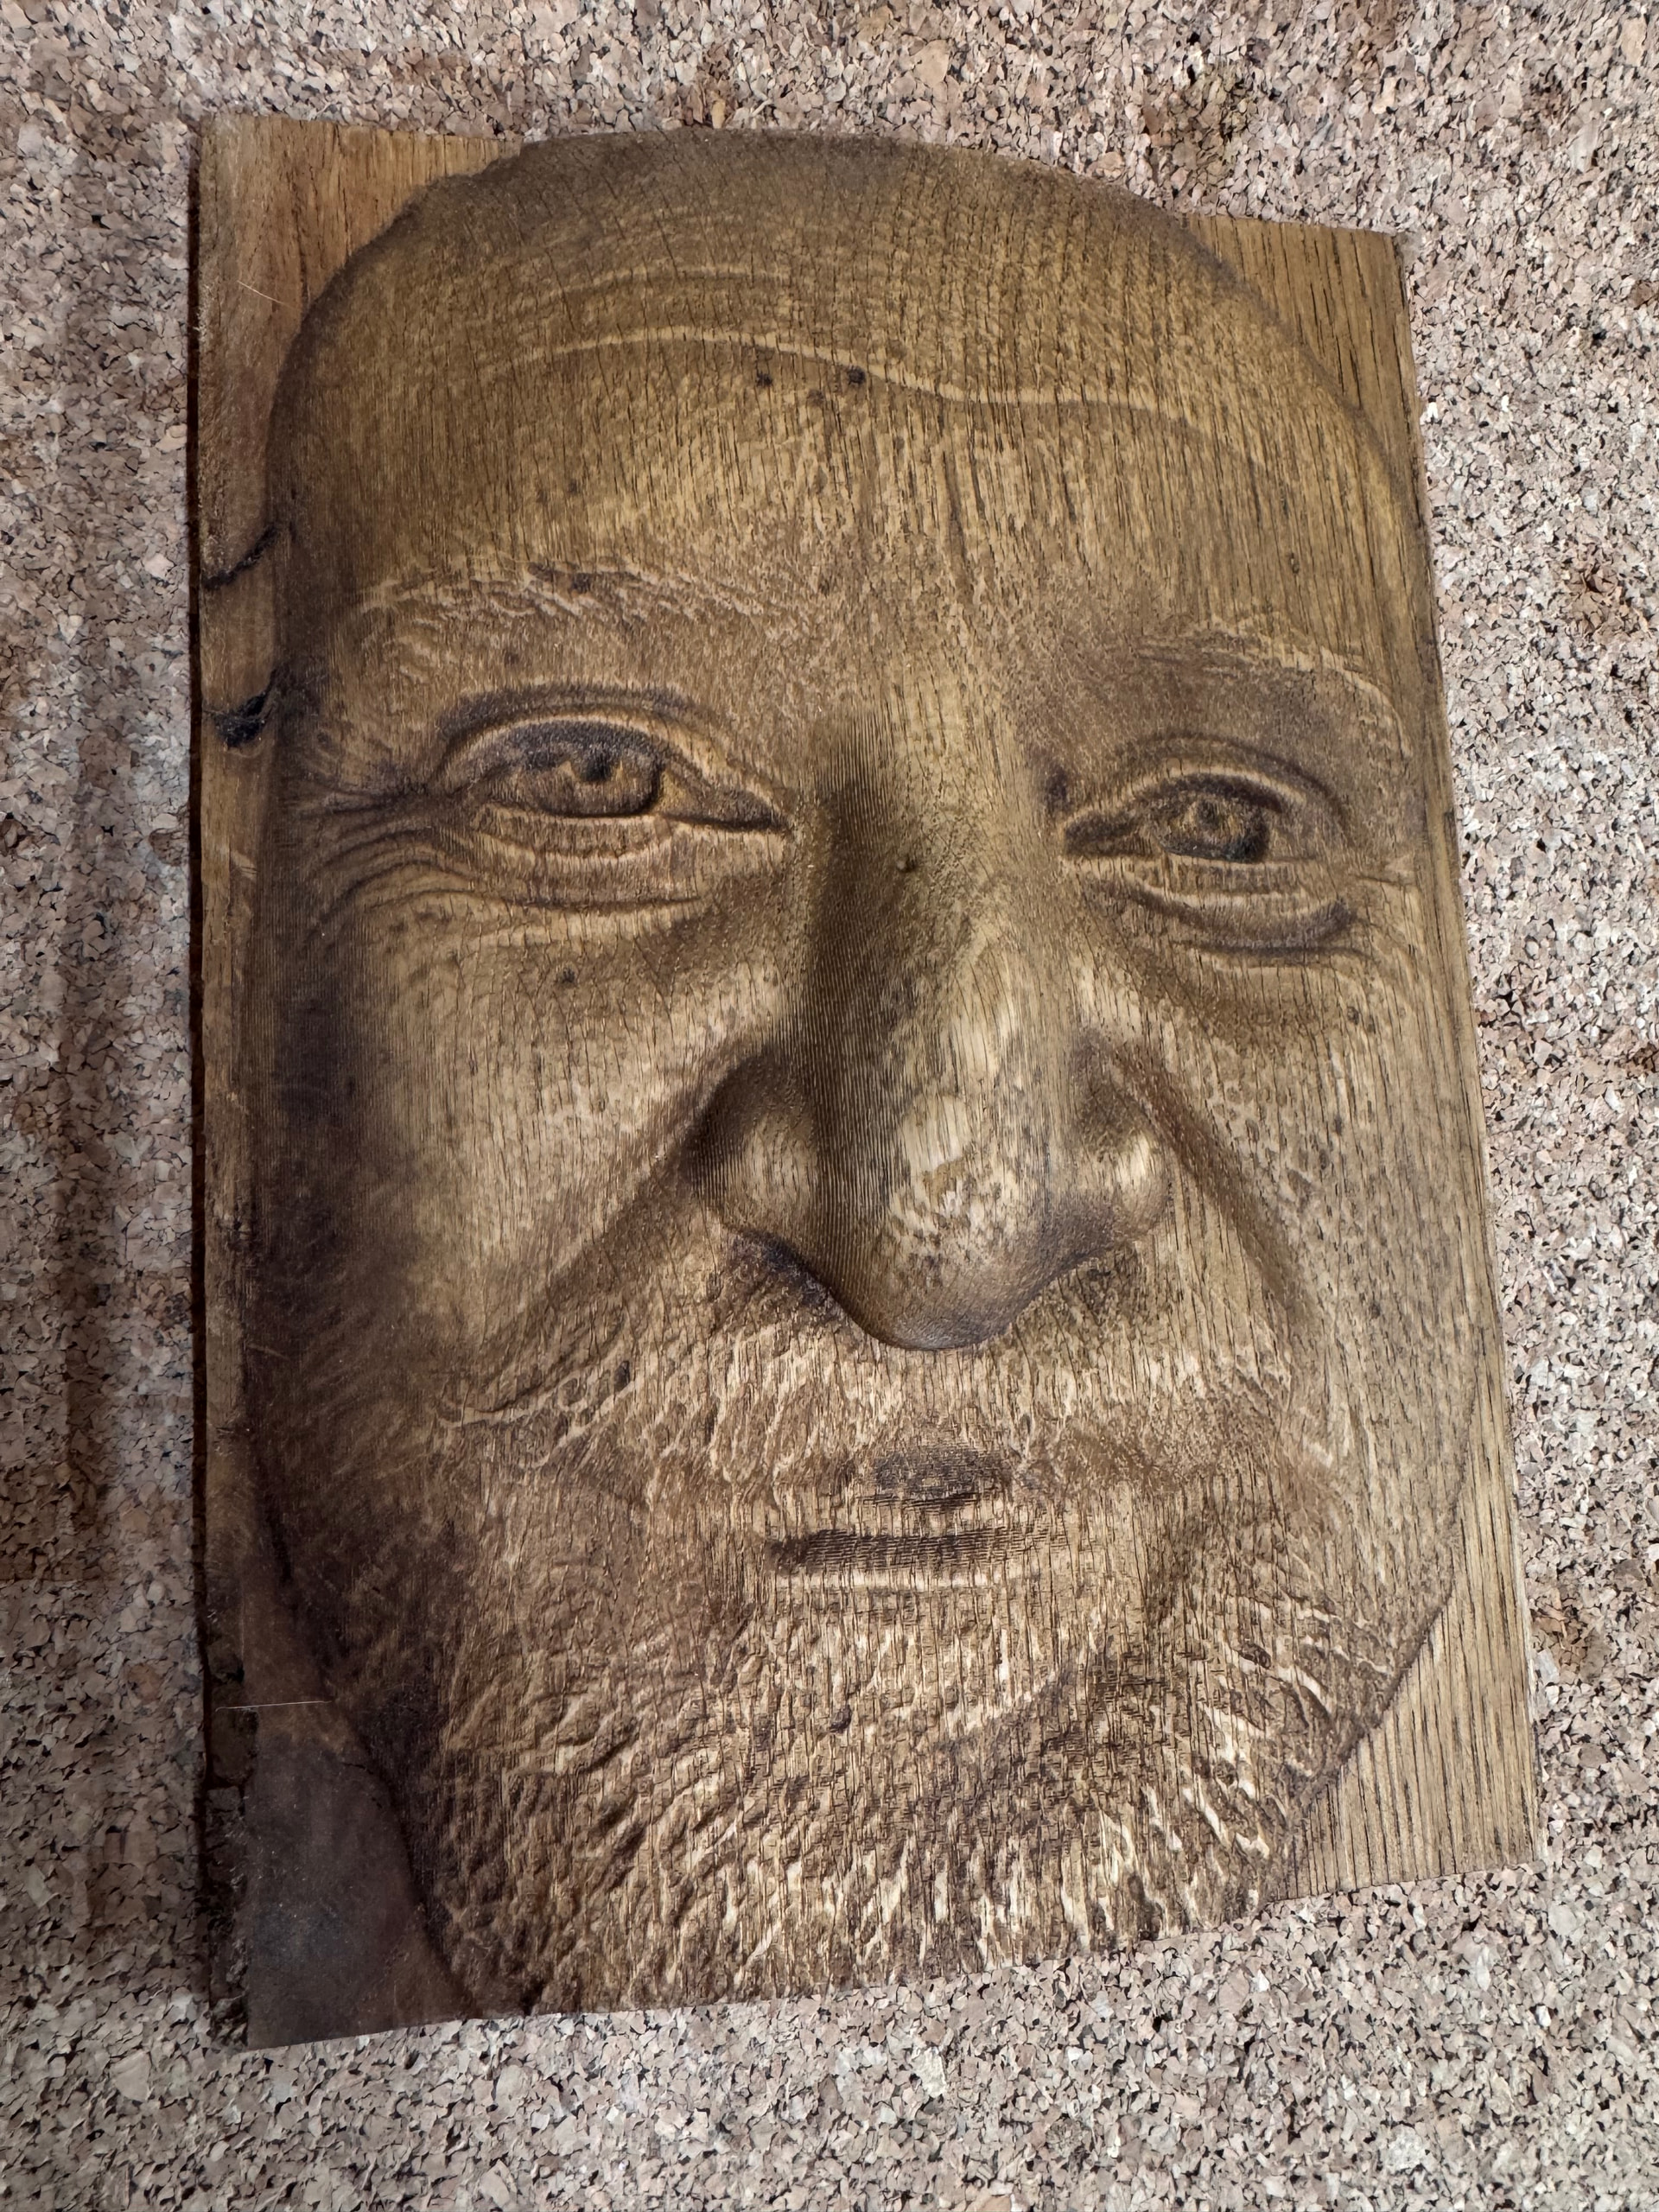
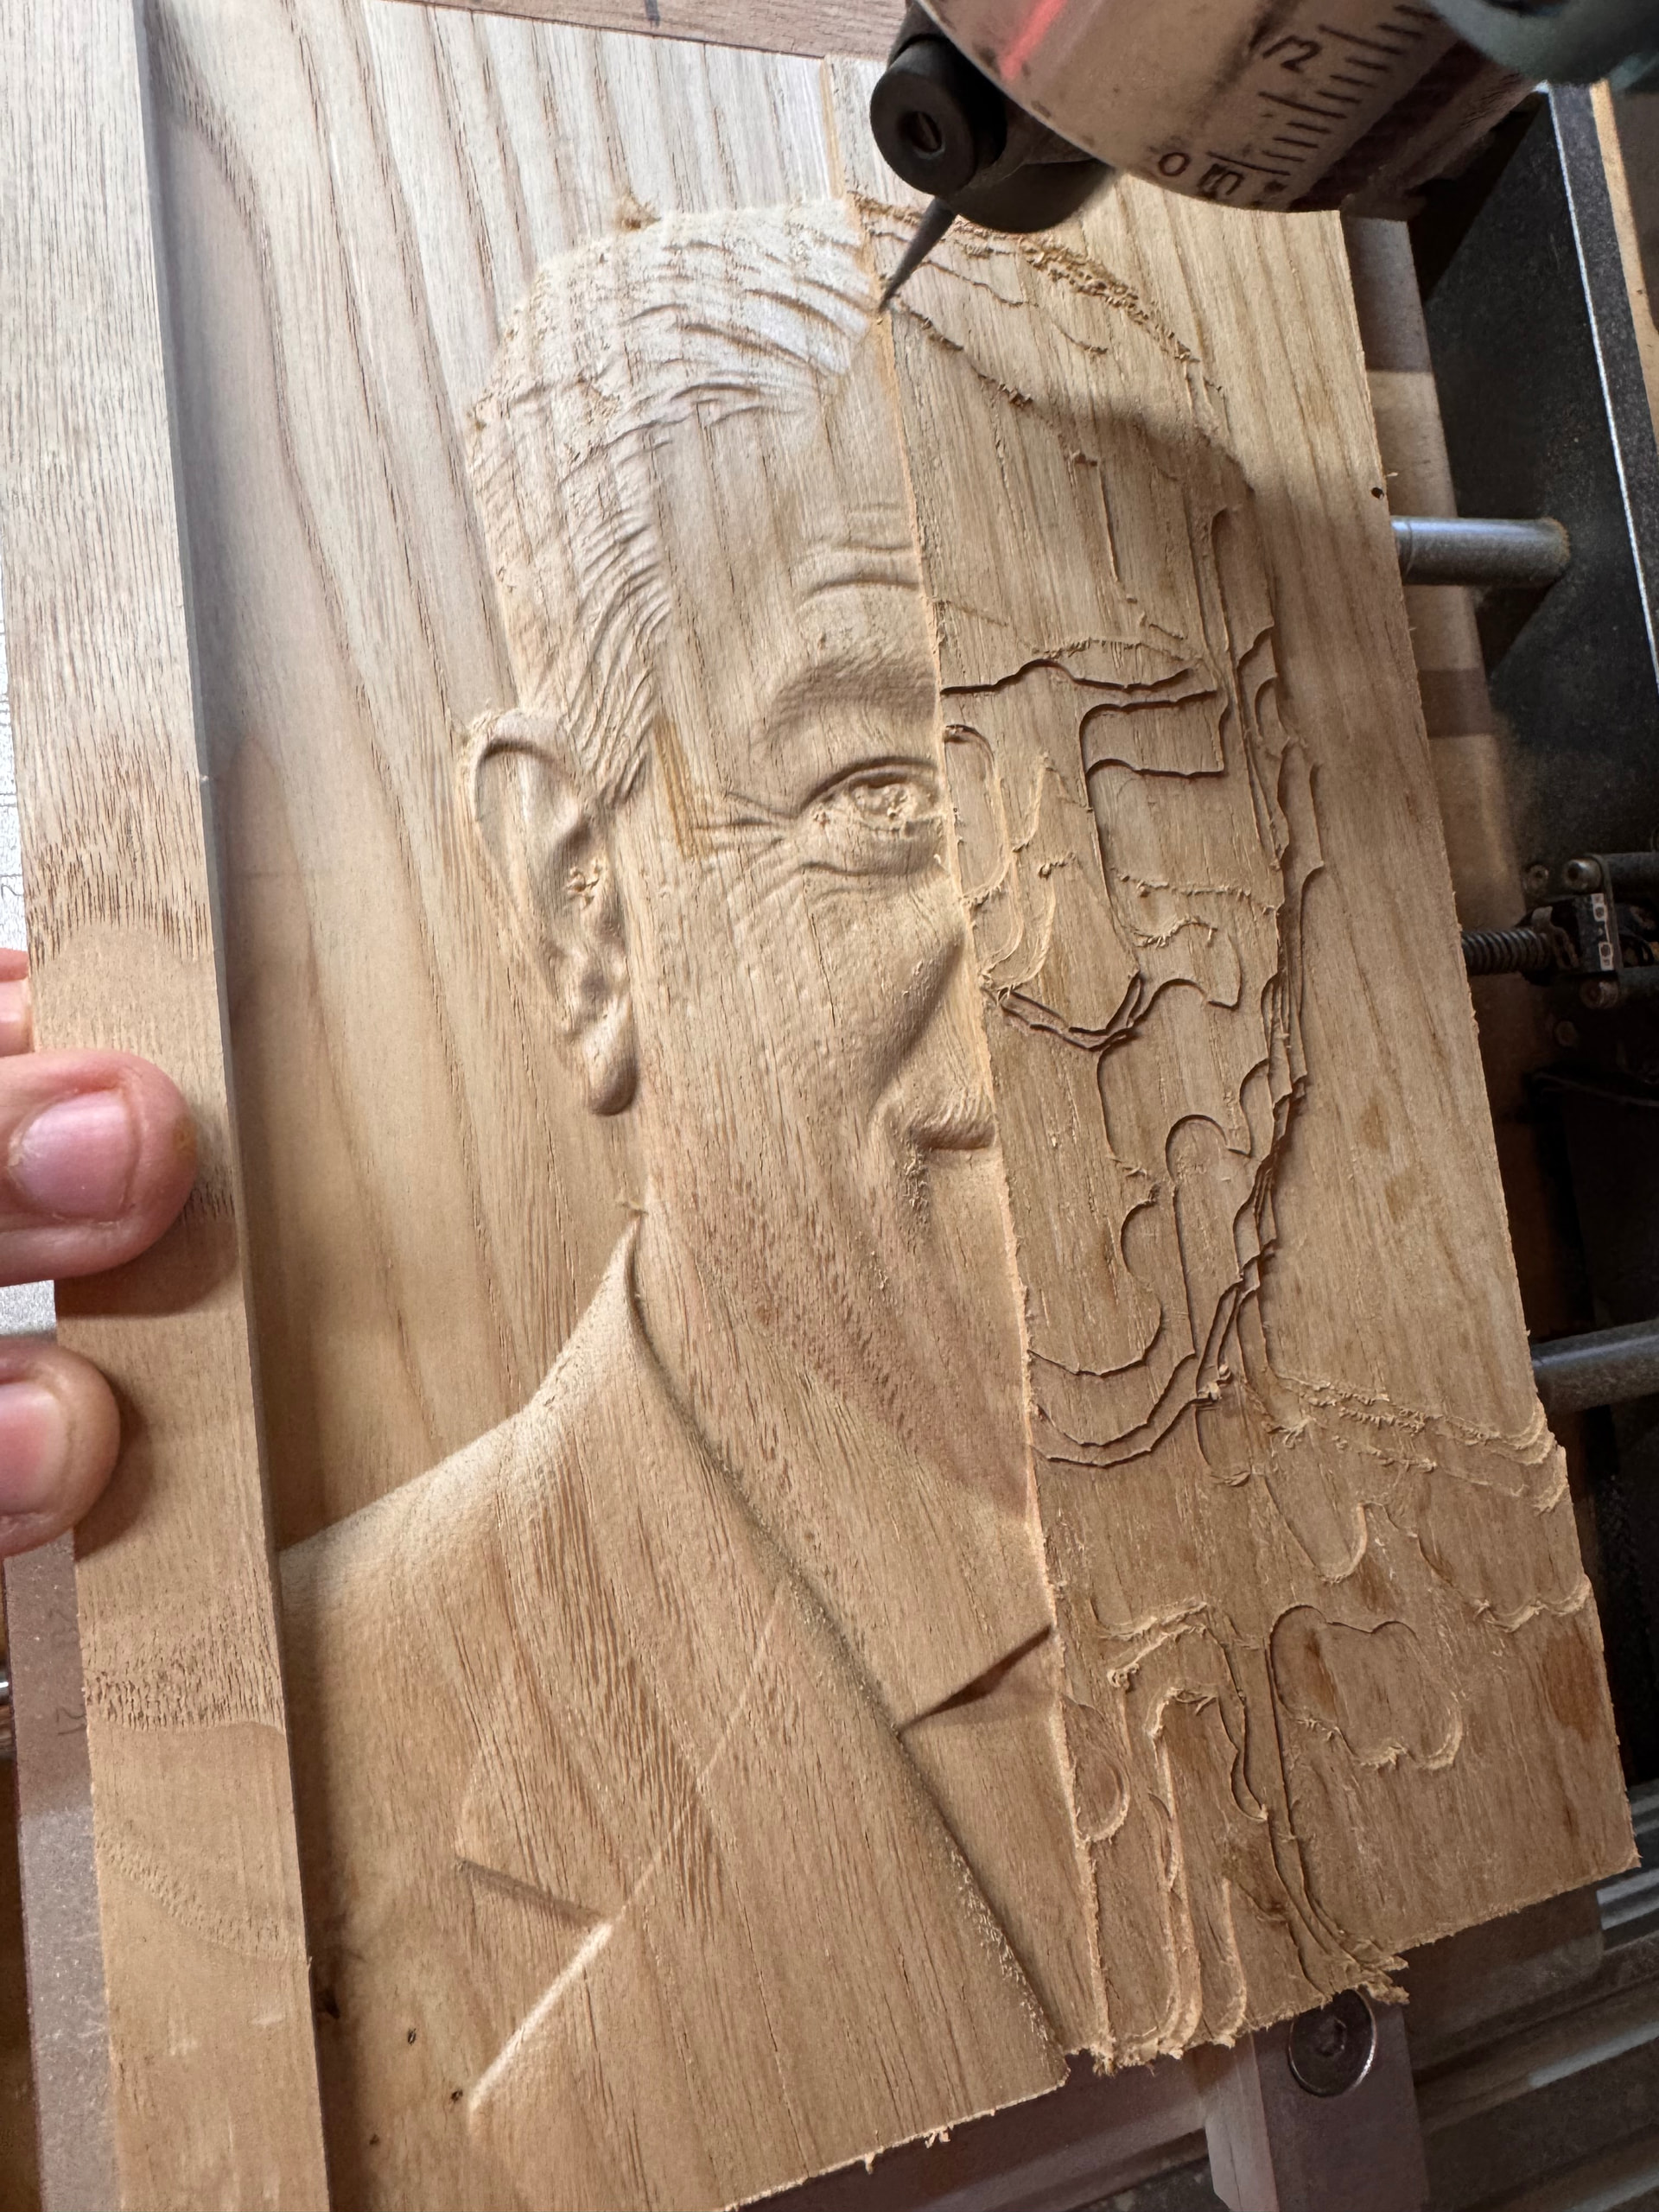
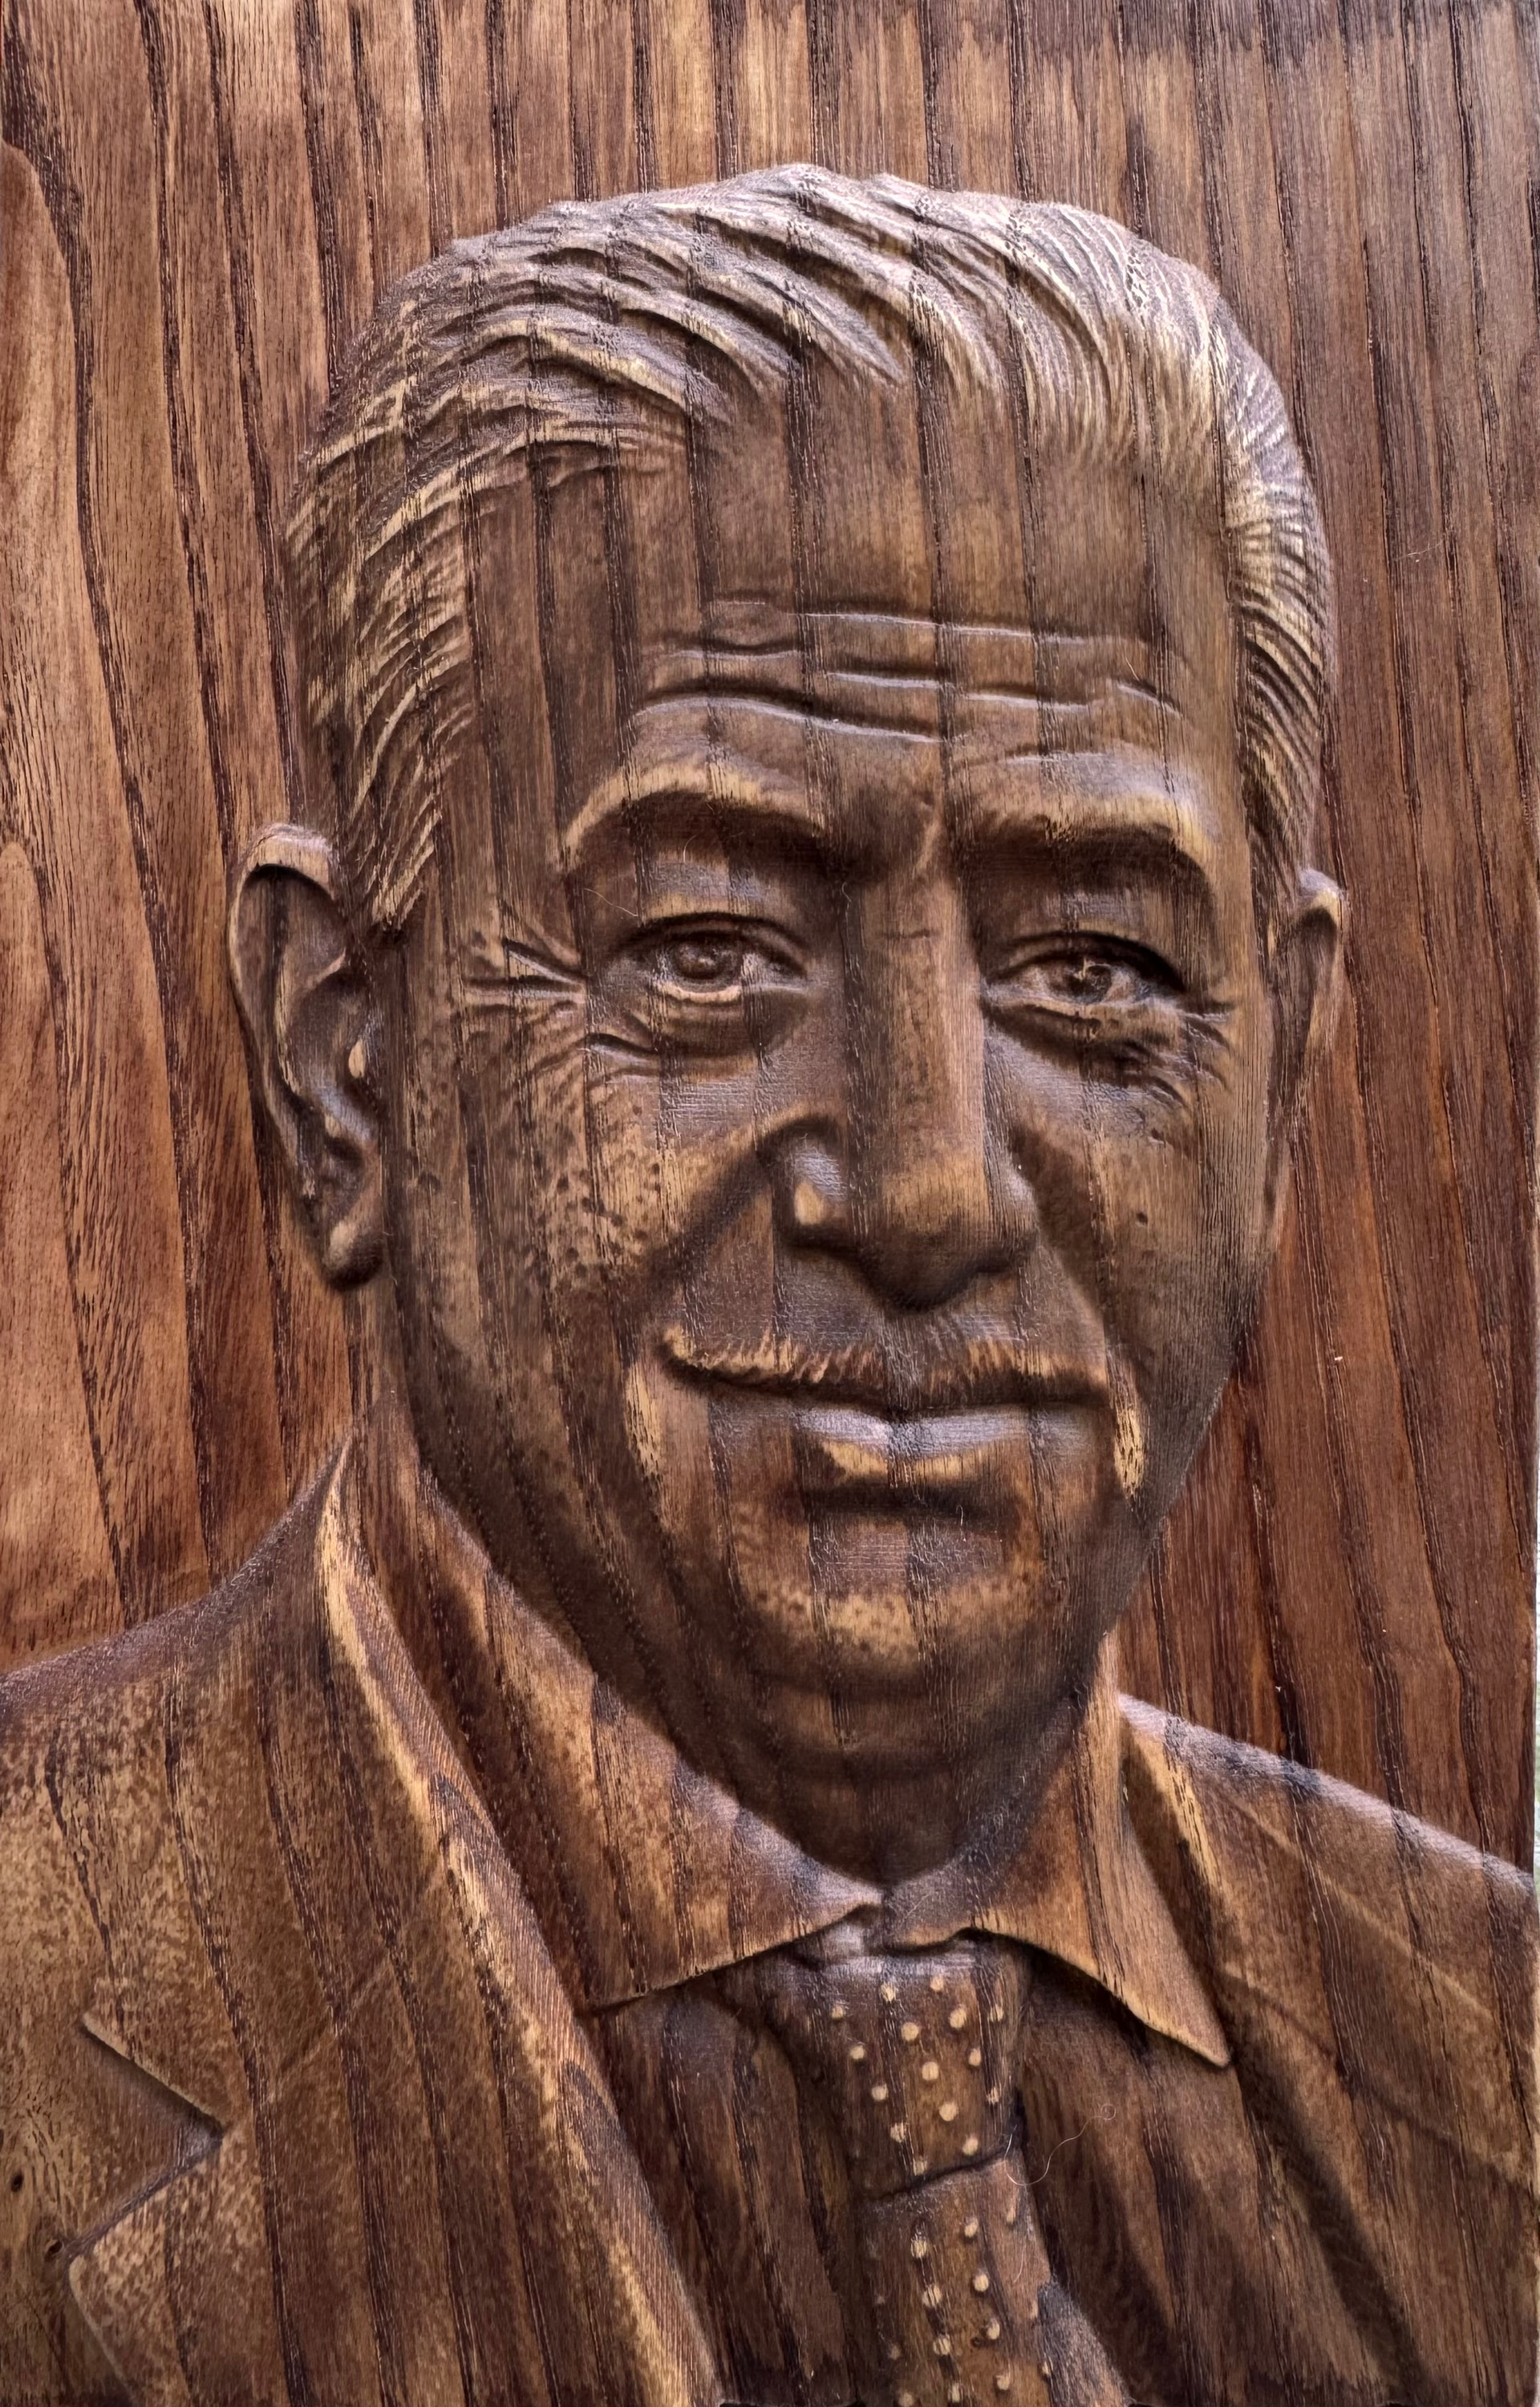
I’m sharing my very first experiments with the roughing and finishing functions of Millmage Pro.
16 Likes
Wow, those turned out great. Thanks for sharing them.
2 Likes
Stain adds nicely to the overall presentation. Well executed. 
1 Like
Ditto, well executed.
These are remarkable! Great job!
I’m curious:
About how long does it take to mill one of these?
Where did you get the data for the portraits? Did you make the data too?
What kind of wood is this? Maybe white oak?
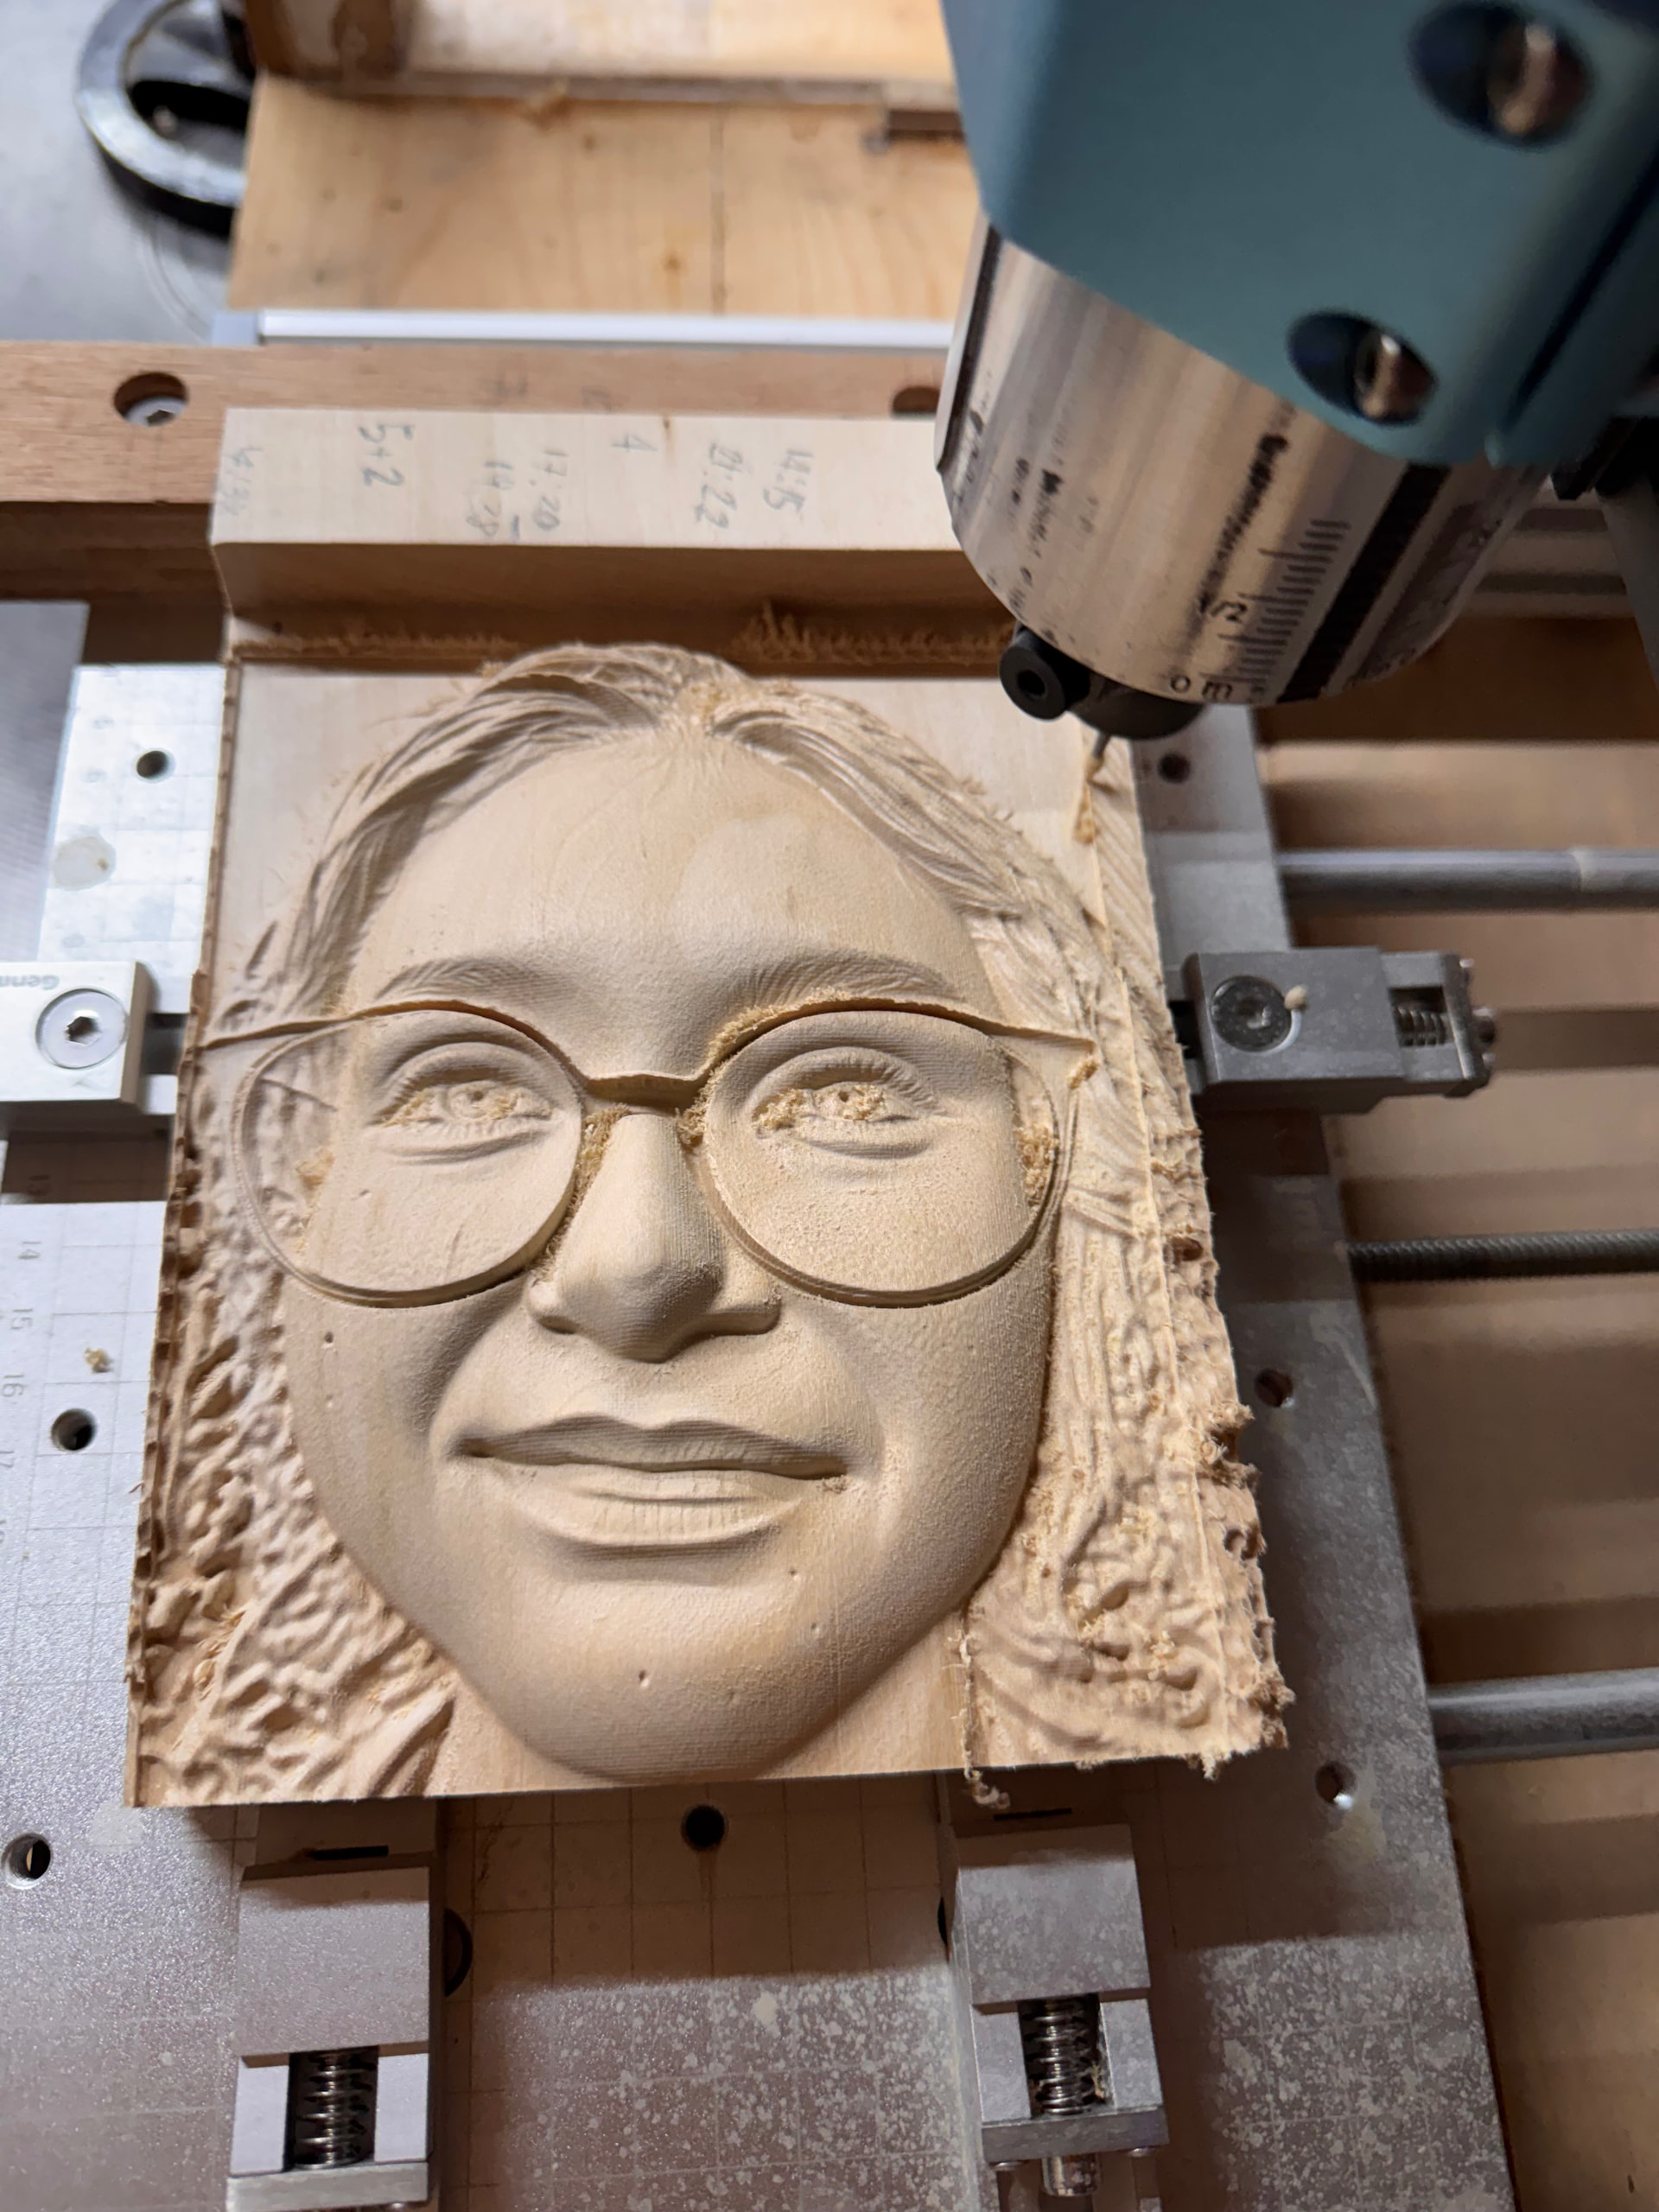
The complete CNC machining process takes about 30 hours, though this depends on the stepper motors; in my case, they don’t exceed 30 mm/sec. The images are family portraits I processed myself—using any 3D processing program that maps height values to colors—though nowadays, any AI can create a 2.5D model from a simple 2D photo in just a few minutes. The wood is linden; I’ve done other projects using chestnut.

9 Likes
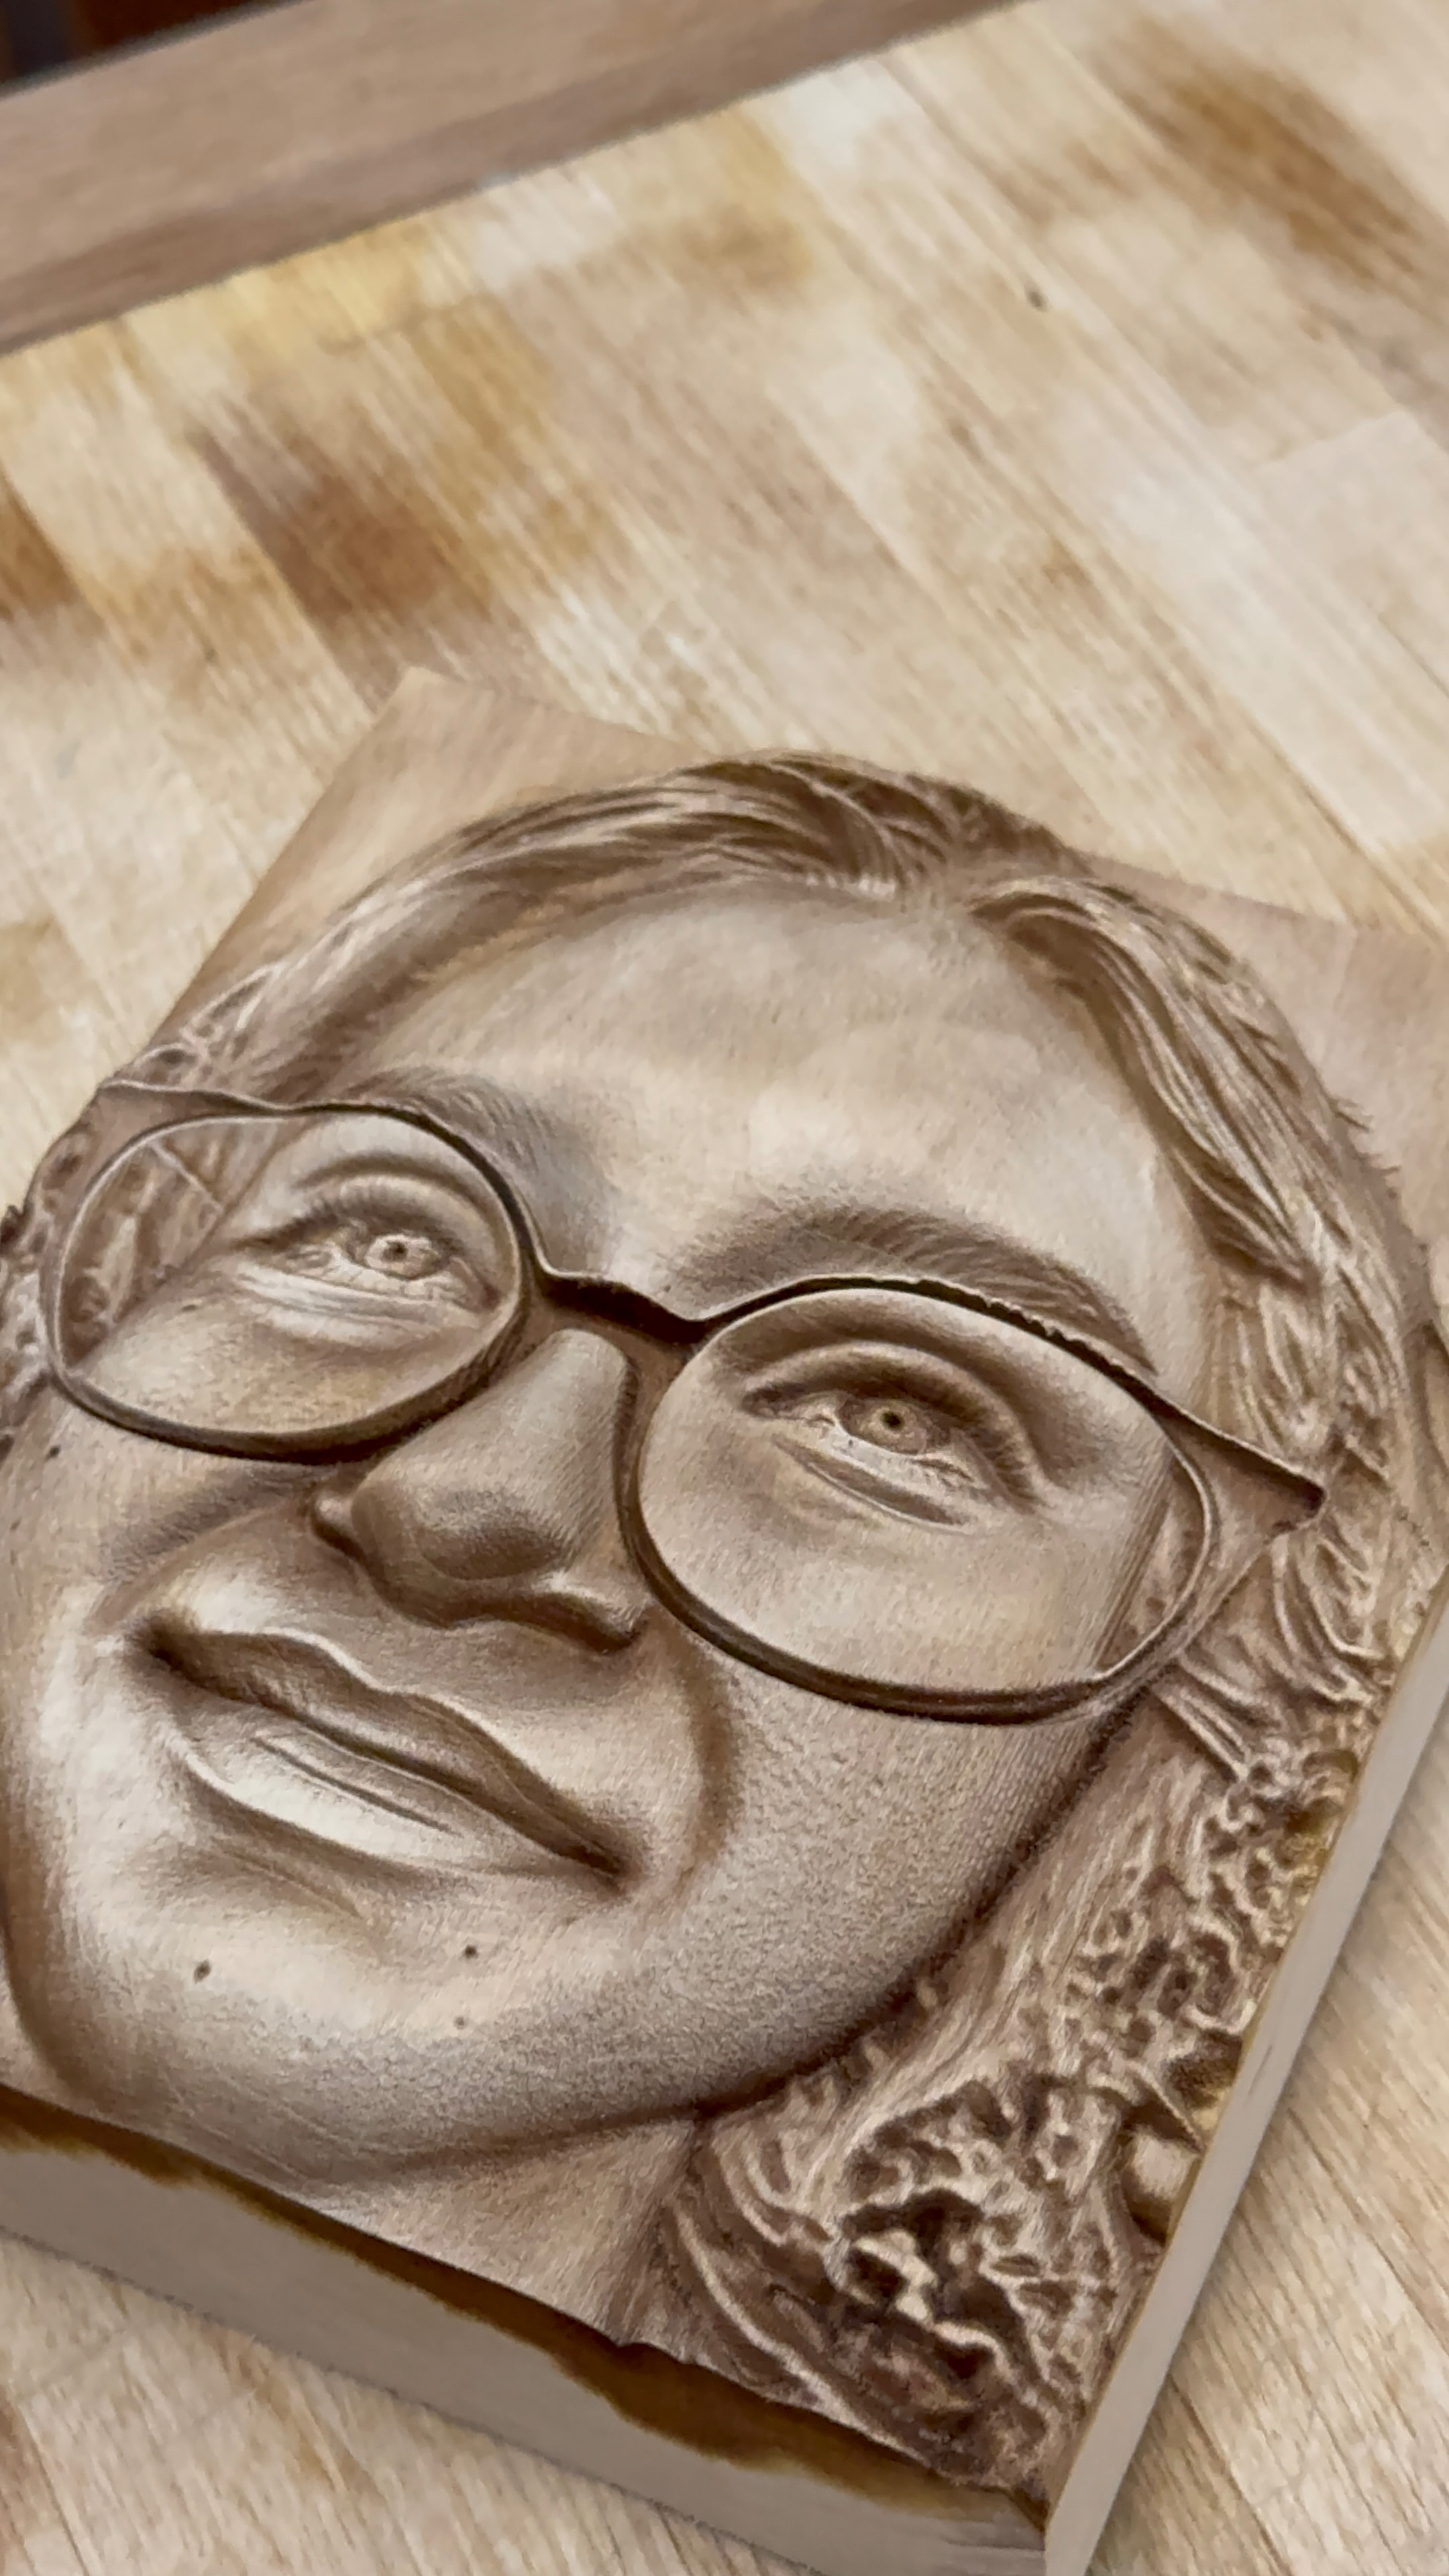
That new piece is even more incredible! I’m especially impressed by the eye highlights and the details!
More questions if you feel like answering:
What technique do you use for the staining? I agree with the earlier poster that it really enhances the effect, but I’m a woodworker and know how easy it is to get blotchy results when staining. Your staining results are spectacular.
How often do you need to do things during those 30 hours?
How important do you think the choice of wood is? I’m wondering what might happen if you used a finer-graines/harder wood. Clear rock maple is readily available and might hold detail slightly better. And then there’s dogwood which is quite clear and crazy hard.
2 Likes
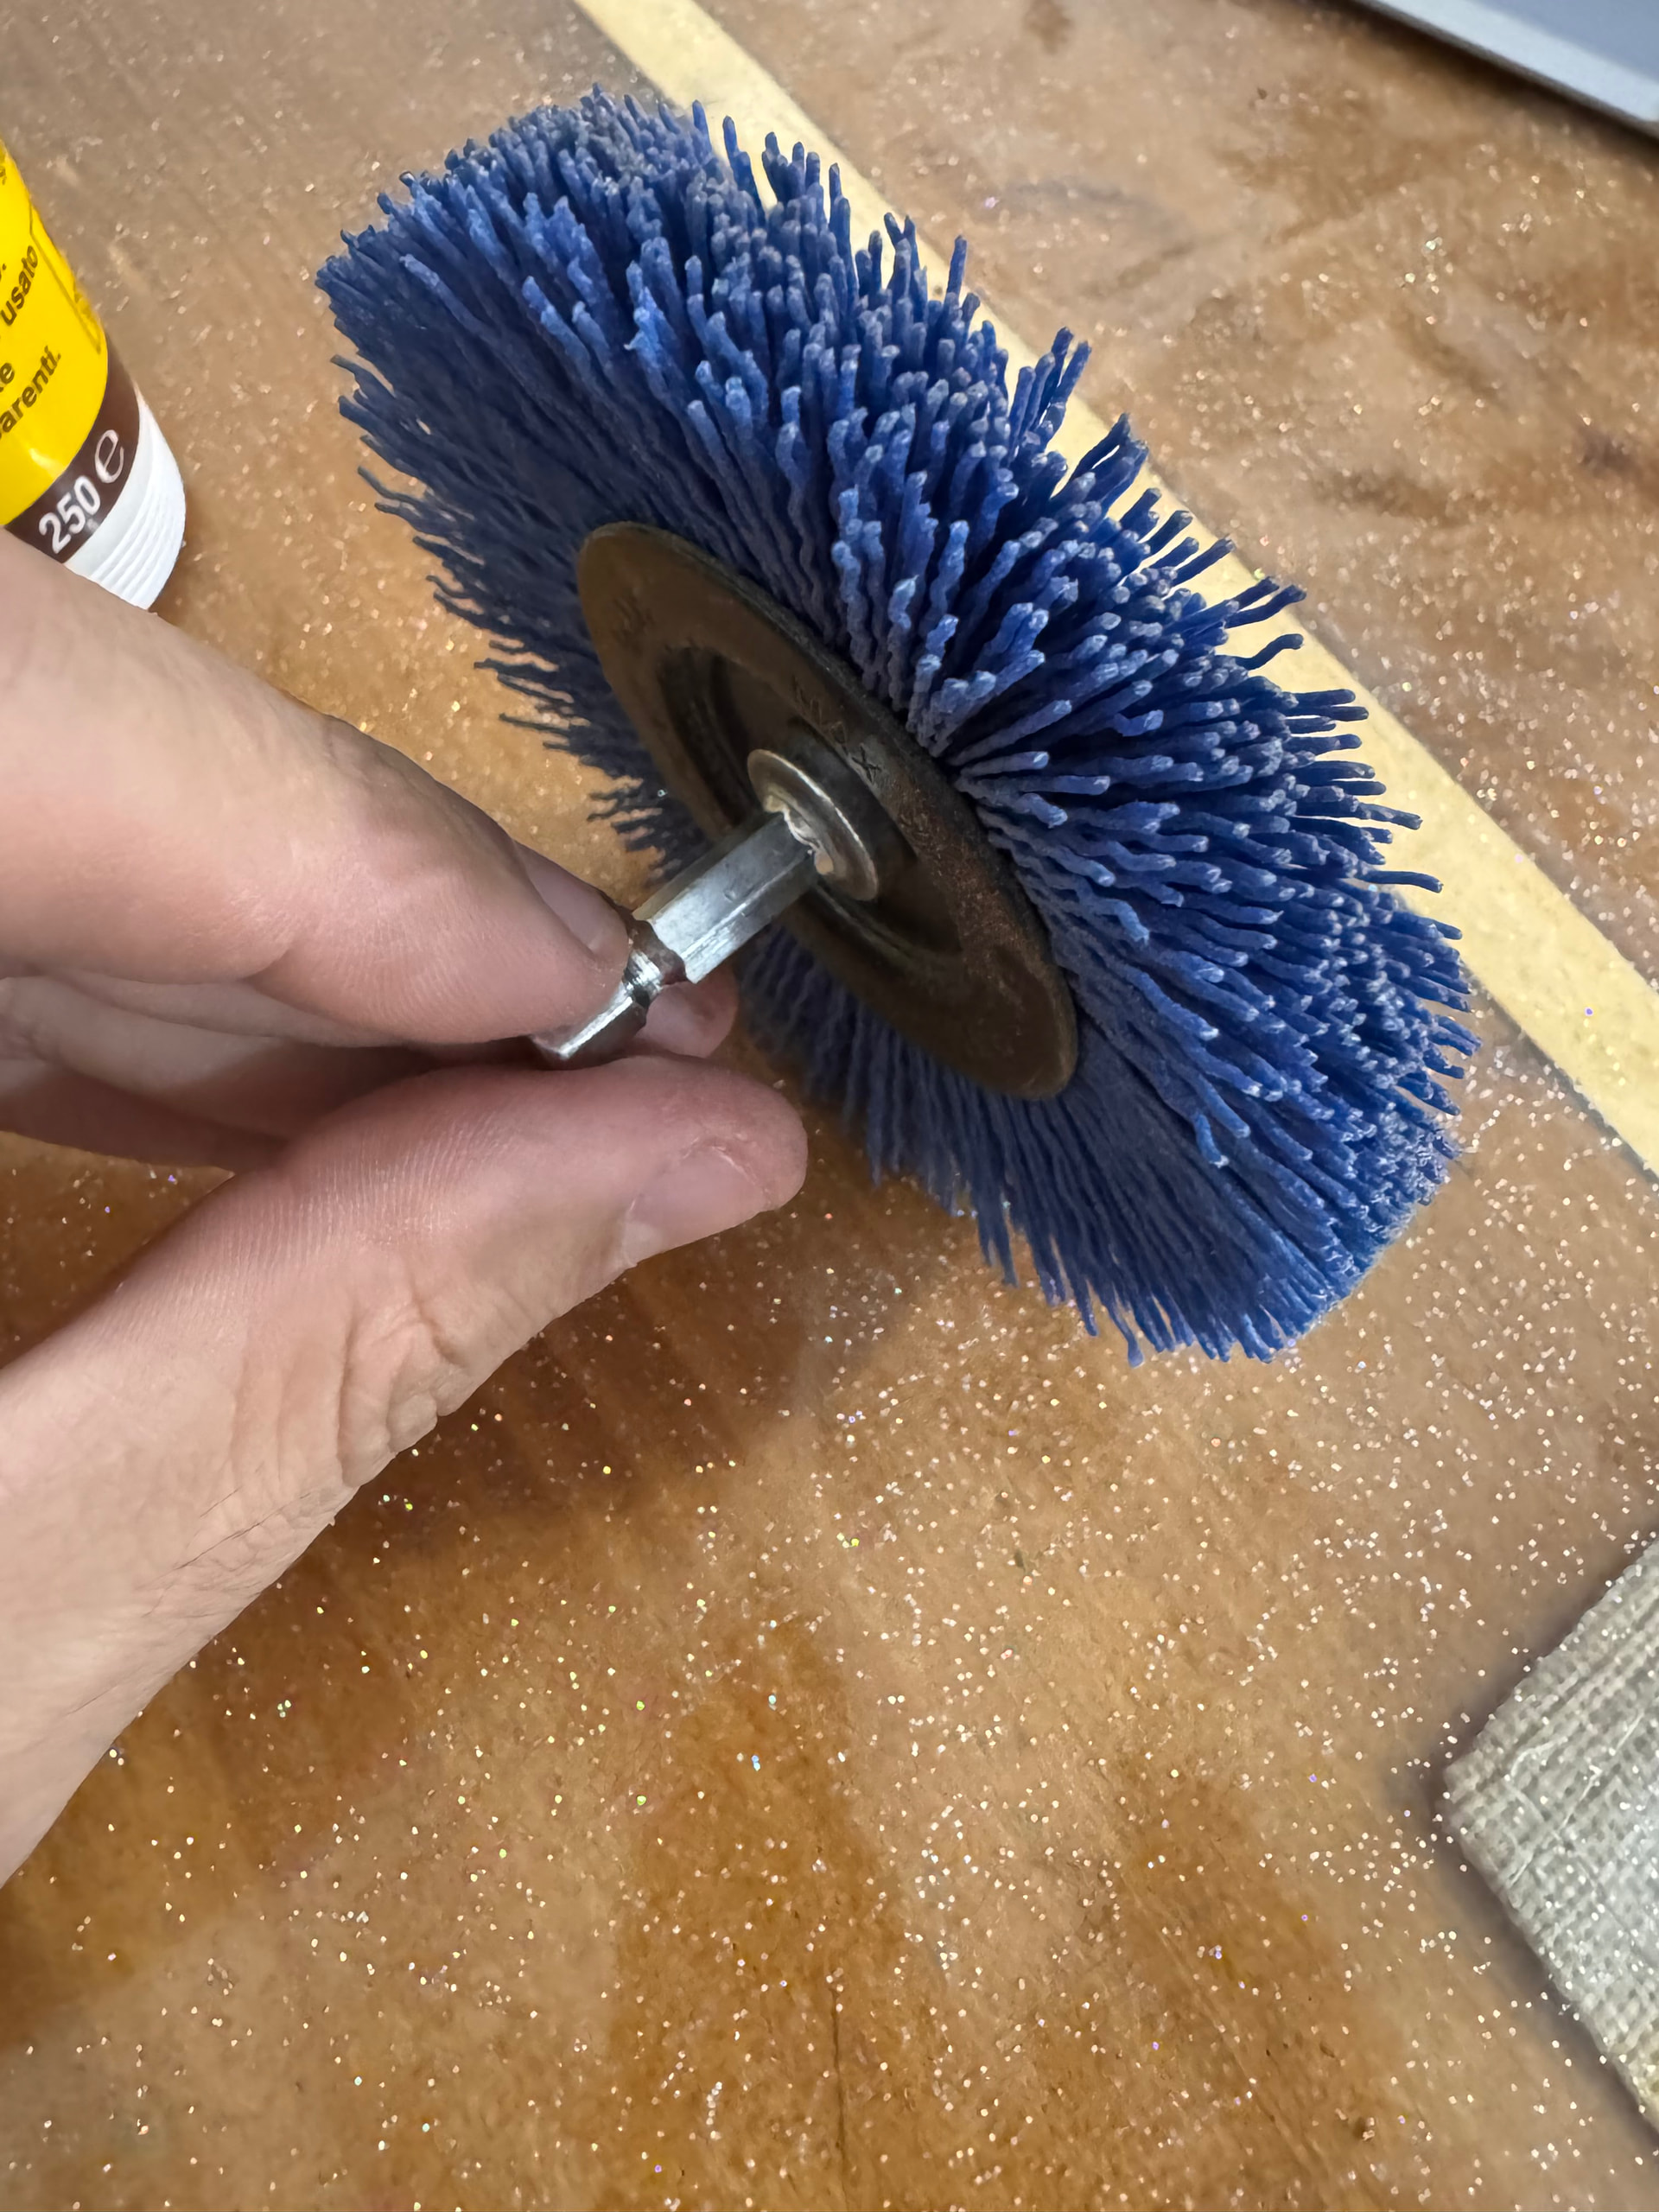
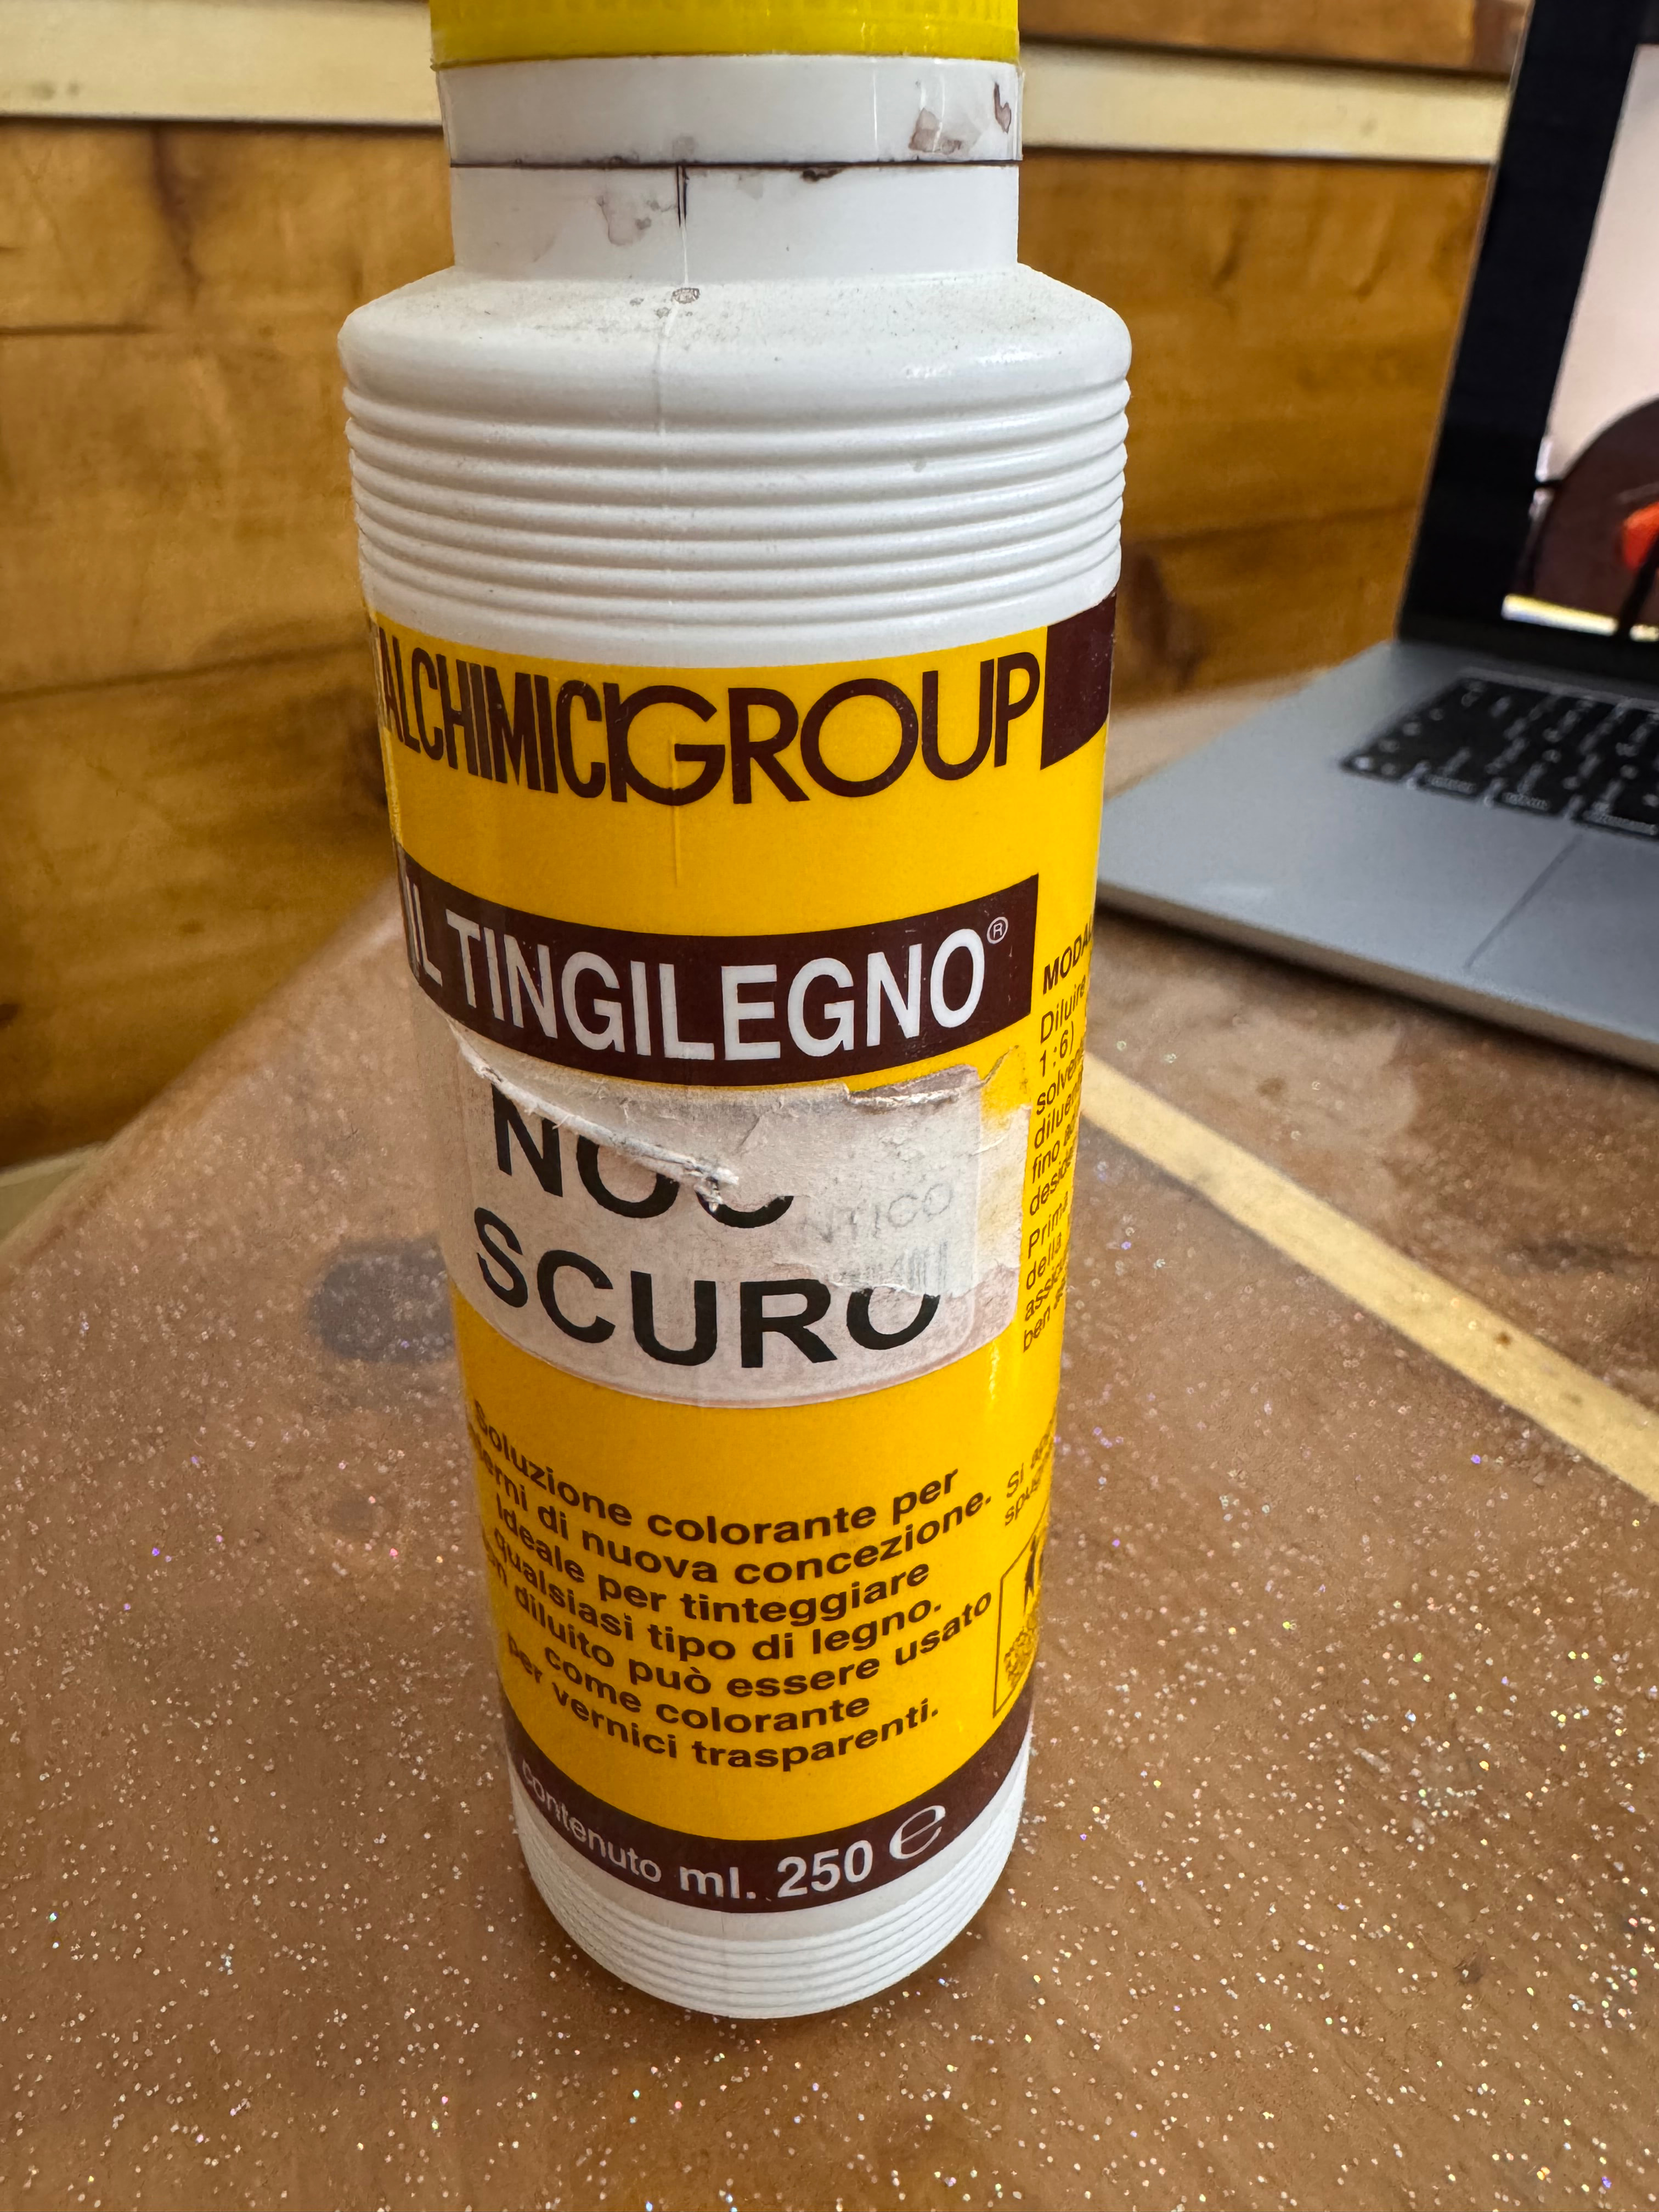
Thanks again for the kind words; since this is a hobby of mine, it’s really important to know if I’m on the right track—especially when the praise comes from a professional. The coloring technique is simple but requires speed: I use a brush and standard wood dye or stain, which I dilute with acetone to adjust the shade (since acetone evaporates quickly). I apply the dye liberally but immediately dry it with a heat gun to set the color and, crucially, to lock the darker pigment into the deepest recesses. Once dry, the wood grain usually raises a bit, so I smooth it down with a rotating nylon brush; I haven’t tried brushes with abrasive micro-granules yet. Naturally, the brush removes the powdery residue from the most exposed areas, lightening the color and creating a chiaroscuro effect; I can’t use sandpaper because it would erase the tiny details. I usually work with chestnut—I love the grain pattern and, above all, the scent it releases—though I recently received some linden wood, and my latest project is made from that. Regarding the 30 hours of work: the roughing-out stage with an 8mm bit takes about 40 minutes, while the finishing stage is the tricky part. I use a video camera so I can step a few meters away—my workshop is just a short distance from the house, and the noise is particularly bothersome (around 105 dB). Fortunately, I’ll soon be switching to a brushless spindle. During finishing, I check the progress at least once an hour and take quick looks via the Wi-Fi camera; I also minimize the use of other machinery to avoid potential interference with the very long (7-meter) USB cable.
3 Likes
I’m not a professional at this. My profession is software engineer and IT manager. In this world, I’m just a hobbyist who asks lots of questions and is having great fun learning from this wonderful community. 
Thank you for sharing your experience. There is so much to learn!
2 Likes
Hey! @cupeppe
Thank you so much for sharing these. WOW! The results are amazing and inspiring!
Great tip. You’ve inspired me!
grazie ancora
1 Like