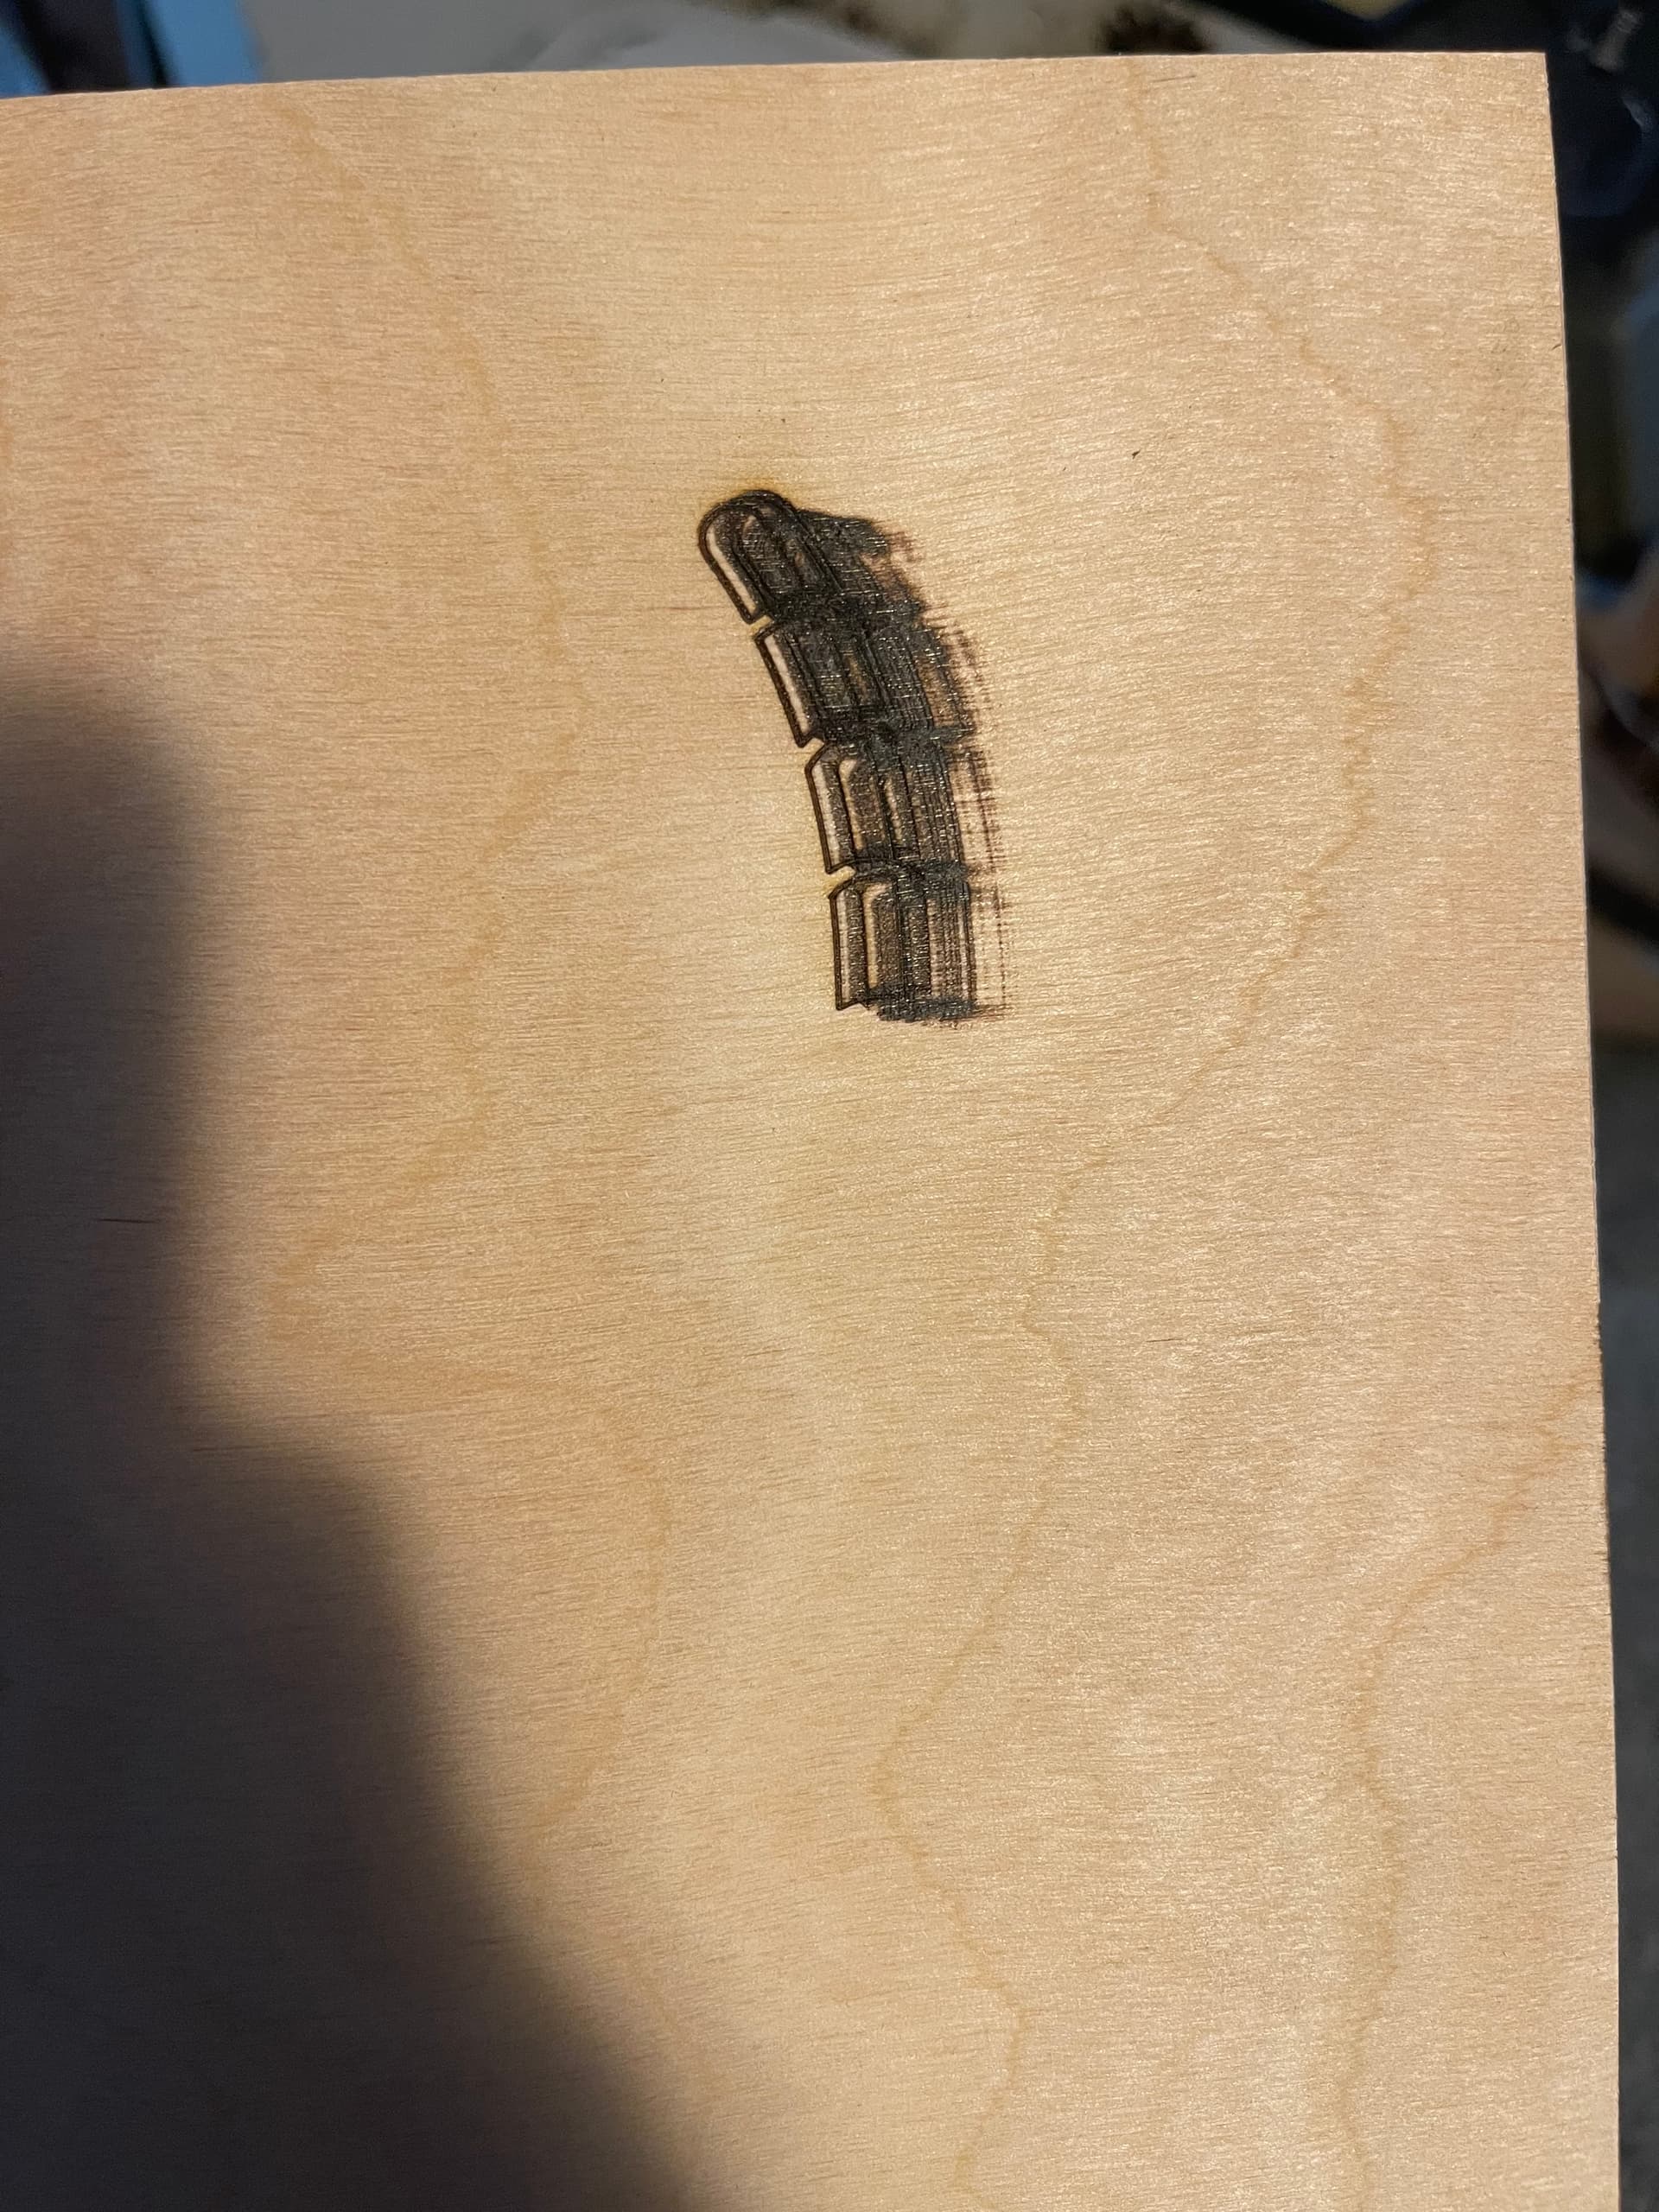
Taking a wild stab at this but I’m guessing the laser beam is no longer going directly down the center of the lens.
It’s possibly so out of alignment (due to the snagging) that the beam is on the edge of the cone and reflecting at various angles/points.
Can you fire a pulse and see what that looks like without running a file? Betting there will be multiple dots in a line of varying intensities.
If all these are correct, it will work. Which one are you missing?
It’s advantageous to know what operation you are doing in the photo. If it’s a scan we may evaluate the engraving differently as an image, compared to a vector.
I have a suspicion along the lines of @StevenM and you should check for vertical alignment.
From your description it sounds like your ‘collision’ could only have damaged the hardware. The Y gantry is pretty stable, but the head could have been ‘relocated’.
Is the lens tube still vertical, or has it been bumped slightly to the side? Maybe check vertical alignment. You could unscrew the nozzle and see what the cut looks like then.