Burn does not match preview, Lines get shorter

Assuming Newbie position…
Getting LB to generate a file that burns something has been a real struggle. Using the Material and Focus tools gave me NC files that would not burn anything, even at high power and slow (100mm/m) speeds. I even resorted to using my spoilboard as a test surface. Yet, when I press the test button on the PWM controller module, I get what looks like the mothership in the Independence Day movie (Kzzaaappppp).So I built a simple test program to see if the laser was really working under program control.

I changed $120 & $121 from 10 to 50 with no effect.

The attached picture is the result on a grey painted tile (less smoke that way). The image is orientated the same as it is in the LB workspace and Preview. I included the LBRN2 and NC files as well.

The question: Why is each line getting progressively shorter as the speed goes up? All lines are 100% power.


Line Speed Test 100%.lbrn2 (5.7 KB)
Line Speed Test 100%.nc.txt (544 Bytes)

Help me OzzieWan Kenobi, you are my only hope!

Once you completed the focus testing how sharply focused was the resulting beam? Were you able to get the focus to a tiny focused spot?

Does this mean that the test button generates a brighter light than any setting from LightBurn?

One other thing to check from a mechanical perspective is that your lens is undamaged and clean.

This might be the result of variable power not compensating well for the situation. Try enabling “Constant power mode” on in your Cut settings. Does it eliminate the effect in this case?

This effect should have been directly affected by your acceleration setting change, however.

One note on the design itself is that the lengths of each line are not all the same. It should be a minimum difference but does account for some of the variation.

Can you run these commands in Console and return output?

$I
$$

Yes, my laser is adjustable focus.

It appears that way. LB programs do not seem to crank it out even at 100%. But this is all observational.
Brand new laser module. The old one had a distorted pattern, but with similar power output with programs.

Will do while you are chewing on the attached parameters list. I included some more just in case.
MikeyH_Parameters.txt (855 Bytes)

That is what I thought, which is why I tried changing it.

I am also going to extend the lines to see what difference that might make. Thanks for the quick reply and your help.

[VER:1.1f.20170801:MIKEYCNC]

Is this a custom compiled firmware? If so, what configurations changes did you make? Specifically, what would be different from default?

$30=1000

From the gcode you posted earlier LightBurn is definitely asking for 100% power. It’s possible that either variable power is modulating power or somehow the controller isn’t generating the right PWM signal. Are you able to measure the voltage from the controller at 100% power?

$120=10.000
$121=50.000
$122=50.000

Looks like Y and Z axes are at 50 mm/s/s. Did you also try adjusting X at some point? That would be the relevant one for this design.

No, it is stock Sainsmart 3018 Pro GRBL on a Woodpecker 3.2a board. Not sure where it gets the “MIKEYCNC” part.

This is my suspicion too. I have a new GRBL board on the way.

I did and got some strange values. I did not measure the Laser voltage, so that is on my to-do list.

My bad!!! it was supposed to be 50,50,10. Pretty sure I did not change Z $122 because that made no sense. More testing, and mystery…

The only real way to do this is by customizing the source… so I’d assume that…

If you have a voltmeter you can easily check the pwm. If it’s a 5V ttl pwm, it should read 2.5V at 50% power… it’s power will be relative to 5V. 20% power would be 1V…

:smile_cat:

Not the only way, because I didn’t do any firmware work. I am wondering if I named it thru Candle while in the Mill Mode.

I know what it is supposed to be, but at the CNC board, I was seeing as much as 18v on the PWM wire. I am done with the voltage checks, other than fingerprint the readings for reference, because I think I found the problem.

The machine lived as a mill for the first year, so the as-shipped settings were basically fine for me. When I installed the laser is when it got wonky. The image below shows the effect of changing the $120-$121 values to 50mm/m, then to 250mm/m. I finally set them to 500mm/m. The longer lines were at 80% power because I was seeing sparks like a grinder on the second lines.

I now realize why the Material Test squares were not burning. NOW we are cooking with electricity!

Feel free to comment on which longer line looks good for a painted tile. :grin:
And yes, Ti02 is on the menu.

Has the paint been removed?

The two top long lines look about right… (red)

The ones with anything looking like it’s metal is too much power… such as the black arrow line…

The bottom three seem to be out of focus… at least you are using too much power…


It’s always wise to put some text in there indicating the power/speed/interval. A few days from now you’ll probably forget… I’m sure you will after 100 of these…

Have you watched the Laser Everything video on photo engraving…? It not so much about photos, but it’s the best video showing how to determine the proper dpi/lpi for any laser with any material.

If you haven’t, I’d suggest you do…

Good luck

:smile_cat:

Not yet, my garage is too hot too!

That is it. Feed was 200mm/m on the bottom line and +200mm/m going up. Power at 80% on 5.5w diode.

Yes, twice and set a Shortcut for it. I found it to be a must-see for anyone with a laser.

It has gotten better thanks to you and @berainlb.

I hear you there… Don’t know where you are, but I’m in the center of Arizona about 100 miles north of Phoenix area…

Yesterday was about 110F here, Phoenix was around 118F and their low hasn’t gone below the mid to low 90’s…

Warm here also… although out of the heat island of Phoenix, our low this moring was 66F, but it’s over 100F by 11am…

:smile_cat:

That puts you at the foot of the mesa then, I guess. Maybe you can drive into Flagstaff for relief? It is only 95degF there. :grin:

I am in Tampa Bay, FL. High = 95degF at 85% R.H. and low at 80degF and 90% R.H. Water on three sides moderates the temp but there is no place for sweat to go. Spend 15 minutes outside and the T-shirt is soaked with perspiration. A/C is left on all the time, except maybe 3-4 days in winter, here.

Has now. The lines are 30mm long.


Looks like 1000mm/m and 80% power is almost perfect for this one. Too bad I had to use a flammable solvent to clean it.

Actually in the Verde Valley… 100 miles north of Phoenix and about 55 miles south of Flagstaff. We are about 1200 ft above Phoenix. At least it’s a dry heat… :wink:

Yep, that’s why I’ve moved to TiO2… I hate scrubbing off the old paint with chemicals… When I need something done, I use LBT100, but that’s for co2 and fiber lasers.

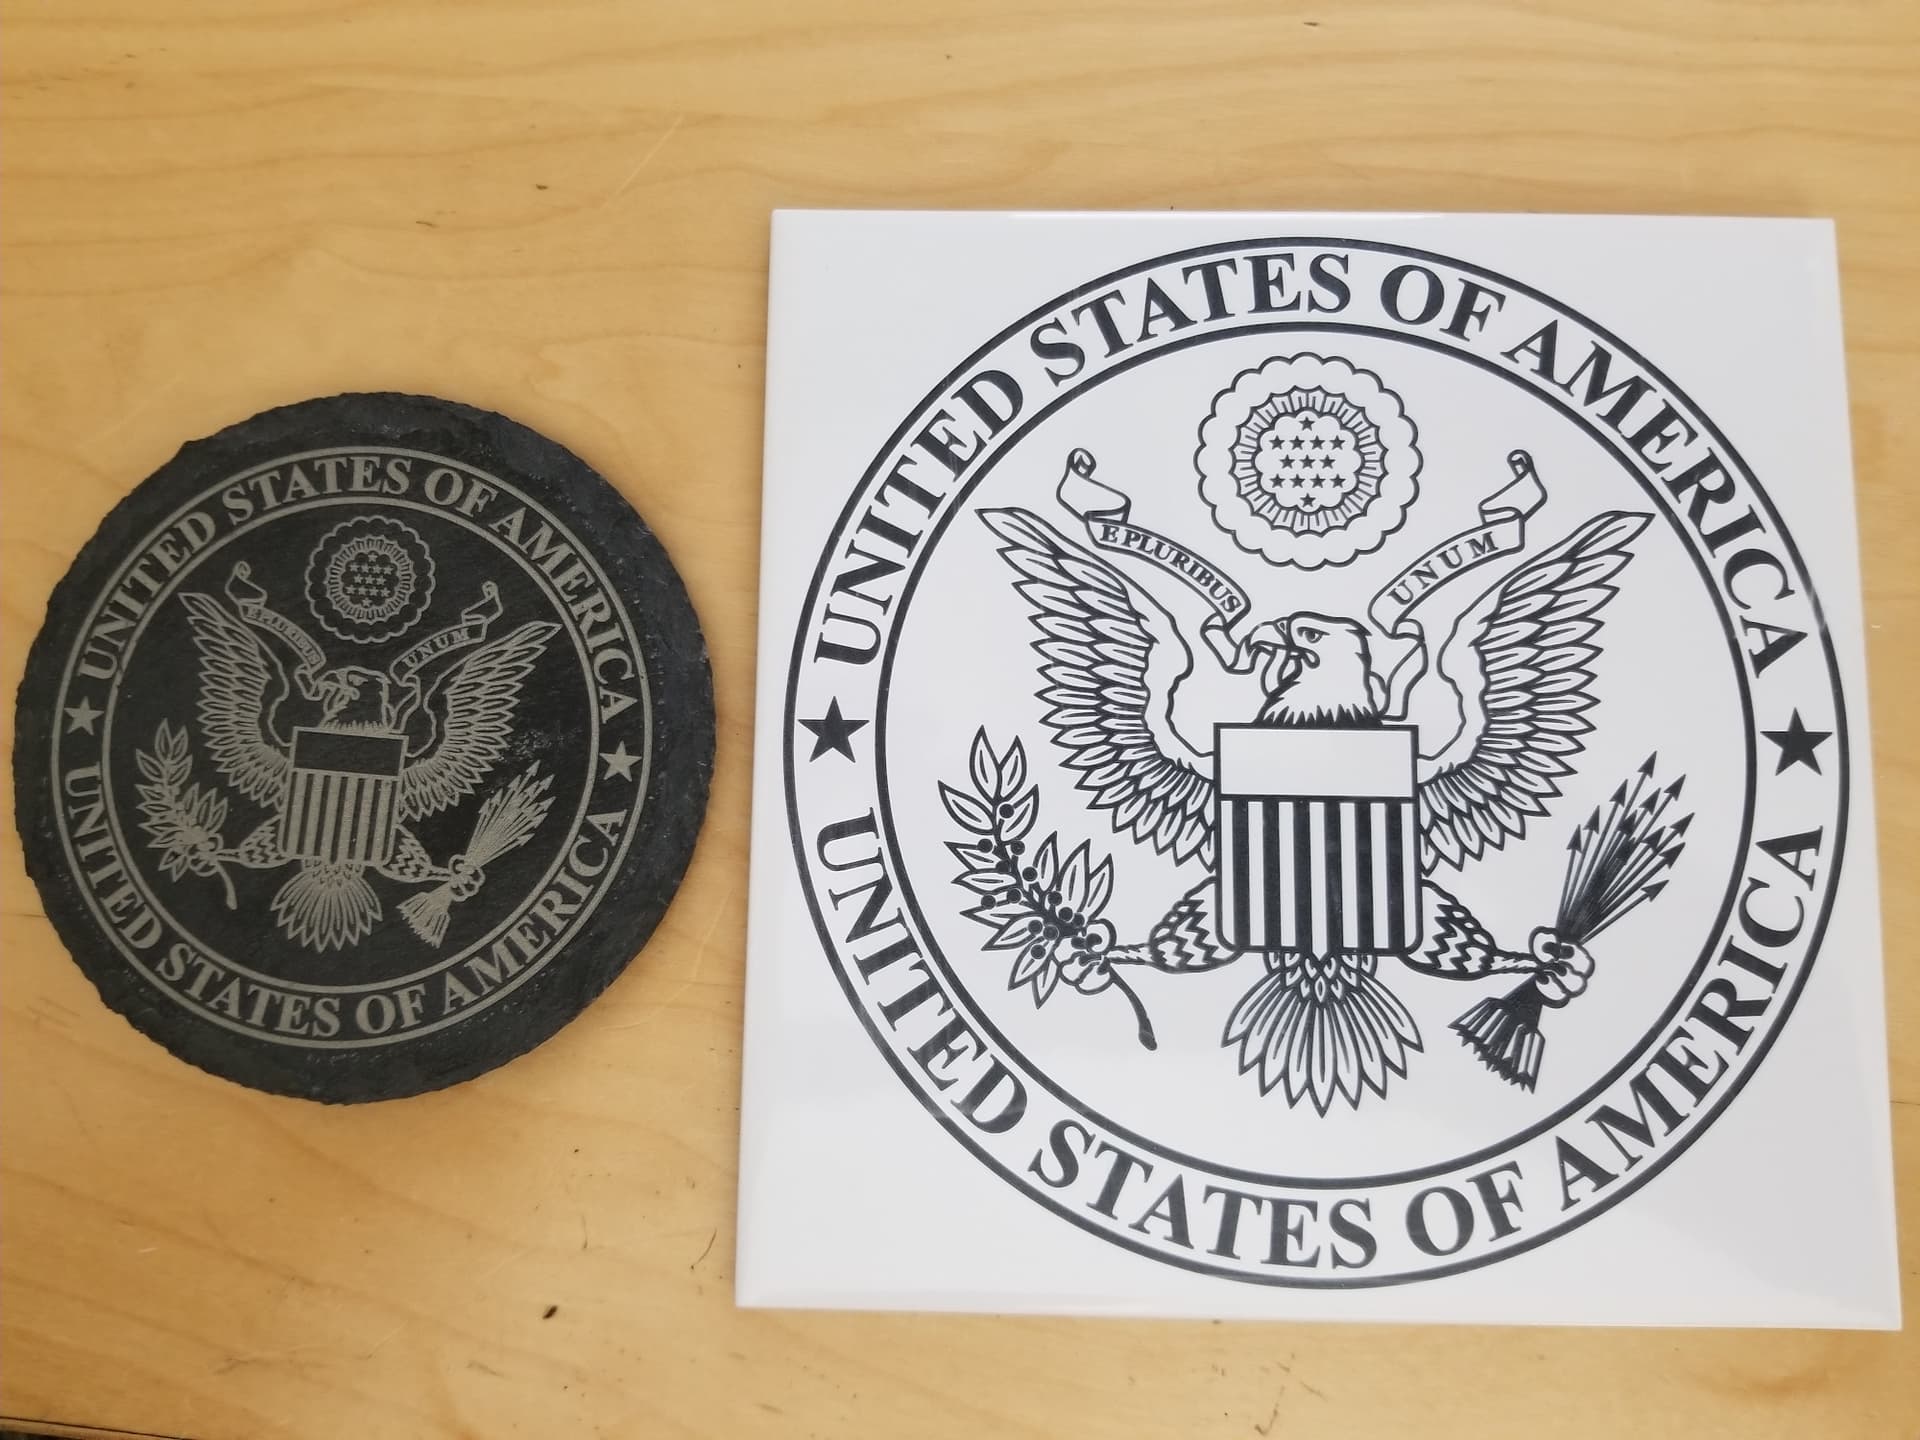
This is just TiO2 and water on the tile… the other is a slate coaster. Both done on the fiber.

If you want to see some nice photo engraving, check these out from @Bulldog on his fiber

Good luck

:smile_cat:

I checked the temp earlier and Flagstaff was 95degF there. Whew!

Pix is my very first tile, grey primer removed. White Vette with a black top. Not bad for a newbie, me thinks!

1 Like

And I will take blind dumb luck over skill any day!

I tried my second tile, the first was a negative, with TiO2. Tile was cleaned with 91% IPA. I got some water, a couple of spoons of TiO2, a drop of Dawn, and stirred it a lot. I then tried to “paint” the tile with a foam brush, but that worked poorly. So I just dabbed it on with the foam brush. I then dried it in the toaster oven, 180degF, 7 minutes, fan on. Based on my results, the TiO2 formula and application are not critical. I see some defects in the tile, but I expect an even spray will improve the image quality.

Image @ 1500mm/m, 80% power. Text @ 1000mm/m, 70% power. Burn time = 3 hours. Unless I have a dozen machines running all at the same time, it will be hard to earn even minimum wage.

Just so you know, I had no idea there were so many “image invert” buttons available. Once I had them all turned off, the image burned as a positive matching what I imported.

Curious… How do I mark this thread as SOLVED?

I believe Topics posted to ‘Community Laser Talk’ forum do not allow for Solutions. You could change this to another forum and mark Solution from there.

Works for me, no need to move, thanks!