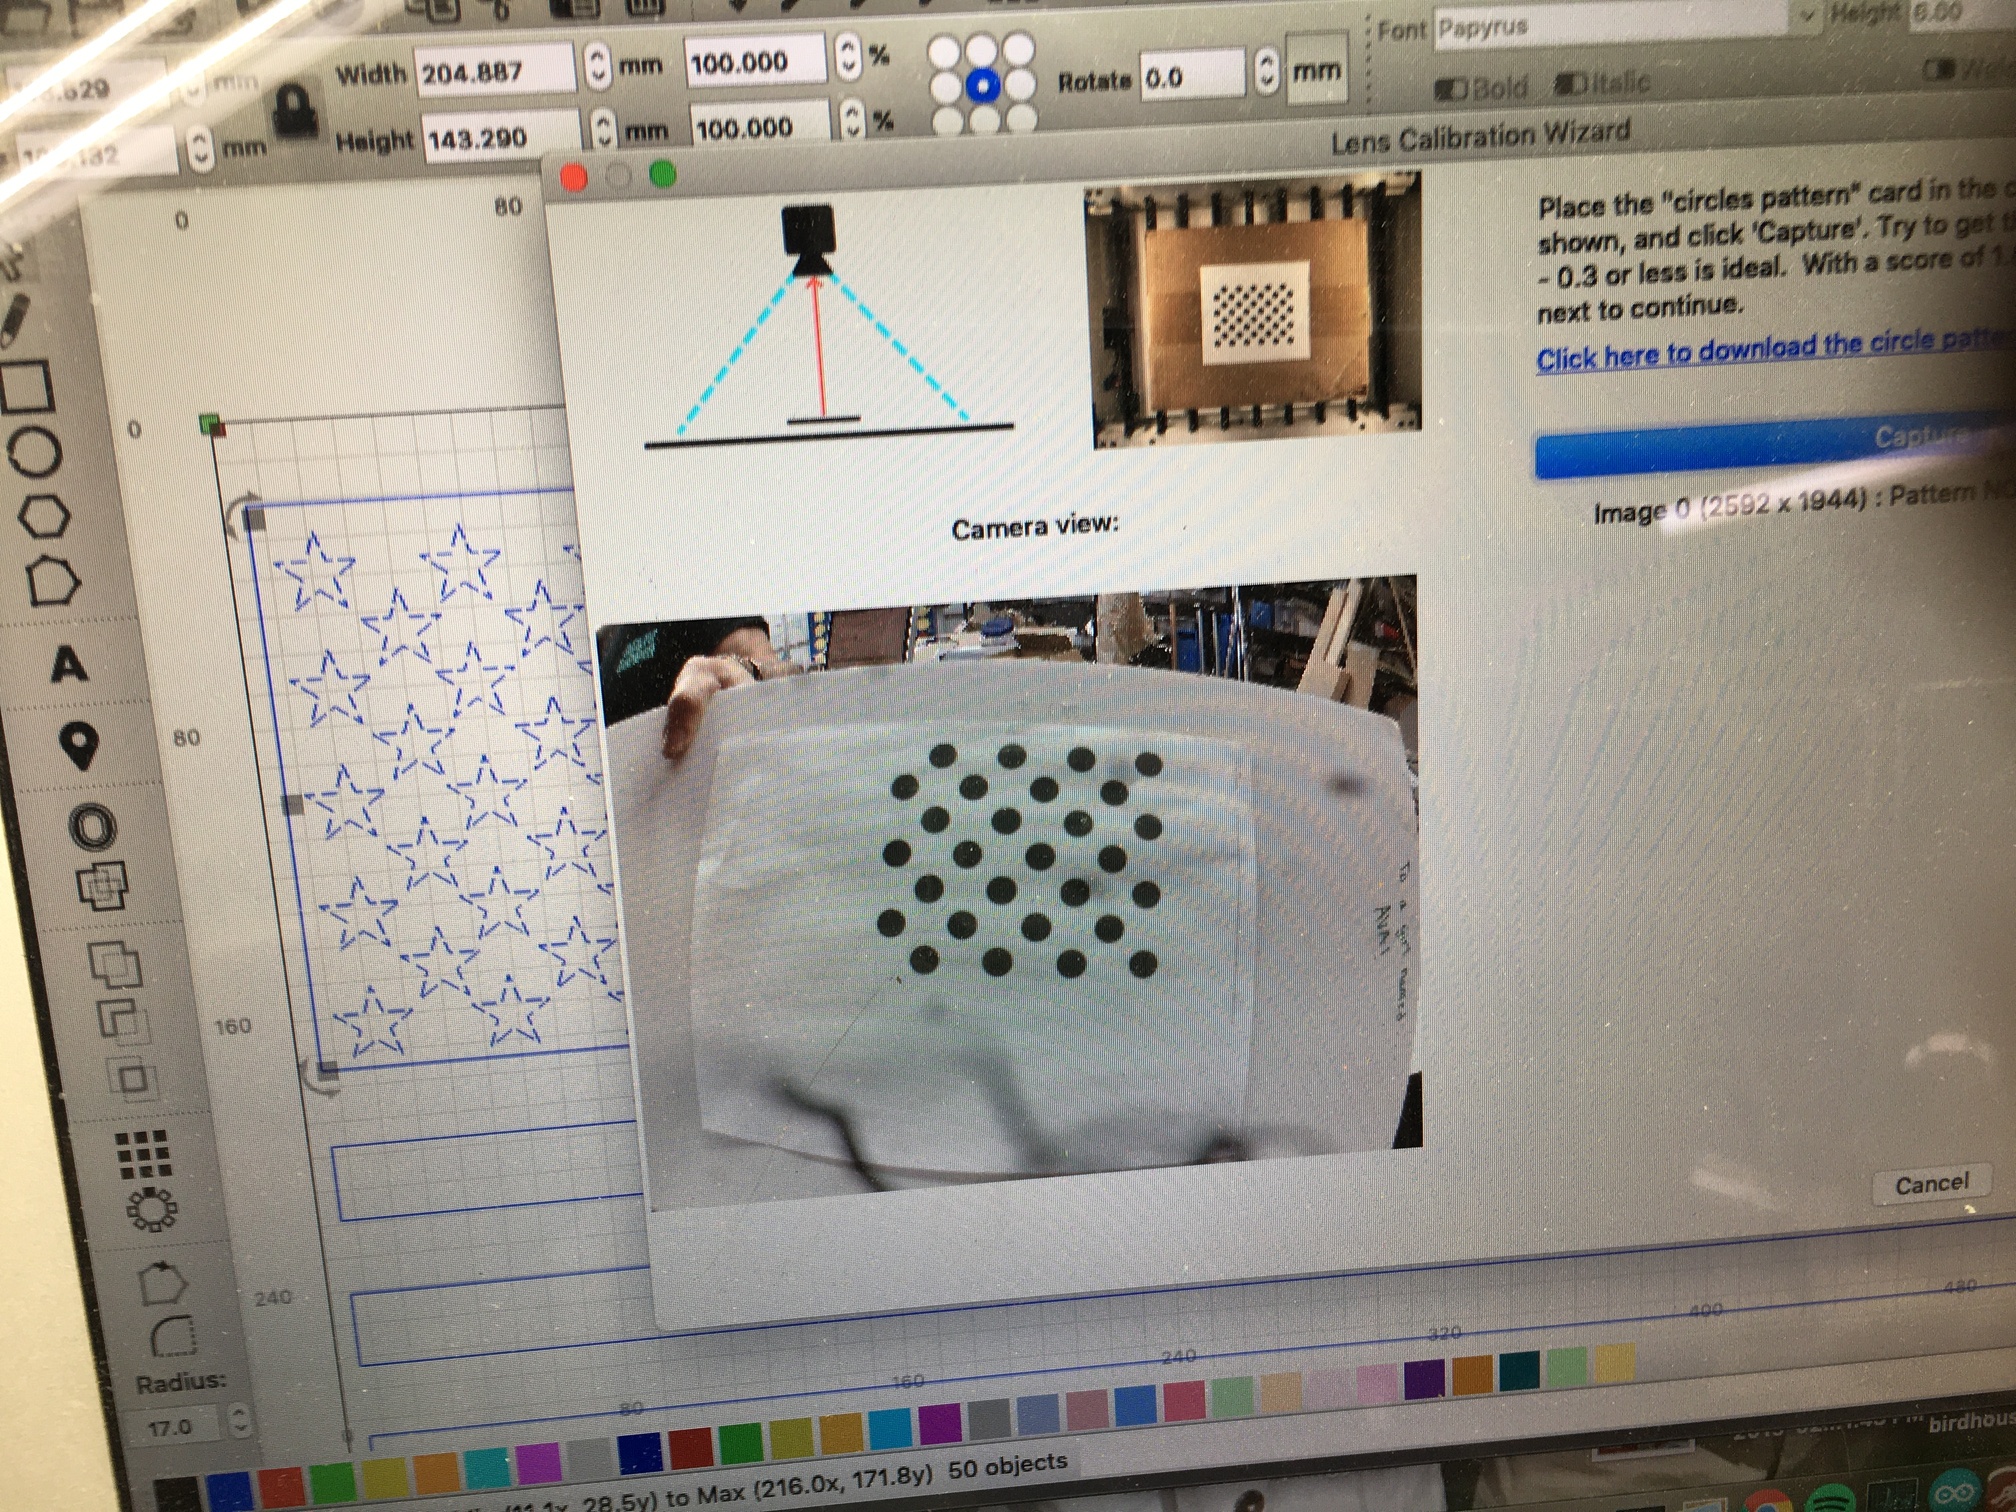
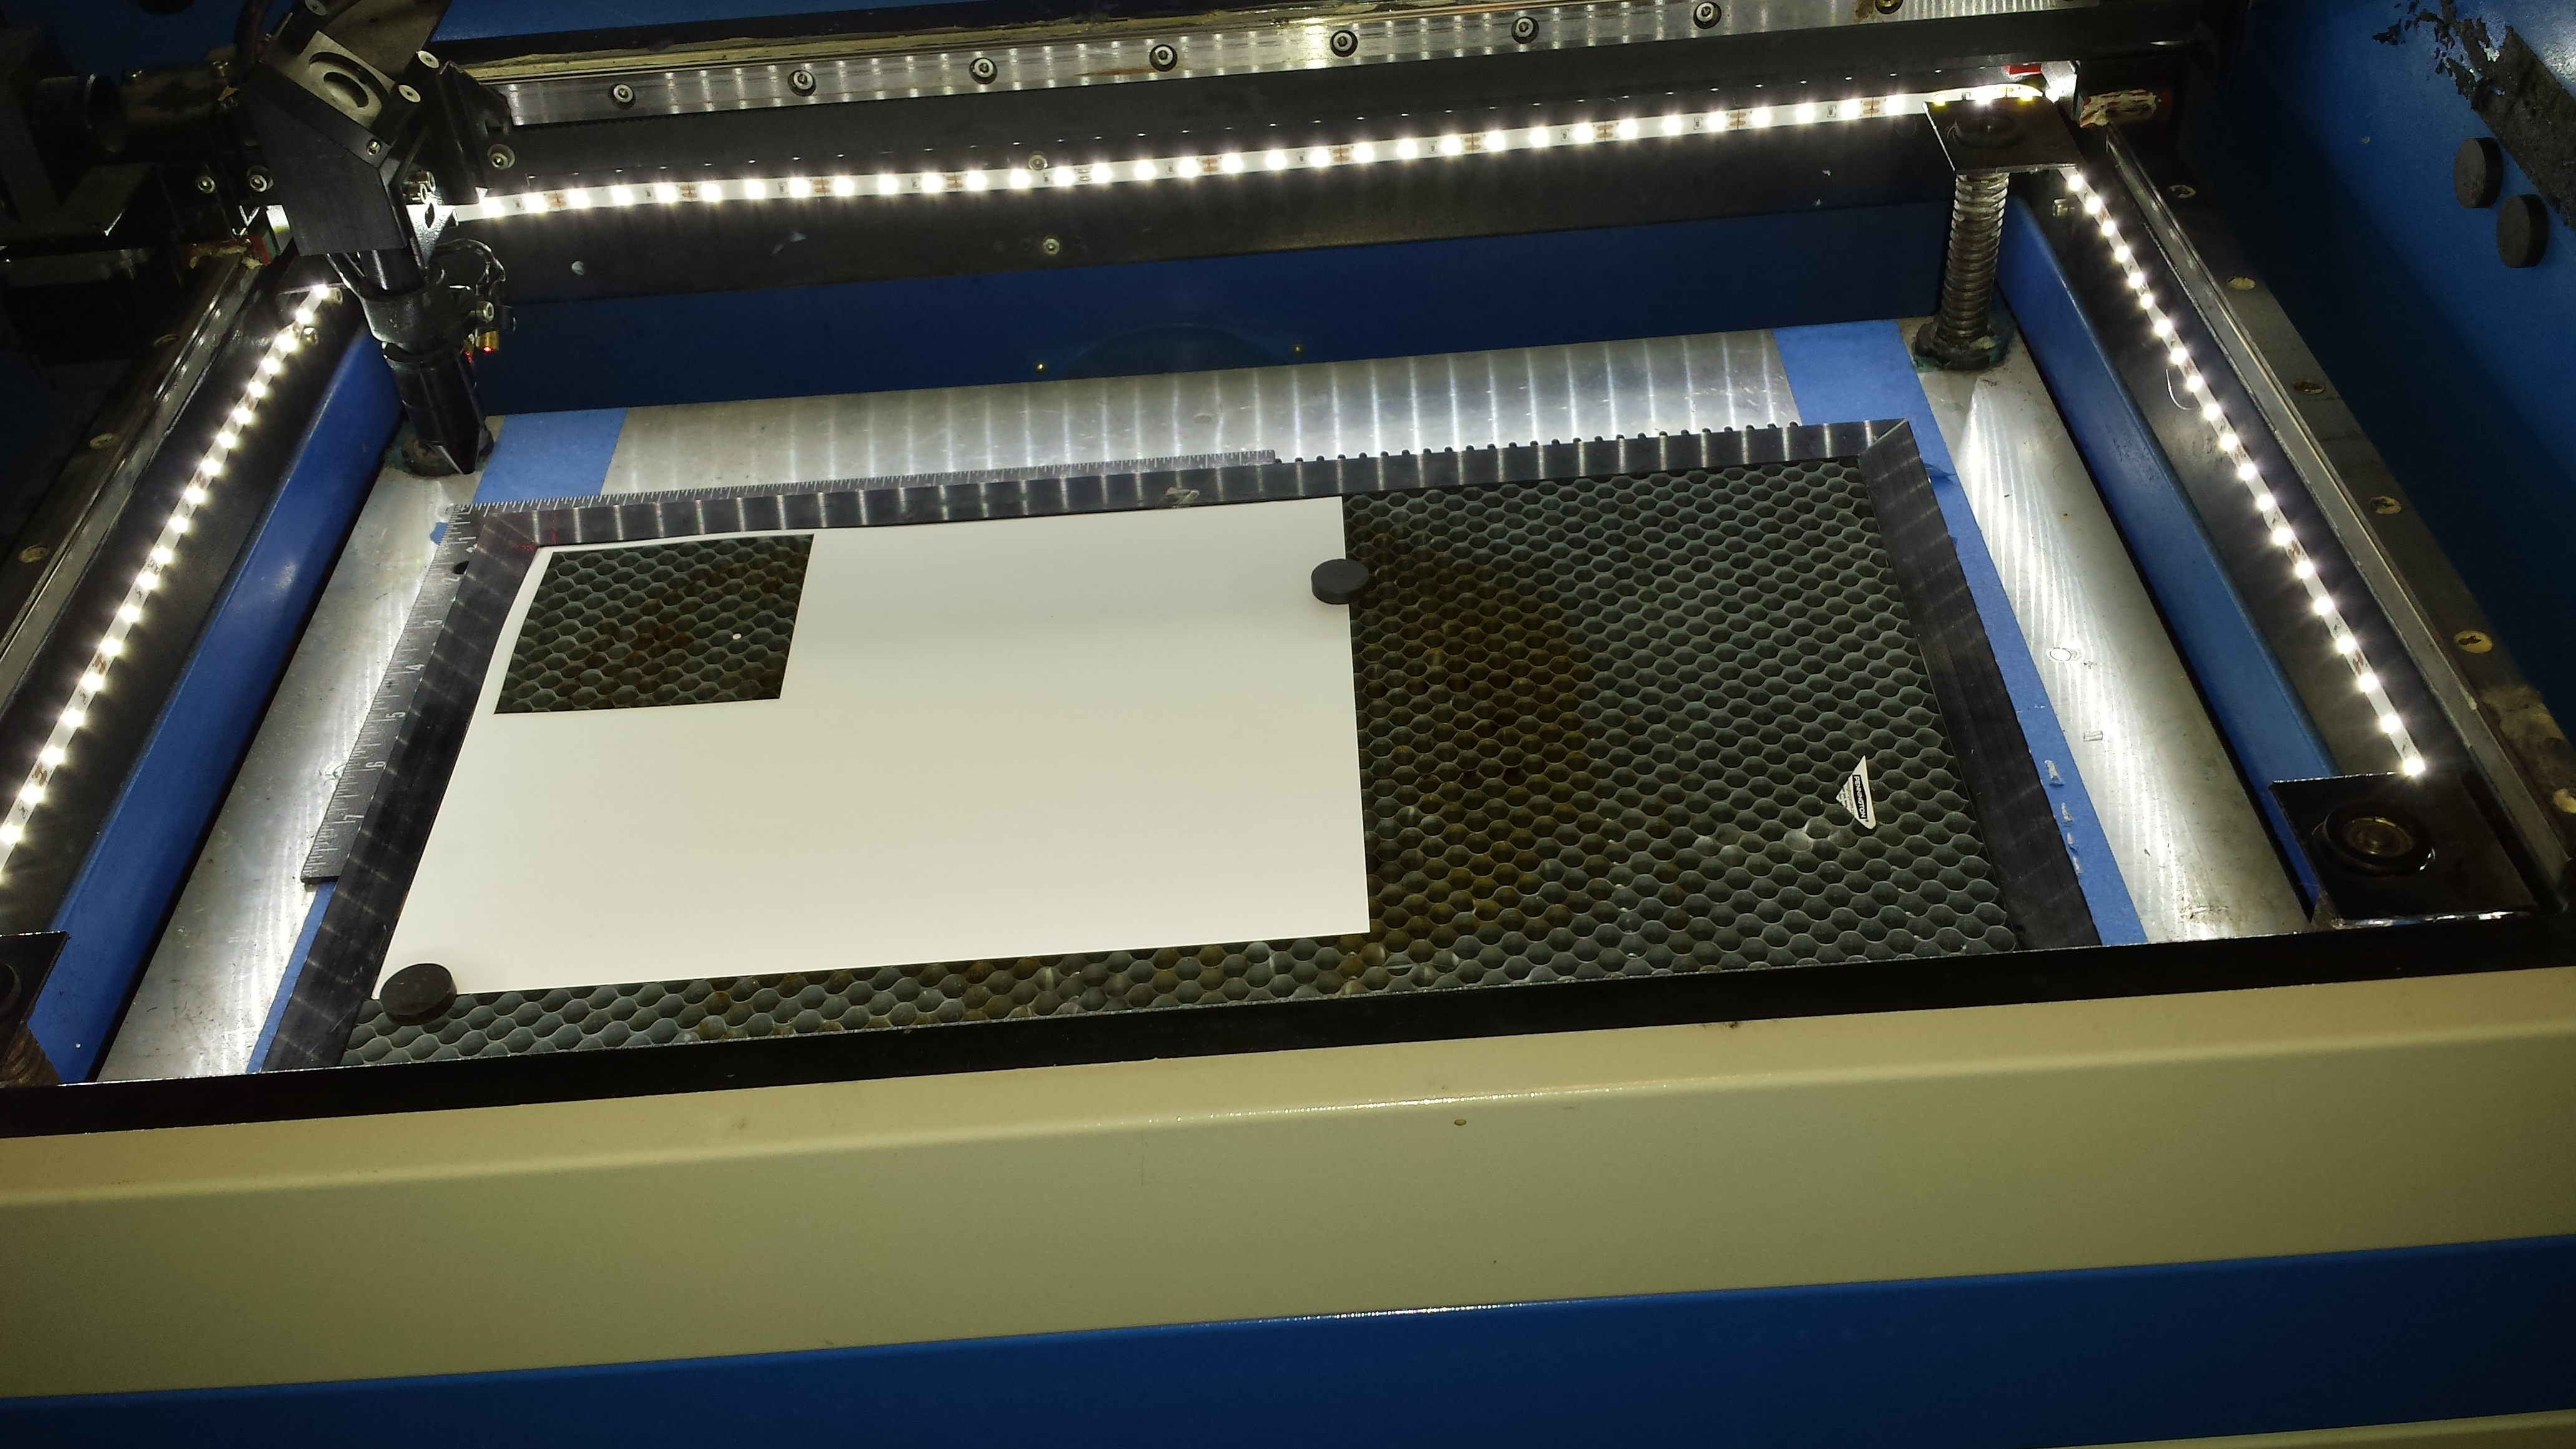
I’ve been trying to calibrate the 140 camera on a BOSS LS 1630 but can’t get through the process. I’ve removed the film from the lens, focused using the camera app in Windows, covered the honeycomb with cardboard and then also with sheets of paper, I’ve placed the pattern securely on a flat board, lighting seems good throughout the bed of the laser, I’ve raised the pattern on a box. I will get a couple of good readings of around .12 at the first 2 locations but then either nothing below a 5 or a no pattern found message. I’m frustrated and at a loss of what to try next. I also just upgraded to the most current version of lightburn.
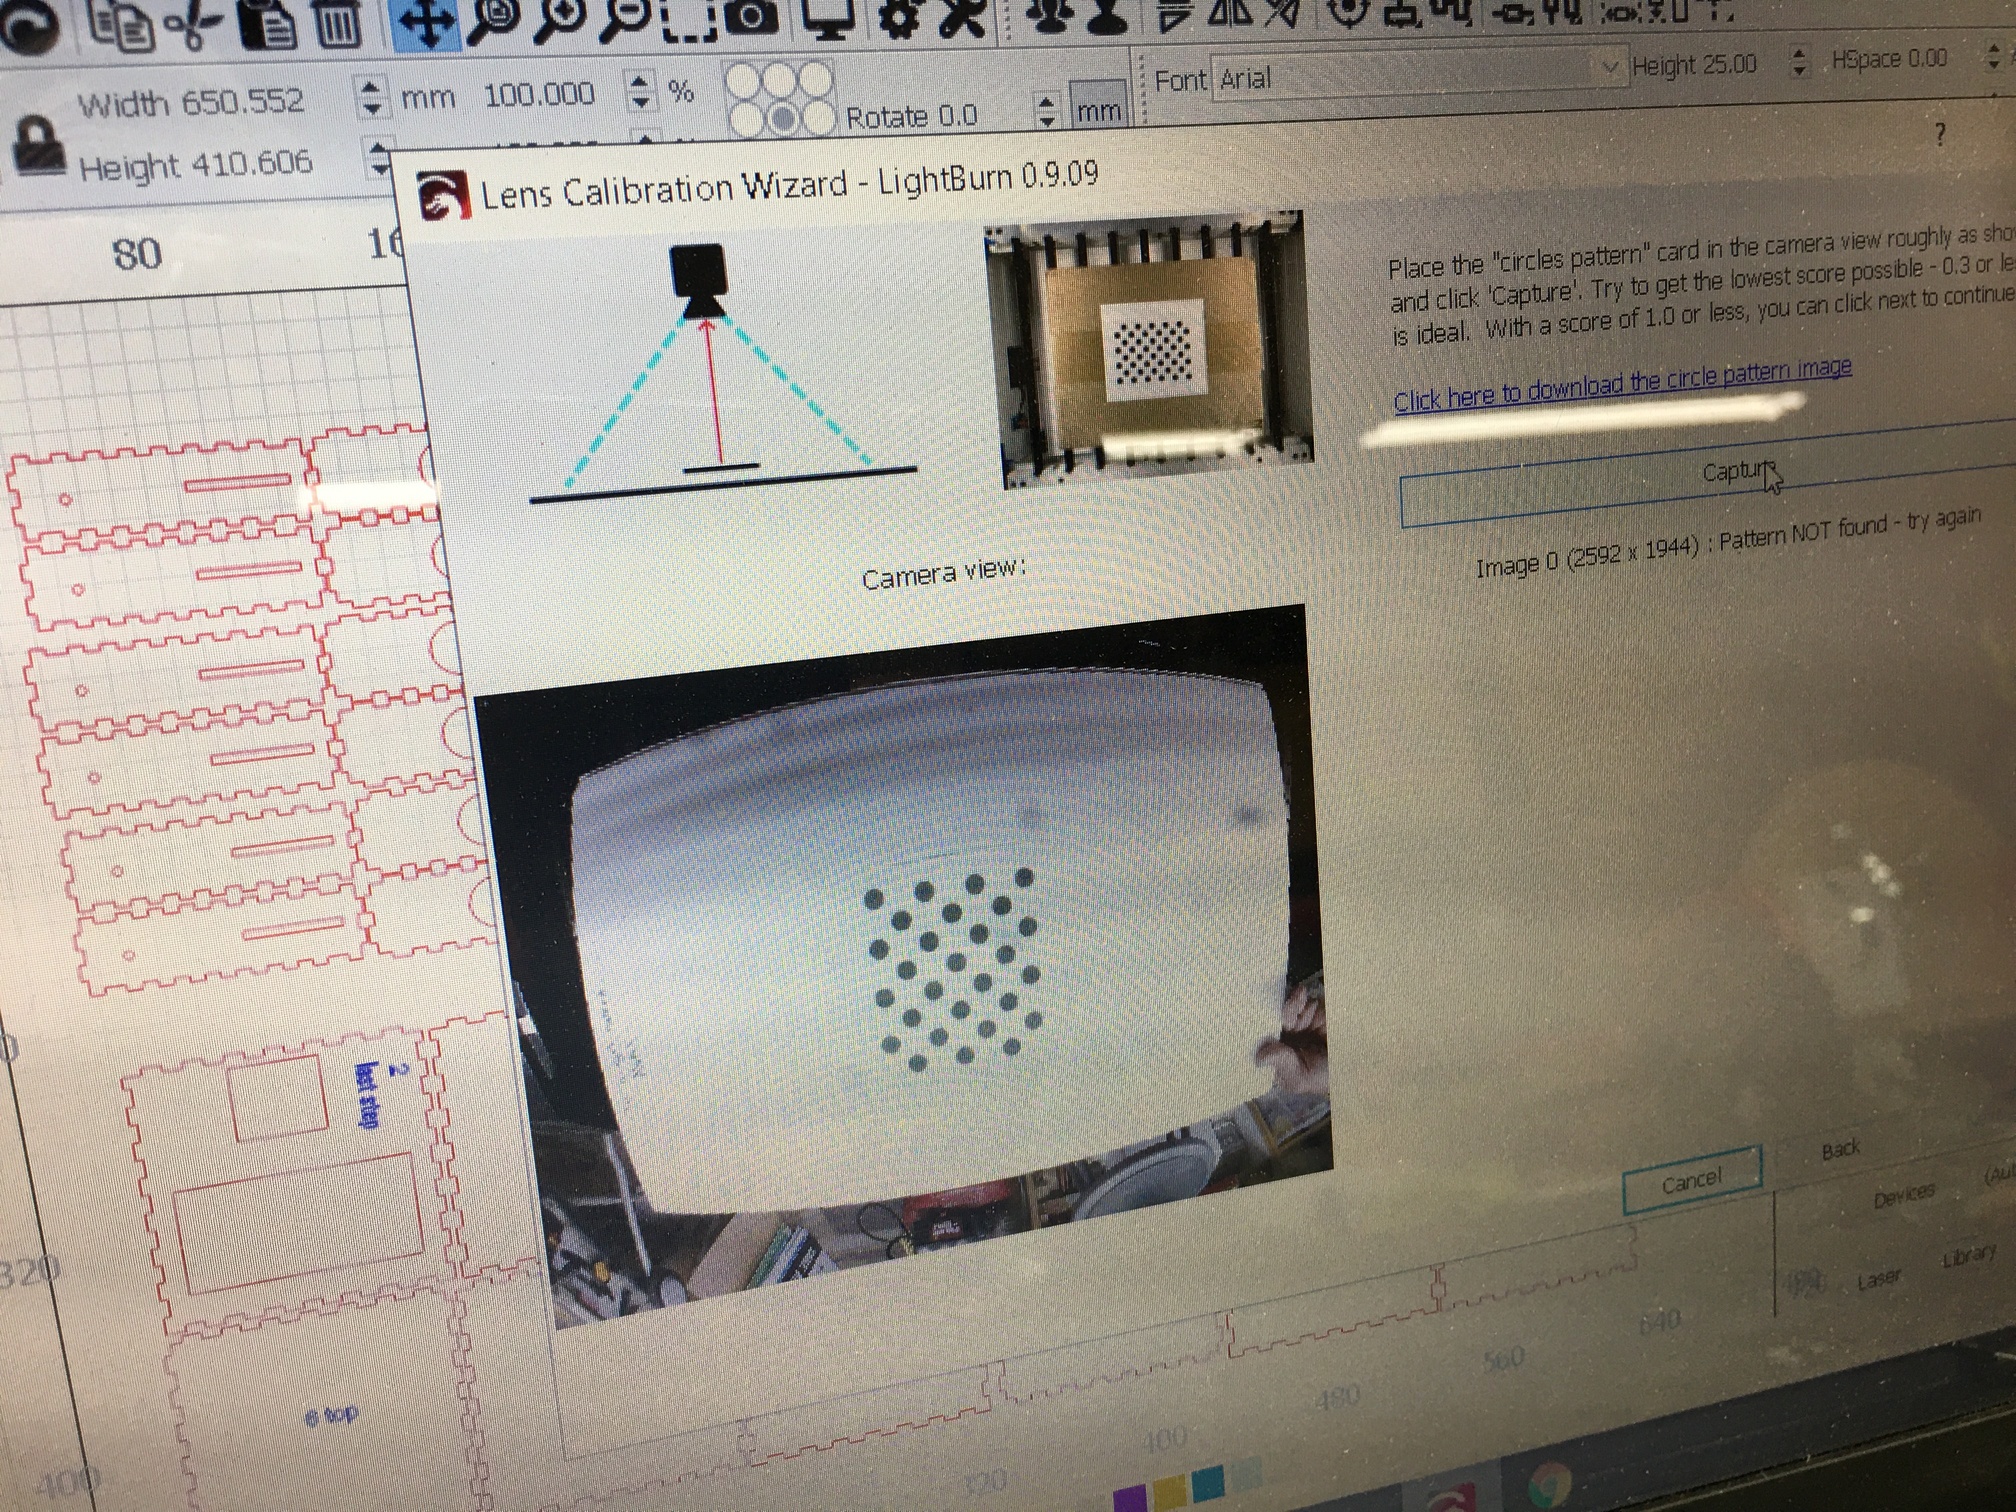
Can you show a picture of what you see in the calibration window? If we can see what you see it’s easier to help.
I have a brand new Lightburn 140 camera and have tried everything to get it to not just say “pattern not found.” I’ve tried moving the pattern two different computers, Mac and PC and still get the same error. Please help! Thanks, Brian
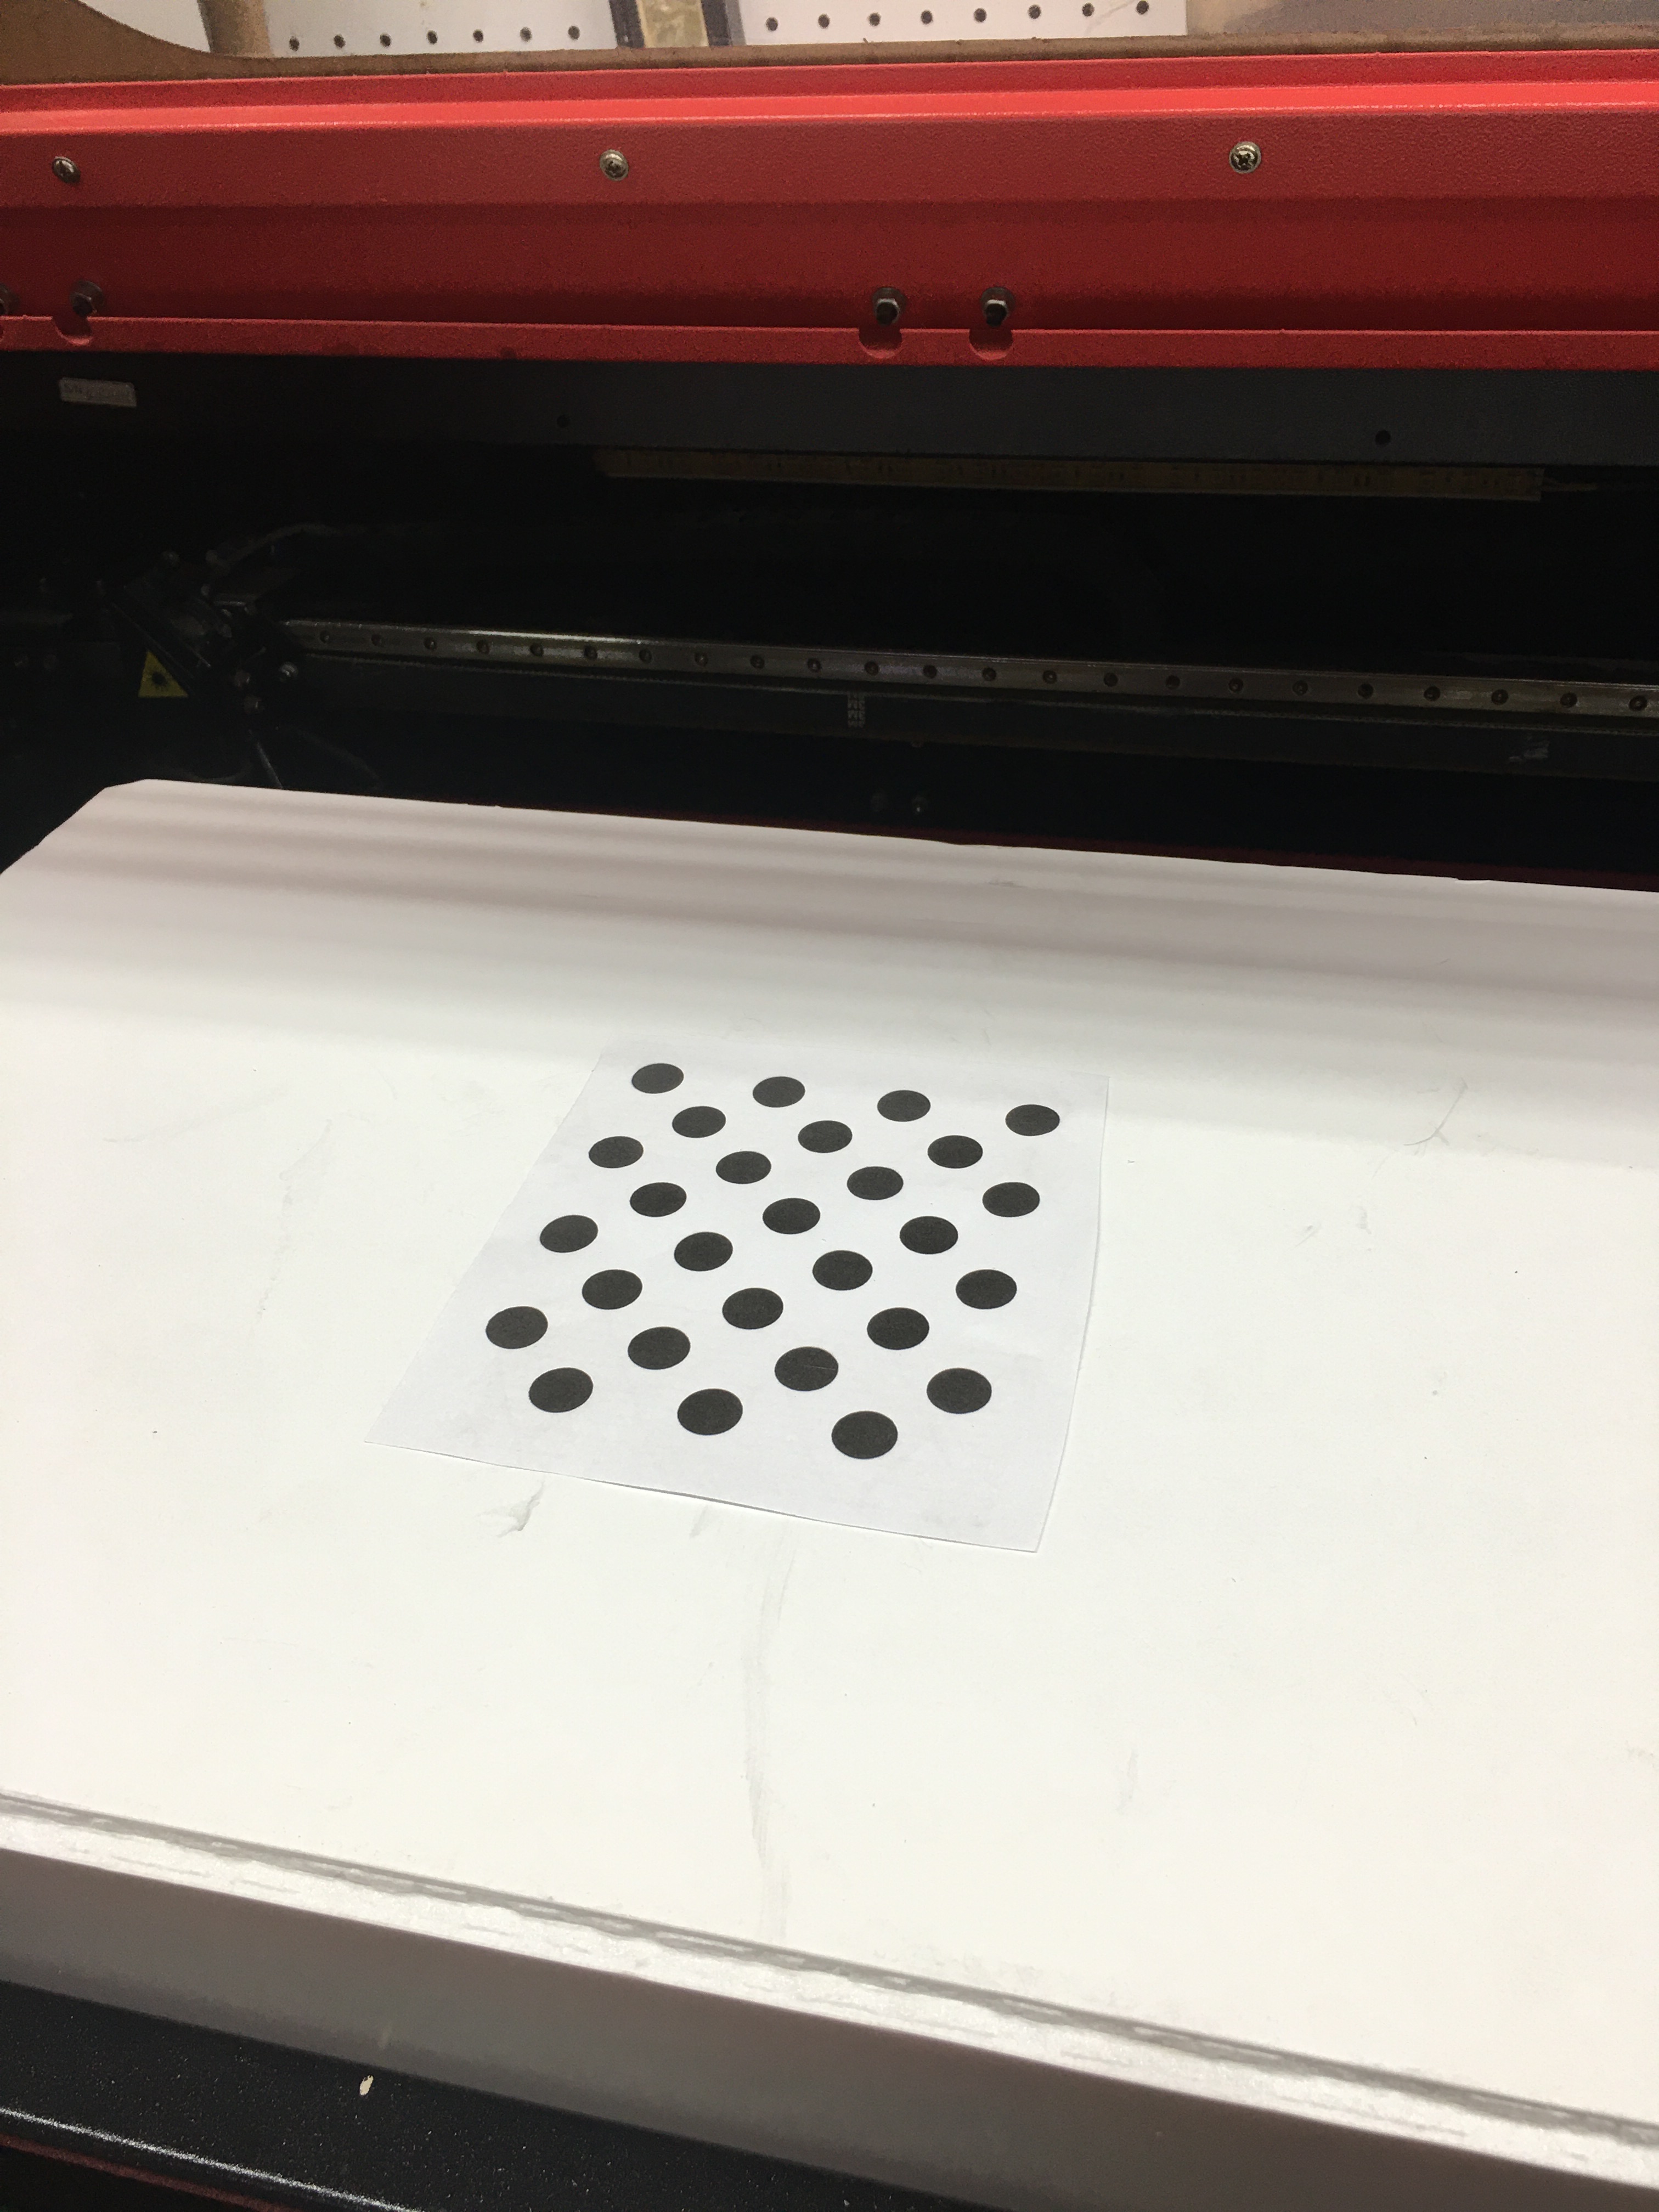
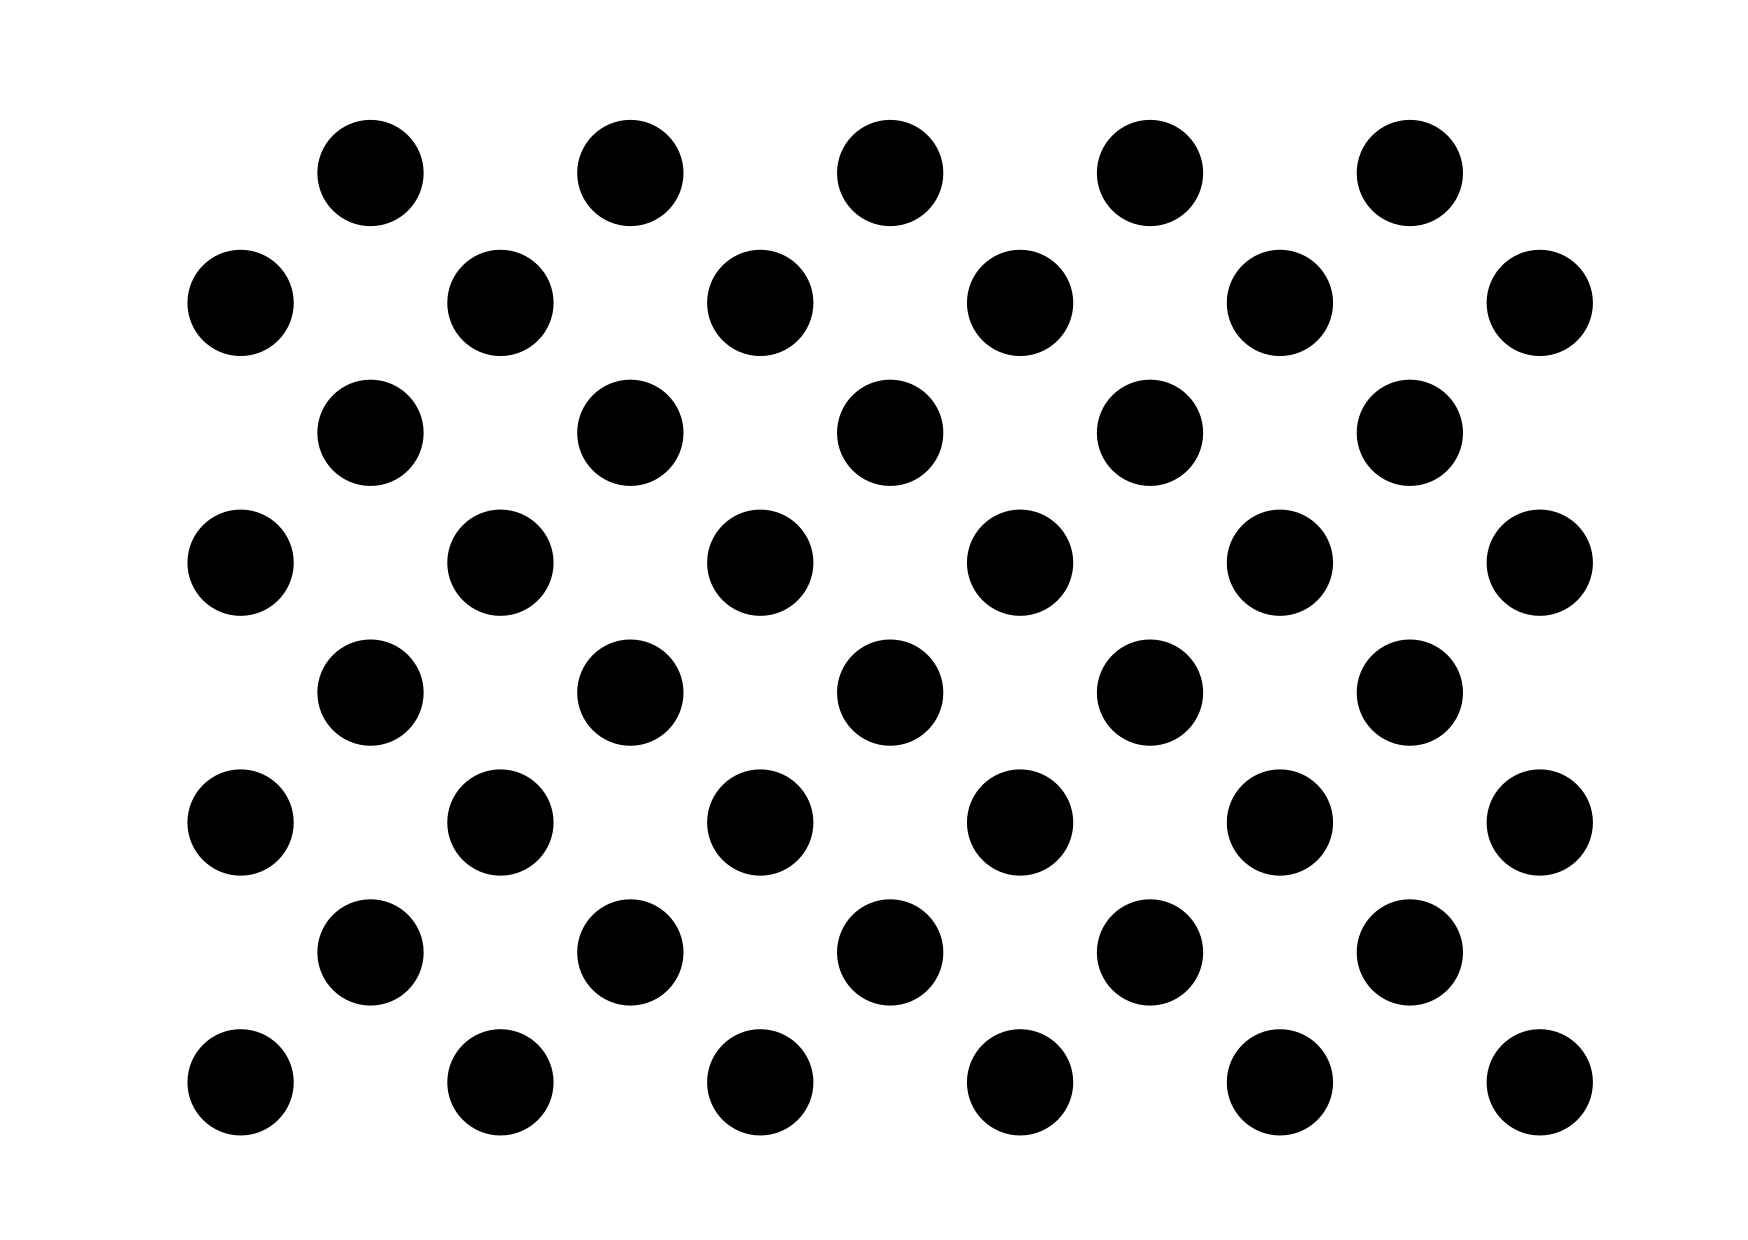
That pattern needs to be FLAT. You’ve got some waves and wrinkles in there. Print it out then use a spray adhesive to glue it to a piece of wood, acrylic, etc.
We tried the calibration again and the first capture always comes out good, this time .09. The second capture is the “nan” score, picture below. Third capture started out over 3,000 and never got better, picture below.
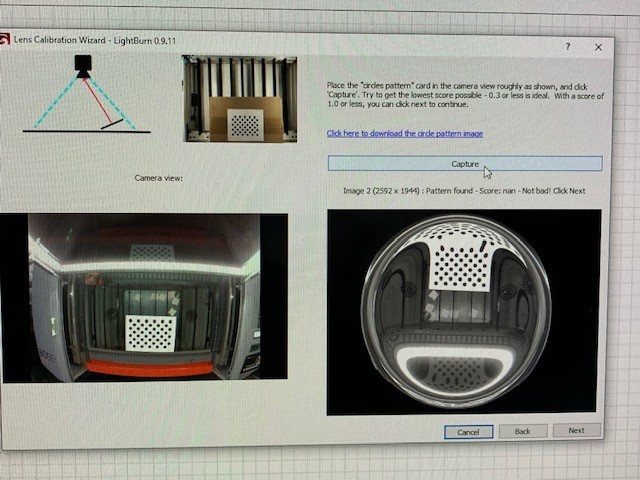
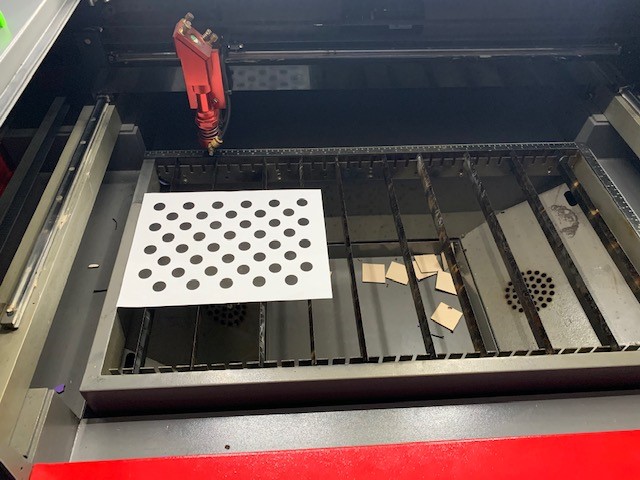
In your first picture above, you need to raise the calibration target off the bed so that it fills the lower center third of the image with the patter. Imagine the image divided into a tic tac toe board. The image should fill a complete square/rectangle on the board.
Just a thought, it also looks like you can move the camera down considerably. You’ve got a lot of camera image that’s not being used, showing area outside of the bed. As it is you’re probably only getting 1/4 of the pixels of the camera covering the actual bed area. The other is wasted.
We lowered the camera, refocused, tilted the pattern and now we get pattern not found.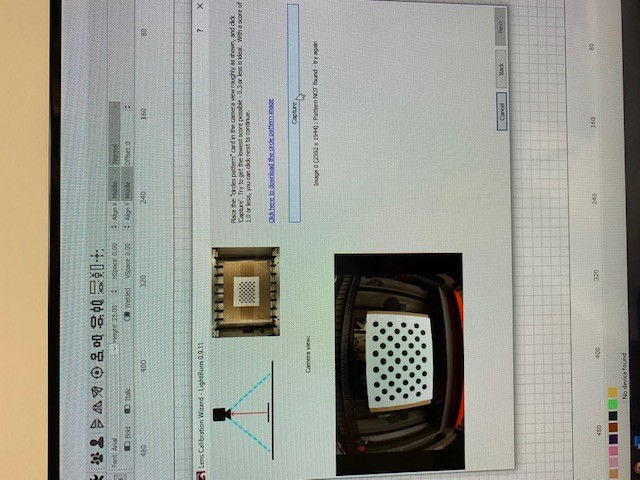
I’ll have to let Oz or someone with more experience than me jump in here. That looks pretty good and I’d expect it to see that.
That one is a bit too large, though you’re quite close. If you back up a little, and aim the card so it faces the camera, it should work. It is a bit of a pain though. I’m about to take one of each of the cameras we sell, calibrate them here, and save the results. We’ll post them so people can use these if they’re having trouble doing the calibration themselves.
You’ll always get a slightly better by calibrating yourself, because the cameras have small variations in them, but it should be really close.
Thank you, looking forward to getting it working!
We got it – thanks for your help!
1 Like
Thanks, though the image may appear to be not flat it is perfectly flat since it is taped down. The fisheye might be giving that appearance. Is the dot size critical? It’s about a 1/4 page mounted to white board. If so, what’s you dot size measurement Thanks, Brian
The dot size isn’t critical, but the flatness is. Taped down implies that you taped the edges, but the middle can still bulge or buckle. Glued to a flat surface, like MDF, acrylic, or foam-core poster board is what we recommend. Any warping in the pattern will be assumed to be from your lens.
After sealing the dots to white board I have still gone through countless attempts to get it to recognize the pattern without any success. Let me know what other possibilities may exist before I just need to return it. Thanks, Brian
Your card is wrong - it looks like you printed the page that the card was displayed on, which clips it, instead of downloading the image and printing.
Print from this link: https://raw.githubusercontent.com/LightBurnSoftware/Documentation/master/img/Camera/Calibration-Circles.png
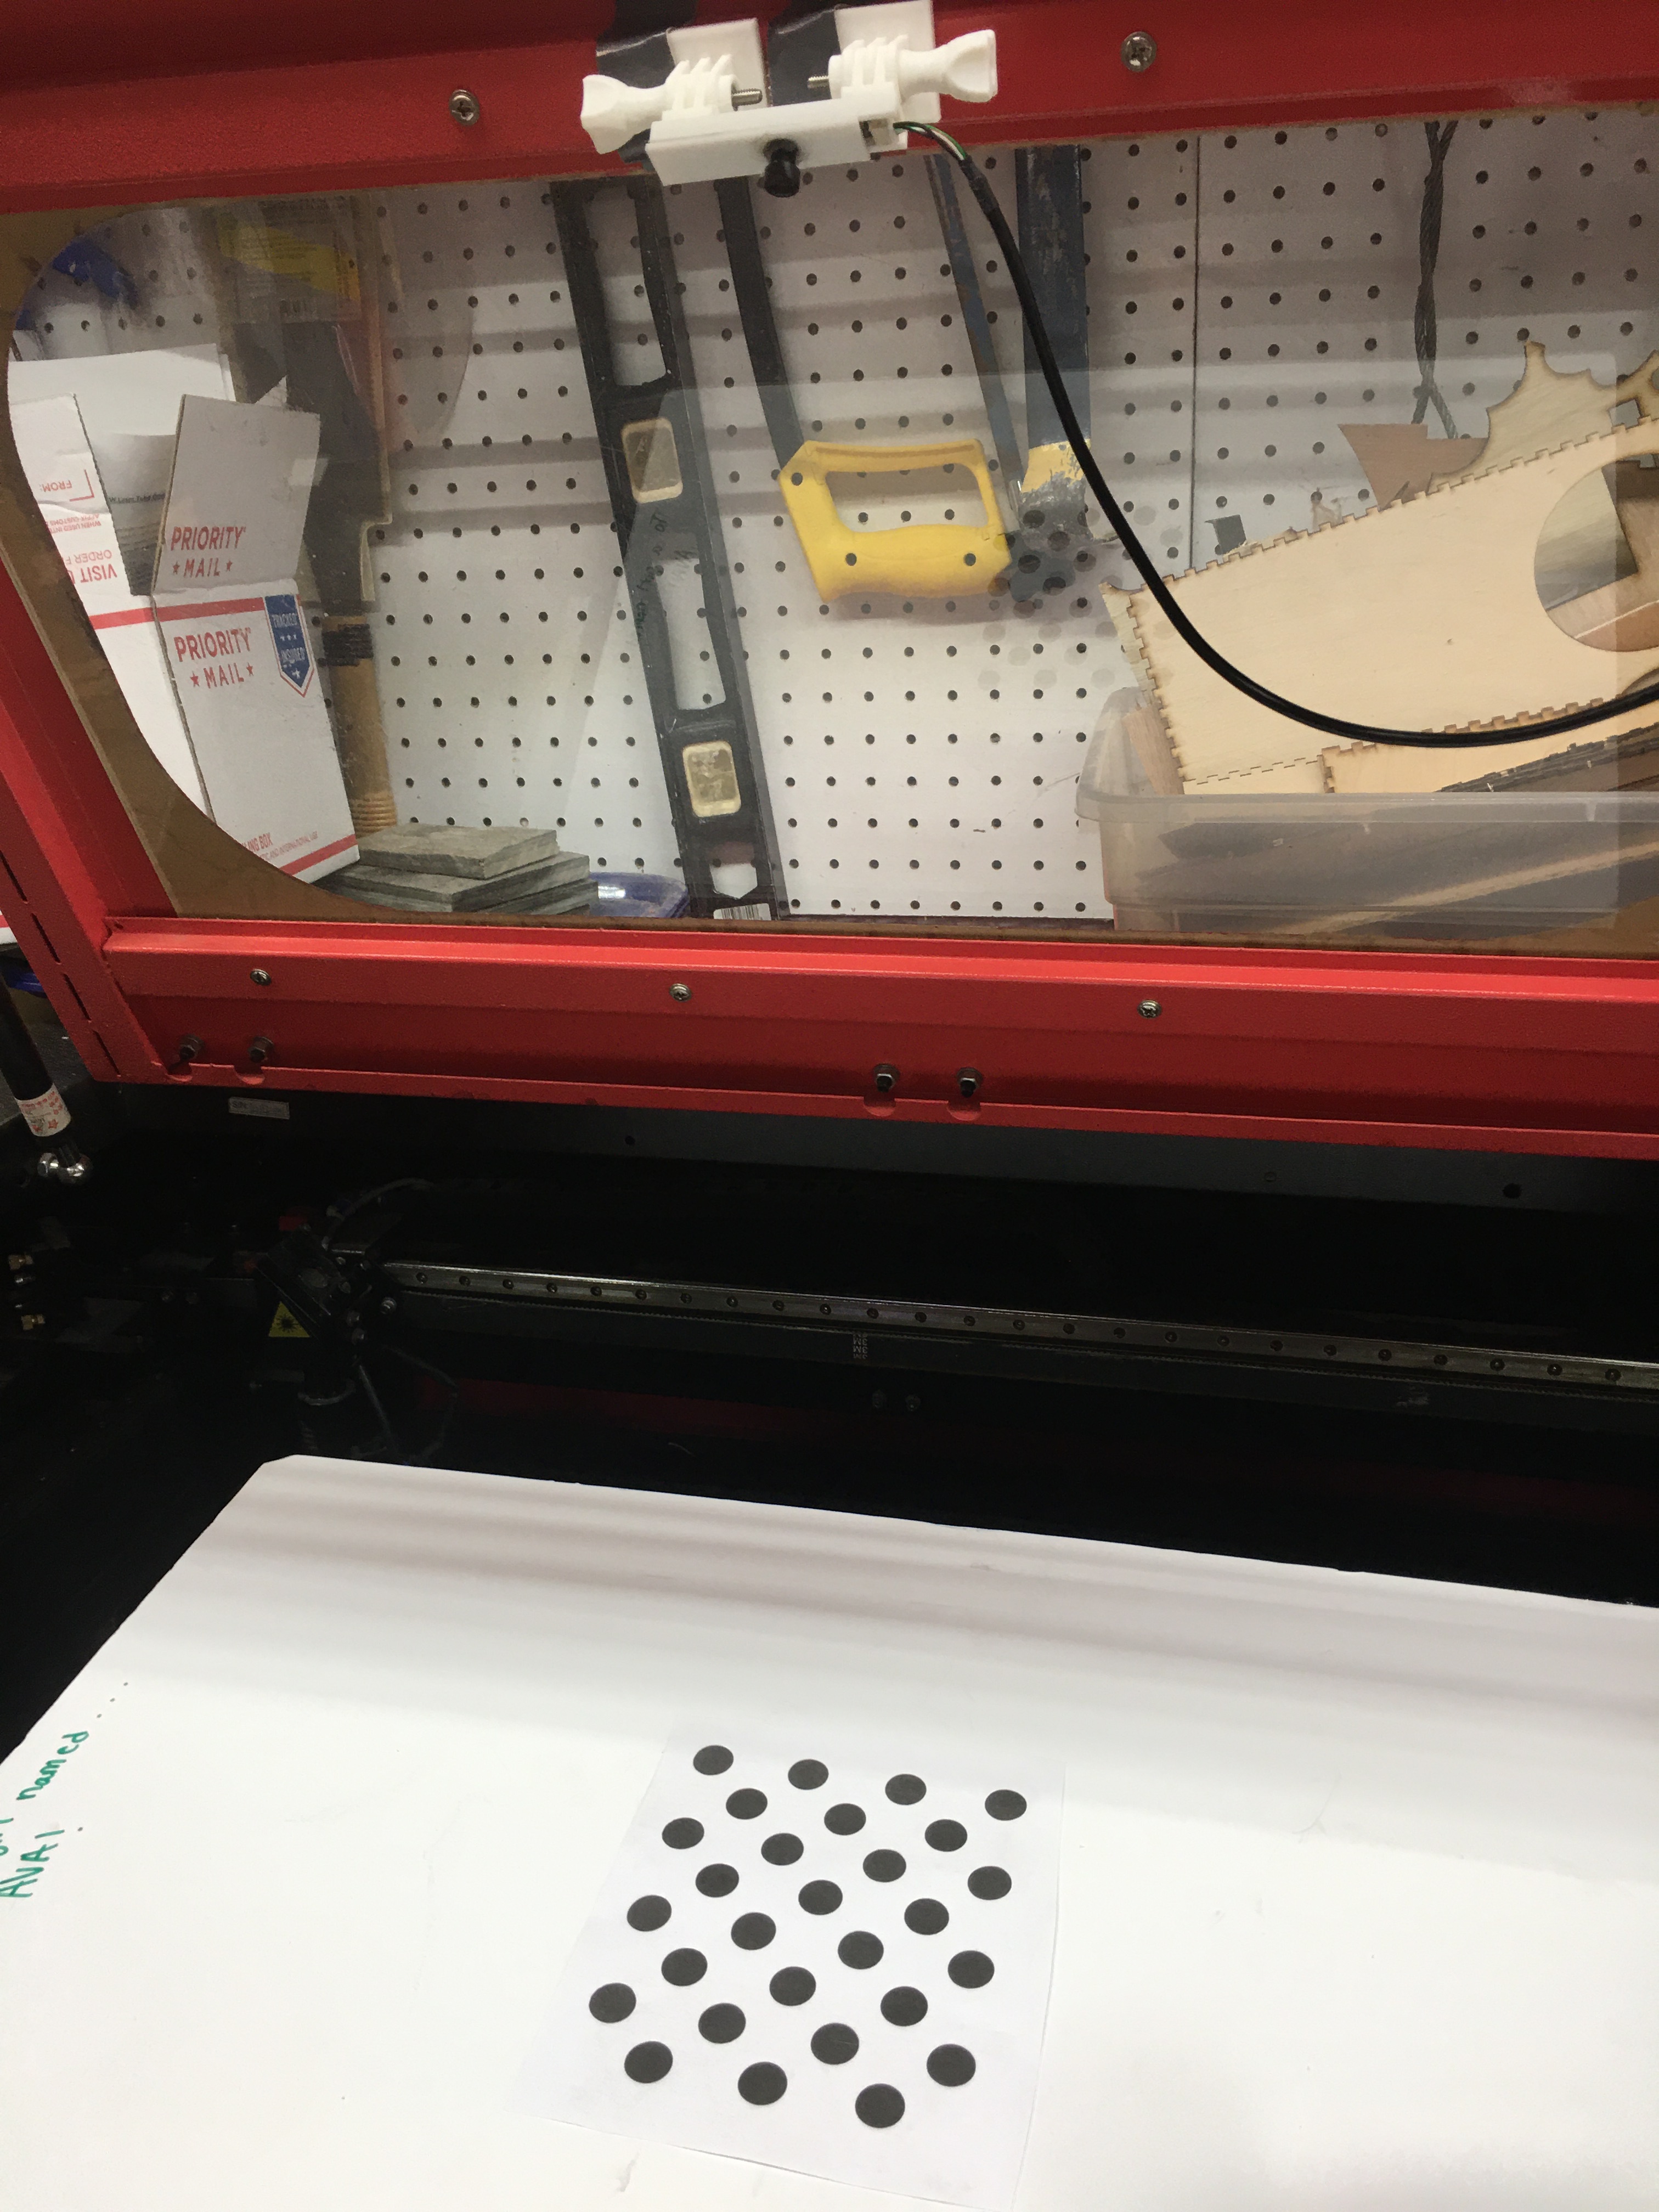
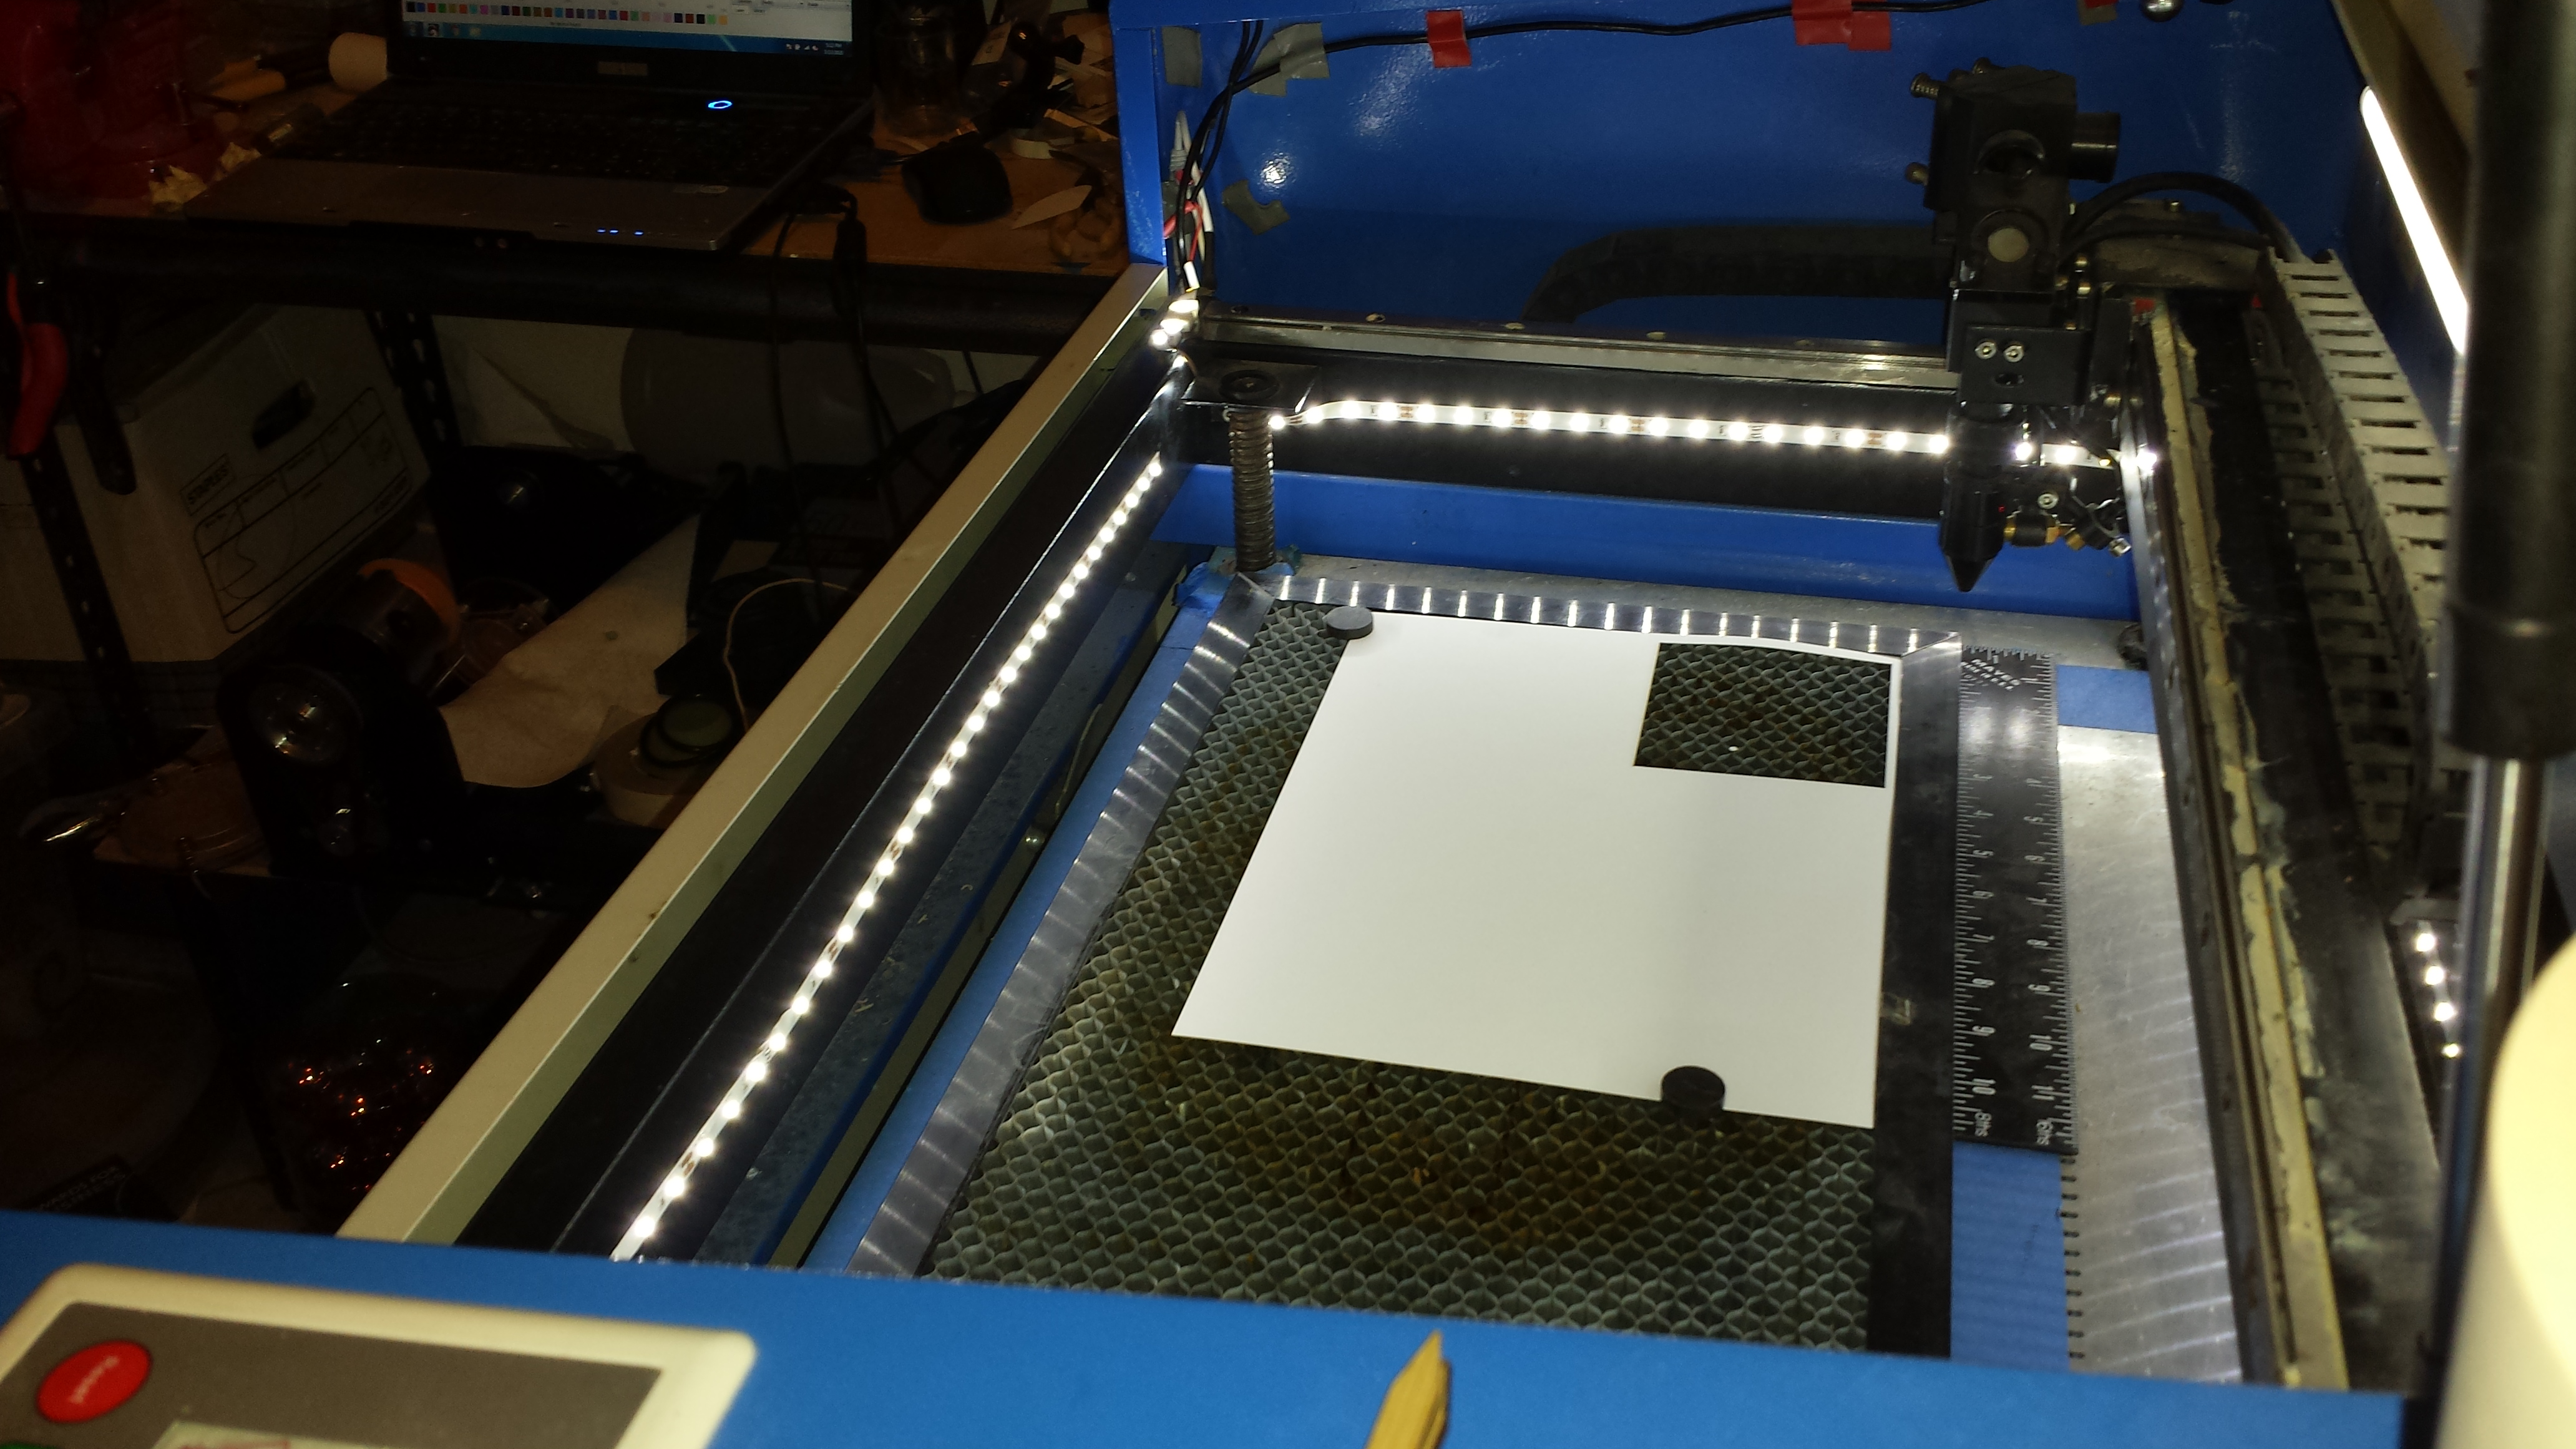
I have also had better luck when the lighting is brighter.Perhaps it helps the contrast?
Fred
100% agree, after installing this strips light setup around the inside off my bed, I have no shadows or problem with my Camera at all. Took about 15 minutes to install.
https://www.amazon.com/dp/B07PLZ385X/ref=cm_sw_em_r_mt_dp_U_9QTuEb0MRMN63
1 Like
So we did finally get the camera configured and it was working great for a couple weeks. Now the camera icon has turned gray like it’s not configured. The camera is connected and working I know for sure. Thoughts?
Have you chosen the camera in the camera control window?