I think I have read that some people blow through one end, pushing the fluid out the other. Does this work?
Doesn’t for me… I have to tilt the tube.
Tubes are usually marked which way they go into the machine. If not, you want the outlet to point up so any bubbles easily flow up and out of the machine.
![]()
1 Like
Sorry to intrude,… First of all, I would like to say that I don’t have a CO2 machine. But I work with chillers every day, and consequently, with fluid circuits that need to be drained and bled again.
-
To drain: The air assist tube connected to one end of the circuit that goes to the tube to be blown and the fluid coming out the other end I think would be a good way to drain all the fluid from the tube.
-
To bleed: If the fluid outlet is not at the top of the tube, I believe it is necessary, after filling the chiller tank, to tilt the tube so that the air comes out completely as soon as the chiller pump is turned on.
1 Like
Yeah I have heard of people doing this. I cannot speak to whether it is good to do this or if it works but I would think it might.
I make sure all air bubbles escape the tube before firing the laser. If the chiller is off for any length of time, air bubbles end up in the line and tube. I have learned (through trial and error) that if the bubbles get trapped/stuck in the tube when the chiller is turned ON, the easiest way to get them to move is to quickly pinch and release the water inlet tube a couple times.
From my experience with considerably larger chillers, this may be indicative that at least one of these things is happening:
- Too much concentration of antifreeze (glycol) in the circuit.
- Water return to the chiller in free fall in the reservoir (low level, free fall creates air bubbles)
- Air intake through pump suction. (it normally drips liquid when it is stopped)
- Water passage too free or too restricted. It is necessary to create a “middle ground”. If it is too free, the liquid in the circuit when passing through edge areas can create small bubbles due to the high speed. Too restricted, the pump turbine speed is too high for the liquid speed. In this case, the edges of the turbine create small air bubbles due to the speed of the turbine being high compared to the speed of the liquid.
Under normal conditions there should be no bubbles forming.
1 Like
Yeah I need to look into this.
I am thinking this is the problem. The water level is in the top (yellow) section. But not all the way to the top of it. I notice that when the chiller is off in the morning there is air in the silicone return tube where it enters the chiller. I assume that is because the water level is not reaching the level of the return line. I will top it off today and see if that helps.
UPDATE: So I filled the water just to the top of the gauge and ran the chiller. I noticed that I could hear the water inside the chiller. It sounded like water in a rocky stream. So I added a little more water, just until the sound went away. Now it runs silent. I have yet to see if the air bubbles in the line/tube are less, but I have a feeling it will be better than before.
Thanks
I have implemented some of my winterization plans. My plan is to apply multi-tier protection. Here is what I have done so far.
-
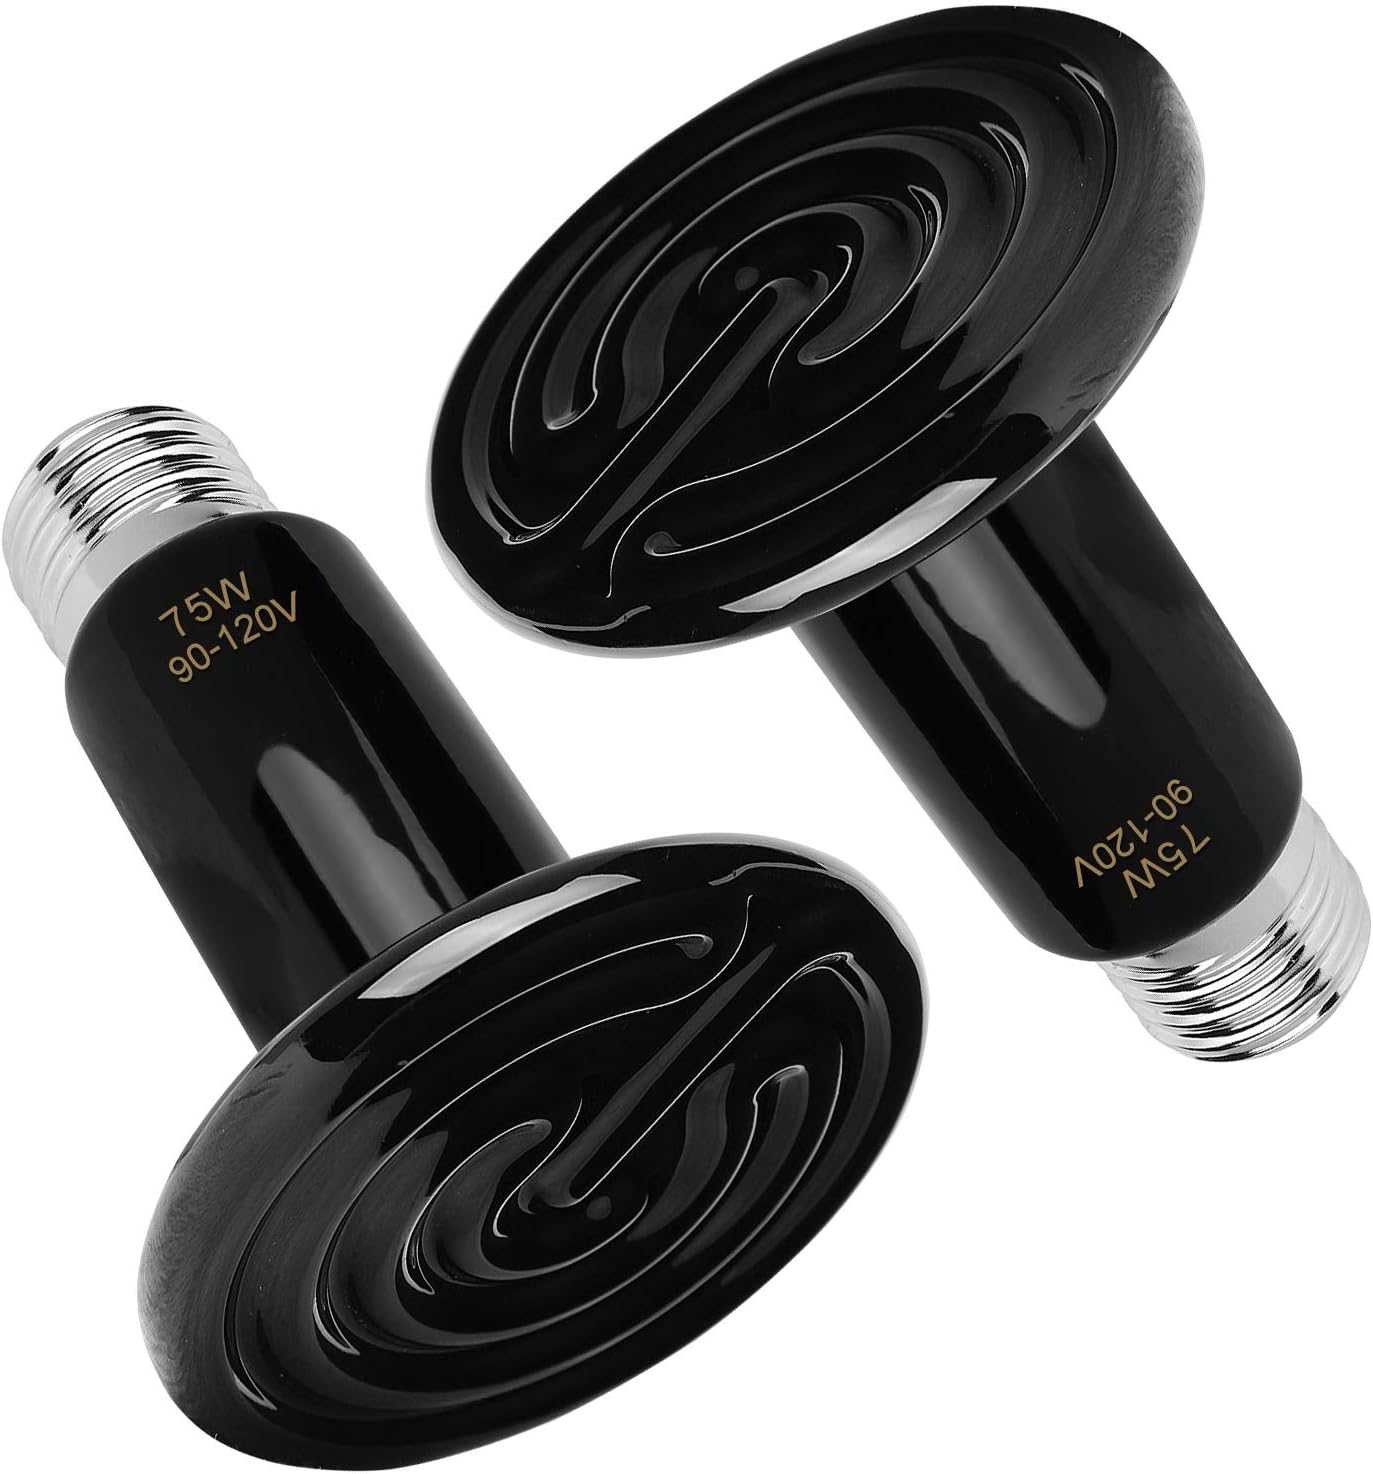
I started by adding two ceramic 50W reptile heat lamps that sit at an angle just under the laser tube compartment on each end pointing to the sides. This warms the bottom of the compartment and directs most of the heat through the openings that connect to the tube compartment. This not only keeps the tube compartment warm but also the rest of the internal compartments as well.
-
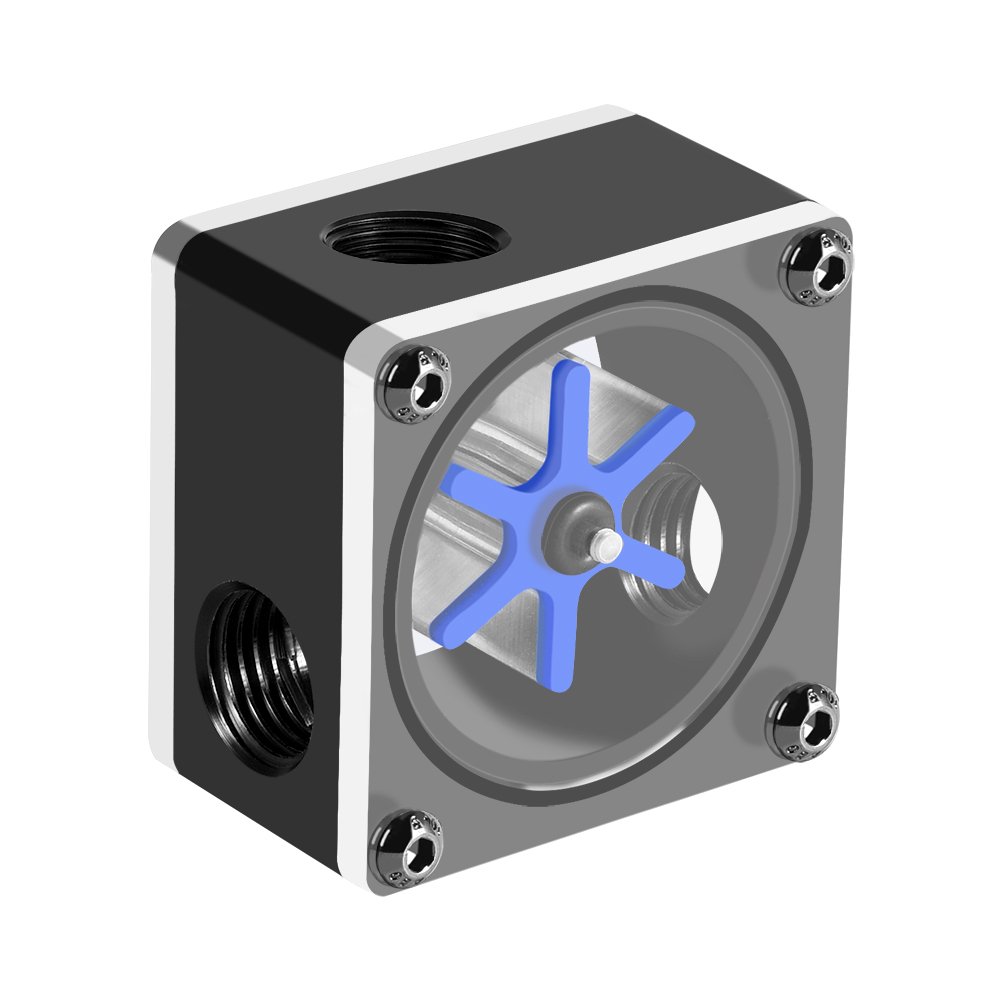
I added a small water pump in the inlet line to the laser. It is a tiny little 5v pump that draws very little amps but provides a decent flow for its size. I have the pump and the heat lamps connected to the same circuit. I turn the circuit on when I am done for the day and turn it off before I turn on the laser/chiller.
I also added a flow meter just after the pump so I can be sure that the water is flowing.
-
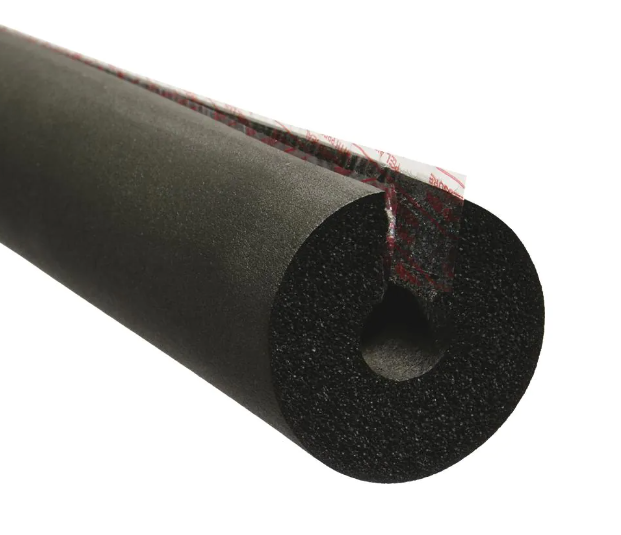
I insulated all the silicone tubing that runs from the chiller to the laser with foam insulation adhesive tape (1/8’’ x 2’'). This wraps around the tubing perfectly and allows the very edges to stick to each other making a tight seal.
I then wrapped the tubes with 1/2" Rubber Self-Seal Pipe Wrap Insulation from Home Depot. This fits perfectly over the tubing with the 1/8" insulation tape.
-
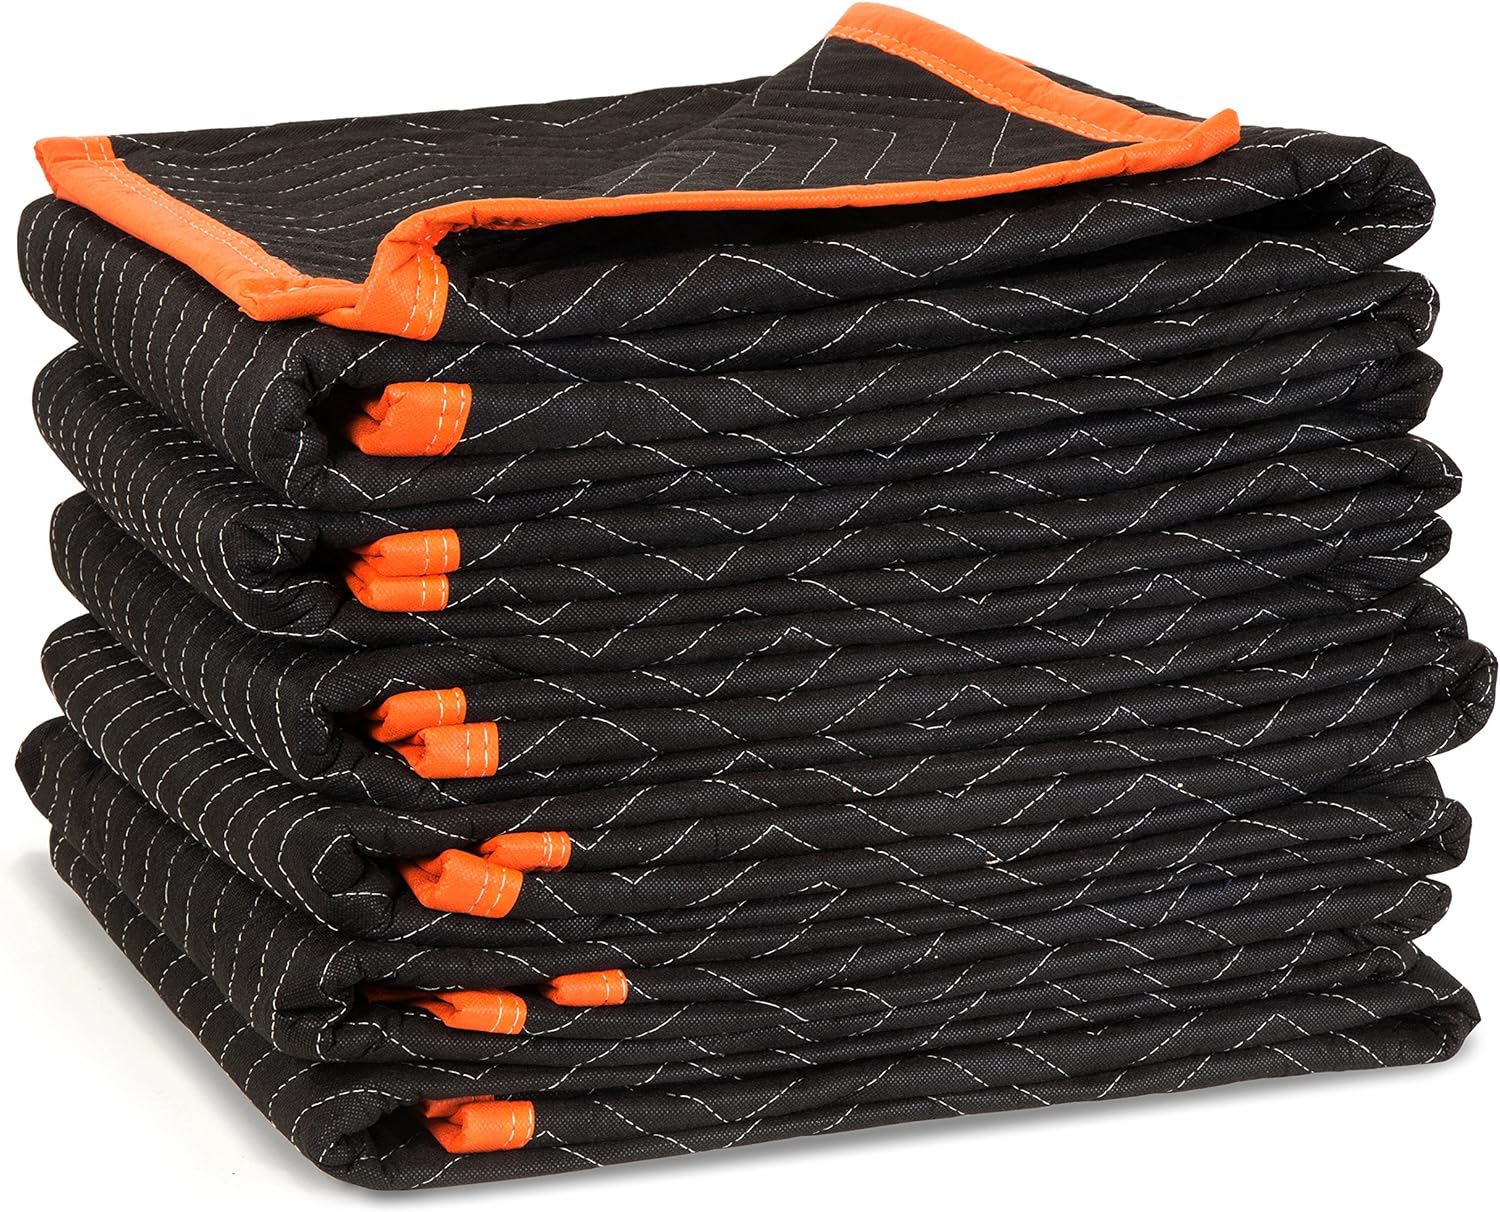
I cover the laser each night with padded moving blankets to help keep the heat inside the laser. I am planning to make a cover out of these blankets that will slip over the laser but for now I just lay them over it.
-
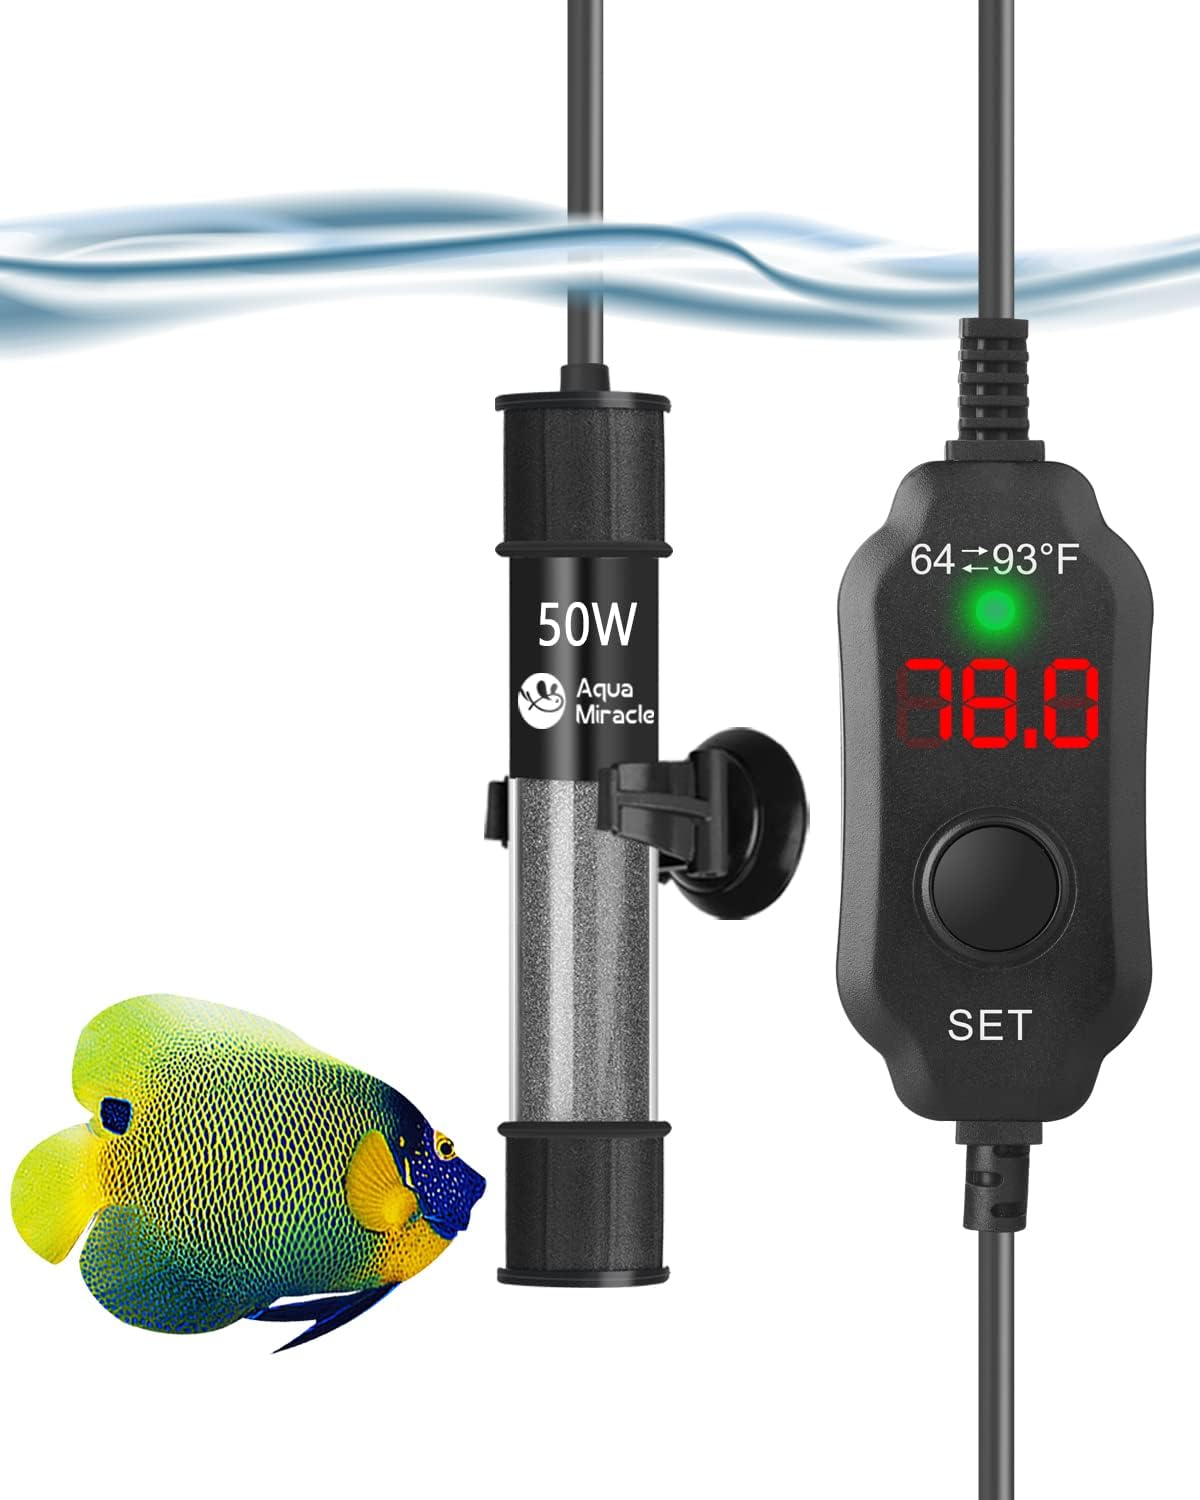
I purchased a small fish tank heater that will fit down inside the chiller tank. I have not installed it yet. I am planning to 3D print a cap that allows the cord to come out the center of the cap.


I feel pretty comfortable with this so far. This morning when I woke up it was 26 degrees outside. The shop was 39 degrees and the laser compartment was 64 degrees. When I turn on my chiller the water temp is at about 13.7C (56F) which is about perfect.
I still have to implement a plan in case of power outage. I have a couple ideas. The nice thing is that all these put together draw very little amperage so it would not take much to run all of them or even some. My biggest concern is getting through the night. For now I have my generator setup and ready to run if needed. I am awakened whenever the power goes out by my UPS’s in my house. I will just have to go out and start my generator if it goes out in the middle of the night.
I am also working on plans to insulate my shop better but that will come at a later date.
It looks like you have most, if not all, the bases covered. We are just starting to get our cooler weather down here in Florida (and we love it!) Do you have a link to the flow meter? Mines starting to chatter, and I need to replace it.
1 Like
Here is the one I bought. It seems to be decent quality.
Amazon.com: Fosa Flow Meter Indicator, G1/4 Threaded 6 Impeller 3 Ways for PC Computer Water Cooling System : Electronics
Most likely your old one has removable fittings/connectors but if not you will need to purchase those separately. Here are the ones I purchased.
Amazon.com: RDEXP Black Copper Fittings G1/4 Thread Soft Tube Barb Connector for Computer Water Cooling Part Set of 6 : Electronics
1 Like
Sorry, i don’t read all (I’m in a hurry right now) but pay attention what ever you do to not run the chiller with vents blocked. ![]()
1 Like
Nothing blocking the vents.
Hey I have a quick question about my 5200 chiller. Is there an overflow for the tank? I ask because I heard the water flowing again while it was running today so I topped it off. I noticed as I would fill the filler tube the water would flow down to a specific point. So I topped it off again and it would drop down to that same point. I did this a few times and it would always drop to a few inches below the top of the tube. I then noticed water pooling out from the bottom of the chiller.
I have not taken a look inside the cover so I am not sure exactly how it is setup so I thought I would ask.
Thanks
I don’t know the particular chiller. However, looking at the images of the manuals I notice two things.
- the chiller has a recommended level. (within the green range)
- If you fill it too much, water may eventually come out of the top of the tank, and I don’t know how the seal is made. As the filling location is above the top of the tank, if it is not properly sealed, there will be a leak from that point.
The reason for filling to the top is due to bubbles appearing in the piping if I remember correctly.
I would do the following tests to understand exactly the origin of the air bubbles.
- Make a by-pass (union) between the water outlet and inlet with a transparent tube.
- Ensure that the chiller has enough water (within the green range) and start it.
- check whether air bubbles appear in the tube (by-pass).
- if no air bubbles appear, I would place transparent tubes between the machine and the chiller to understand where the bubbles come from.
- if bubbles appear in the by-pass, remove the chiller covers to check where they form.
I know there is also a filter somewhere in the chiller, is that filter clean?
1 Like
I will add these to my list of things to do. Thanks so much for the help.

Yeah I saw that. What’s interesting is that I have to fill the water all the way to the top of the yellow PLUS a little more to get rid of the running water sound.
Without a reliable diagram of the water circuit, it is very difficult to assess the extent to which free-falling water causes air bubbles to appear in the pipes. However, this is a common cause.
The sound of falling water tells me that air bubbles are forming in the water. The extent to which it will influence the appearance of bubbles in the pipes is more complex. Even more so not being in the presence of the chiller.
It is clear now that you should not fill to the top (normally you never fill to the top in order to allow for expansion of the water due to temperature variations and pressure changes), so what you can and should do will be, with the level at the green margin. , start the chiller and slowly fill it until air bubbles no longer form. If this happens before reaching the maximum limit (top of the green margin) you can complete the filling up to that point.
All this after doing what I recommended in the previous message. It is important to understand exactly where the bubbles form.
Even I do that,… what’s the problem!!!
![]()
![]()
![]()
I didn’t see any indication that you should not hear this sound, maybe it’s normal for your machine.
I’d suggest after you read the instruction that you follow them.
Bubbles aren’t really a bad thing if the bubbles are small and flowing.
What you do not want is any bubbles sticking to the inner tube where the heat needs to be removed evenly.
I had a bubble issue, I thought, so I and asked a few experts, including Russ Sadler… sent them the video that was in post 10.
I was assured it wasn’t a problem and I ran my tube most of it’s life with these kind of bubbles…
So I guess it depends on the bubble ?
![]()
I don’t understand “bubble” about CO2 machines and CO2 tubes. So when I saw someone with one and complaining about it, I assumed it was a issue.
If I understood, that would be a good sign
![]()