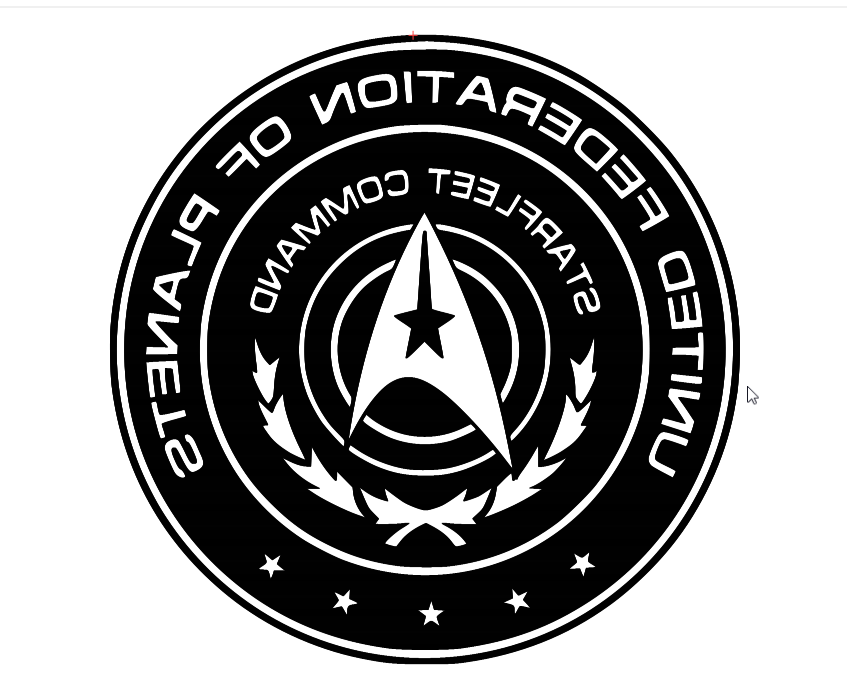
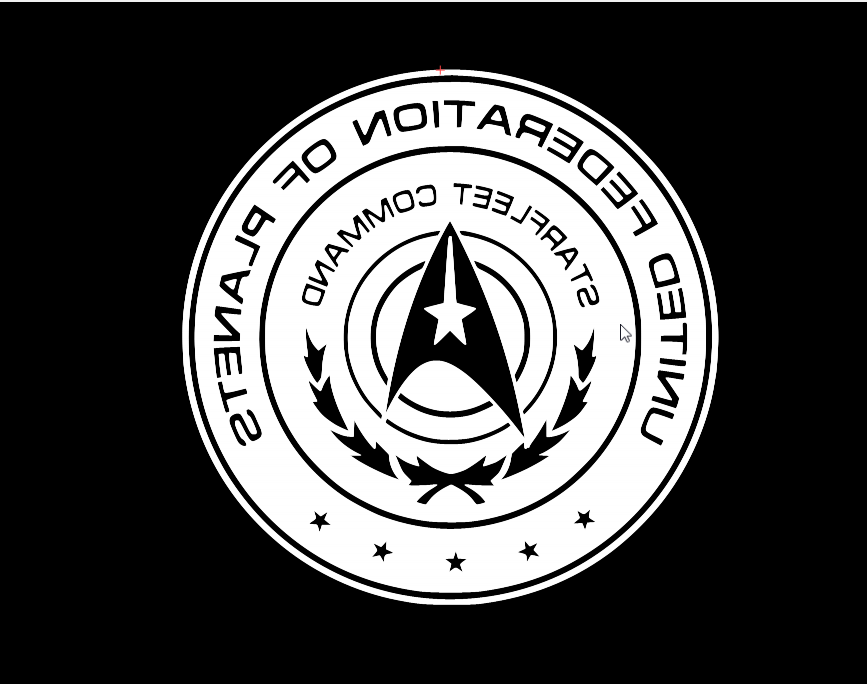
I am attempting to burn the vector in the first image below and the uninverted version in the Display dialog shows that when it is burn the black lines are what is going to be burned. I wanted the opposite of that so I ticked the Invert option which generated the second image.
When I actually burned the image I got the non-inverted version.
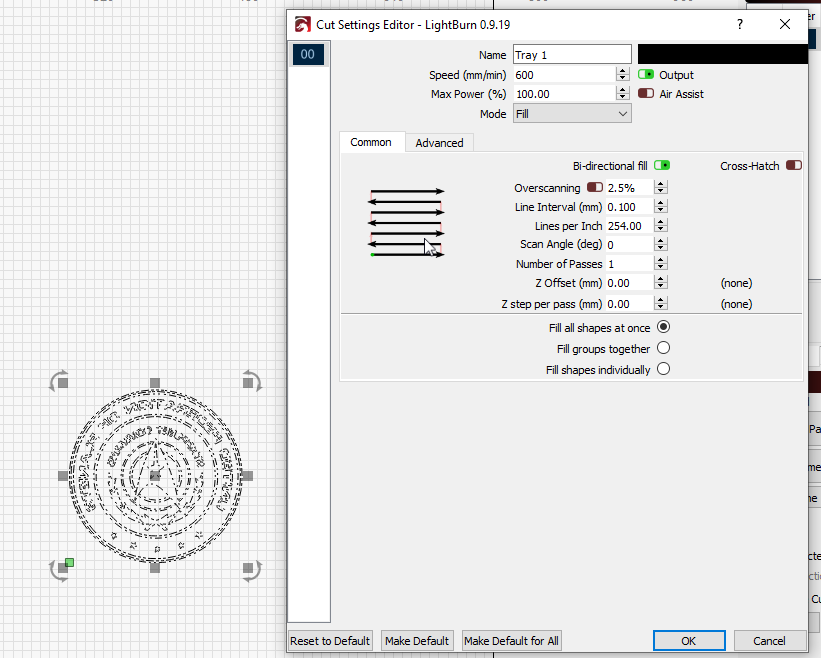
I have the layer set to FILL, I do not see anywhere in the options of the layer to select inverted so I assumed the invert in the display dialog took care of it.
You’re inverting the preview and nothing else. That invert button is provided so you can see what a design would look like if you’re burning on something like slate, anodized alumimum, granite, etc where the burned part becomes lighter than the material.
Your design isn’t an image, it’s just vectors, so to invert it you have to add (or remove) an outline.