Trying to set up my new Mostics CNC 3018 Pro with 5.5W Laser Module CNC Laser Engraver and it sits in ‘waiting for connection’ … what am I missing?
Have you chosen a serial port (COM port if on Windows) to connect to? We try to automatically detect it but that doesn’t always work in every case.
1 Like
Yes, I was able to get it connected. Now wondering how I adjust the working area? Any advice?
Edit > Device Settings > Working Size (top left corner). Just update the values there to match the grbl configuration.
1 Like
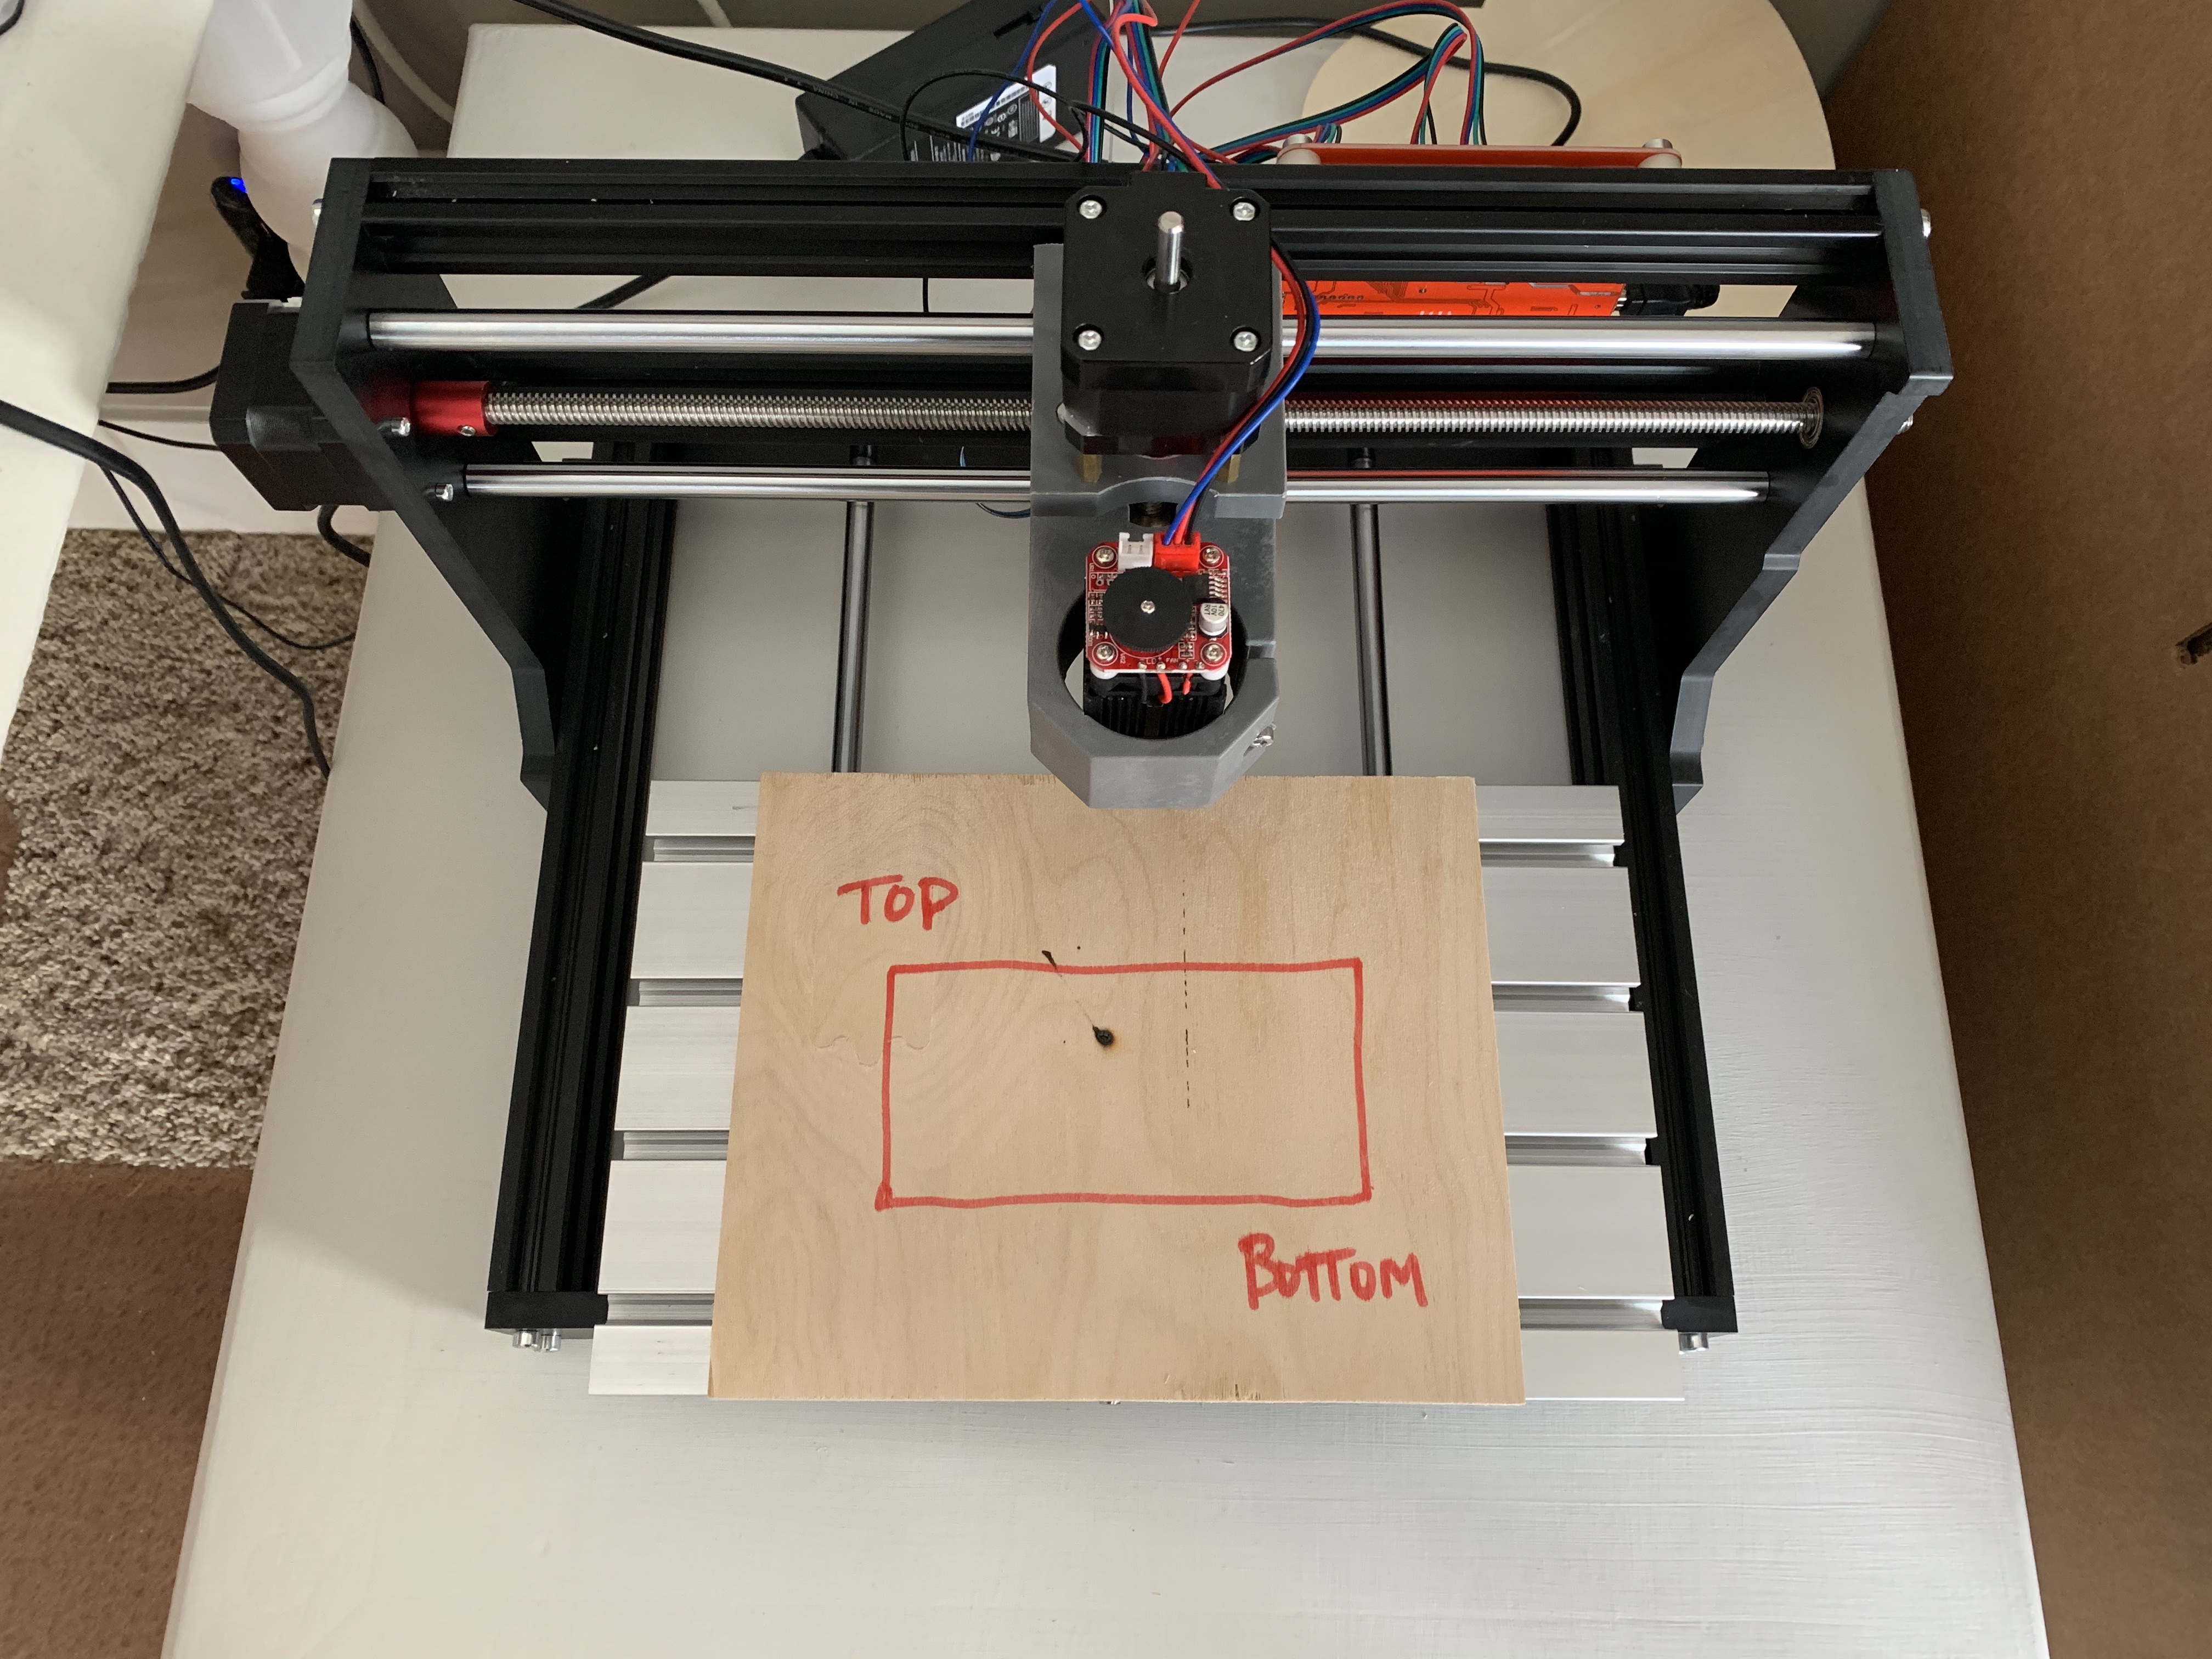
Thank you for your help … I am now trying to set up my machine to engrave this wood lid. Any ideas as to how I change to orientation of start point?
Have a look at this for a description of Coordinates and Job Origin within LightBurn: https://github.com/LightBurnSoftware/Documentation/blob/master/CoordinatesOrigin.md#coordinates-and-job-origin
1 Like
Ideally I would like to create text that will be lasered into these lids. What is the best way for me to paste these into LR? I can prepare the work in Word or PowerPoint and save - but as what type of file? Or should I be using something else?
There shouldn’t be much reason to do basic text designs outside of Lightburn.
1 Like
I have tried to create the text inside of LR but can’t move the text boxes once I am in there.
its should look like this.

Is it safe to assume when you say “LR” you are talking about LightBurn? ![]()
If you hit the F1 key while hovering over a tool in LightBurn you will be taken to the docs with that subject in focus. Documentation/CreatingNewVectors.md at master · LightBurnSoftware/Documentation · GitHub
There you will find a text description and in many cases a link to a video showing the feature in use.
You might also benefit from reviewing this if you haven’t already.
1 Like
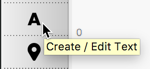
That is not text. That is a picture of text. You can create (or in this case re-create) the text you want by clicking the ‘Create / Edit Text’ tool, then click somewhere in the workspace to start typing your desired text.
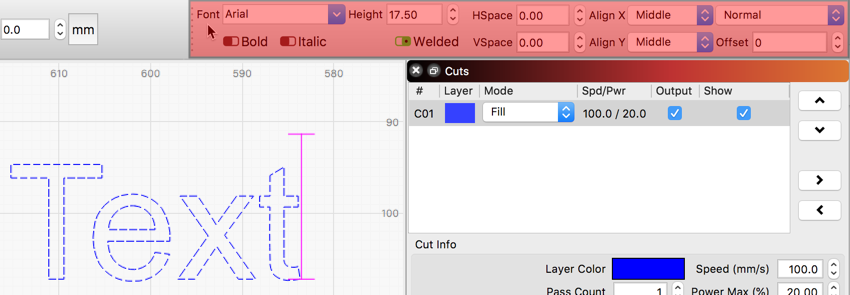
You can change the font, sizing, spacing and anchor points for the text using these text controls. You can even use ‘Variable Text’ for auto-generating text for serial numbers, dates, or filling out names from a database/phonebook as just a few examples.
1 Like
Thank you @Rick I have created a text file right in LB am having trouble now making the font ‘full’ as opposed to ‘fill’ lines. And, it is engraving as a mirrored image from what I have created. Im sure a setting adjustment, just dont know where or what to adjust.
Also wondering what my speed and power should be set at? Any advise?
Not following your wording here. Did you have a chance to go through our first time user post yet? In that post, we cover many of the general use features of LightBurn. It is also helpful to review some of the videos on our YouTube channel also linked from there.
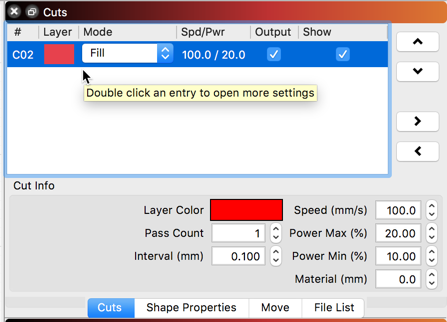
To cut or mark the outline/path of a shape, set to ‘Line’. To fill the shape, select ‘Fill’ and to fill the shape and then cut or mark the outline, choose ‘Fill+Line’. You can adjust this in 2 places within LightBurn.

Hi @Rick thank you for you help. Yes, I watched the video and figured it out.
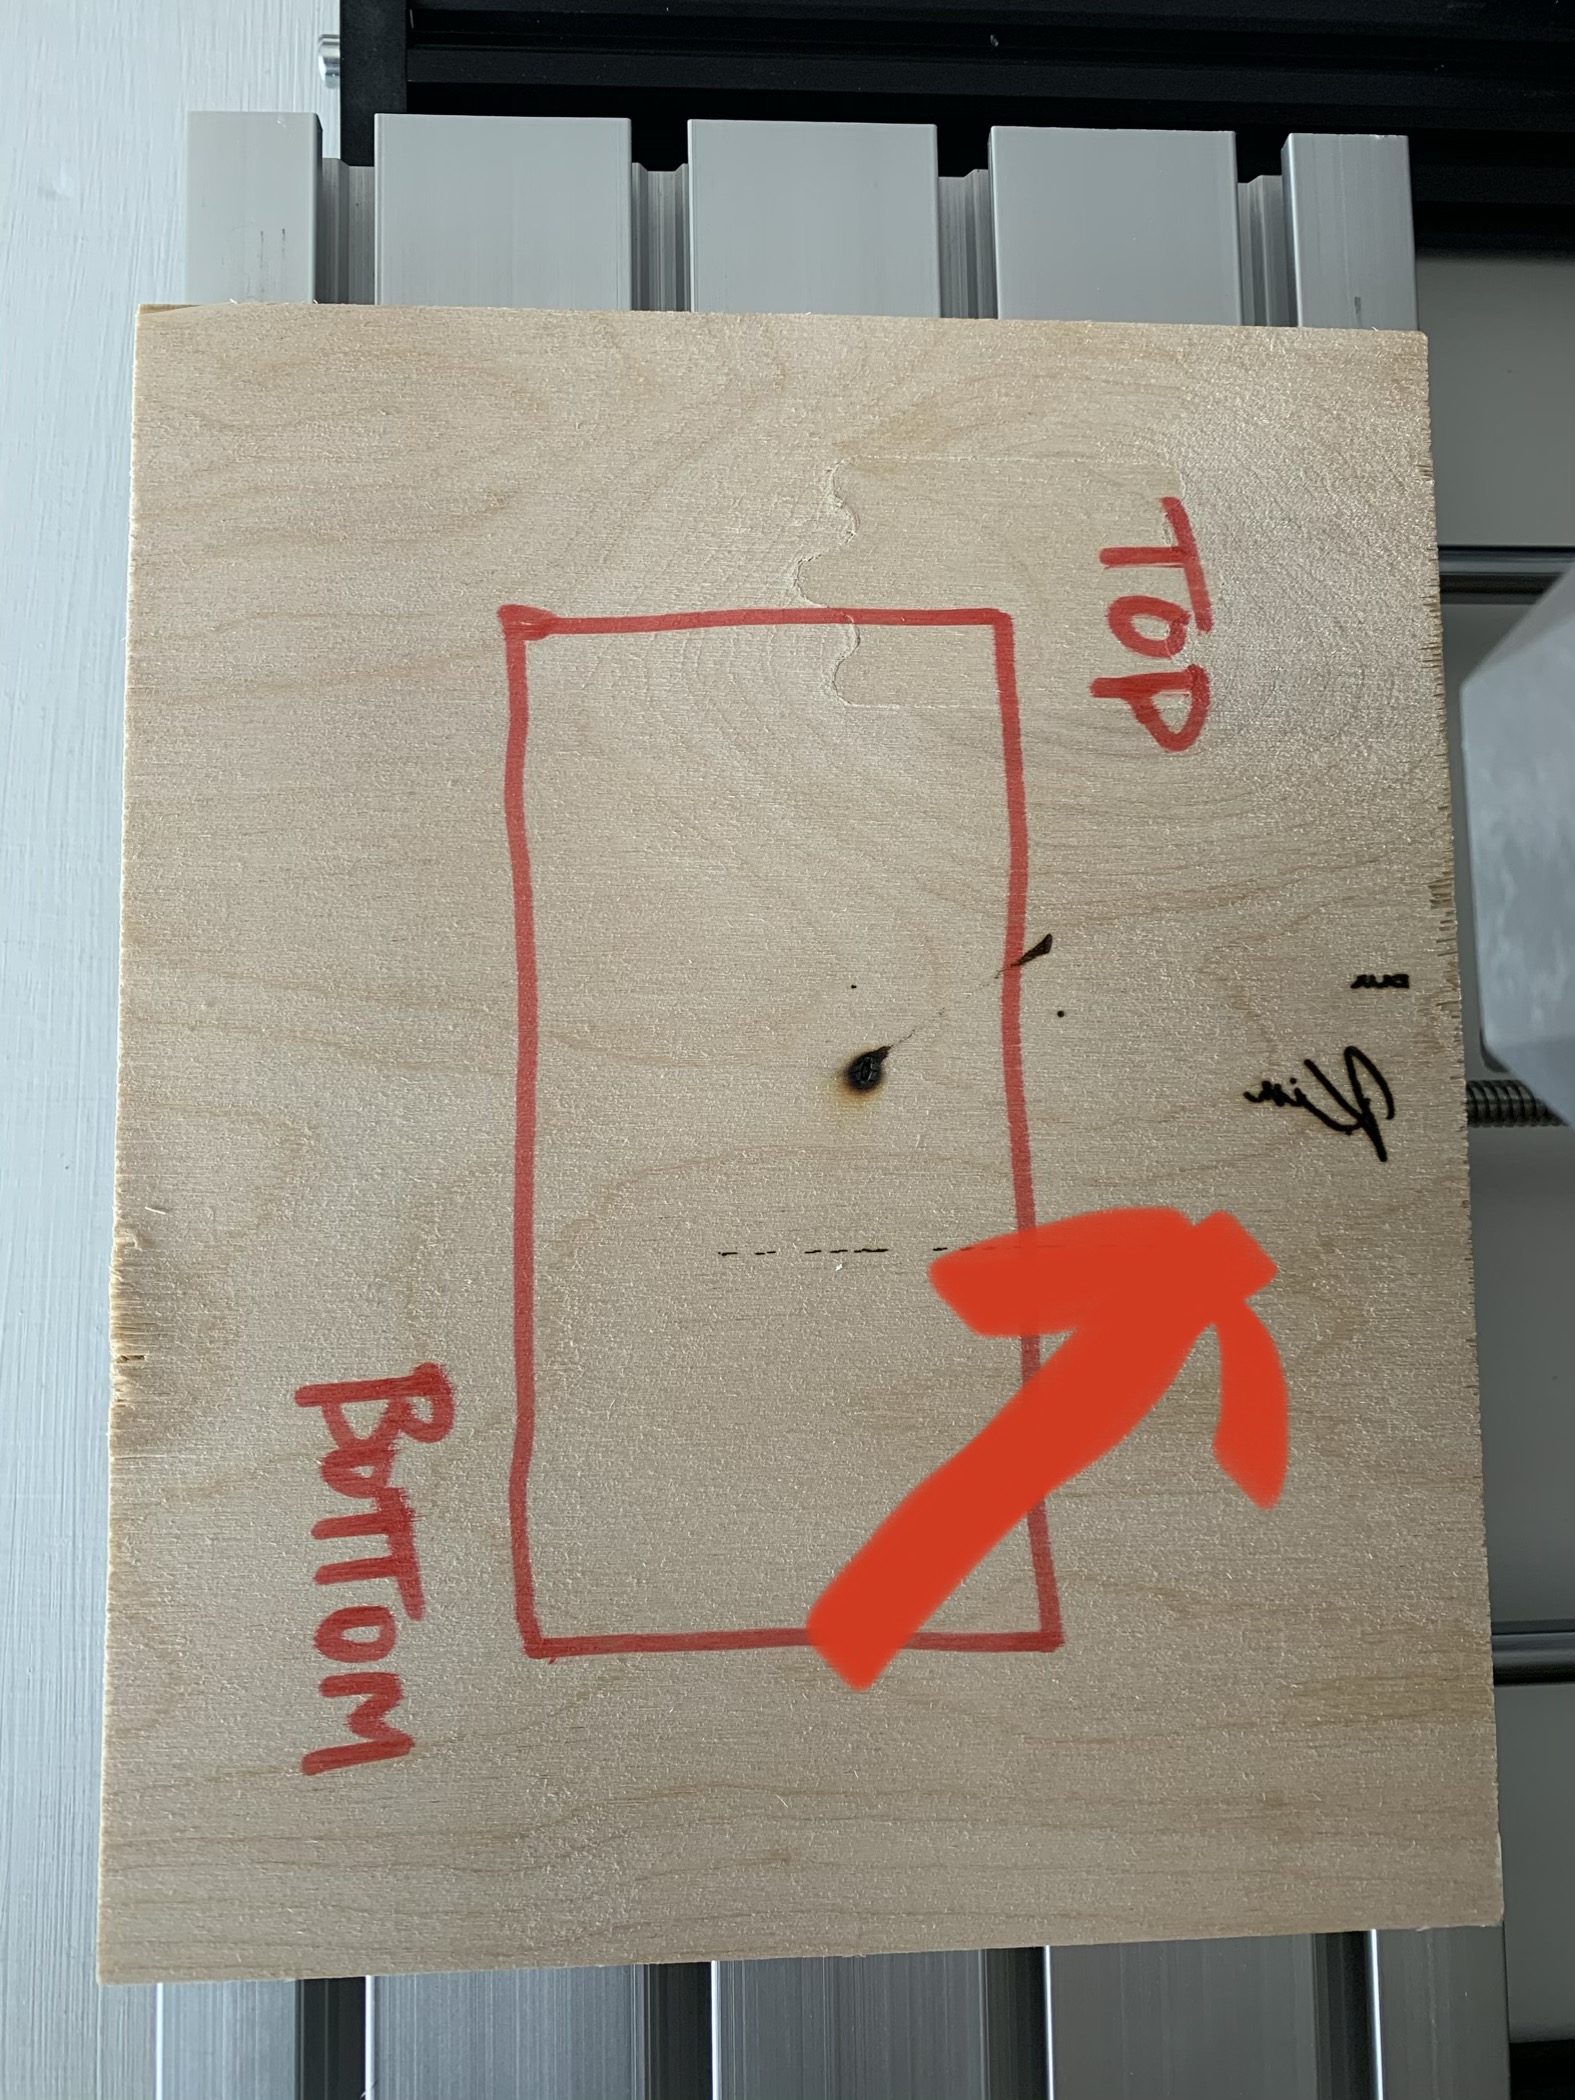
Now it’s engraving as if it’s mirrored.
Where does your system home when you turn it on? It is mirrored because your system and LightBurn are still not set up correctly. The ‘Machine Origin’ setting is not in the correct location. Click the ‘Spanner/Screwdriver’ Icon near the top-center to expose the ‘Device Settings’ window.

This should be set to the corner where your system is when located at 0,0. This image is just an example, set to the 0,0 location of your machine.
1 Like

I am sorry, but I don’t know. I am not there.