I’ve tried to run images on my Thunder laser and so far have done nothing other than crash and burn. I first run it through coral draw under wood script, then change resolution. then put that bad boy into light burn and run it on cast acrylic. I’ve tried it on dither dpi-250 interval at .075-.10, as well as threshold, Stucki, Greyscale. Any help would be greatly appreciated.
You have chosen to do your dither work in Corel. You are also asking LightBurn to process this already processed image and that is the problem. You need to choose one or the other.
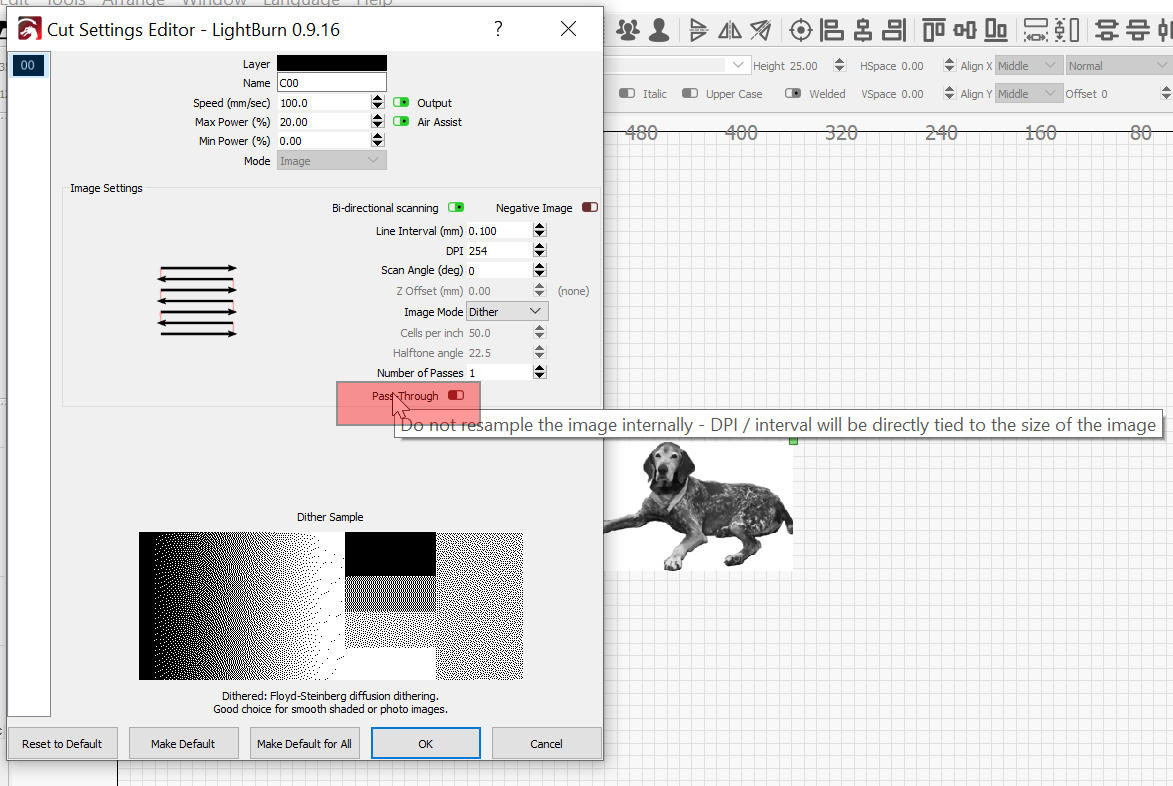
If you are going to use external tools to prepare an image for lasering using a script, you must enable ‘Pass-Through’ (green) in the ‘Cut Settings Editor’ window. This will tell LightBurn to not touch it and just pass it through without any further processing.
Additionally, you didn’t specify tube power, but 250 DPI on acrylic might be too high if one has a high power machine.
Can you also please explain in detail, what you mean when you say:
What does this “script” do to your image? What is the intended outcome and why did you choose to use it?
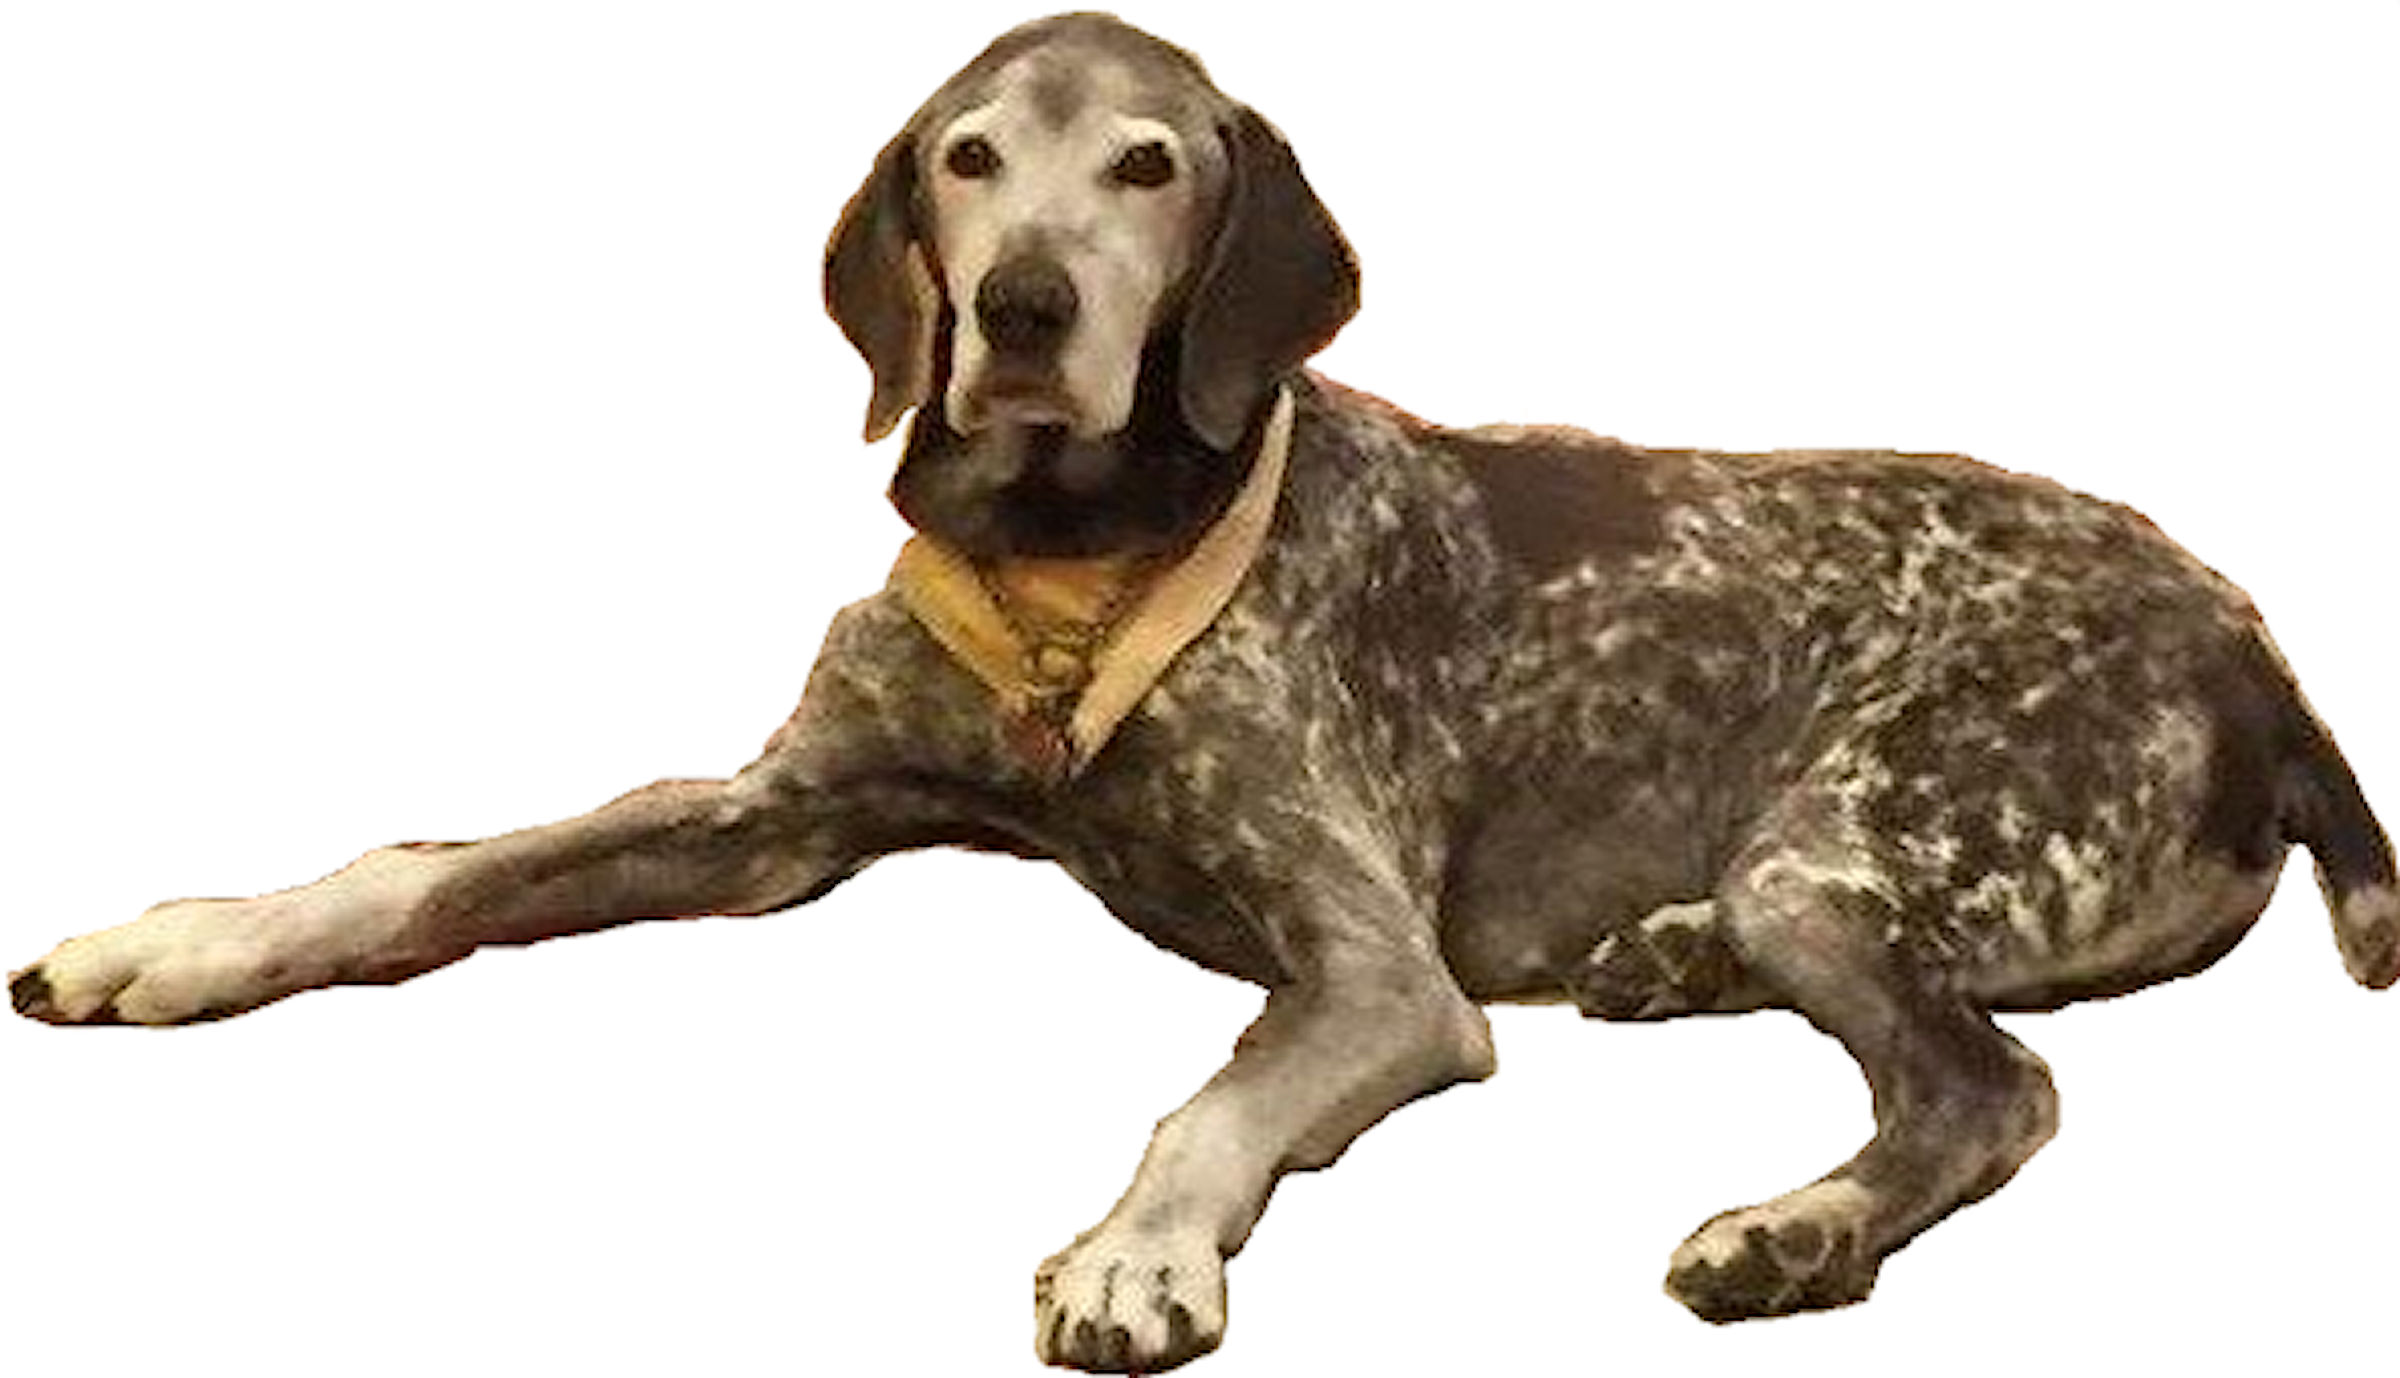
Thanks for replying Rick, The laser is 130W. So I may not have been as clear as possible on first post. I’ve tried to run the photo numerous ways: with it ran through a auto resolve format on coral draw called “wood script” which I have ran with pass through on and off, and again with me messing around with dither, threshold, stucki, and greyscale. All of those the photo was as is and I was just playing around with dpi, and interval manually. So could it be that the photo is just not defined enough? or am I running it to fast at 400? we generally engrave at 900 speed being we want things done as fast as possible for price point. However this is much different than Just etching. I’m pretty frustrated with trying to etch photos because none have them have worked well. The script auto formats the photo to be laser engraved, The intended outcome is to give the customer a memorial plaque for his dog, and i’ve chosen to use it because I really am doing trial and error to find out how to make image look acceptable. All the youtube videos i’ve seen adjust image on coral draw first so that’s what the companies program department has done. Any suggestions are greatly appreciated. Thanks.
130W is a very powerful laser to try and dial in any decent quality of image engraving. Trying to do so on “cast acrylic” will make it even harder. The beam size and deposited energy will be the toughest part to control contrast and shading to produce a good image quality. Do you have anything special as far as your focal lens to help reduce the size of your beam?
When using an external image editor to pre-process an image, it is best to know the exact changes being made and having a solid understanding of what effect that has when trying to output that image using a laser. LightBurn will try to process this image again if you do not tell LightBurn by using the ‘Pass-Through’ feature. When ‘Pass-Through’ is enabled, LightBurn will not touch/change your image and will use the setting you applied using your external script. If you do not use ‘Pass-Through’ after you have pre-processed your image, you will not get good results.
You mention “Speed” and then offer “400” and “900”, but those are not speeds. Speed is measured over something, so 400 what? Millimeters/sec, Inches/min, MPH? When talking about speed, please include the entire information as LightBurn supports several units of measure.
Once again Rick I appreciate and thank you for walking me along here. So we have 2 lasers a 130W Thunder, and a 150W BOSS. The BOSS has 3 cones/tips (measurements all in inches) .225" tall with a .125" hole, .75" tall with .125" hole, and a 2.5" tall with a .125’ hole. The Thunder has 2 cones/tips .685" tall with a .236" hole, and a .685" tall with a .065" hole. Speed is being measured in mm/sec. We have 2" and 4" lenses. The Thunder has a High-Resolution head for $400(we do NOT have this. its available via purchase), it says it doubles standard resolution and achieves 800dpi or more. Is this something you would recommend buying with having higher watt lasers? or do you think the problem is more so me being new at the photo engraving? If there’s something we could purchase that you know of that would help? What watt laser is ideal for engraving?
Thanks again for taking the time to answer my questions.
I would start with the 0.225" tall cone on the Boss, but you’re going to have trouble doing fine image engraving with either of these machines - in essence you’re trying to use a jet engine instead of a fan, or a table saw instead of a butter knife. It’ll do the job with enough fussing, but it’s not the right tool for it.
OZ, I appreciate the analogies. I have not tried this photo on the boss yet so i’ll give it a whirl. Is there a speed mm/sec you would recommend to run it at? or a ballpark. Also is there a specific laser or wattage of a laser that we should be looking at in a machine to be able to do photos? Boss has been a paper weight since we got the thunder so we may be interested in selling that to get a laser that is more capable of doing more detailed work. Thanks for the info.
These were done with a 100w machine:
Each image includes the settings used - try starting with those, as they won’t be too horribly far off.
Fine engraving work like photos is easier with a lower wattage machine. 40w to 60w is probably ideal, and a shorter focal length lens will reduce the dot size too.
It’s worth saying that’s it’s quite possible to produce decent images even with a high power laser, it’s just harder, and you won’t have the ability to go as fine with the details - the images shown above look great from a small distance, but if you get close you can see the dots relatively easily. That doesn’t mean it can’t work, just that it’s better suited for larger images viewed from a couple feet away instead of “hold in your hand” work with fine detail.
This topic was automatically closed 14 days after the last reply. New replies are no longer allowed.