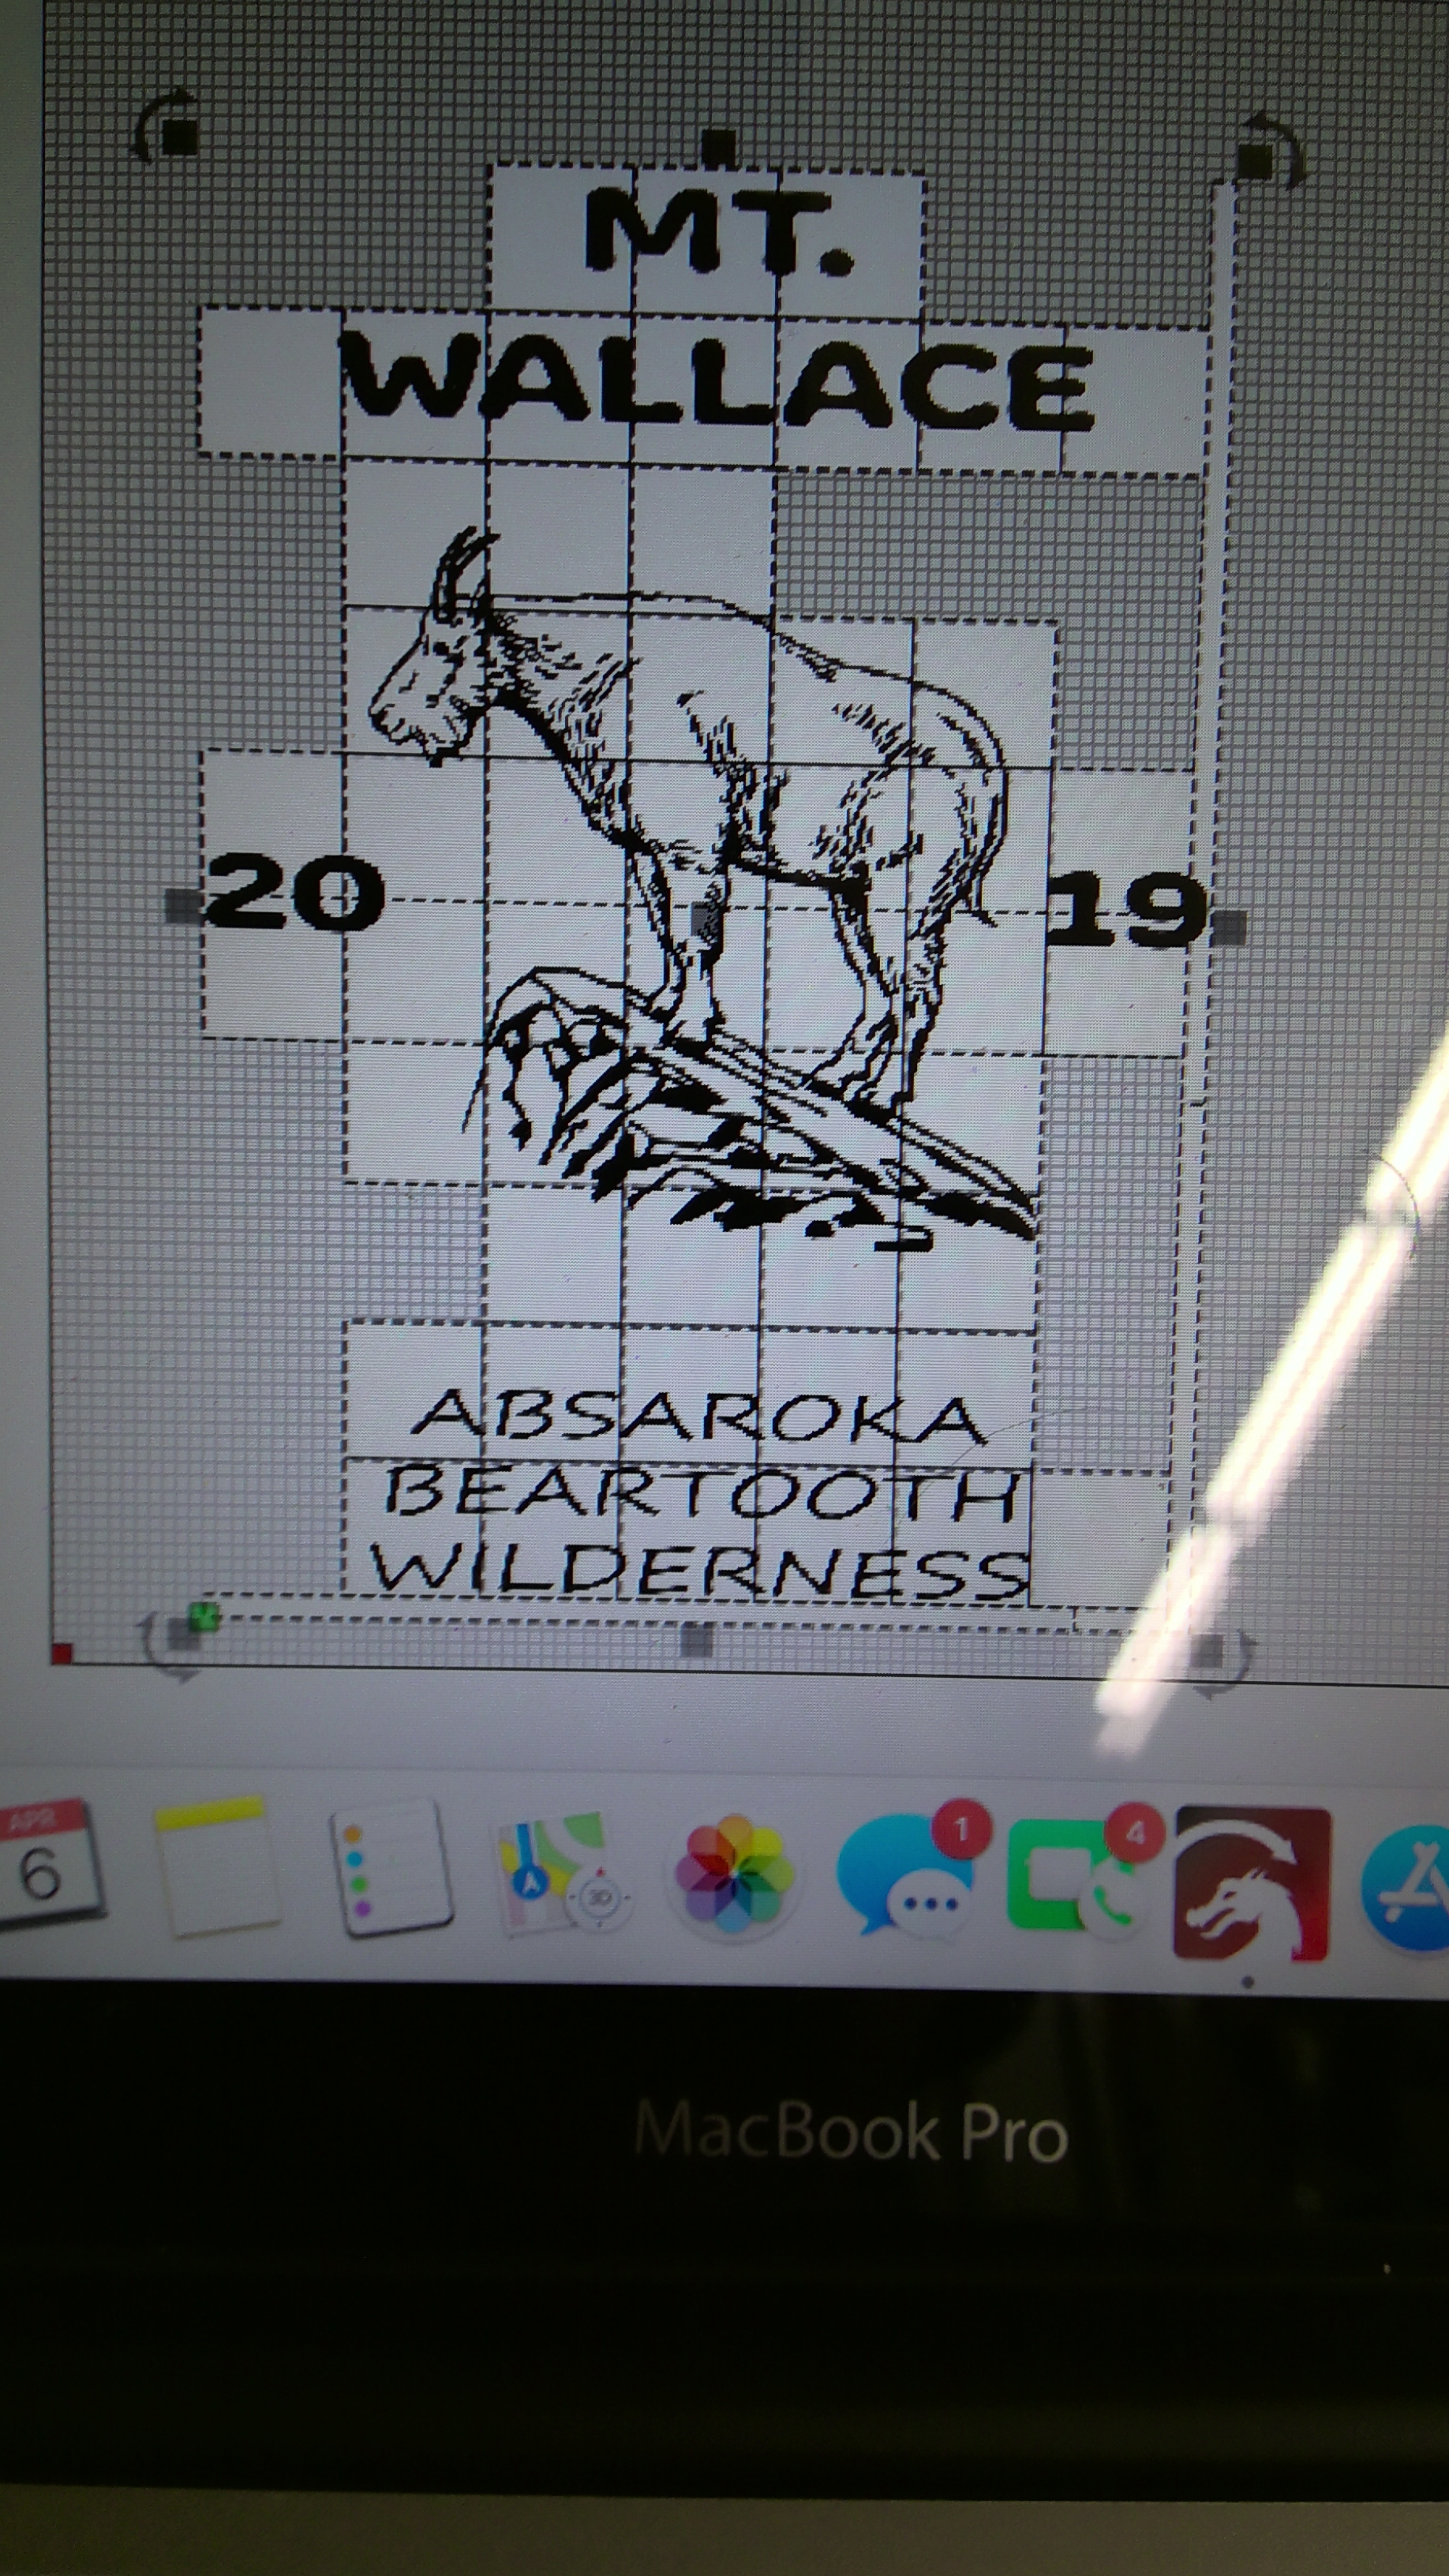
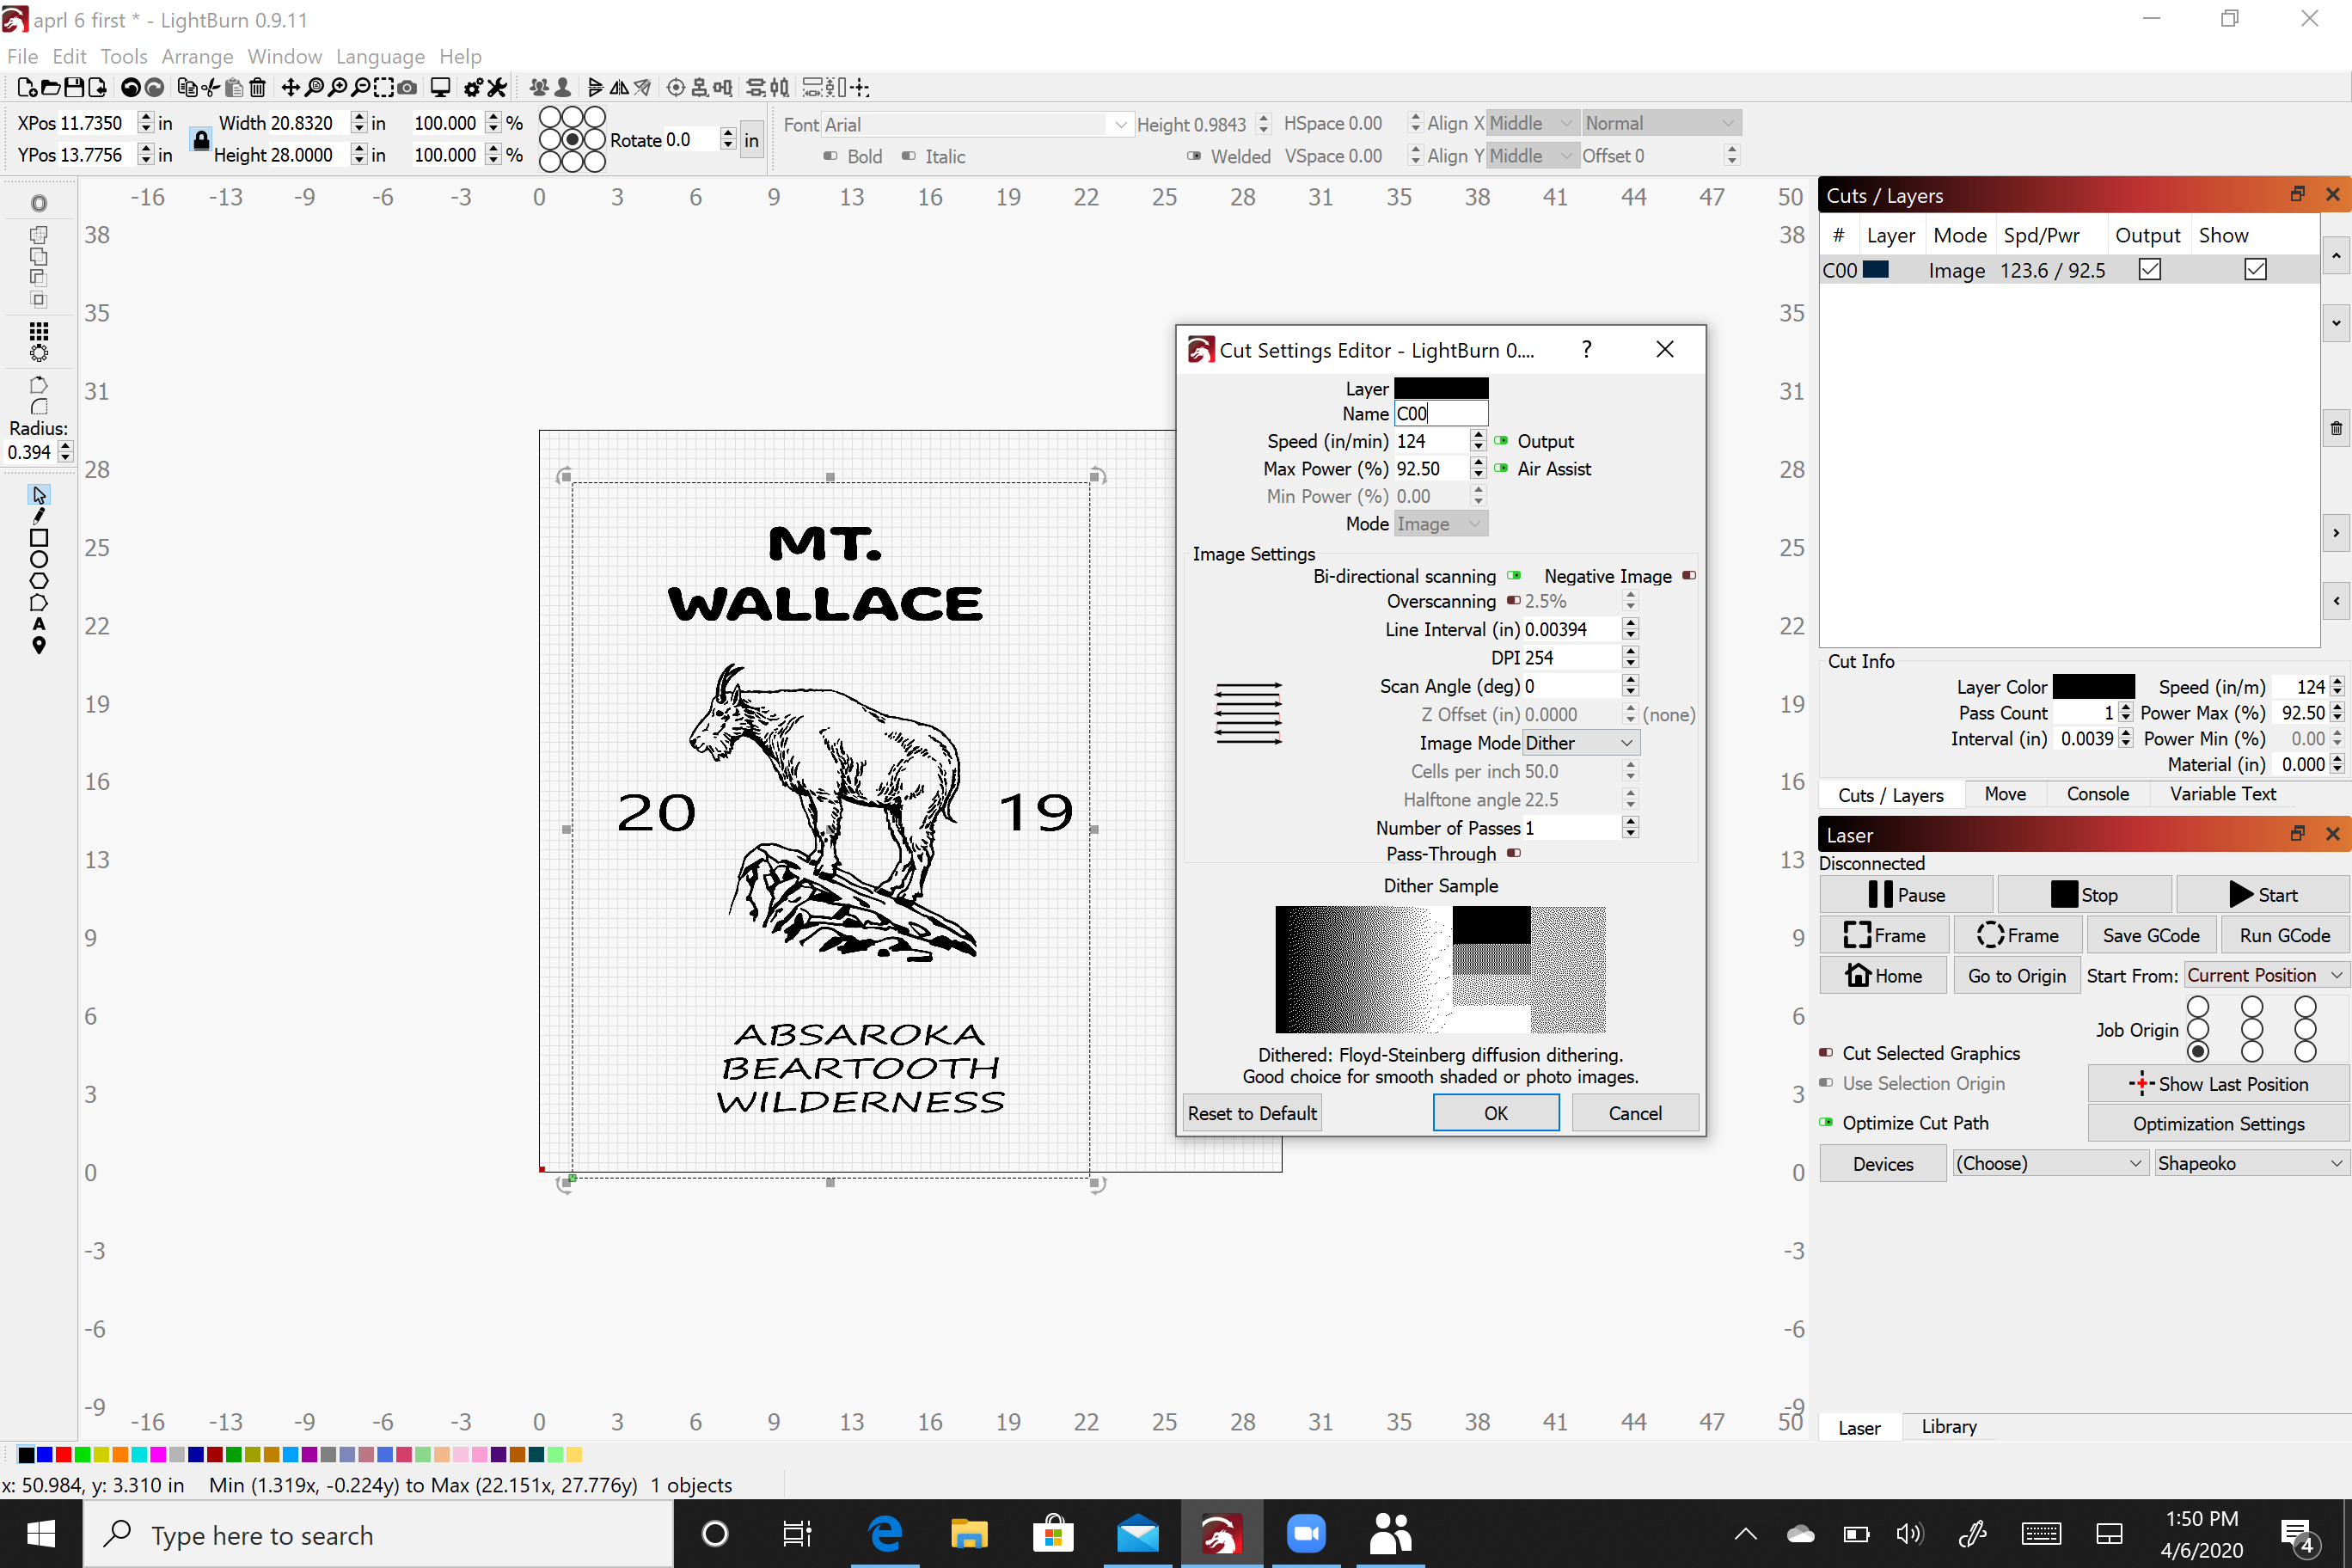
This photo shows a file I burned yesterday. There’s a grid and I noticed that while burning, the grid tiles were burned individually. I had not seen this before and I’m wondering how I got there. The image took 3hours and 45 minutes to complete and now that the grid is not showing up, the time has increased to over five hours. How do I get the grid back? It’s a wonderful enhancement but so far, is hidden from me.
Thank you,
Don
What kind of file was this?
I’ve seen this happen when importing PDF files, as some software will chop it into segments for unknown reasons. It’s not a grid around the tiles, you just selected all of them, so LightBurn was drawing the selection rectangles around them.
It was a png file that I exported from Adobe Illustrator, but I’ve not been able to duplicate it.
This is the preview image from the Lightburn. This file takes two hours less to burn than if it was to burn it without the tiles. And it came out great. I’m not always able to duplicate the process but I sure would like to be able to.
Thanks, Don
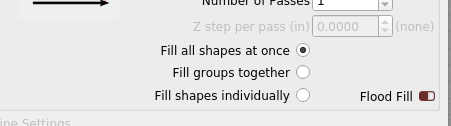
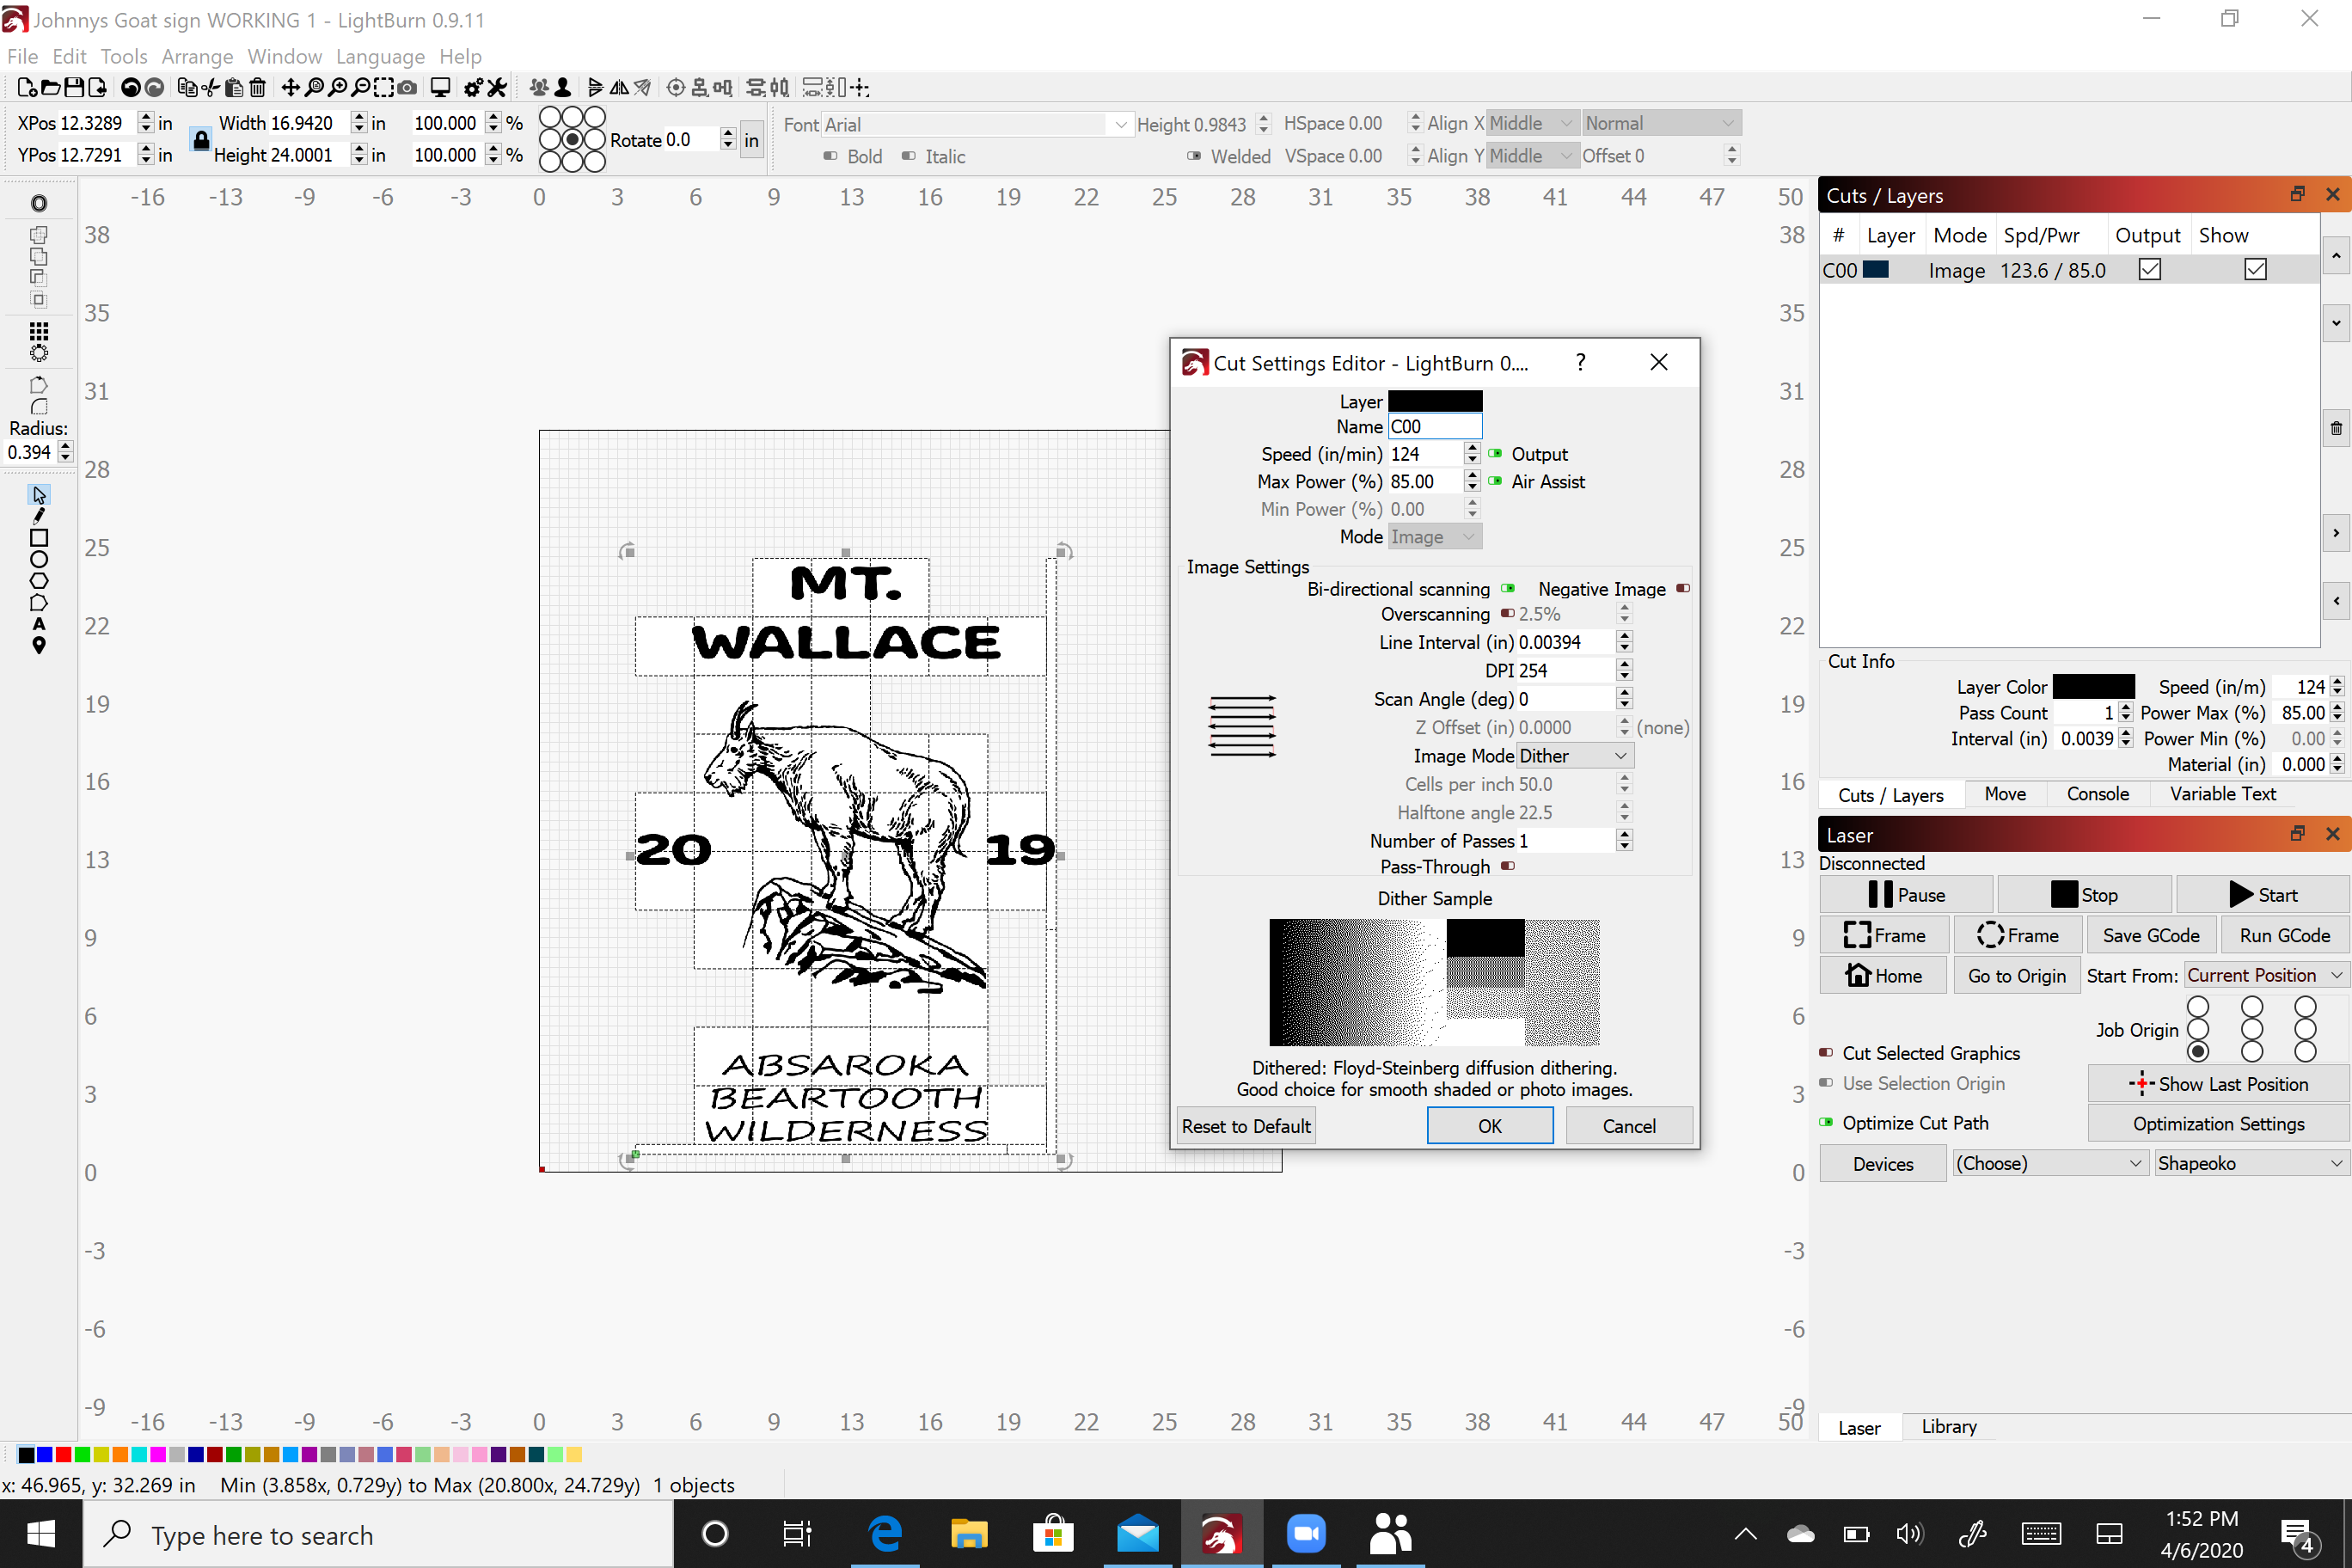
In the Cut Settings Editor, what do have selected here?
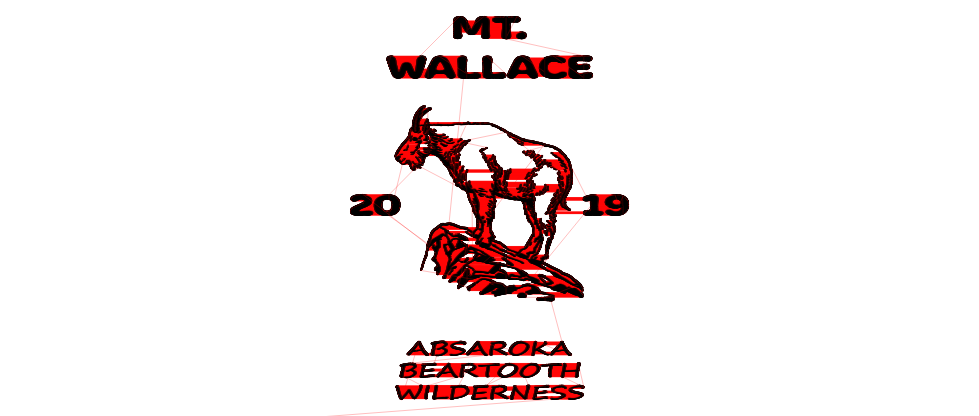
With the file in question, you’d likely get much faster results running this as vectors, exported directly as an AI file and imported into LightBurn. (export the text as curves)
Once it’s vectors, the settings Hank shows above will be available to you.
You can also just enable ‘Fast Whitespace Skip’ in the Device Settings, and give it a speed that’s higher than your normal running speed. Then it will move quicker in the blank areas.
Thank you Oz. Where are the settings Hank shows in the Cut Settings Editor? There’s a screen shot of what I have but I don’t see the same options that Hank shows.
That’s the important part. You are working with image files. You won’t see those options until they are vector shapes.
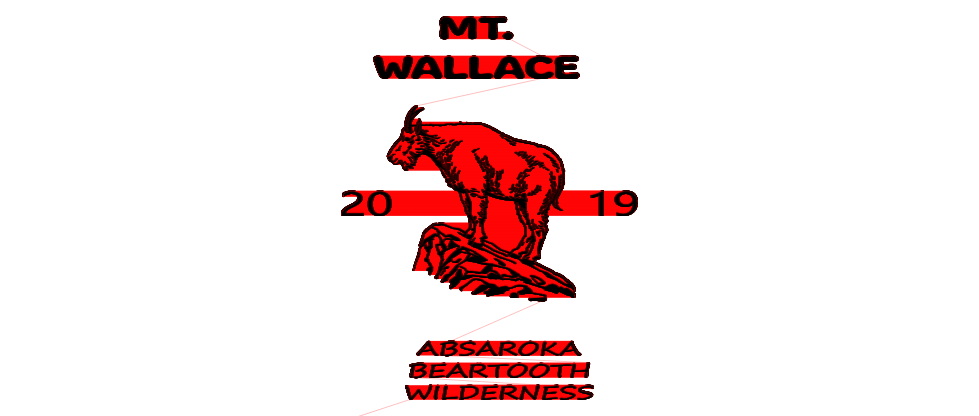
Thank you, I was able to import it and it looks good. In the Preview screen it still says that it will take two hours longer than what I made yesterday using the little squares. In the square method the laser moves about 30,000 inches and via this method it has to move more than 39,000 inches. Is there a way to shorten the movement to be comparable to the “squares” result?
Thank you again,
Don
Yes, by choosing ‘Fill Shapes Individually’ in the settings Hank showed above.
Thank you, I missed that. I does cut the time about an hour, but still 45 minutes longer than the other method, 6hrs 27 min versus 5 hours 47 minutes.
I appreciate your help.
Thank you,
Don
This topic was automatically closed 30 days after the last reply. New replies are no longer allowed.