Can I just load a high megapixel black & white .jpg photo into LightBurn or do I need to convert it to another type picture to engrave it? I have a K40 with Cohesion 3d and the latest version of Lightburn. Thank you in advance.
Did you bother trying it?
Yes, you can load a high res image into LB. You’ll want to change the “Image Mode” in the cut settings for the image layer. If you’re trying a photo, you’ll probably want stucki or jarvis, but obviously you can experiment with others. If it’s just a black and white silhouette or something, you can just pick threshold, and it’ll only burn where the black is.
1 Like
Hi everyone, first post. Got my first laser a week ago. Lots of experiments most all good. Yesterday was my first picture, was on hard maple. I used stucki and was amazed.

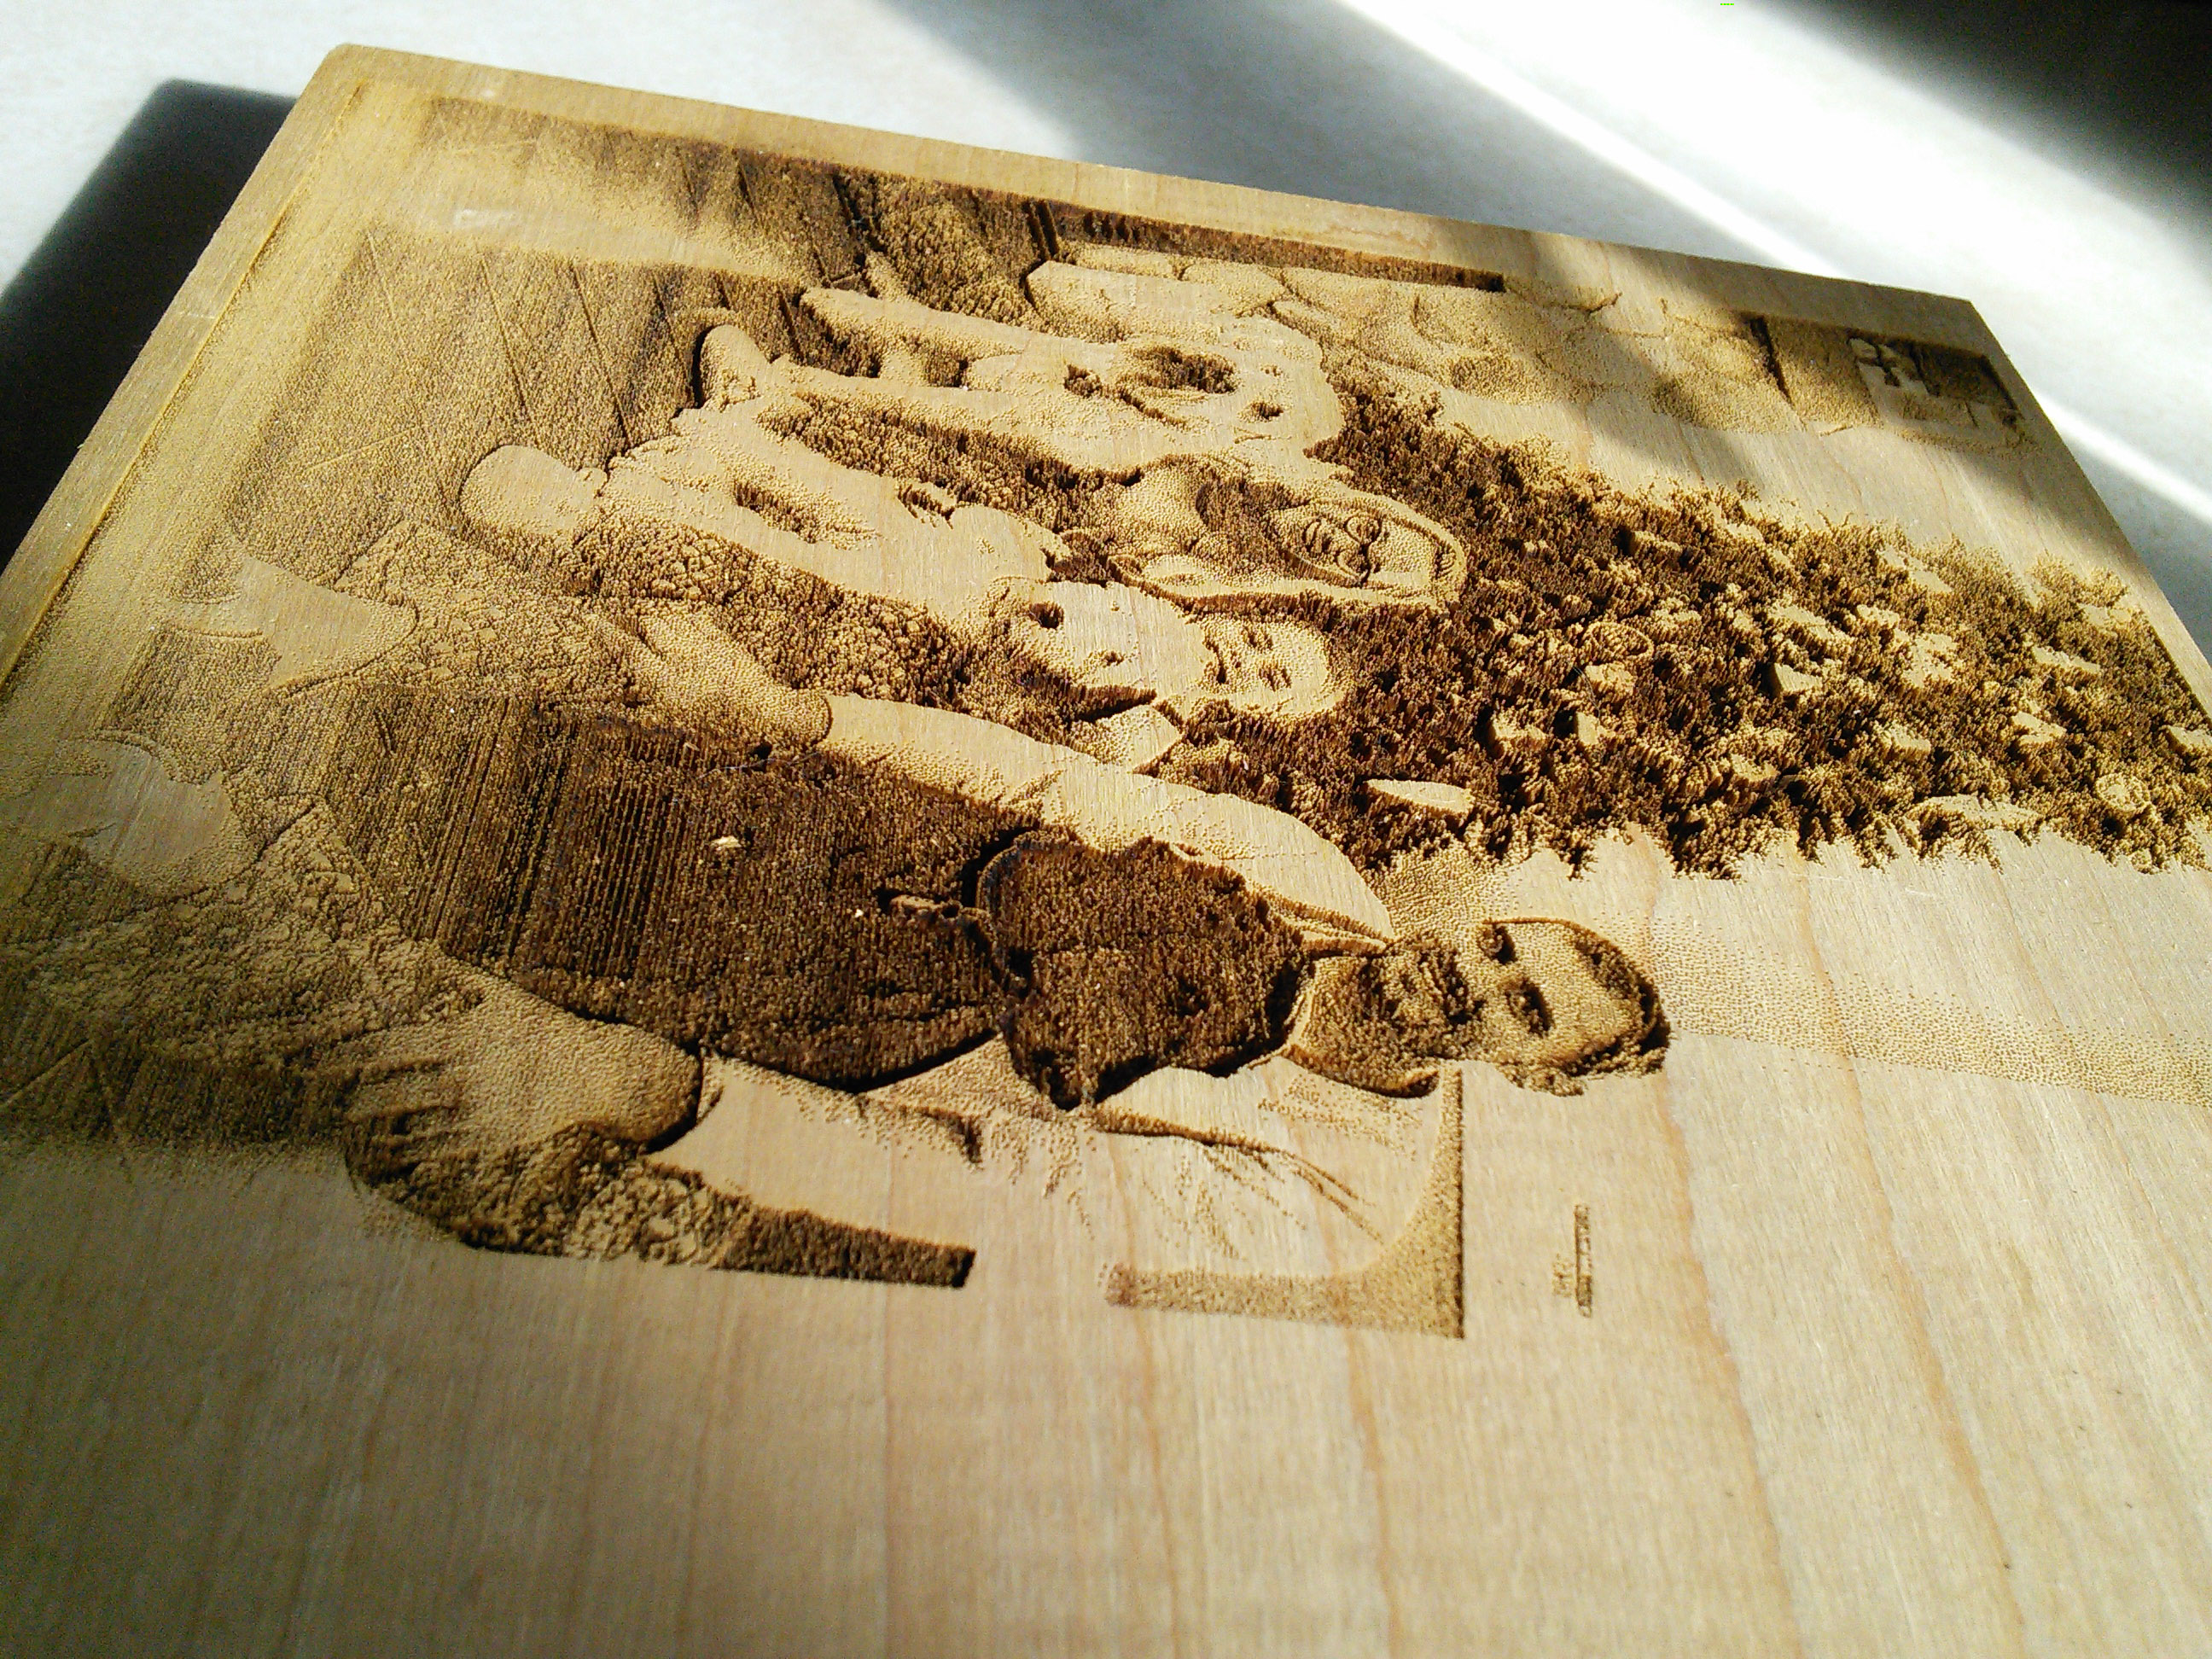
The sideways pic was trying to show depth. 60w co2 speed 100, high 90 low 10.
I’ve been in graphic arts for 40+ years, owned a screen printing shop then a vinyl sign shop.
For all my years I have to say Lightburn software is the easiest fastest all in one program I’ve ever used!
My main softwares were Flexi pro, Corel draw, Photo shop and Illustrator.
Russ
1 Like
Looking pretty good for a first go at it.
I gotta ask though, do you have mA meter installed to monitor your tube current?
If you are running at 90% power you are probably over-driving the hell out of that tube and if so it wont last very long.
I have a similar machine, a Ruida based red&black 80watt, and maximum safe tube current is at about 67% indicated power level.
If you don’t have a current meter installed, I recommend doing so ASAP.
What Hank said. Until you get a meter installed, I wouldn’t run that above 65% power.
Thanks Hank. Funny thing (not at all funny when I found out). I Unpacked it (the low blue, pass threw machine) plugged it in and took a pulse shot to see if the beem was hitting center. Well there was some arking around the mirror end of the laser. Bad bulb, must have broke coming from China. I let them know and I had a new bulb in a few days. Installed it and did test and I may be over driving it a bit but I think I got a better quality bulb than what they pack in a new machine. A buddy with a similar machine believed my 60w was quite a bit stronger than his new. I am going to get a meter though. Thanks about the meter.
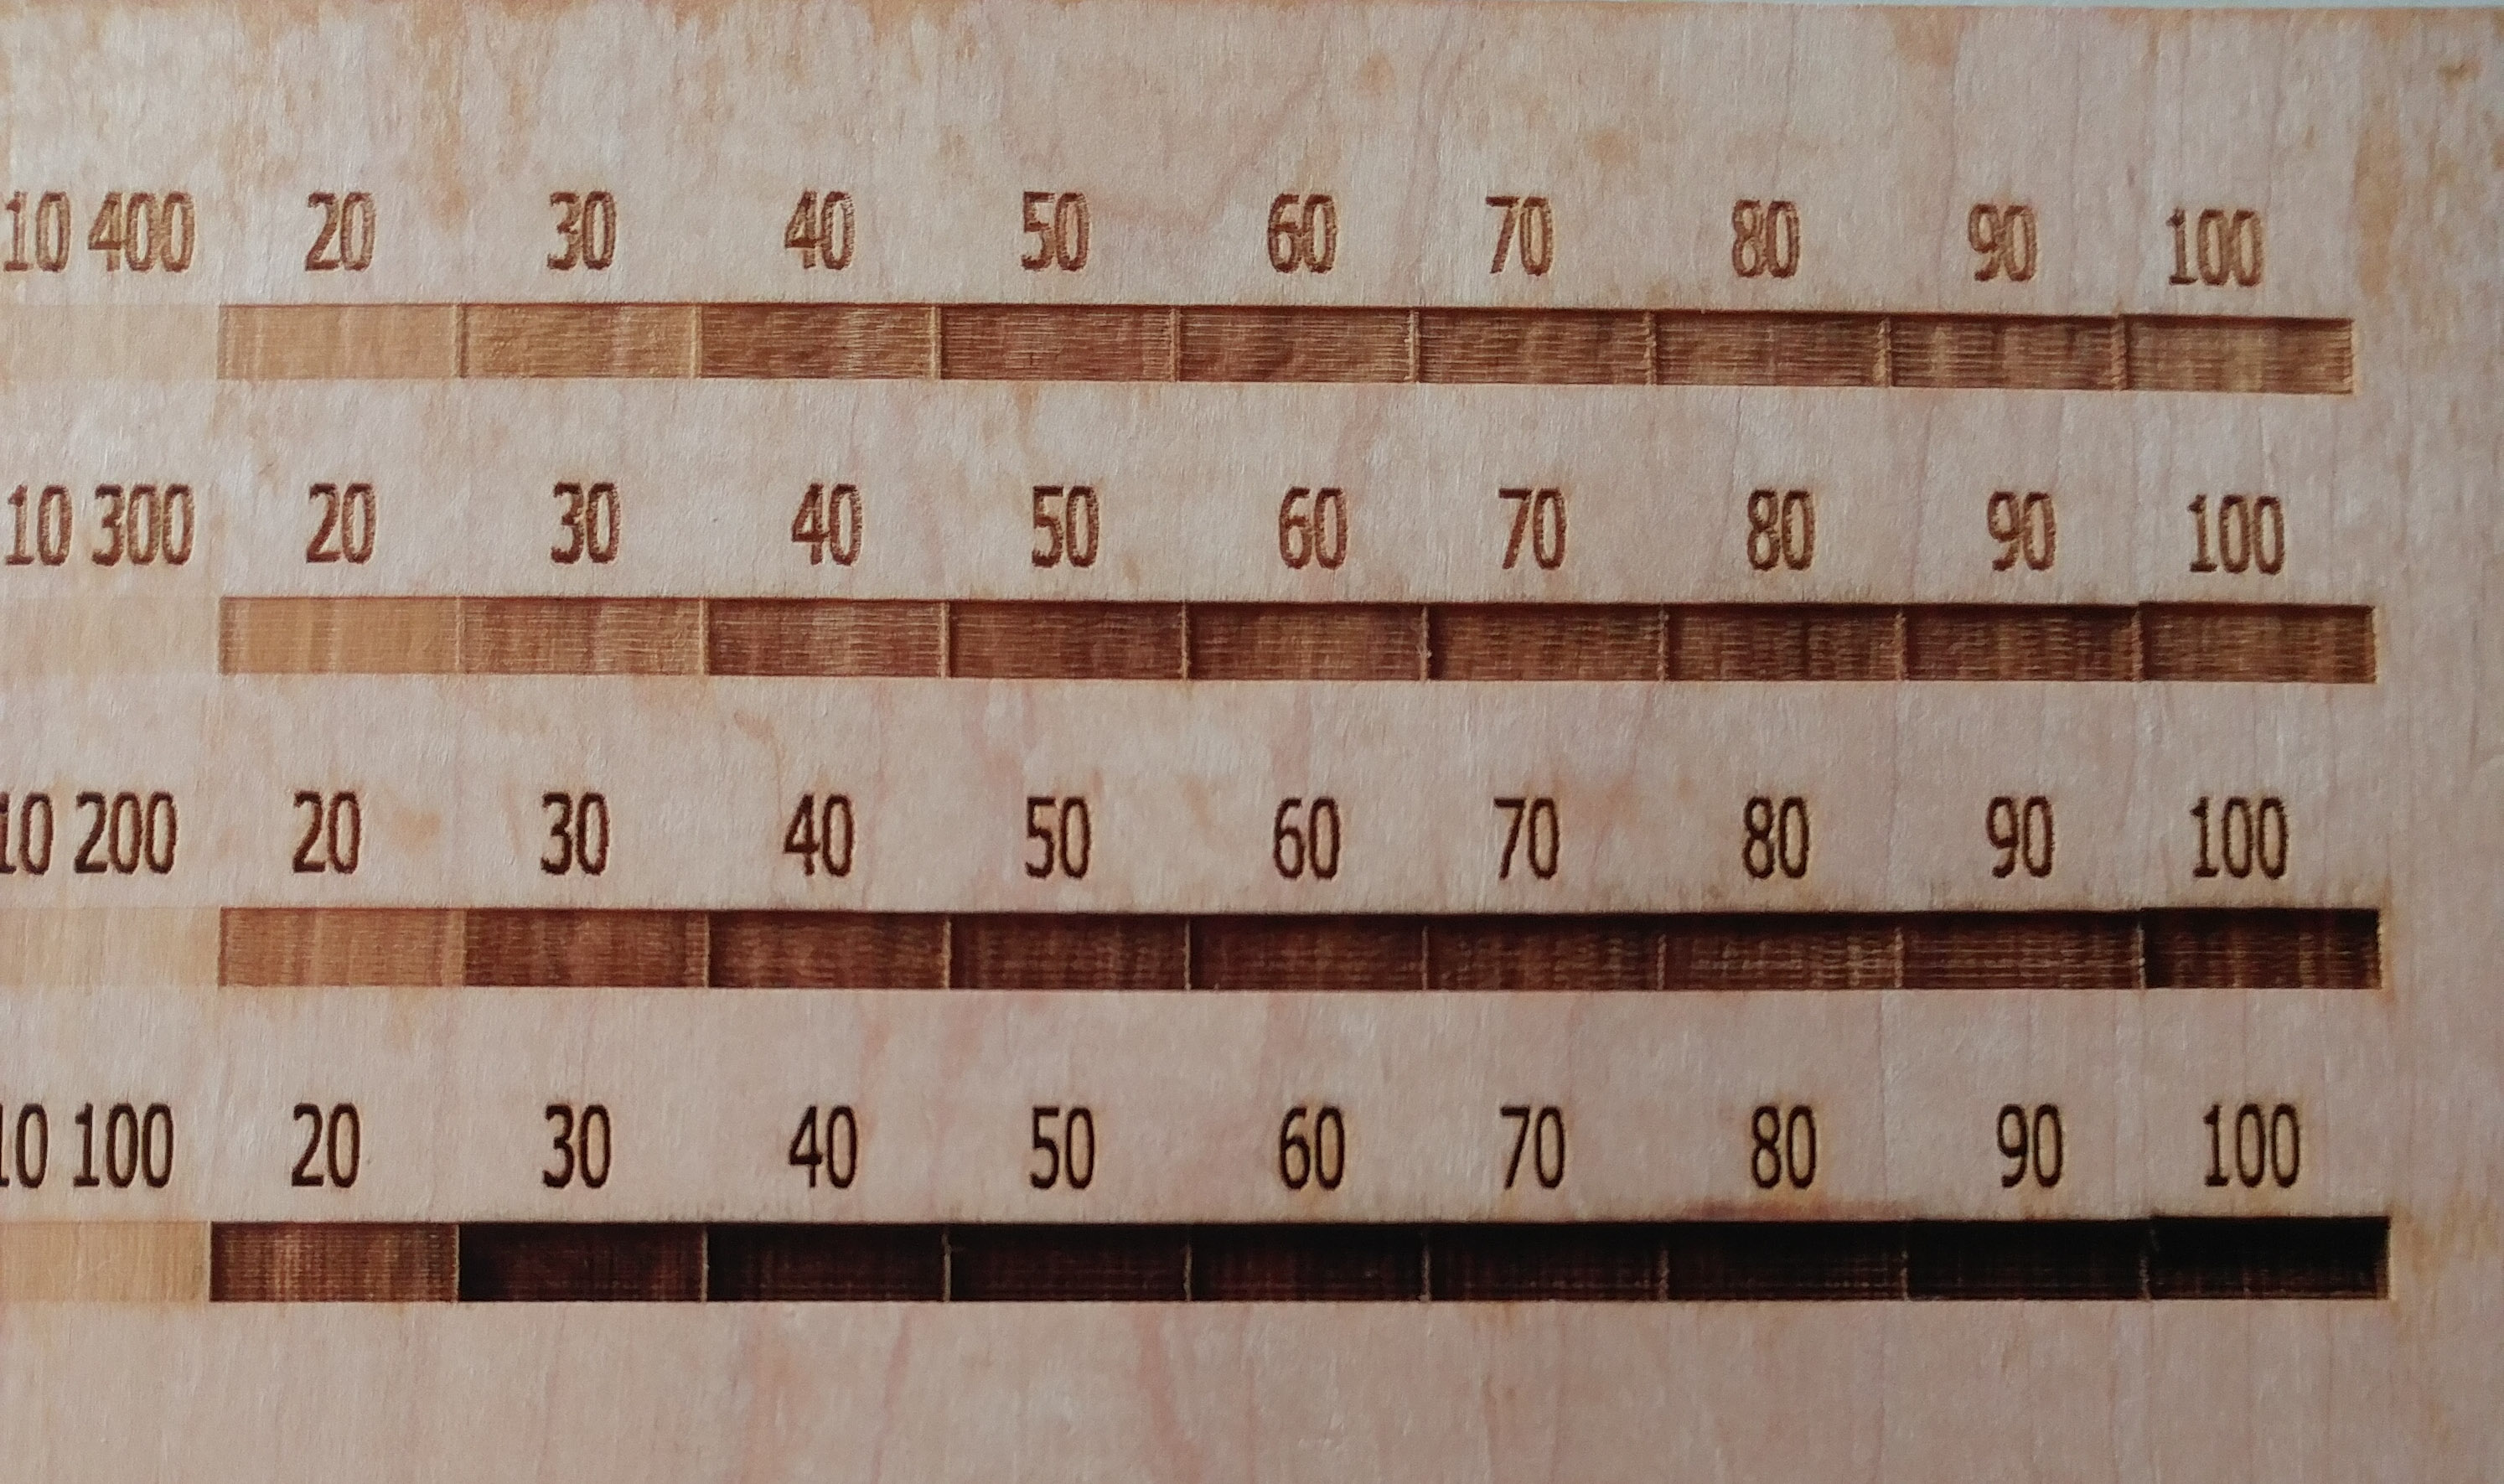
The other reason not to run that high is that there are diminished results above a certain power level. Russ Sadler has some videos on YT on plotting power curves on tubes - worth watching.
LOL, this is me watching him crimp those connectors…
https://www.youtube.com/watch?v=p6b-_MEGOv4
1 Like
I know, right. Not on my machine please!
1 Like
Nevertheless it’s still a good tutorial for the procedure.
And @Hank I laughed my butt( the forum decency bot did not allow me to use the word a$$) off to you video …
Cheers
Sas
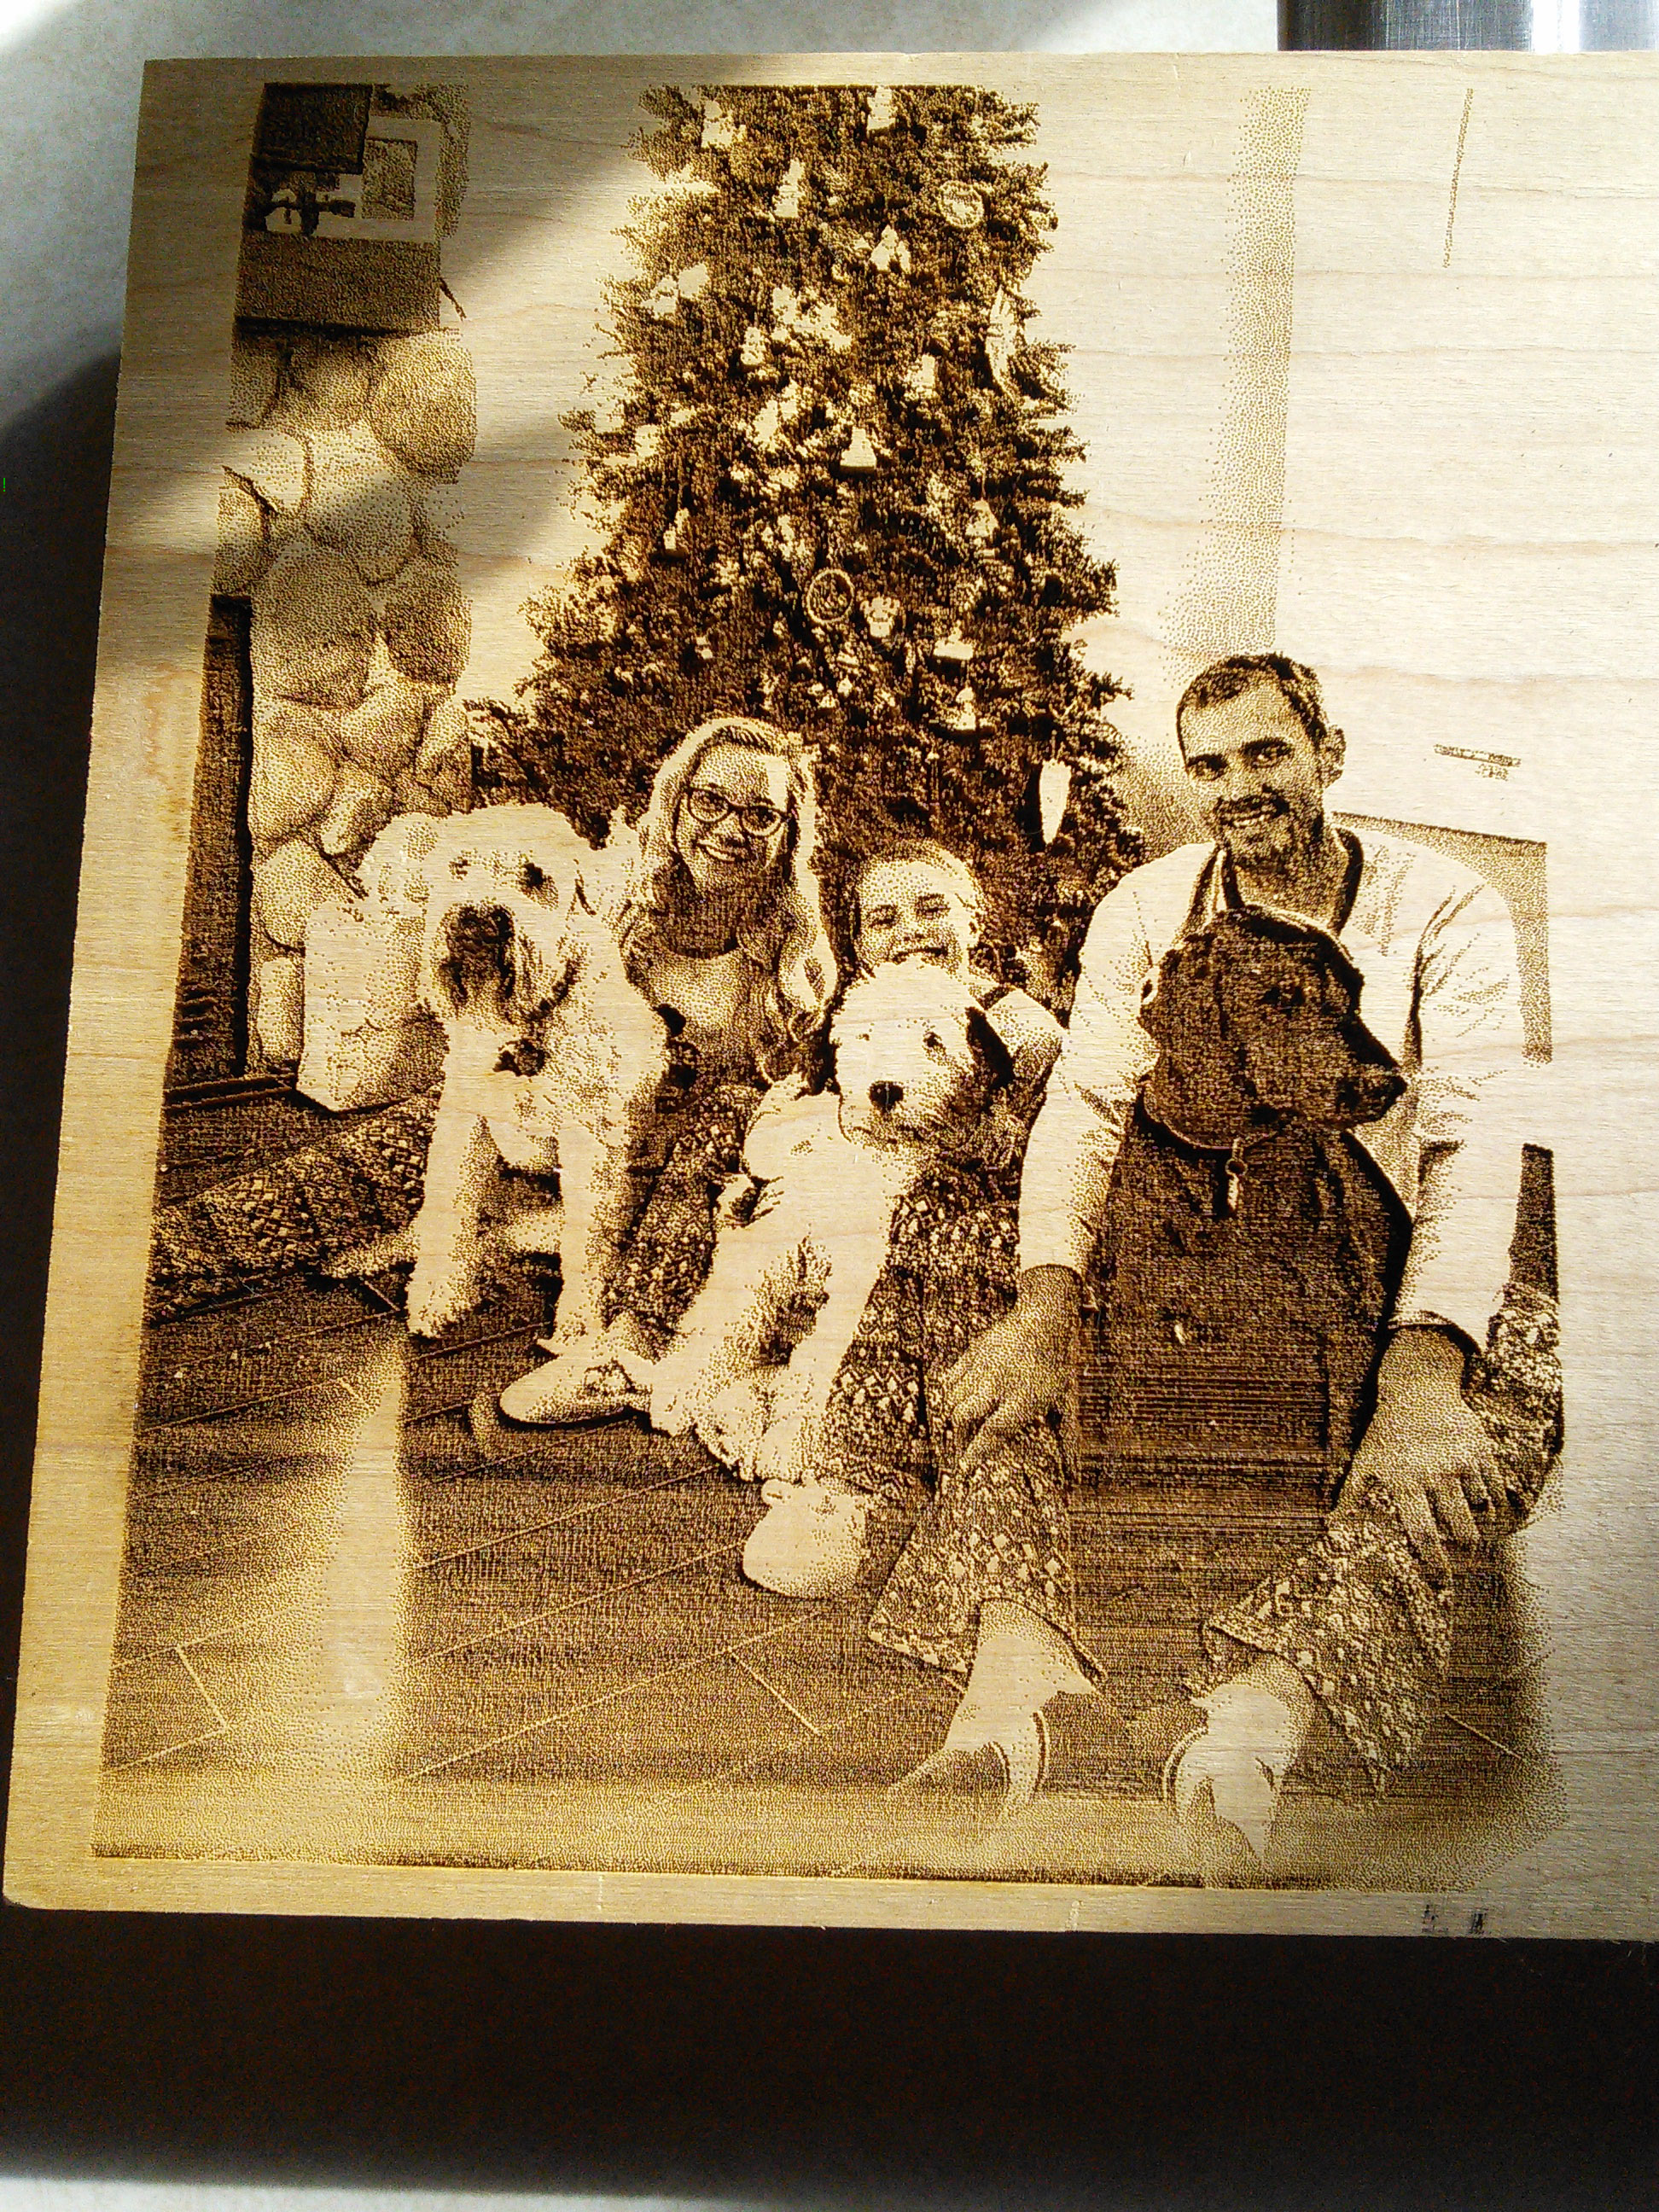
What can be done to reduce the banding , any tips?
I know that wood density variations are a BIG factor. Just curious on others experience.

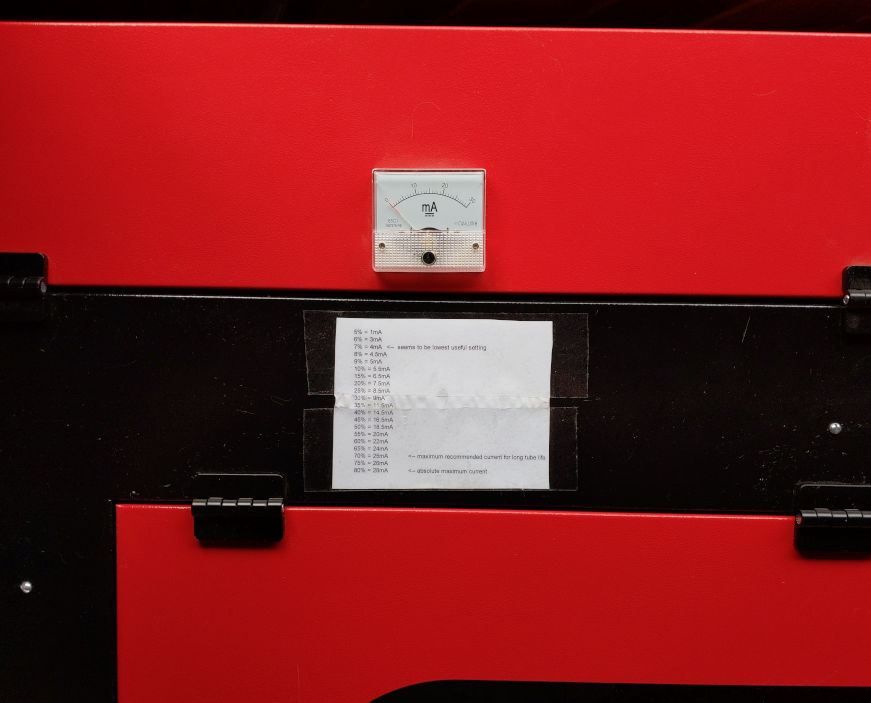
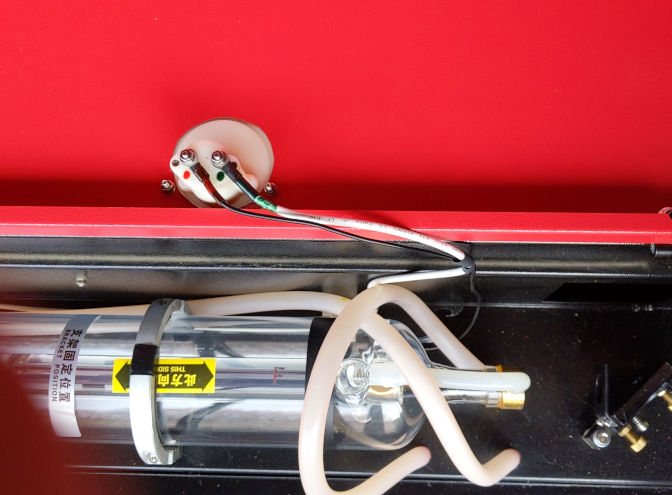
FWIW, I chose an alternate mounting location for my mA meter.
I know most folks mount them on the front of the machine and there’s nothing wrong with that but I chose to put mine on the laser tube door on top of the machine.
My reasoning for doing so:
-
I find it easier to see than a forward facing meter located at crotch level. (this was my primary reason)
-
I didn’t have to splice in any additional wire. There’s about a foot of black wire that comes out of the cathode of my tube and it was spliced to a long white wire that goes down to the power supply. All I had to do was snip them apart at the splice and put a ring lug on each. They were plenty long to reach to my meter location without adding extra wire.
-
I’m not particularly fond of adding additional wire length and running it past all the stepper electronics. Gaseous discharge tubes (and the power supply) generate quite a lot of electrical noise and the connecting wires can radiate a ton of EMI. Keep ‘em as short as practical and away from sensitive electronics is always a good idea.
-
It made it easy for me to cut the holes for the meter because I could unbolt the lid and stick it in the drill press to have my way with it.
Just another way to do it is all.
Banding is not the problem, it was mostly the grain patterns on the hard maple. Bass wood would have solved most of it . I also went against the grain cuase it was just a test. The black areas were very deep.
This topic was automatically closed 14 days after the last reply. New replies are no longer allowed.