Chinese 700x500mm 100W laser. EFR tube. Mechanical Z-axis. Ruida 6442G controller. I’ve been poking and prodding, doing test cuts and making small items.
Have found and fixed the following:
Inconsistent burns/line width: Honeycomb bed warped; added 6x spring-adjustable mounting screws (similar to 3D printer) to level the honeycomb after adjusting the bed itself.
Wobble: Adjusted acceleration settings and belt tension; almost entirely gone.
Replaced exhaust jet engine (errr… blower) with a 440CFM duct fan. Not quite as effective, but whisper quiet.
Getting ready to replace the DM545A stepper drivers with DM542T. I’m hoping the digital drivers will let me up the stepper current and smooth out the last of the resonance/bouncing/wobble.
Changed microstepping from 2000 to 1600. That still gives (in theory) 500dpi, but gut feeling is there is just something fundamentally wrong with the microstepping not being a power of 2.
Stress test: 175x175mm mandala at 320mm/s and 1.5% power on cardboard. Test cut.
“It’s not a $25K laser, but it looks like it’s going to do the job for my tinkering.” Combined with a 3D printer and a small CNC machine, “I have options”.
It’s not really much to see now that it’s all back together (and I’m not going to take it apart and need to re-do the leveling :))
But,
Concical springs + some M5 machine screws, washers, and nuts.
one hole drilled slightly inset on the long edge from each corner of the honeycomb frame, and one in the center of each long edge and through the frame below
screw -> washer -> honeycomb -> spring (large size up) -> washer -> honeycomb -> washer -> nut
-> remove the honeycomb and level the frame (remove the Z belt, adjust everything, and put the Z belt back on) - it’s really easy without the honeycomb in the way
-> put the honeycomb back. Clamp it down, and drill the holes
-> assemble
-> adjust with the laser head in 9x tic-tac-toe positions; redo until each one is the same
I adjusted with a 3"/3mm circle of plywood and some paper; center and adjust the laser nozzle down until it touches the paper and adjust the M5 screw until there is just a slight drag. Leave the head/nozzle in the same position for the remaining locations.
Note: I had to shim under the honeycomb in the center because it was the low spot. With the center as absolute zero in the Z-axis, I adjusted the other 8 points to match it.
I used 3/4" 10lb conical springs. (20lb springs, 10lbs at 50% compression). That’s 60lbs of support on the bed, so it should be plenty.
I thought I had included an example image. I’ve done some more fine-tuning.
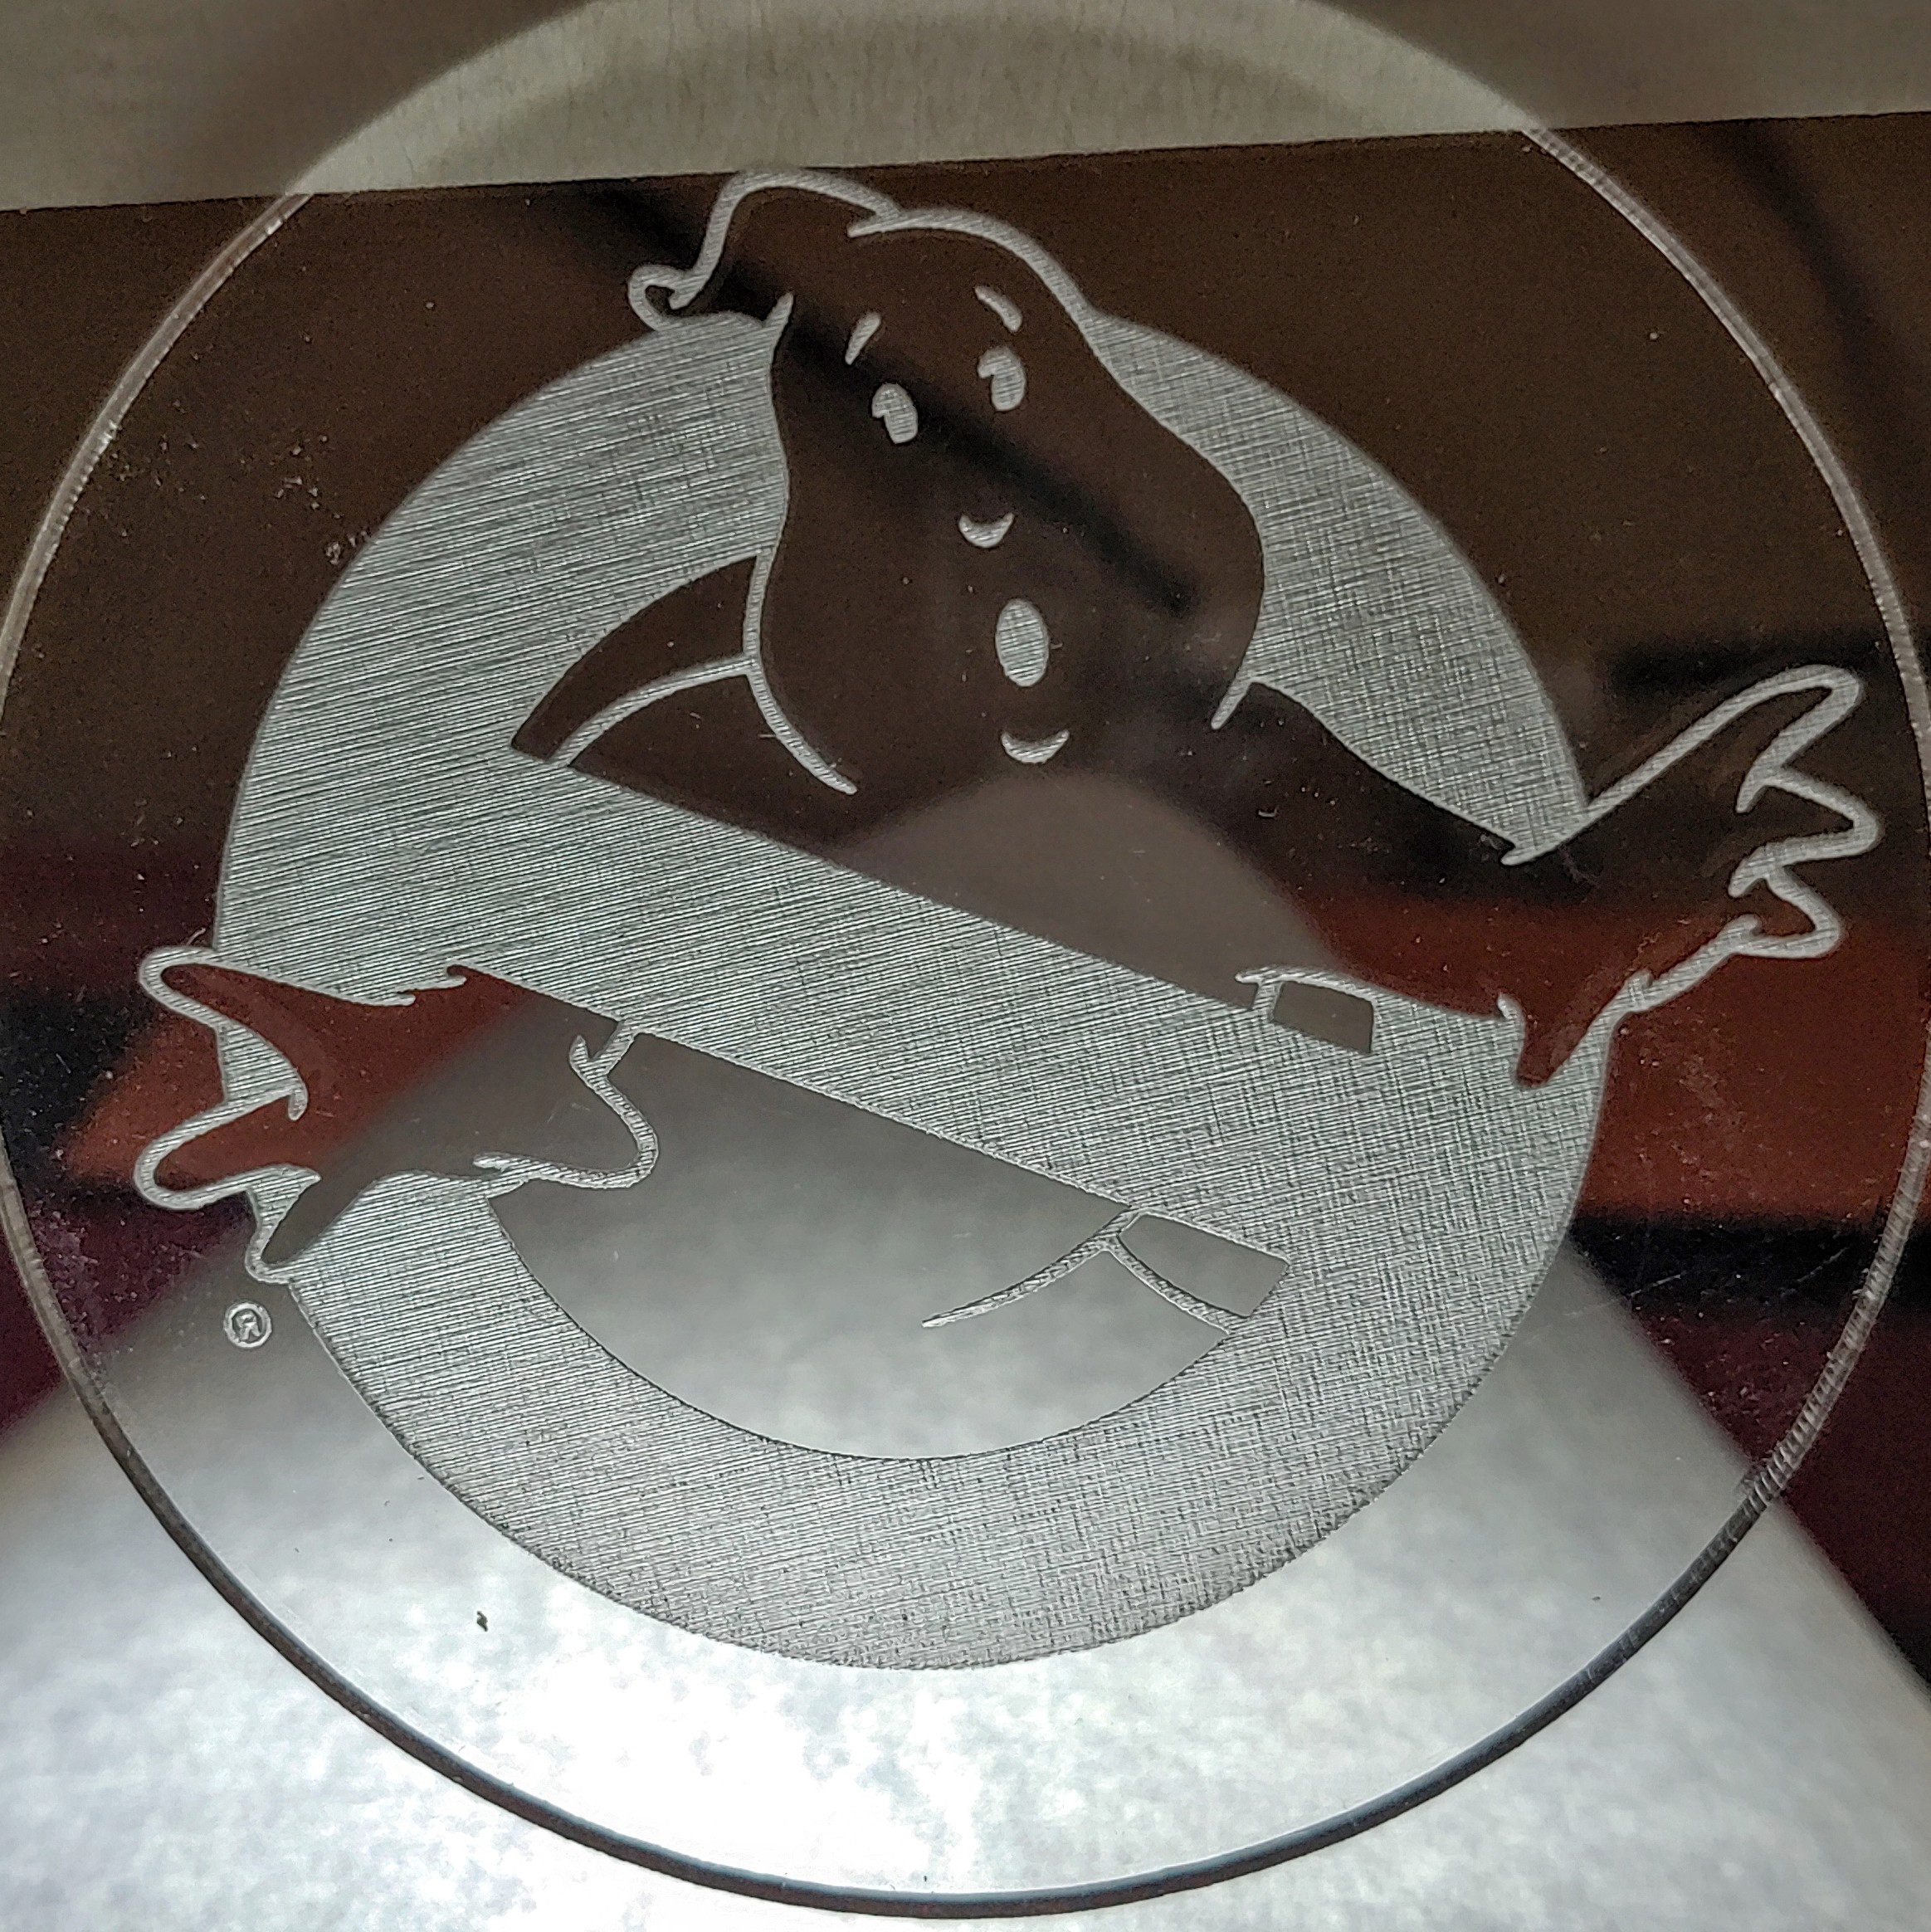
400mm/s, 25% power on 100W 700x500mm. Bidirectional and cross-hatch fill with .05mm/508dpi. 38mm lens.
Upgrading the stepper power supply to 48v has made the axis movement almost entirely silent. I can hear the air assist (at the nozzle, not the pump) over the sound of the movement.
I need to fine tune the acceleration, speed, stepper current, and microstepping now. A snowflake vector that I found is my acid test for accleration/wobble, and it’s running really clean at 100mm/s now. I’d like to see how far I can go to push the performance and then dial it back a bit.
I kept the original PSU. The Ruida “works with 36V, but not approved”. I’m running the original PSU for the electronics and the new PSU just for the steppers.
I’ve also upped the stepper current to 3.76A peak on the new digital drivers and, so far, haven’t noticed any temperature problem with the steppers. They are barely above room temperature.
Adjusting belt tension, replacing drivers and PSU, and tinkering with acceleration and takeoff speeds now let me cut a design at 400mm/s without wobble. Previous, I couldn’t get over 100mm/s.


