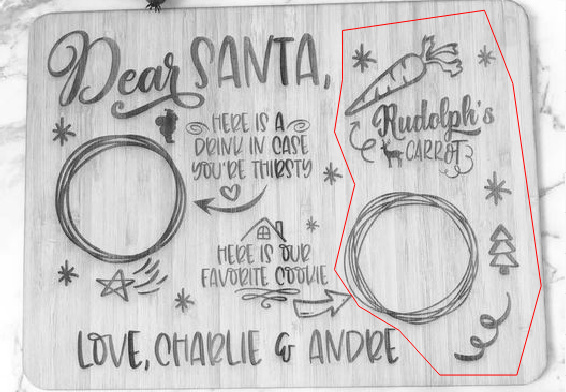
I would love some advice please… I have a work piece which measures 8.25" x 11.75" (210mm x 297mm). It consists of pictures and text made up of vector shapes (not images) The engrave is taking 27+ minutes. I’m using LightBurn 0.9.16 and I’m up to 650mms @ 35% power with ~.135 line interval @ 190 lines per inch. Does anyone have any advice how to get the time to engrave down without sacrificing engrave quality? Thanks in advance for your help!
Post this file for review if you are willing. Your ‘Cut Settings’ and ‘Optimization Settings’ are used in combination to control the cut planning. Is this a single vector on one layer or made up of several different layers?
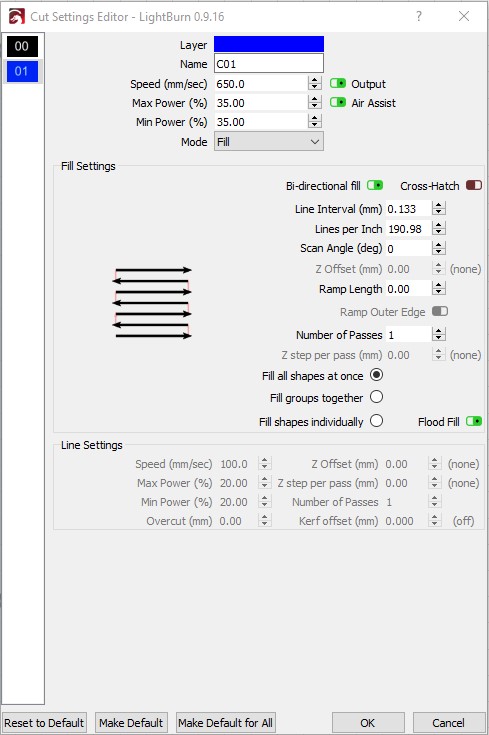
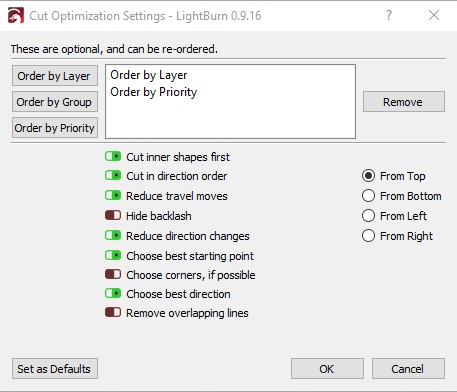
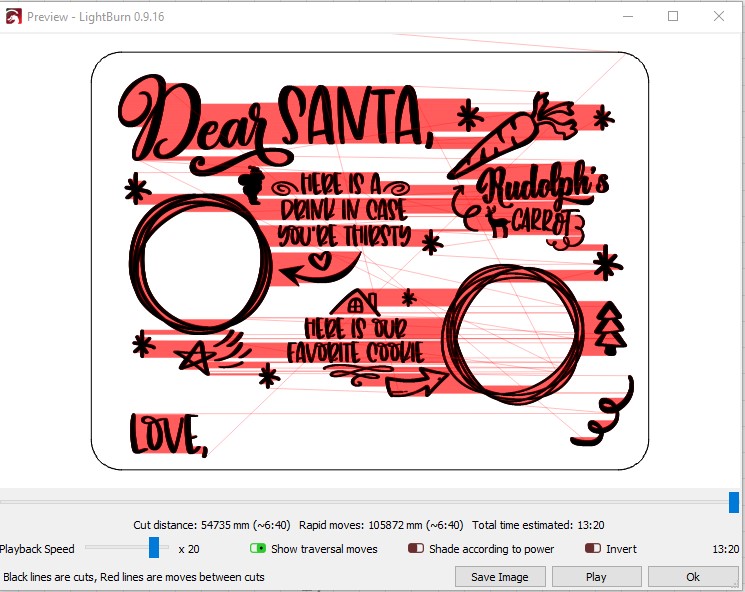
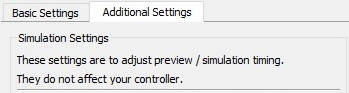
Thanks Rick. I’ve attached cut settings, optimisation settings and the preview. Please note the preview is not accurate it takes a little over double the amount of time.
Turn ‘Flood Fill’ OFF (red). This should significantly reduce the amount of moves calculated as these shapes are not what Flood Fill is used for. Hover over most anything in LightBurn to see its intended use.
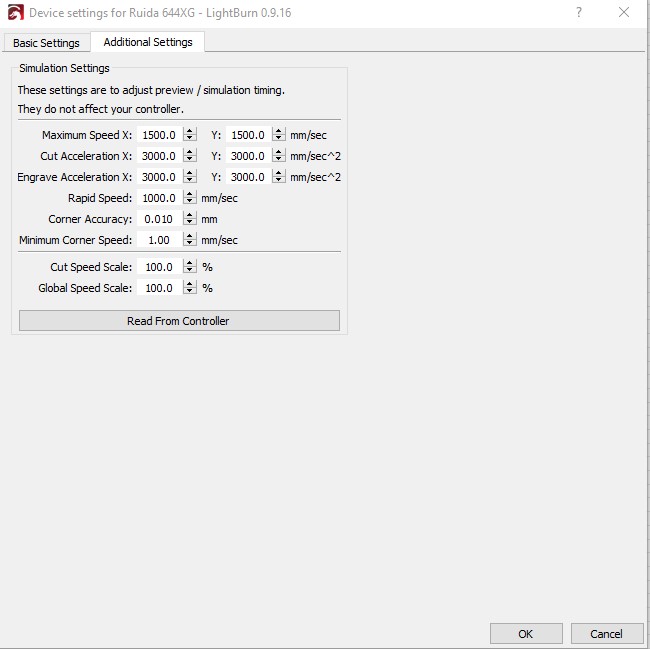
First, click the “read from controller” button there to make the simulation match the controller a little more closely. You’ll likely find the 650mm/sec is giving you a lot of overshoot, which might or might not be costing you time, depending on the acceleration setting in the controller.
Unfortunately, because this design covers a lot of area, the fastest way to engrave this is likely going to be to just do it all at once as a normal sweep. You might be able to cut it down a little by grouping all the stuff to the right side of the “Dear Santa”, and grouping the rest as another group, then using “Fill Groups Together”. That would save you a bunch of traversing over blank space, but it’s not certain you’d gain a lot
The reason I asked is that your settings are wild. Your top speed is nearly a meter a second higher than mine. If those are the settings as-read from your controller, and not from manual entry.
And if the cut is actually taking twice as long as the preview timer, then I believe that means the machine is actually moving half the speed it thinks it is (at least in terms of the simulation settings).
Right @LightBurn ?
For example - my 80W Red & Black has a manufacturer max X-axis speed of 500 mm/sec; so that is half of the 1000 mm/sec Rapid Speed seen above in the “simulation” device settings, a third of the 1500 mm/sec Max Speed X, and also less than the 650 mm/sec layer speed setting…
Meaning you should definitely click “Read From Controller” to get accurate times and understanding.
Hey @Rick, good point on Flood Fill, thanks. I had to check my setting as well to make sure what I had for default. So I was happy to see when I had it off, but surprisingly I tested a few files both ways, and it actually sped up my cut time pretty significantly to have it ON (in the preview at least)…
Like for one large fill file in particular it went from 1:01:27 with it OFF to 42:43 with if ON. That is like 30% faster! It is etching acrylic at 37/70, so I thought that wasn’t that slow.
Any idea where the approximate cutoff would be between “lower speed” and higher speed for the Flood Fill?
If you double the speed, you need to double the power to maintain the same light pressure, half the speed, half the power.
Of course there’s mechanical limits, and a drop off of air efficiency at higher speeds, but you’re really only limited by your available power.
The only time I run less than maximum power is when I hit a electronic/mechanical obstacle (like wavy lines or tube ‘judder’) or when, even at 500mm/s, it’s still too hot - like cutting lace from silk, and thin paper.
If you can cut at 70% at 37mm/s, you should be able to cut at 90% power at 45mm/s or at 50% power at 25mm/s.
Hi Bo. Sure that all makes sense, even the last part. But I have been told that going over 70% power can start to drastically reduce the life of your laser tube… do you not subscribe to that?
It depends how good and how well set up your laser is.
If it has only manual power control, whatever keeps it under the maximum, but a blanket ‘don’t go over 70%’ is as accurate as ‘as long as a piece of string’ - every one is different. I can only assume that came from the K40 crowd, where 70% on the dial is way in excess of what the tube can take, due to the absolutely rubbish electronics.
For machines with PWM control, the psu should be calibrated to never exceed the ability of the tube, so you can happily go to 100%.
That being said, depending on the material, sometimes going to max power gives no more cut than sitting on 85%. I typically adjust max PSU mA to meet the ‘long-term-use’ setting given by the tube maker.
On my main production machine I have it adjusted to over the user-guide recommended mA, but under the factory max test mA (both figures are on the QC sticker on a decent tube), because time is money. On the secondary, it’s the one that other people use and so it’s set to ‘safe’, as well as being the backup should anything go wrong.