I’m I being a total newbie and missing the job size setup page???
Do you care to elaborate?
1 Like
The first step in Vcarve Pro is set up your work area size… I’m I missing that part in Lightburn?
Well, yes and no. You did set up your “work area size” during the ‘Device Setup’ process. During this process, the bed size of your machine is identified and displayed in LightBurn as your ‘Workspace’ (area with grid on screen). You do that only once and you are set for each time you want to stat a project. The “work area size” has already been defined.
May I suggest you watch some of our ‘Getting Started’ tutorials and review some of the documentation to help in understanding the LightBurn interface and general usage.
Yes I have watched all of them. I guess it will take some getting use to from what I have been using for layout. I did set up my “work area” at my bed size of 31"x31" Easy in Vcarve pro when you set up your actual peice you will be working on and laying out all the tool paths…
What I do find my origin, wherever that is, then draw a box for my piece in lightburn, that’s the size of my stock. I set it to not output, but it still uses it as the reference. So for instance, I know on my bed where x:675 and y:495 is, and I set my bottom left corner of my stock to that point, and cut based on that. I always home my head back to those coordinates, and then just use ‘current position’ in Lightburn, so it doesn’t matter where the piece is in Lightburn, it’s always starting from that bottom left corner.
This probably makes no sense…
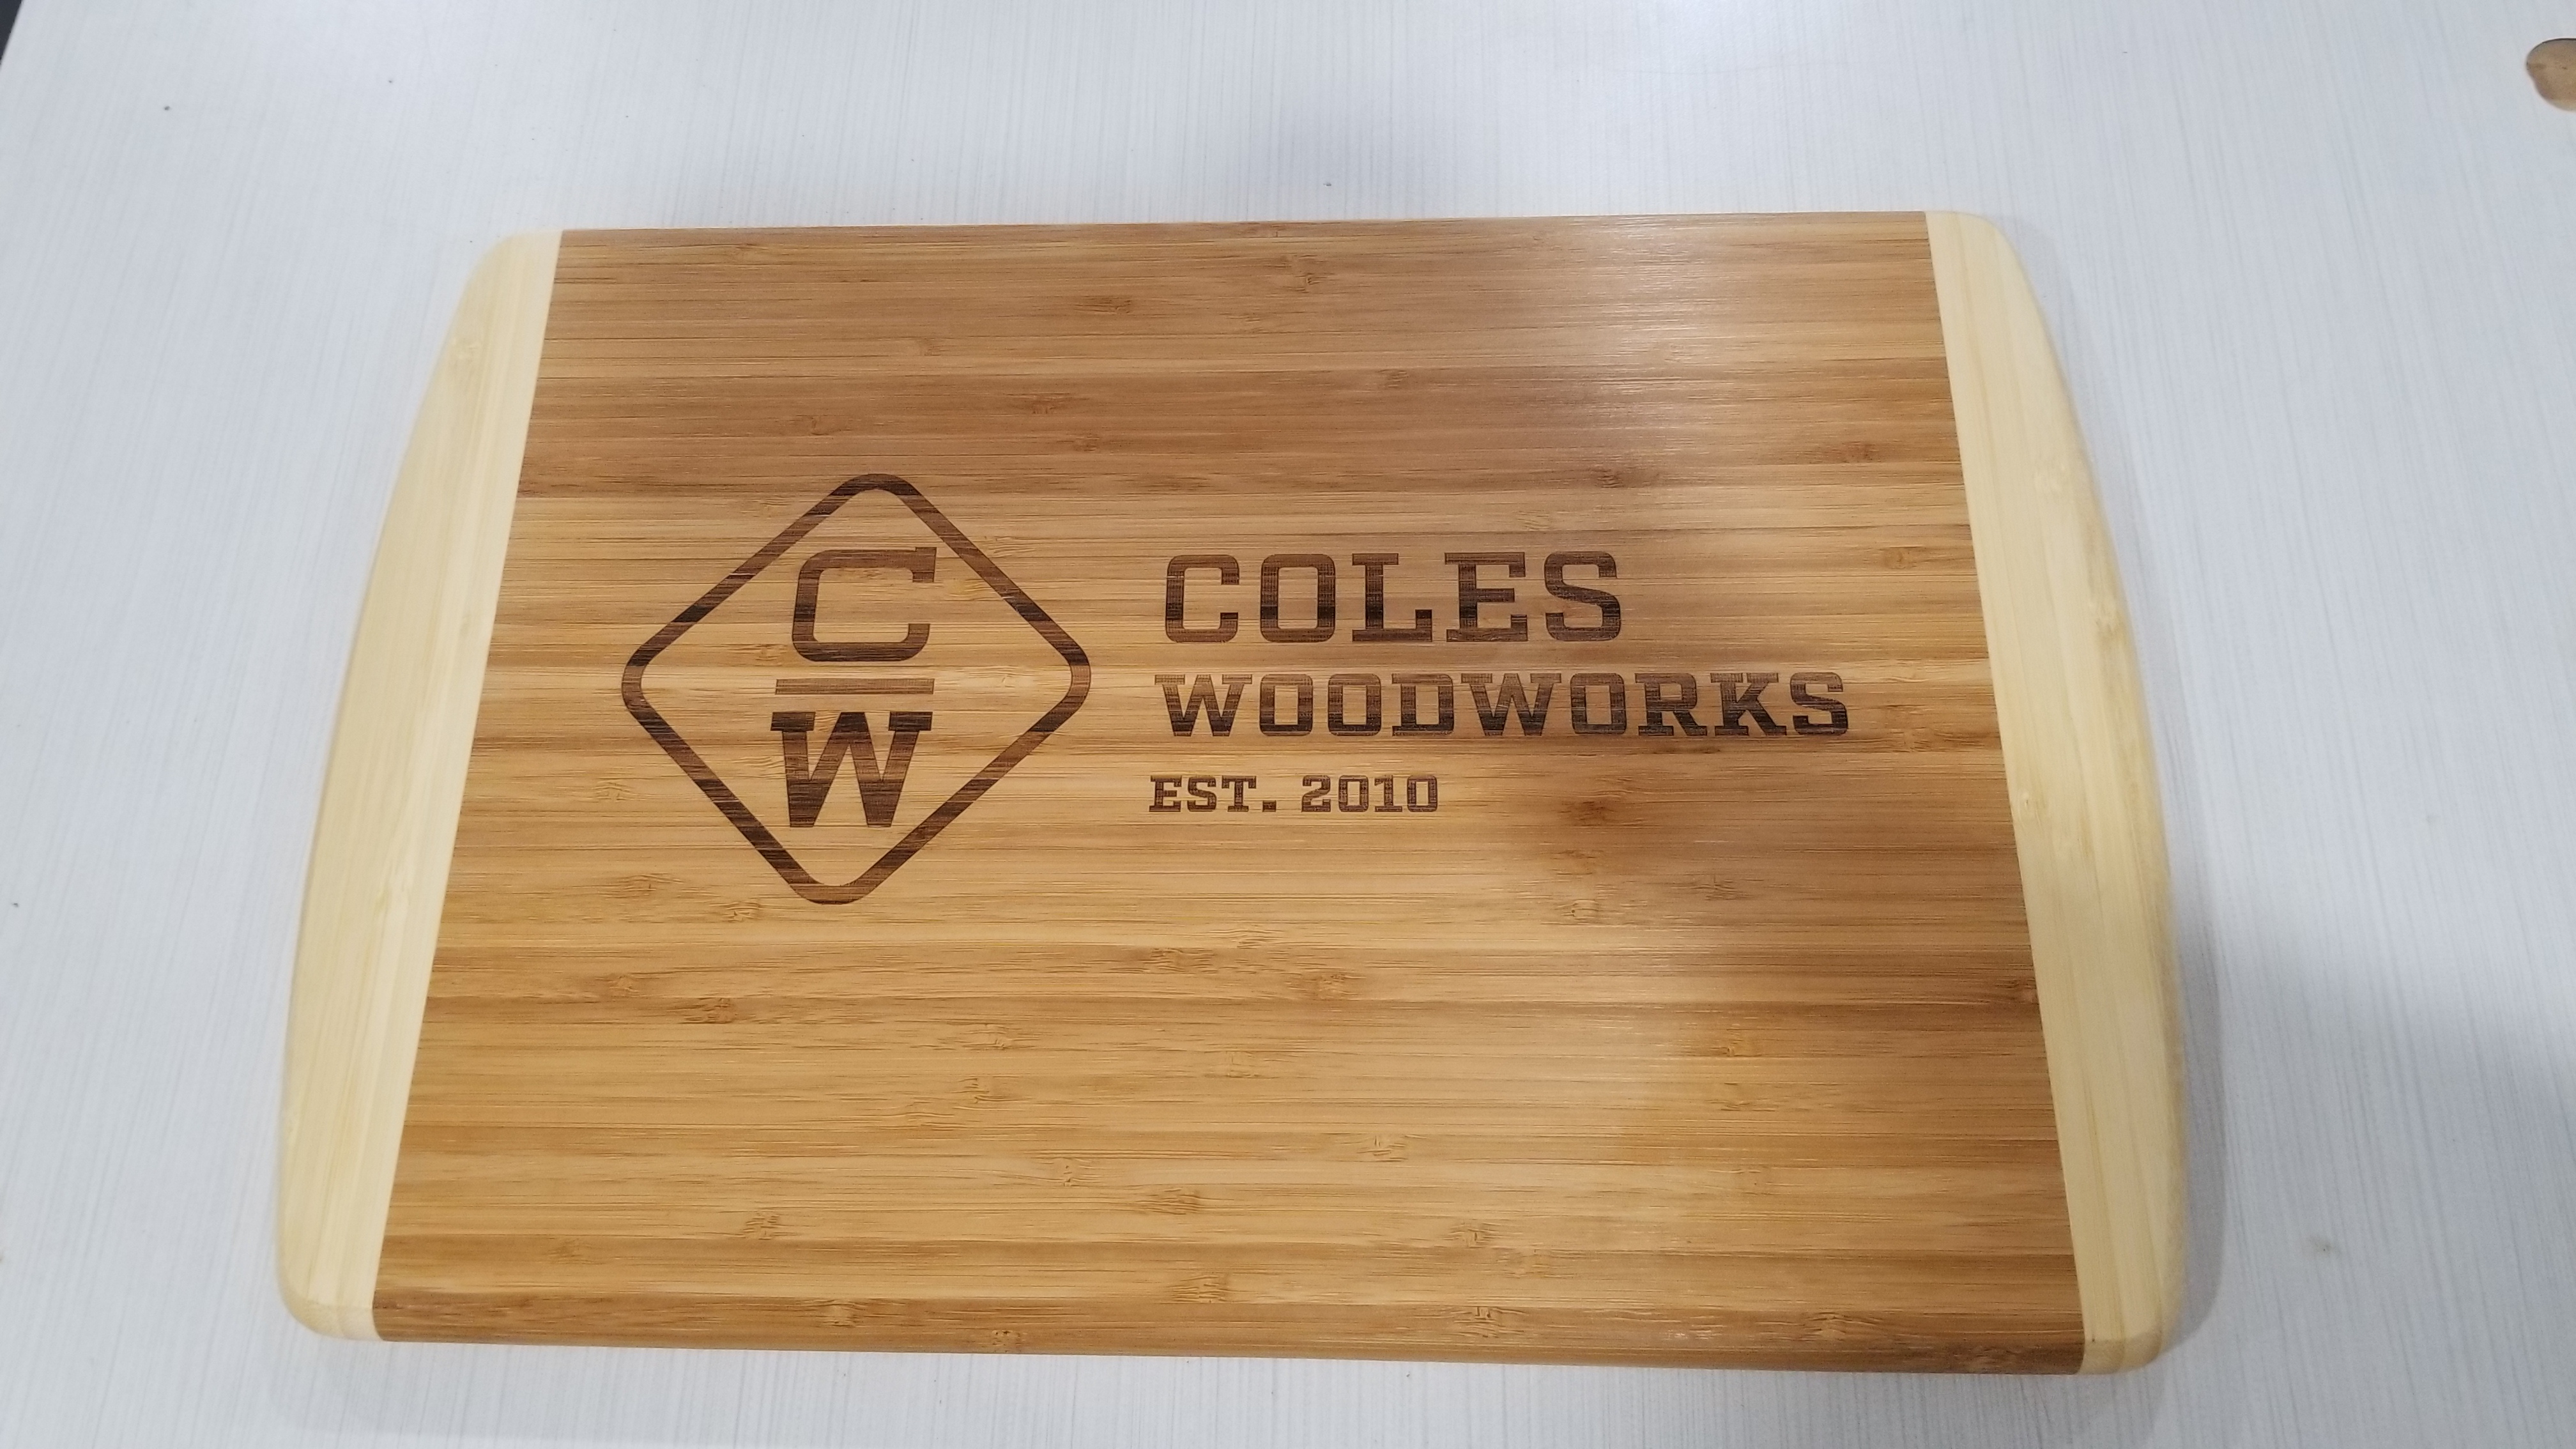
No that makes all kind of sense… That’s what I was doing last night. Set up a fake cutting board size then center all my text .
Here is a good thread you might benefit from (covers some general workflow ideas):