Machine: 3000 MW Blue CNC laser Engraver
Advanced CNC 2-Axis Control Board
Firmware standard 0.9j
Computer: Macbook Air, O/S 11.2.9
USB connect
Lightburn software seems to be functioning as it should. After watching all the tutorials, I still need direction (settings) on how to turn the laser on. I am an absolute novice and find it difficult to decipher terminology. Thank you.
It is ok, we all start learning these new terms at some point, you are fine. I do see that you are using a very old and non-laser supporting firmware. This will make the process more challenging that it needs to be. I would look into flashing, or upgrading, the firmware used to drive this setup.
We provide documentation to help you get this DIY system going: Common GRBL/GCode Setups - LightBurn Software Documentation
The last paragraph is what I was mentioning.
Grbl Flavors
Grbl firmware was originally designed for CNC machines and 3D printers, with laser support added more recently. It is highly configurable, and this is both a blessing and a curse. The “standard” way a CNC machine is configured is somewhat different from the way laser machines often are. Luckily this is easy to change, and easy to switch from one to the other.
The more recent versions of Grbl (1.1f and up) support two things that are incredibly useful for lasers. The first is Laser Mode, enabled by setting $32=1 in the firmware settings. Laser mode eliminates the pauses that happen when changing power output, because Grbl knows it’s controlling a laser which reacts instantly, instead of waiting for a spindle to change RPM.
The second is a feature called variable power mode, or the M4 command. In this mode, Grbl adjusts the laser power as the machine speeds up and slows down, making for very consistent cutting and marking. Older versions of Grbl do not have this feature, and simply run the laser at a constant power output for the duration of a cut. Since the machine needs to slow down to take sharp corners, this means corners get over-burnt, while long straight lines end up lighter.
This also has the benefit that when the laser comes to a complete stop, the beam turns off (zero speed equals zero power), meaning that pausing a job automatically turns off the laser. This is not always true with other versions of Grbl.
If you aren’t already running Grbl 1.1f (or later) on your controller, we highly recommend it for laser use. If this isn’t an option, that’s ok, but your results won’t be as good, and pausing the laser runs the risk of leaving the beam on and ruining the job.
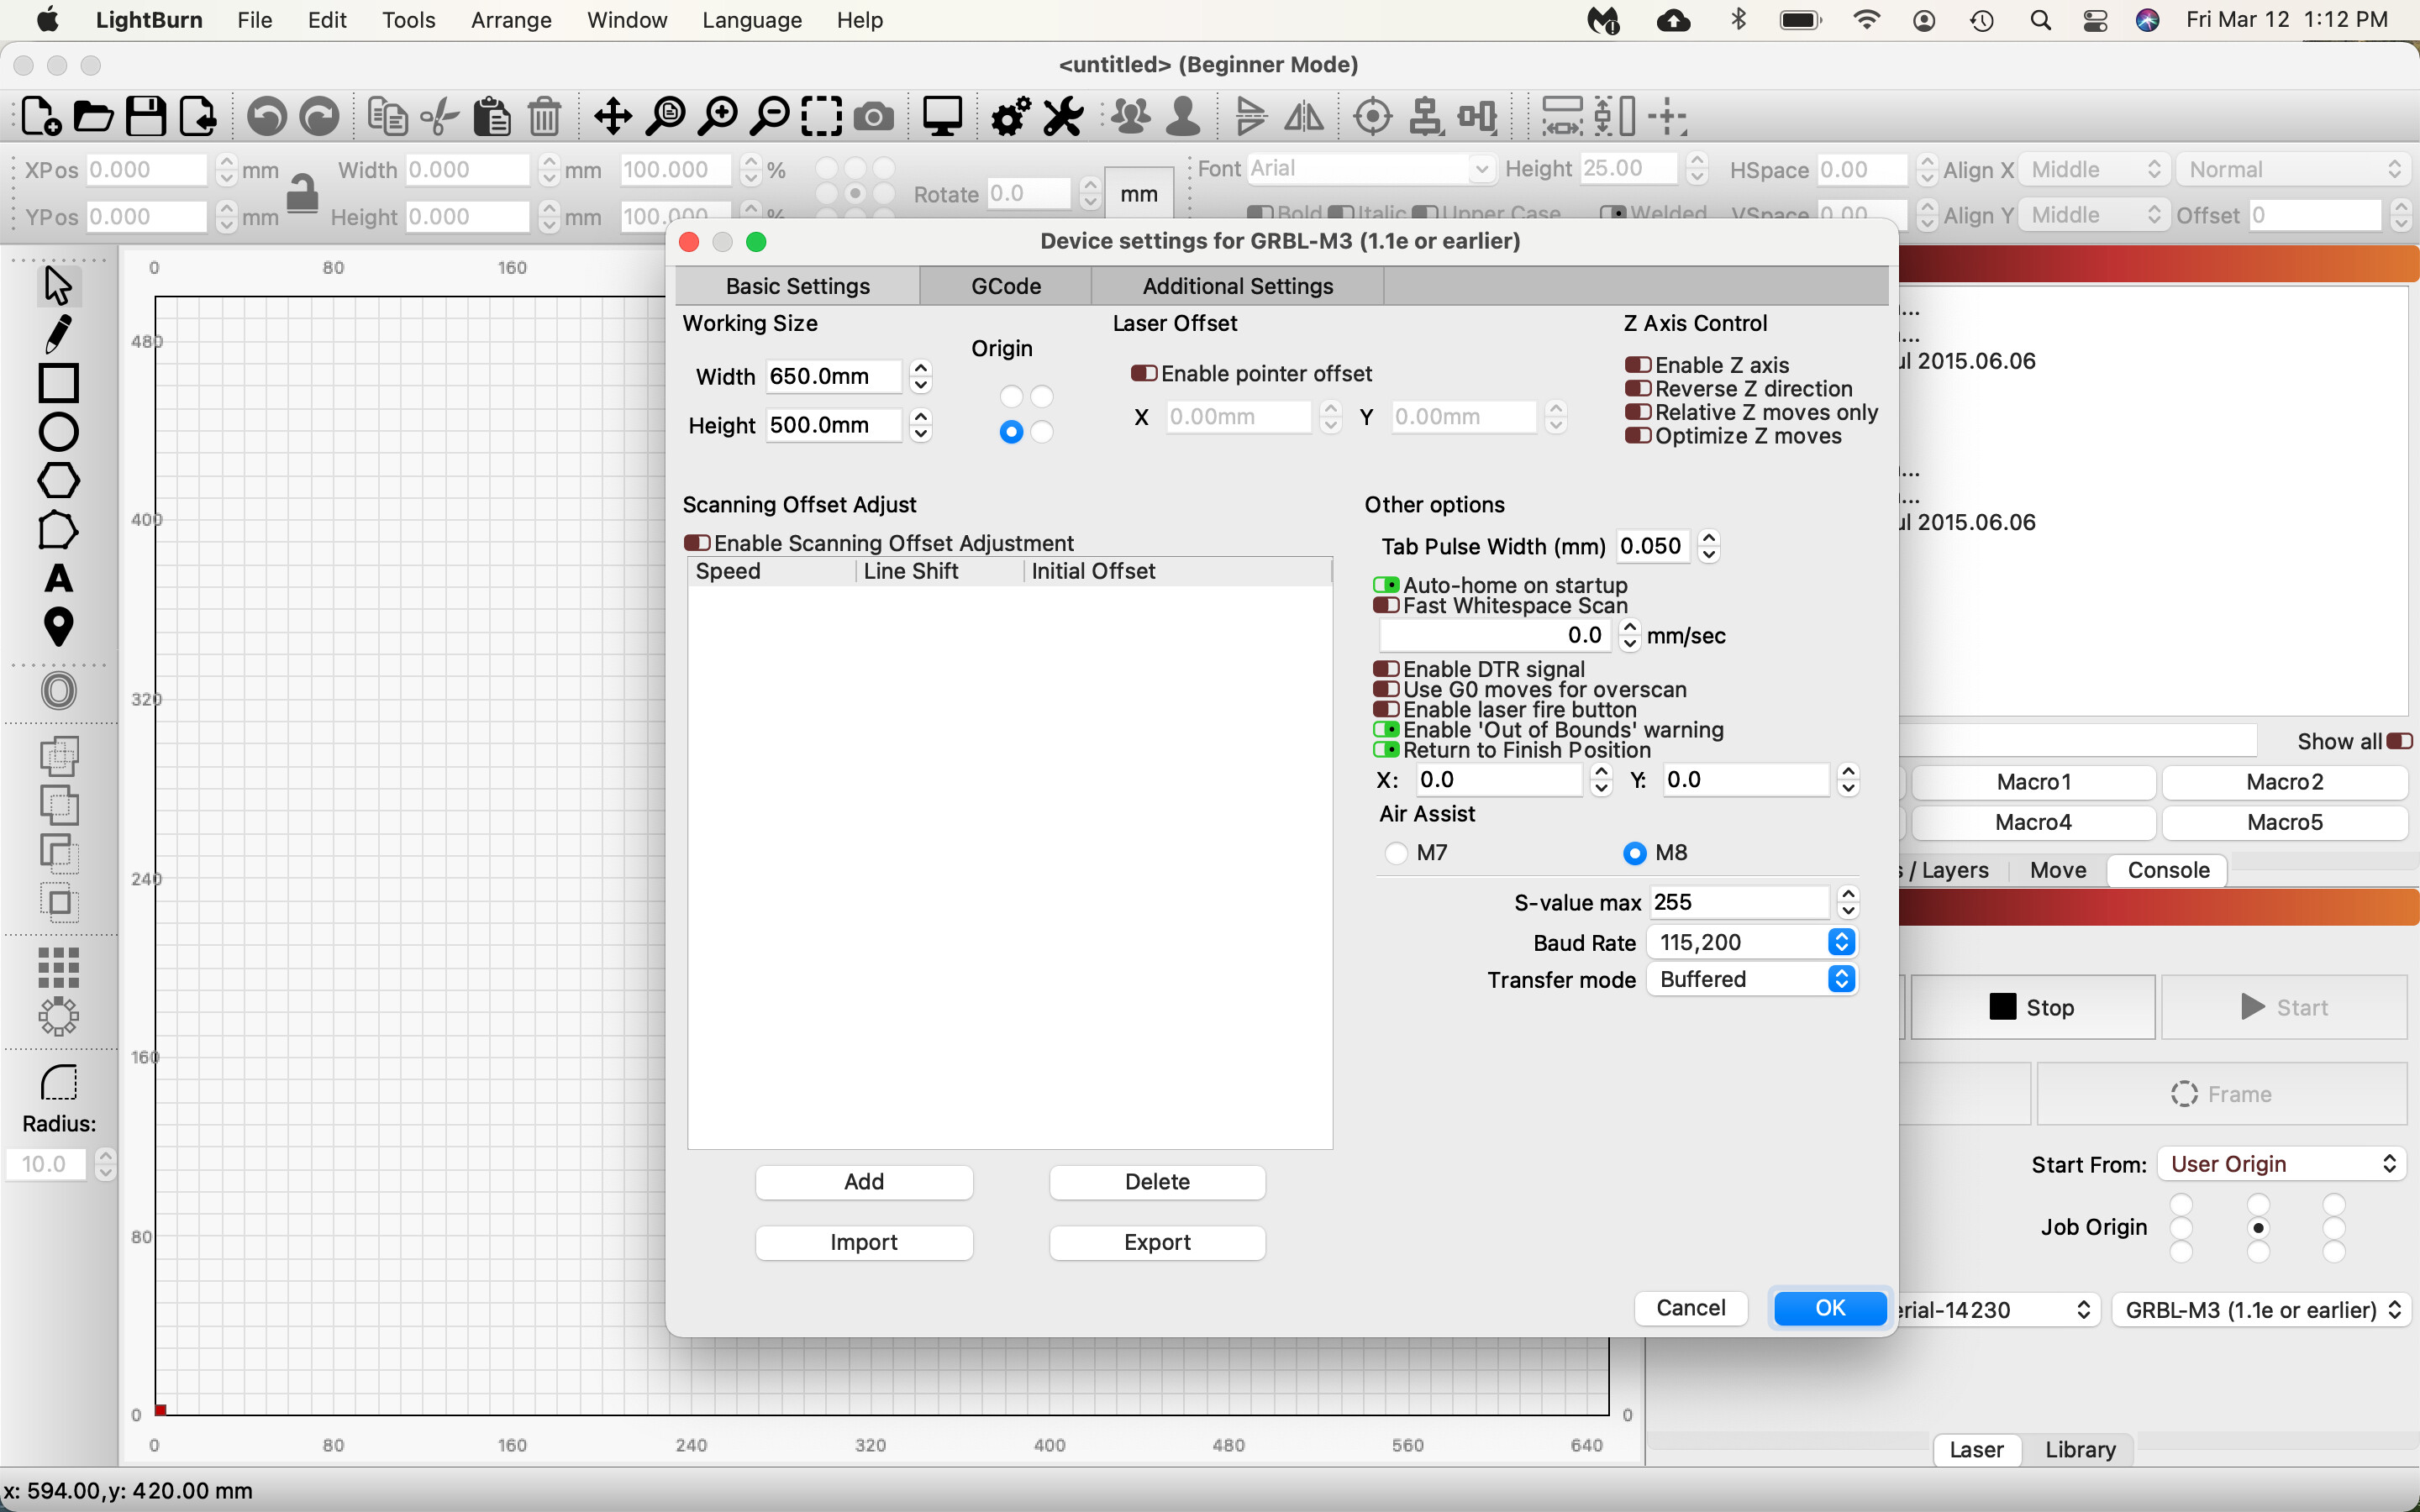
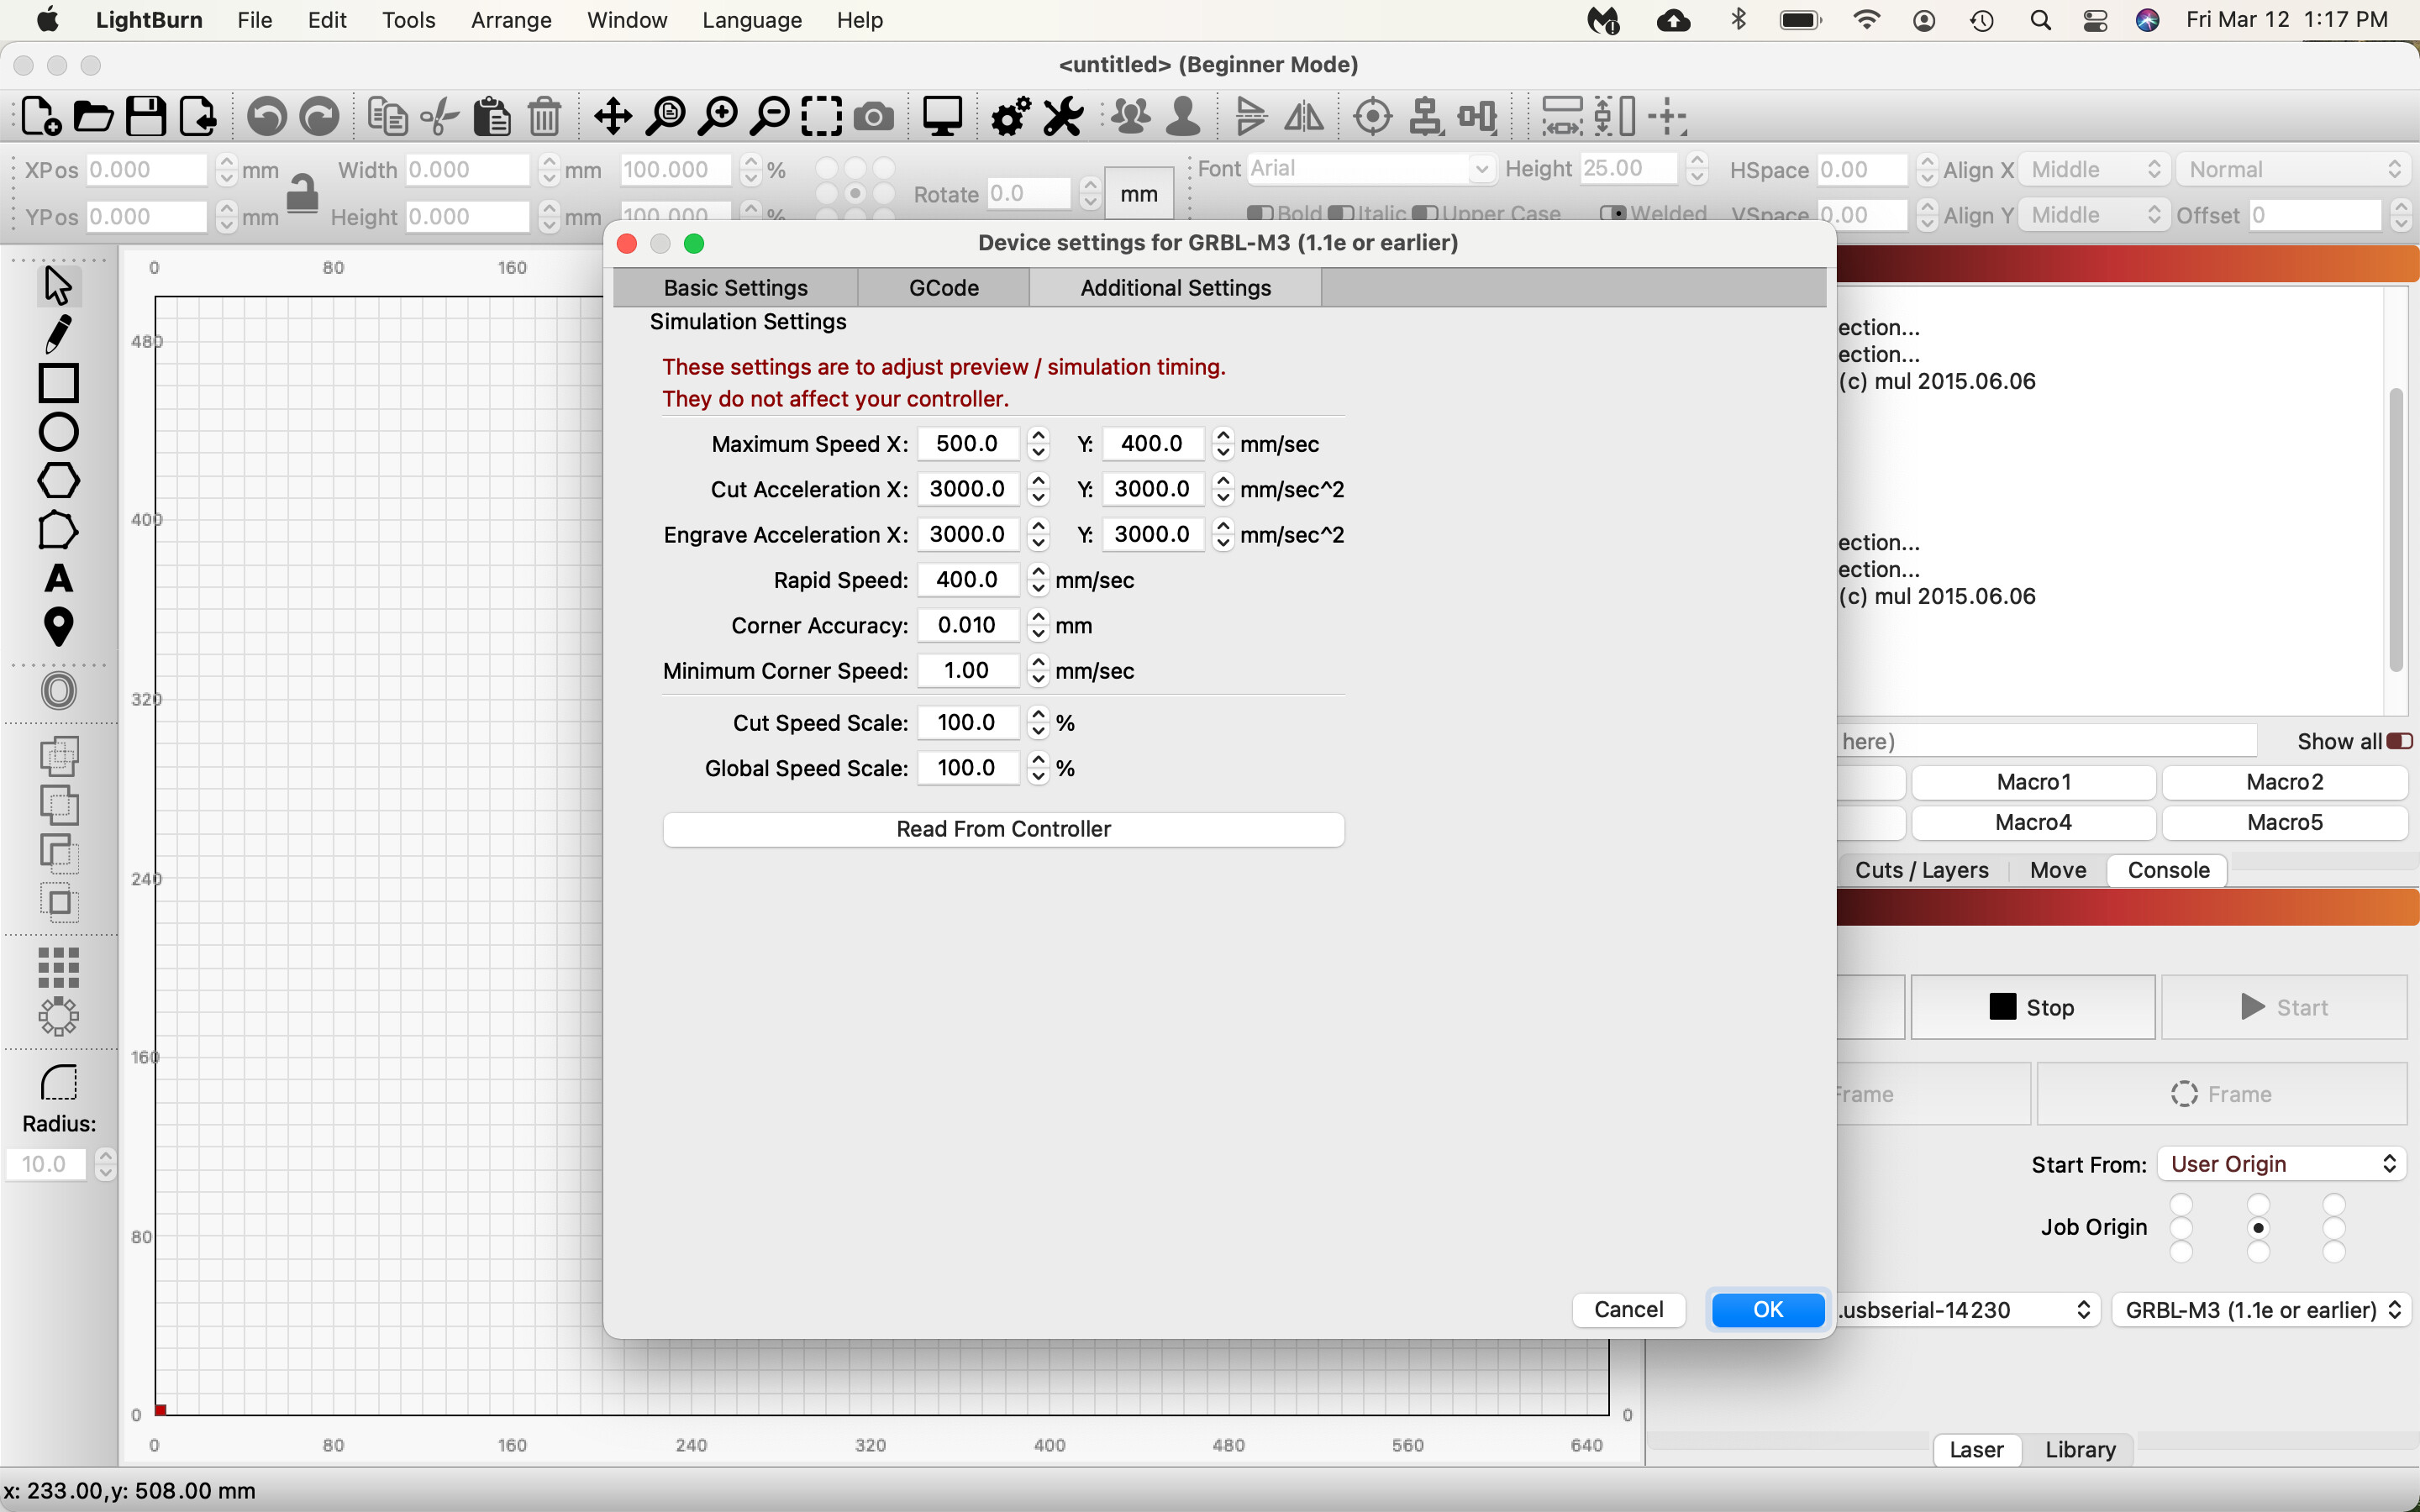
How do you have LightBurn configured currently? What Device Profile and settings in the Device Settings window do you have set. Please provide screen captures of those for review.
Hello Rick,
I can’t thank you enough for your help. Using an imported B&W image. I have changed device GRBL to GRBL-M3 and the laser is now firing continuously. Just a couple of questions: 1: Is there a way to change (turn off, or pause) continuous burn? 2. How do I adjust burn/laser settings (Power, depth of burn, etc.) Attached are the current device settings.
Thanks again for your help.
In the console, type $$ and press enter, then copy the output here for review.
The in-progress rewrite of our documentation now provides a walkthrough of the LightBurn basics, including a Simple Project intended to familiarize yourself with LightBurn. This is worth review to assist. Redirecting...
This topic was automatically closed 30 days after the last reply. New replies are no longer allowed.