I downloaded LIghtBurn Friday and have been working with it this weekend.
I recently acquired an HL-1060 100w laser from hl-yeah.com after having owned and used an Epilog Legend 2000 25w since 2004. I’m good in CorelDRAW but worked exclusively in LIghtBurn for my latest project - 60 award plaques for a local disc golf tournament. Things came together quickly though I found myself struggling in a couple places. Given the laser bed is 1000x600mm I am doing 15 plaques at a time. These plaques have a shared logo on each with the division and place (1st, 2nd, 3rd…) being unique text. I laid them out and created a template.
I have some operational questions.
In order to check text placement I zoomed in to verify distance from the edge. In CorelDRAW there are scroll bars presented when you zoom so you can pan around the defined project size. I had difficulty moving and recentering when zooming in and out. What is the recommended method for doing this in LightBurn?
The preview feature is awesome! My question here is what’s the best way to get a good saved image to present to a customer?
Engraving by default runs bottom to top. If I want to flip that how is it done?
I have added diode lasers to a couple of my CNC routers which are controlled by LinuxCNC. I tied spindle speed to PWM control output for the diodes. Will the Marlin gcode output work? Or is there another option to generate LinuxCNC standard gcode?
Hi Joe,
I’ll have a go at item #1.
Simultaneously hold down the keyboard space bar AND the left mouse button. You can drag the view around with the mouse.
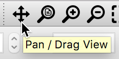
You can enter the ‘Pan’ mode in several ways. You can middle-mouse click and drag, hold space-bar (you will see the cursor change to “grabbing-hand”) click and drag, and there is an icon near the top middle-left of the main screen that when clicked, will enter into pan mode.
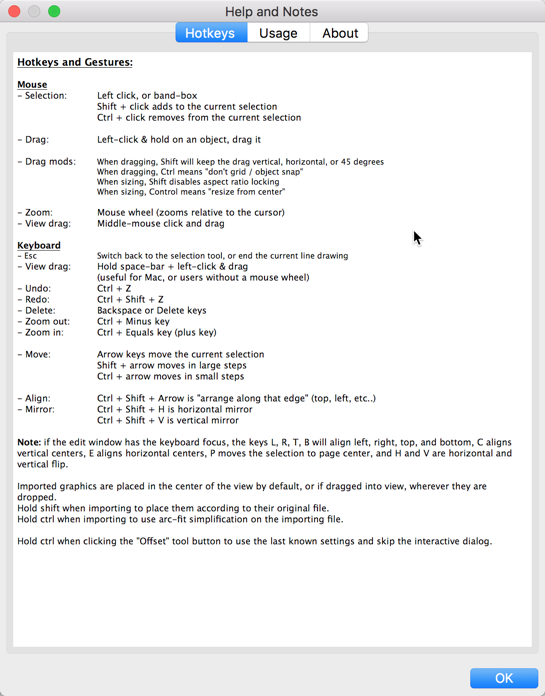
You can review Hotkeys under the ‘Help’ menu as well.
Yes, I used the preview “Save Image” button and was surprised at what was saved. I was zoomed at one point and the zoomed section displaying was saved not the entire image. I guess that’s the lesson, whatever pixels are currently showing in the window is what is written to file. Meaning we’re restricted to the current display resolution and presentation.
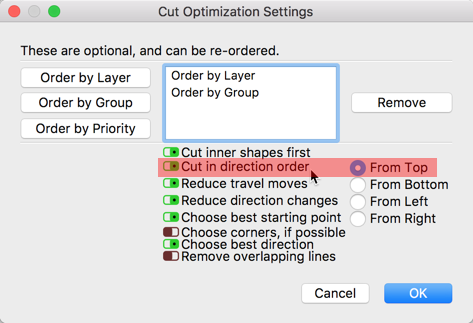
I had pulled up the Cut Optimization dialog and found the column radio buttons disabled. Must not have had the “Cut in direction order” enabled.
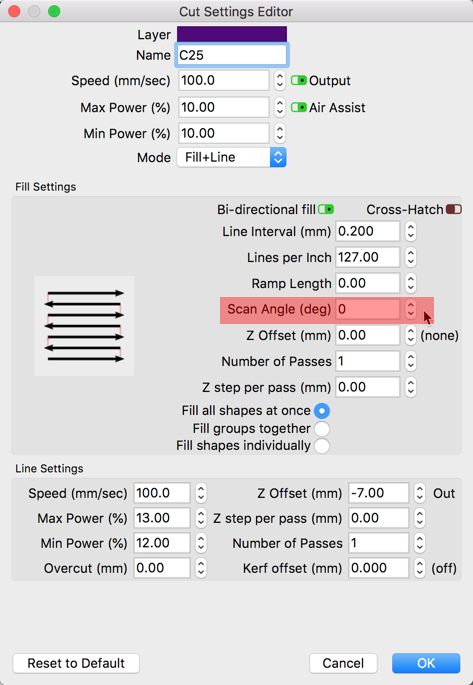
That won’t change the scanning direction, just the order in which parts of the file are processed. Changing the scan angle will alter individual scans to go top down (or side to side) but will not change the order that multiple, distinct scans are processed.