Lightburn + Ruida RDC6445, using for drawing with pen

Hi
How to set the program and the controller to use a black pen - to draw on nylon using Axis U!
I have a 3d printer so I can easily make a pen holder which raises and lowers a small stepper motor!

Is that possible - please help?

LP

“Using axis U”? I assume you mean using the U axis to raise and lower a pen instead of using Z? This is not possible with a Ruida controller. The U axis is reserved for feeder axis use only. You would have to use the Z offset setting to change the Z height for the pen.

Thank You for help
Yes, I was thinking of using the u-axis to raise and lower the pen! But it is not a problem if the same is possible with the z axis! Where to find instructions for setting up the software and controller (for using a pen)?

LP, chris

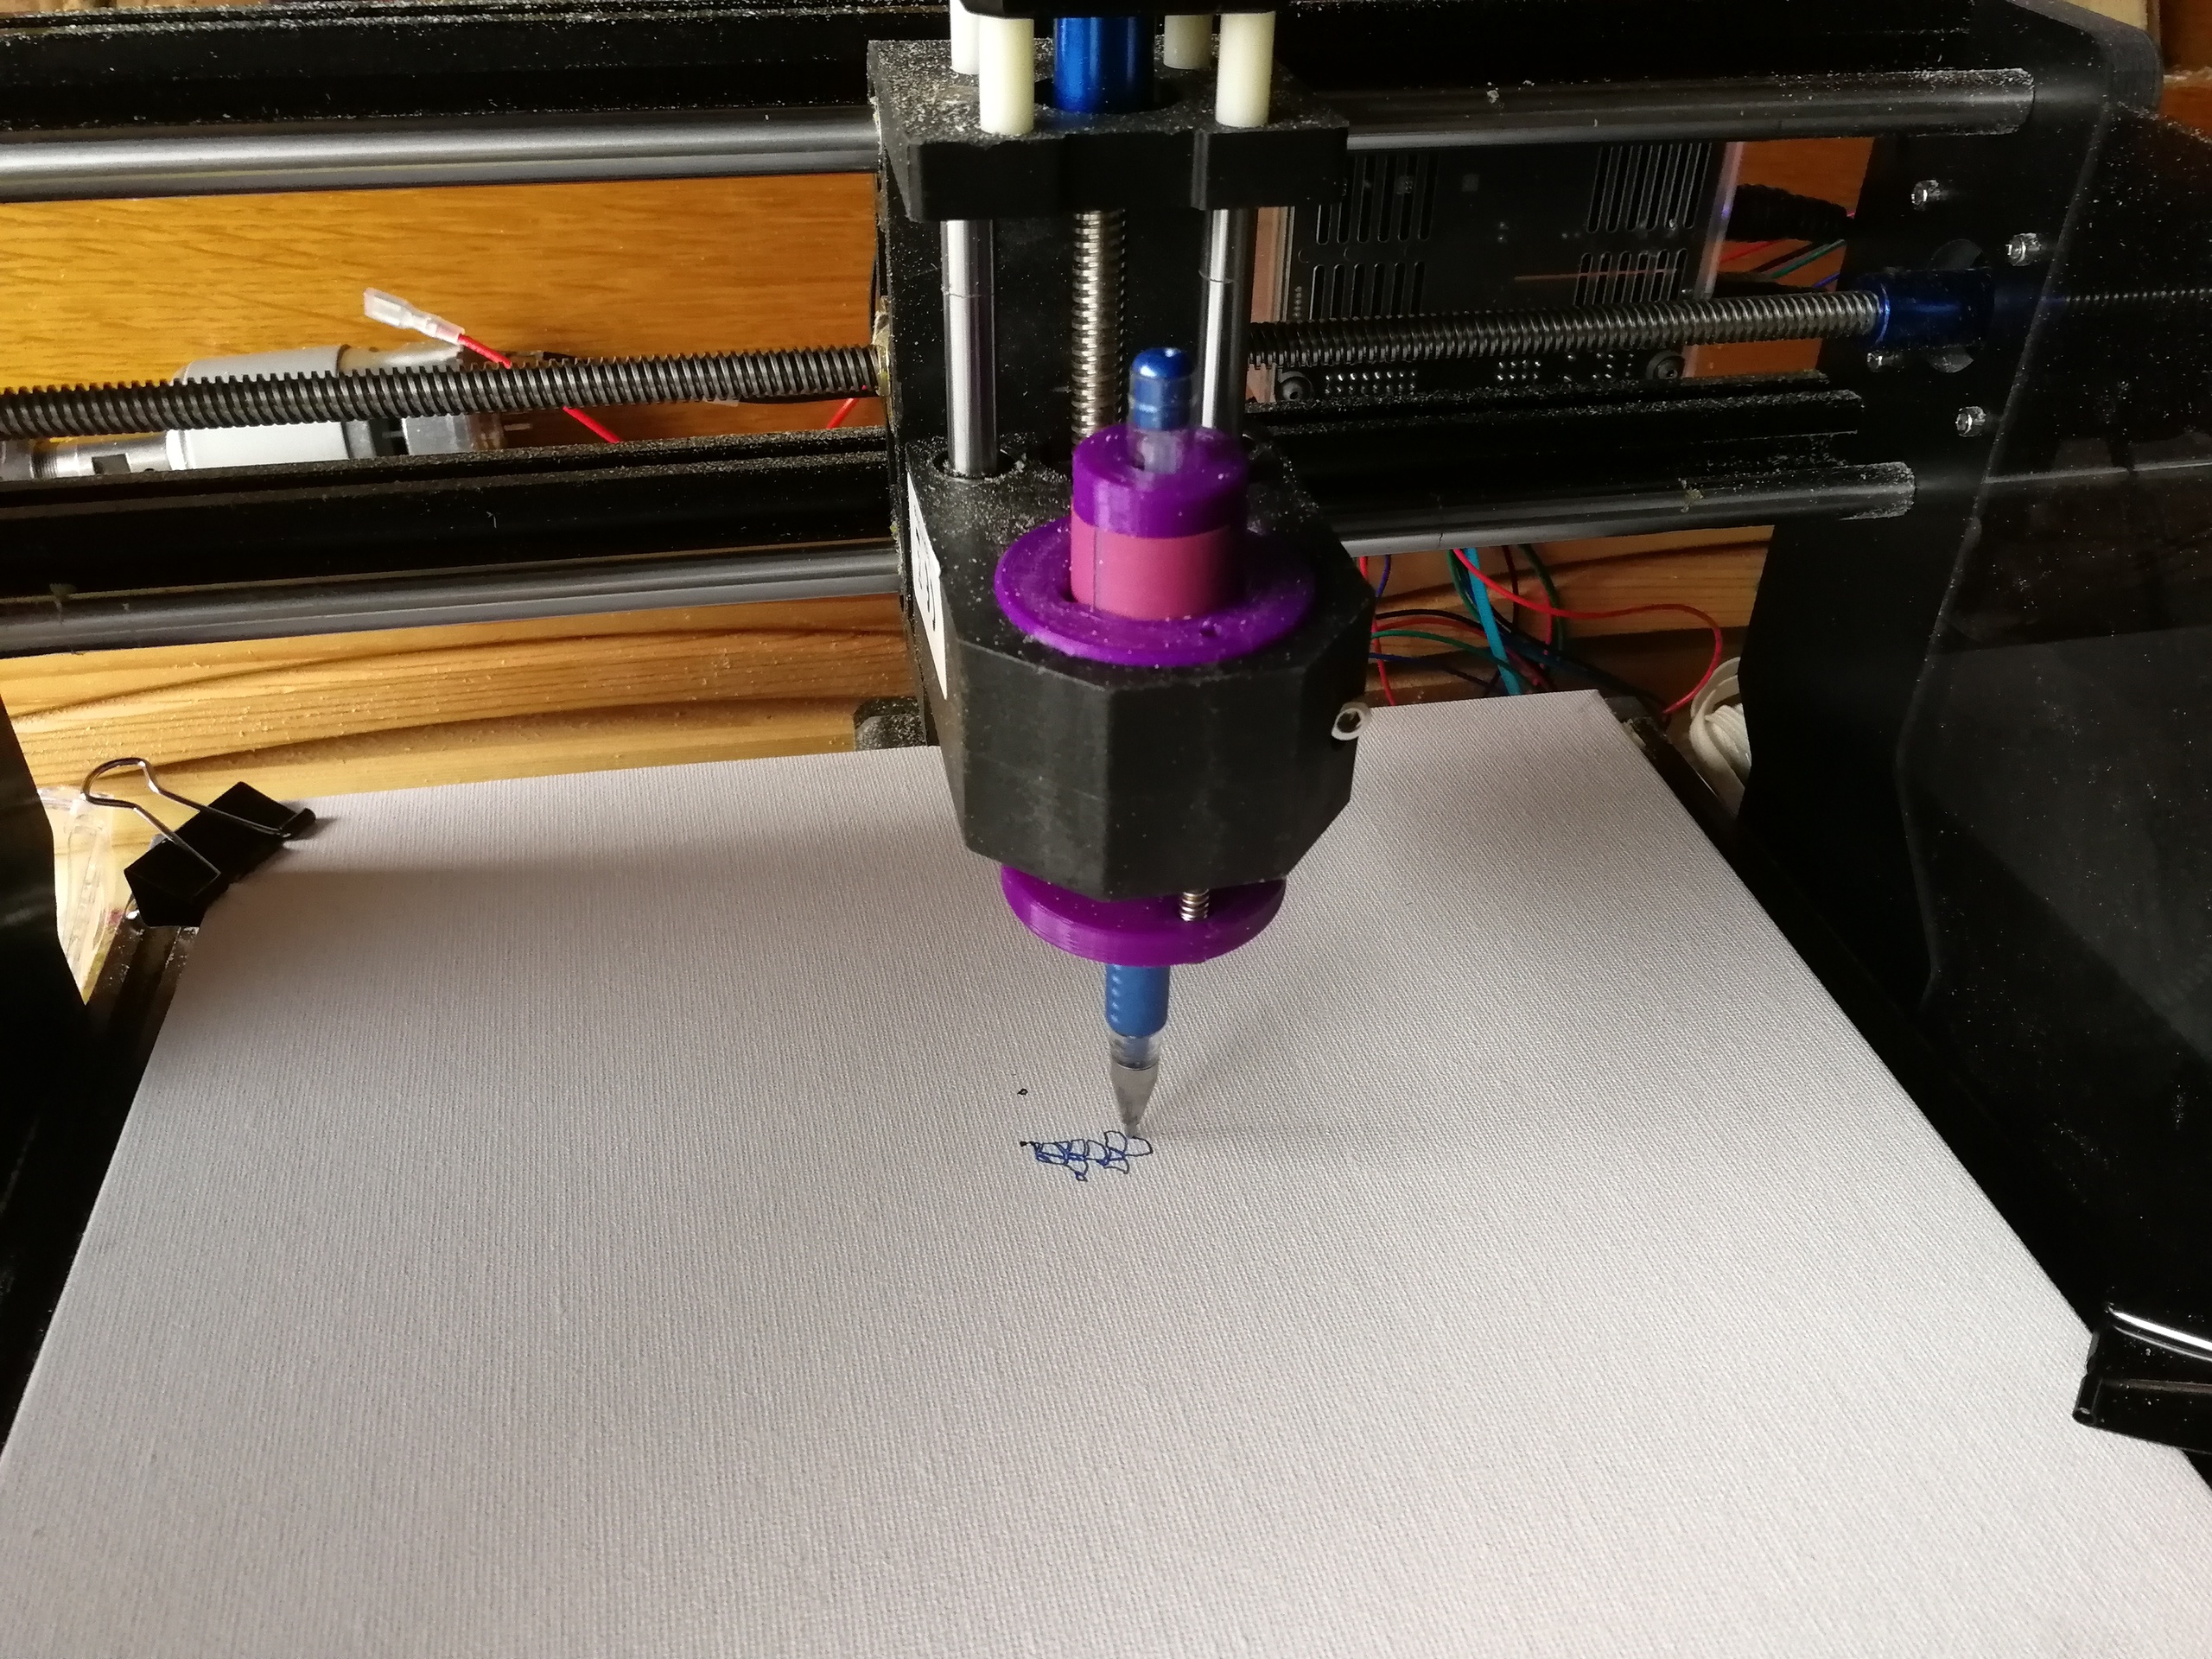
This may be of no help at all but I used my 3018cnc as a pen plotter (drawing with pen essentially) by using vcarve software. I basically just used the pen insert rather than the spindle and the software did the rest as I told it to engrave at a depth of only 1mm. This mean the pen came into contact with the medium (wood etc) but didn’t push the pen down any further.

The pen raised and lowered as if it was a spindle CNC cutter across the pattern.

I generated the code in vcarve and then used candle to send it to the CNC…

I also have CNC and using it with Aspire and Mach3, and no problem there using Z axis!
But my question is for CO2 laser machine using Ruida + Lightburn?

LP, chris

Ok, no probs… Thought I might be off the mark.

In Edit > Device Settings:

  • Enable Z moves
  • Relative Z moves only

In your layer settings:

  • Set a Z offset of however far you want to drop the pen to make it contact the paper
  • Set the Max laser power to zero so it doesn’t cut.

That should be all you need.

Thanx for help :slight_smile:

I’ll try this!

Thanx, chris

Hi, Oz …need help
I try to setup as you described, but this is not solution because movements between writings are also visible (see video)!

The Z offset should be INto the material, not out of it. You want to start a couple mm above the surface, and use the Z offset to drop the pen, not lift it.

When z offset is in positive (+3mm) then this happens -see video!

So if z offset is positive or negative, head only moves up and down in start of laser firing, when firing ends an head need to go up - nothing, it moves in the same level to next cut - then before laser starting fire goes up fire laser go down and move to cut! It act as if it drilling a hole before each cut, and when ends cut head stay in same low position! Help please!

Hi

  1. Is there may be a way each time the laser is turned on pin is active, laser off pin is inactive?
  2. Can I use laser output on Ruida controler and somehow turn it into a switch for raise and lower ploter pen?!

thanks

In Edit > Device Settings, do you have ‘Optimize Z moves’ enabled? If so, that would be the problem. This tells the system not to retract / drop with every cut. I have made some changes to how and when the Z moves happen for Ruida for the 0.9.17 release, which should help.

Hi, sir

Please add easy support for z axis (pen using), in next version of this great software!!

thanks

I have fixed a couple of issues with the Z, so using it with a pen should be much easier now.

This topic was automatically closed 30 days after the last reply. New replies are no longer allowed.