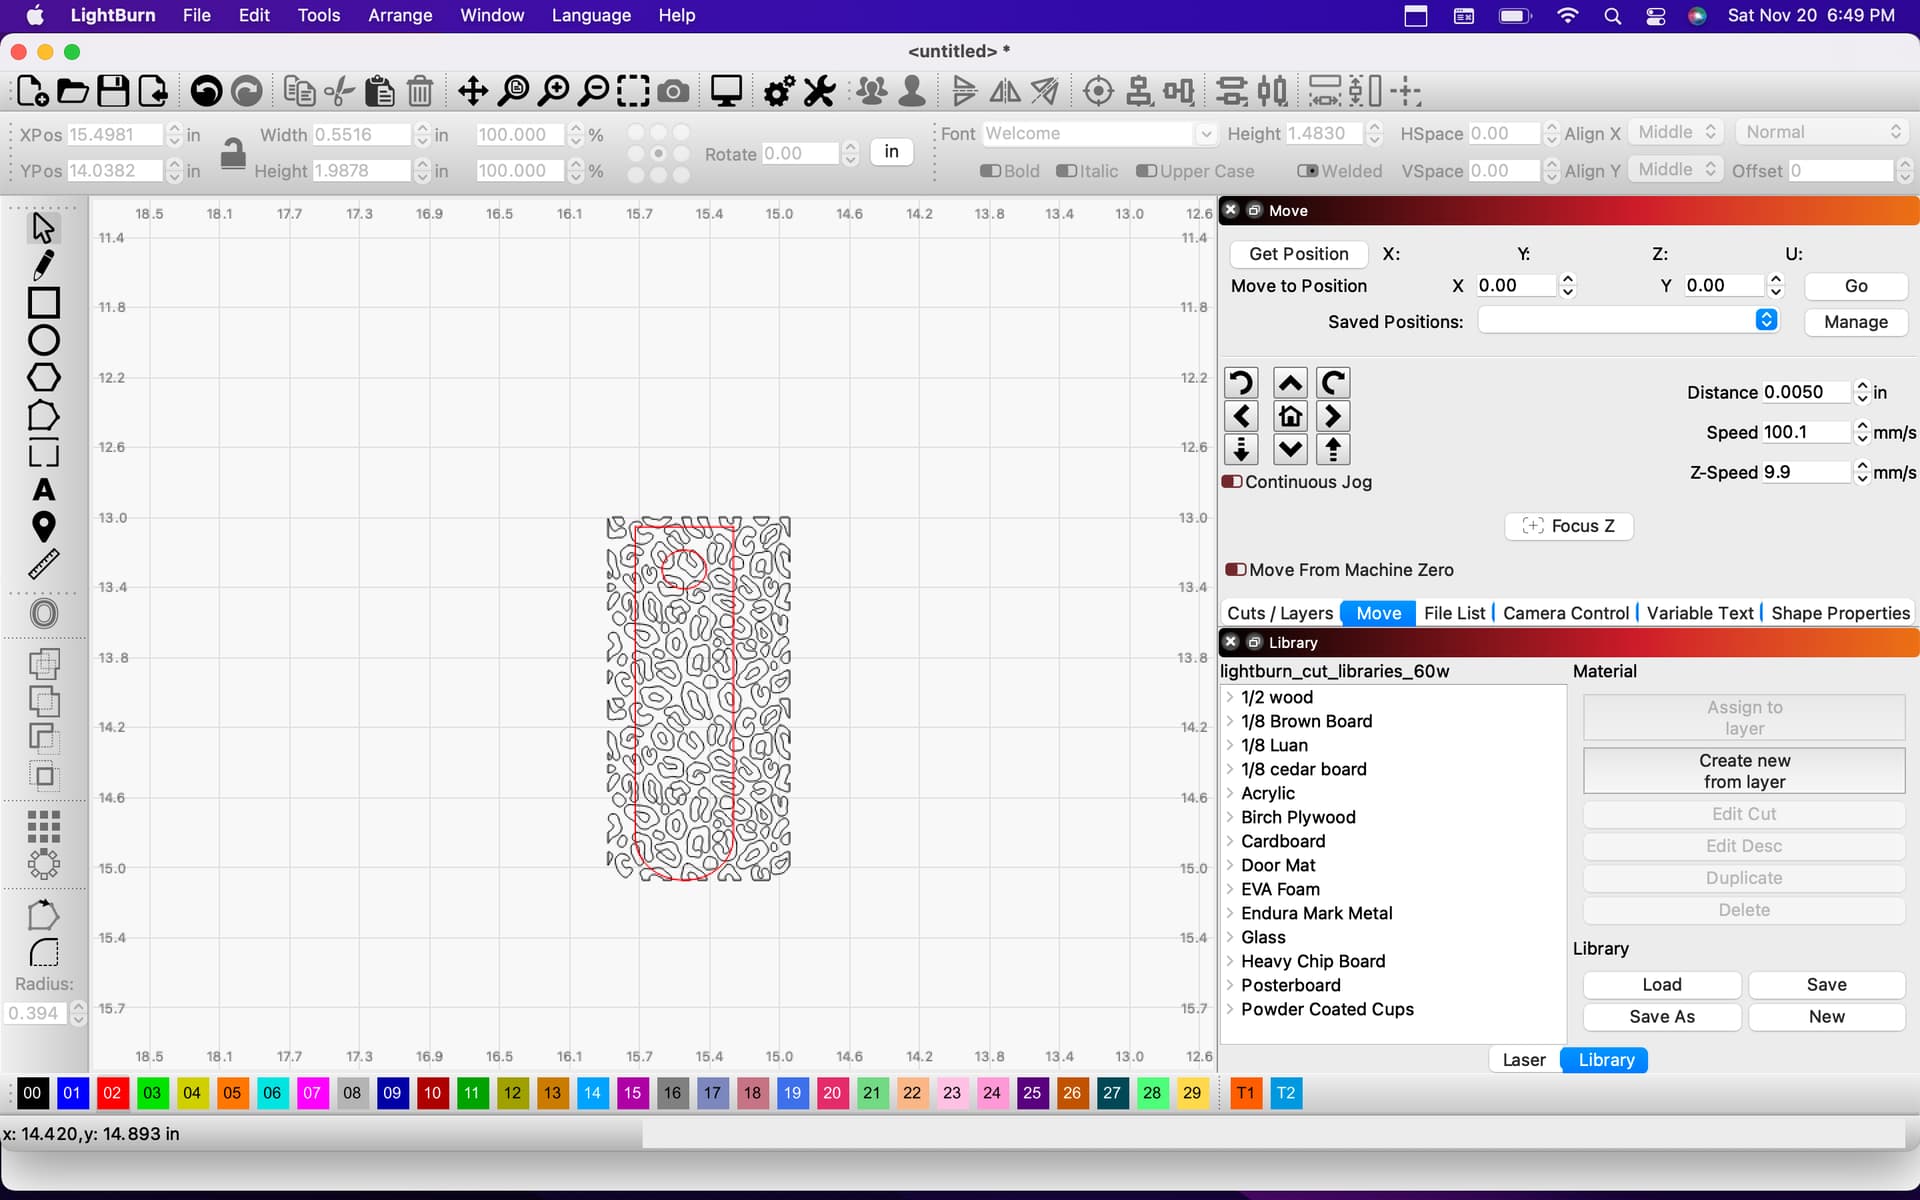
Hello, the title isnt great, but I am not sure how to phrase it. I basically want to lay the red shape over the leopard print pattern and leave it so the pattern is just inside the shape. Kind of like a cookie cutter type of thing. I will then burn the pattern and cut out the shape that is in red. I tried using the Boolean tools, but they are greyed out .
Select all and try “weld”
I did try that and it did not change anything. There has got to be a way, I’m just not seeing it.
Please upload the file as is.


Leopard fix.lbrn2 (216.0 KB)
Is this what you want?

Could not do it in LB as had same greyed out issue you did, but saved as DXF and then trimmed in Autocad.
1 Like
… made in LightBurn, with detours 
I want to explain how I did, but I’m leaving the house right now, so it’s coming later
1 Like
Thank you both. I look forward to the learning the work flow on it.
1 Like
leopards88.lbrn2 (1.7 MB)
I’m not good at this kind of documentation, but the way I have now done it, everyone should be able to reconstruct this little task.
It is very important that all shapes are closed and you remember you can only cut another shape with a single, closed shape, therefore the 2 steps with the ring at the end.
In step 5 you could also double the red layer but I got some artifacts, so I chose to do it this way.
There is a very nice video on this topic in the archive, I would highly recommend it.
Here’s another method: Move your pattern outside the shape you created. then select your shapes and drag them back onto your pattern, hold down the Ctrl key and click on the pattern so all is selected. go to tools and apply mask. You can then flatten the mask to make it permanent
2 Likes
Apply mask is greyed out and not able to be selected.
@bernd.dk your explanation was quite helpful and I was able to duplicate the process. Thank you so much!
I’m happy to read that, could you please make the issue as resolved?
1 Like
@deeve I believe I have a simpler solution for this problem. The fundamental reason why you’re unable to use the boolean tools is because the red colored mask shape is not a closed path. It appears to be made of perfectly aligned line segments. I assume you imported this from a DXF or something similar.
To resolve the problem:
- first fix the object in red
1a) ungroup the red object
1b) select every component of only the outer outline (not the inner circle)
1c) Menu option Edit->Auto-join selected shapes. The result should be a fully closed outer outline
1d) select every component of inner outline circle and again Edit->Auto-join selected shapes
1e) group both inner and outer outline - Create a duplicate of the outline shape so that you can preserve it for the outline cut
- Stamp the pattern with the outline by
3a) select both background pattern and red outline
3b) Menu Tools → Boolean Intersection. This should result in your desired output.
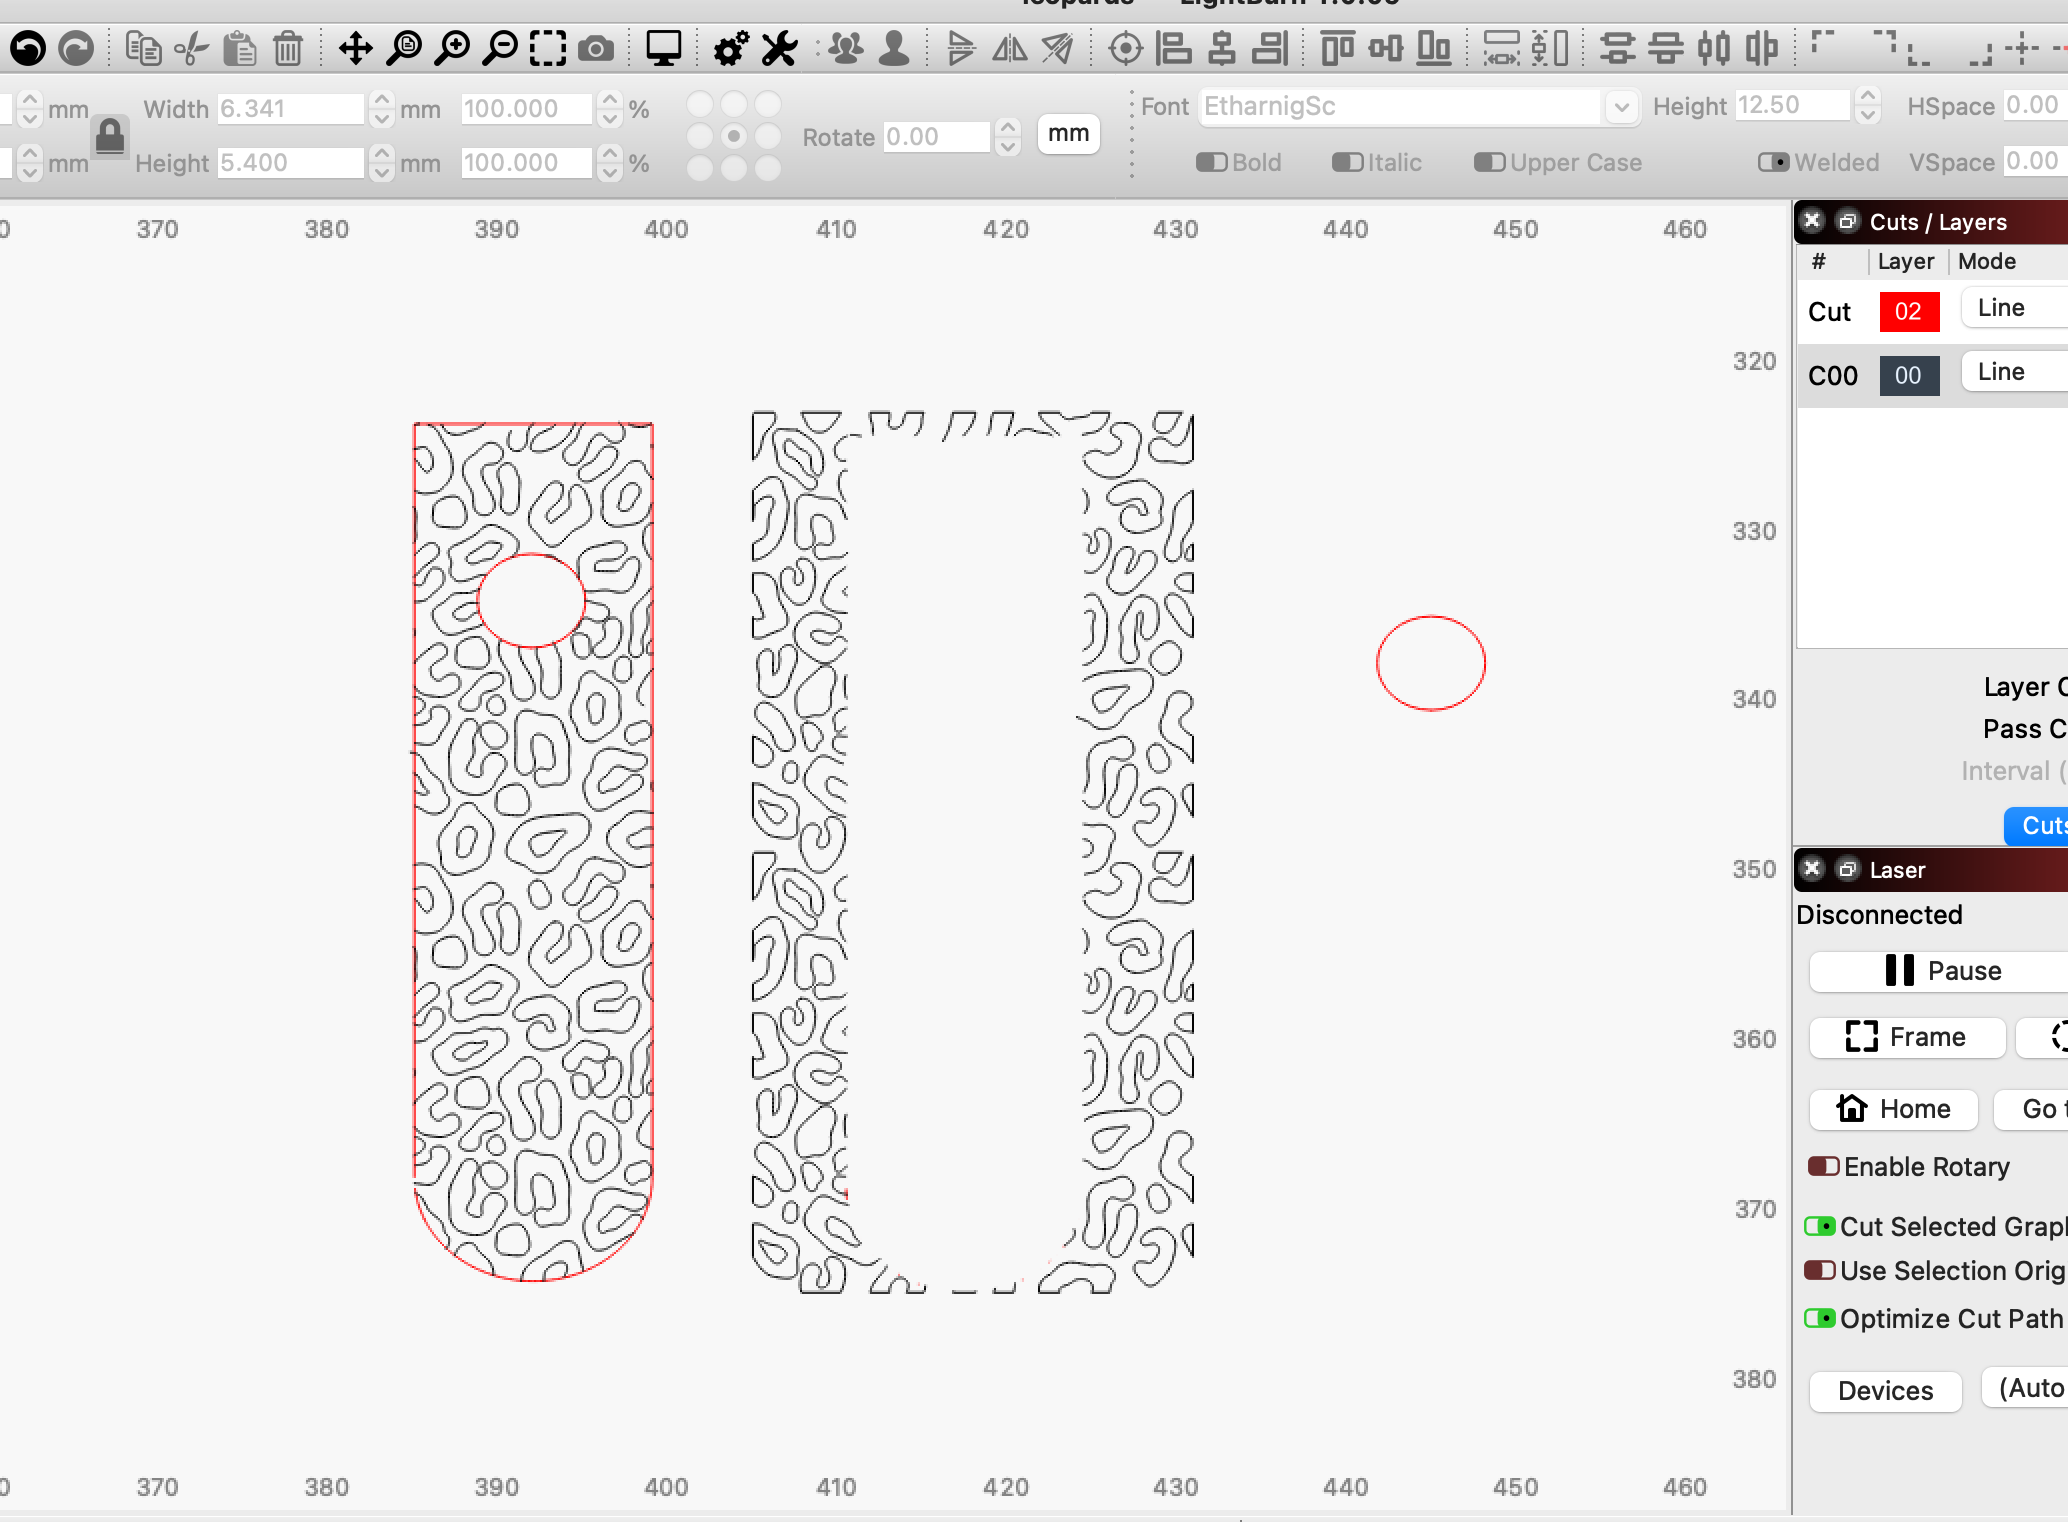
Before boolean operation:

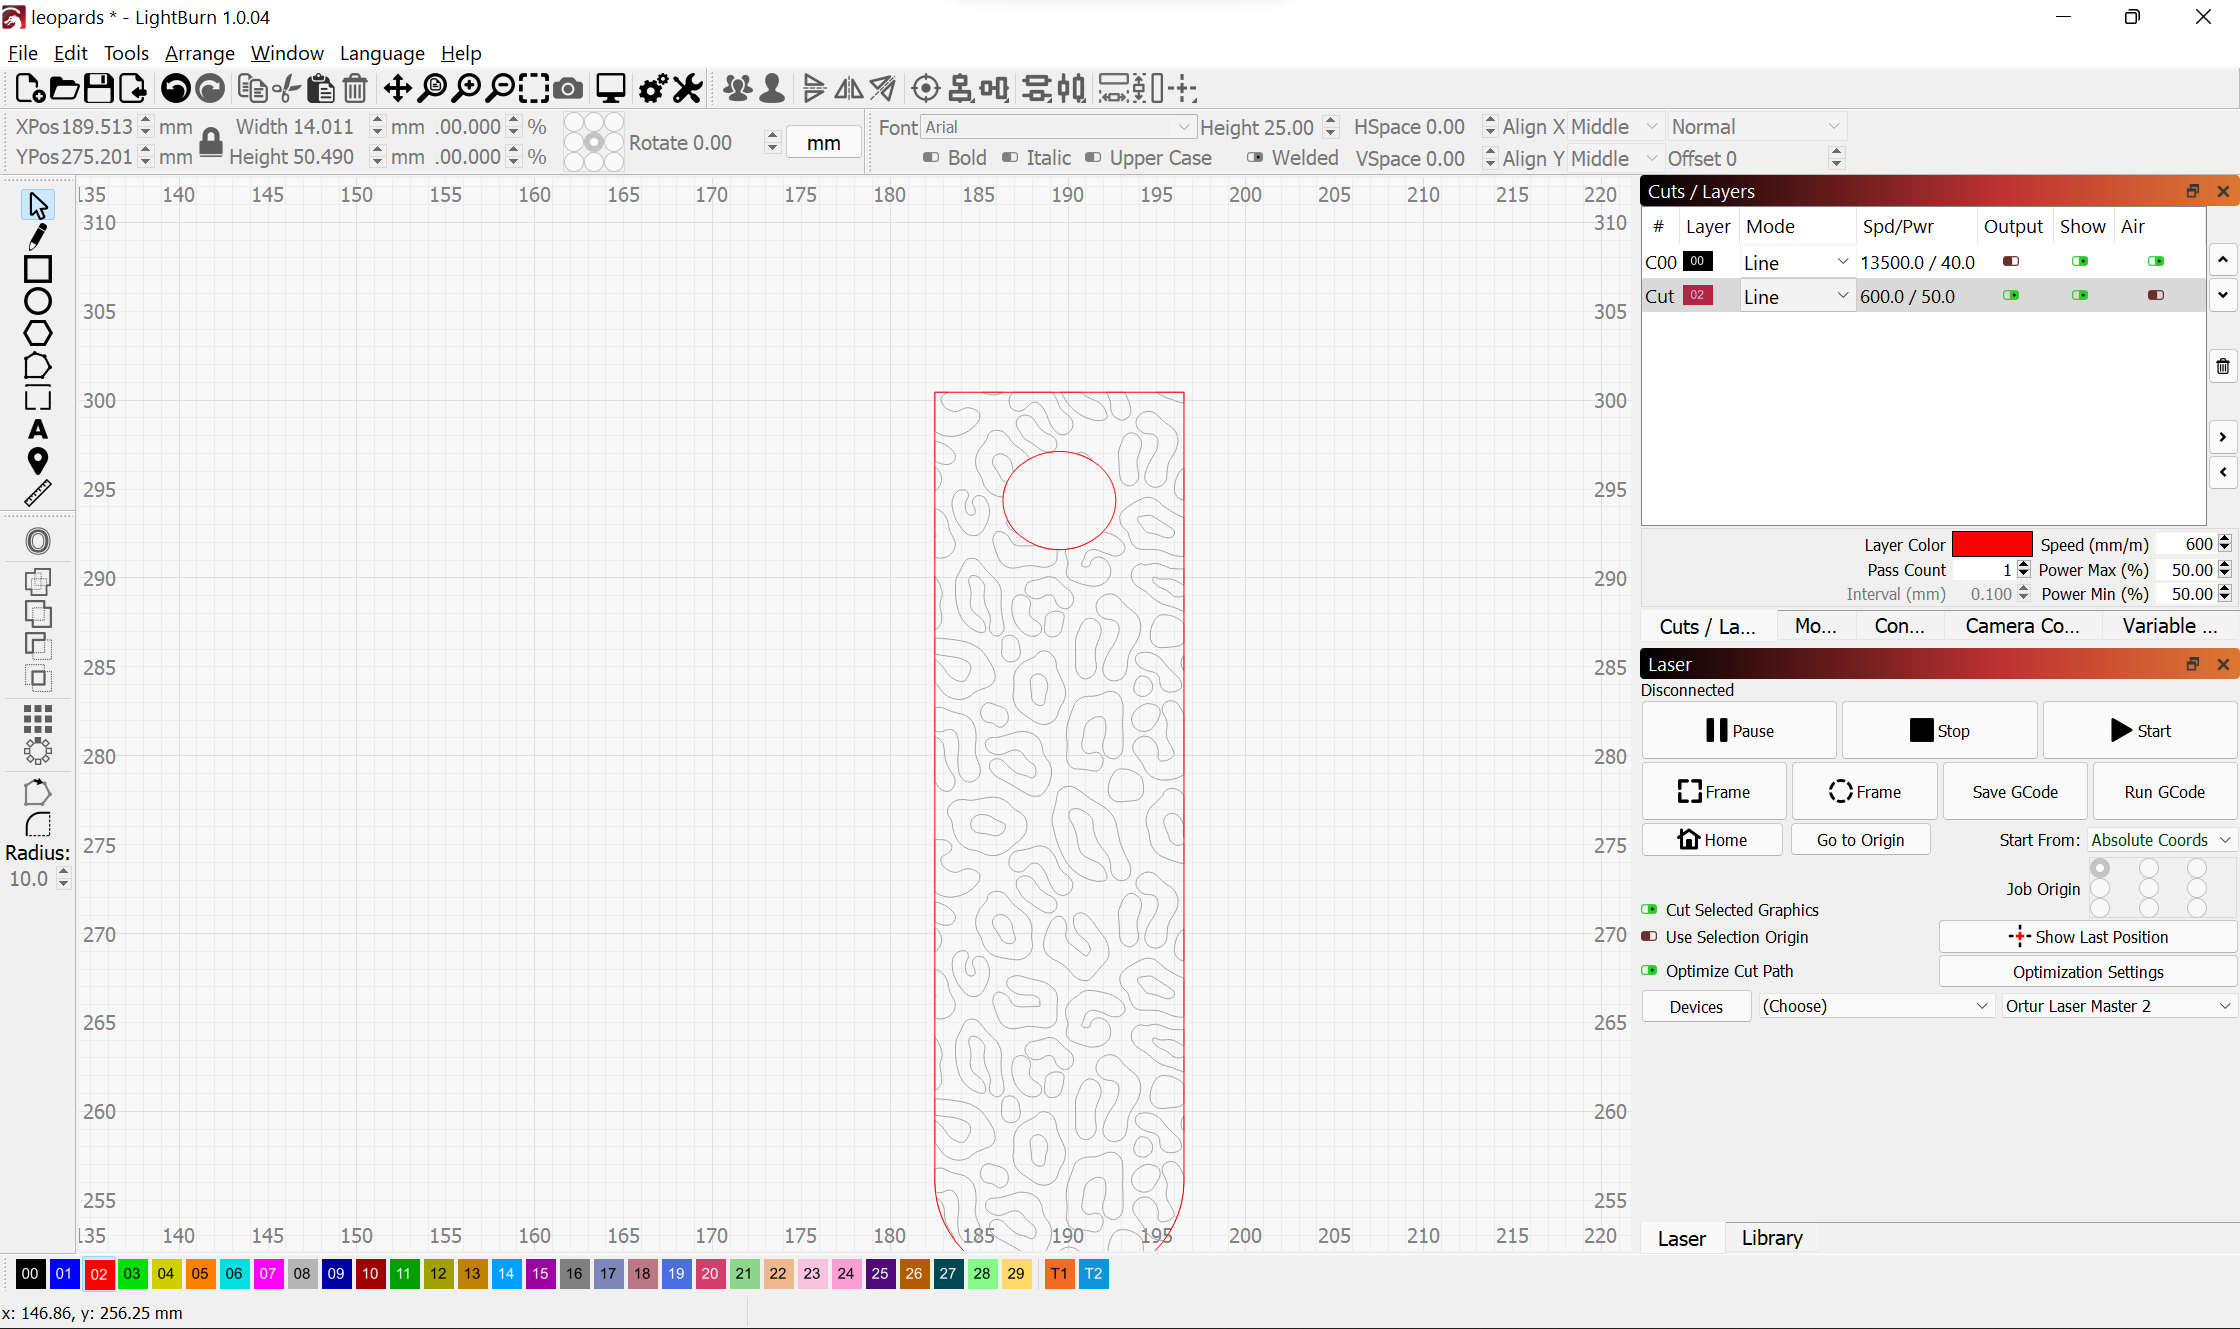
After boolean operation:
Tip: it’s easier to tell if your objects are closed if you use a filled layer as it will fill only when fully enclosed. Make sure Window view style is set to Filled for this to show.
1 Like
@berainlb I followed your steps, but I still only have the option of welding the shapes together in the Boolean tools options.
@deeve Can you send your latest updated file to review? I suspect something likely not completely closed or perhaps a grouping problem.
@deeve For some reason the outer outline was not fully closed. Easy fix.
- select red shape (you can leave this grouped based on my test)
- Menu Edit->Close Path (if you use a fill layer the object should look solid with a hollow circle)
Then just select both background pattern and outline and apply boolean (Tools → Boolean Intersection). You should now have your shape.
@bernd.dk Sorry, I didn’t see that you had well documented the steps in the .lbrn2 file you attached as I only read the message. The steps in my reply can avoid some of the special handling of the ring in your example but your reply covered it well.
Hmmmm…I still am not able to get it to work. The red shape fill layer is showing the opposite of what you described. It is showing a filled circle and everything around it is empty.
Also, how can I tell if a shape path

is opened or closed? I select the red shape and every time I have the option of Close Path always. It is never grayed out. Is that normal?