I suggest you take a step back and relieve yourself of preconceptions or else you’ll just end up being more frustrated. The very concept of CNC until very recently had been relegated to ultra expensive machines in industrial settings and are now available for $300 for home use. That’s an incredible advancement.
The fact that you got your laser put together, software installed, and a burn started in itself I would say is fairly plug and play in terms of getting going. You’re now in the realm of having to learn the skills of the trade. The reason why there’s a lot of futzing about is because the number of variables is so high when burning. Not only are there are a ton of variables in the tools (e.g. laser module, laser frame, ventilation, air assist, etc.) you’re often working with real-world materials like wood that are not uniform that require familiarity and adjustment.
Right now the state-of-the-art of home lasering is closer to 3d printing than word processing and printing.
If you genuinely want more of a curated process there are laser systems that cater to that. They do this by dramatically simplifying choices, reducing variables, and charging you for it. Systems like GlowForge offer you a closed system with cloud only software and branded material with identity tags scanned by the system, and accessories that are designed to fit together relatively easily at a premium cost. This makes it much closer to craft cutters like Cricut. What you gain in ease of startup, however, you lose in flexibility and may then get frustrated at the limitations.
Having said that, let’s get you going and you can determine what side of the hobby you want to move toward.
There are really only 3 main variables you need to really need to understand to get going. There are a bunch of things beyond that but the most critical are:
- focus - you’re dealing with a relatively lower powered laser. You need to learn the right focusing procedure for your system. The actual focus quality is surprisingly important from a beginner’s perspective. Check your manual to understand how it’s done for yours but this is typically done with either a dial for variable focus lasers or by using a spacer tool to set the distance of the laser to the work material for fixed focus lasers. There are ways of further fine-tuning this but that can come later.
- Speed - the slower you work through a material the more burning it will do in that spot. This is determined a lot by the power of your laser and the material that you’re working with.
- Laser power - power settings are going to be determined by the base strength of your laser as well as work material. There is a close relationship between laser power and speed as there’s a tradeoff of moving slower or adding power.
Most of the experimenting that you’ll need to do is going to be in getting familiar with what power/speed settings work with certain materials which is why @LaserWillie suggested the test pattern. It’s designed to run the various speed and power settings to see how your particular laser performs against the particular material. That way you can look at the results and determine what settings are appropriate.
However, in order to do that you need to get familiar with the software. In terms of intuitiveness and ease of use for a highly flexible and power program LightBurn is right now at the top. There are other programs that might be “easier” like the GlowForge cloud system but not as flexible or powerful.
@bernd.dk suggestion that the documentation is quite good is spot on. However, it is extremely dense and to the point. There are very few throwaway lines in it so you may find yourself going back to it later and finding that you’re understanding more in it than you did the first pass as your knowledge increases.
One thing to be aware of is that basically every tool or button on-screen in LightBurn has a good tooltip associated with it. You can see that by hovering your mouse over that UI element. These are surprisingly useful and sometimes essential to understand how something works.
Read through the Beginner Walkthrough as it will get you immediately familiar with the major sections of the program.
It’s a credit to the ease of use of the program that you were able to initiate a burn. Where you’re probably going to want to start is understanding the “Cut / Layers” window as that’s where you’ll find how to adjust speed/power for any particular layer.
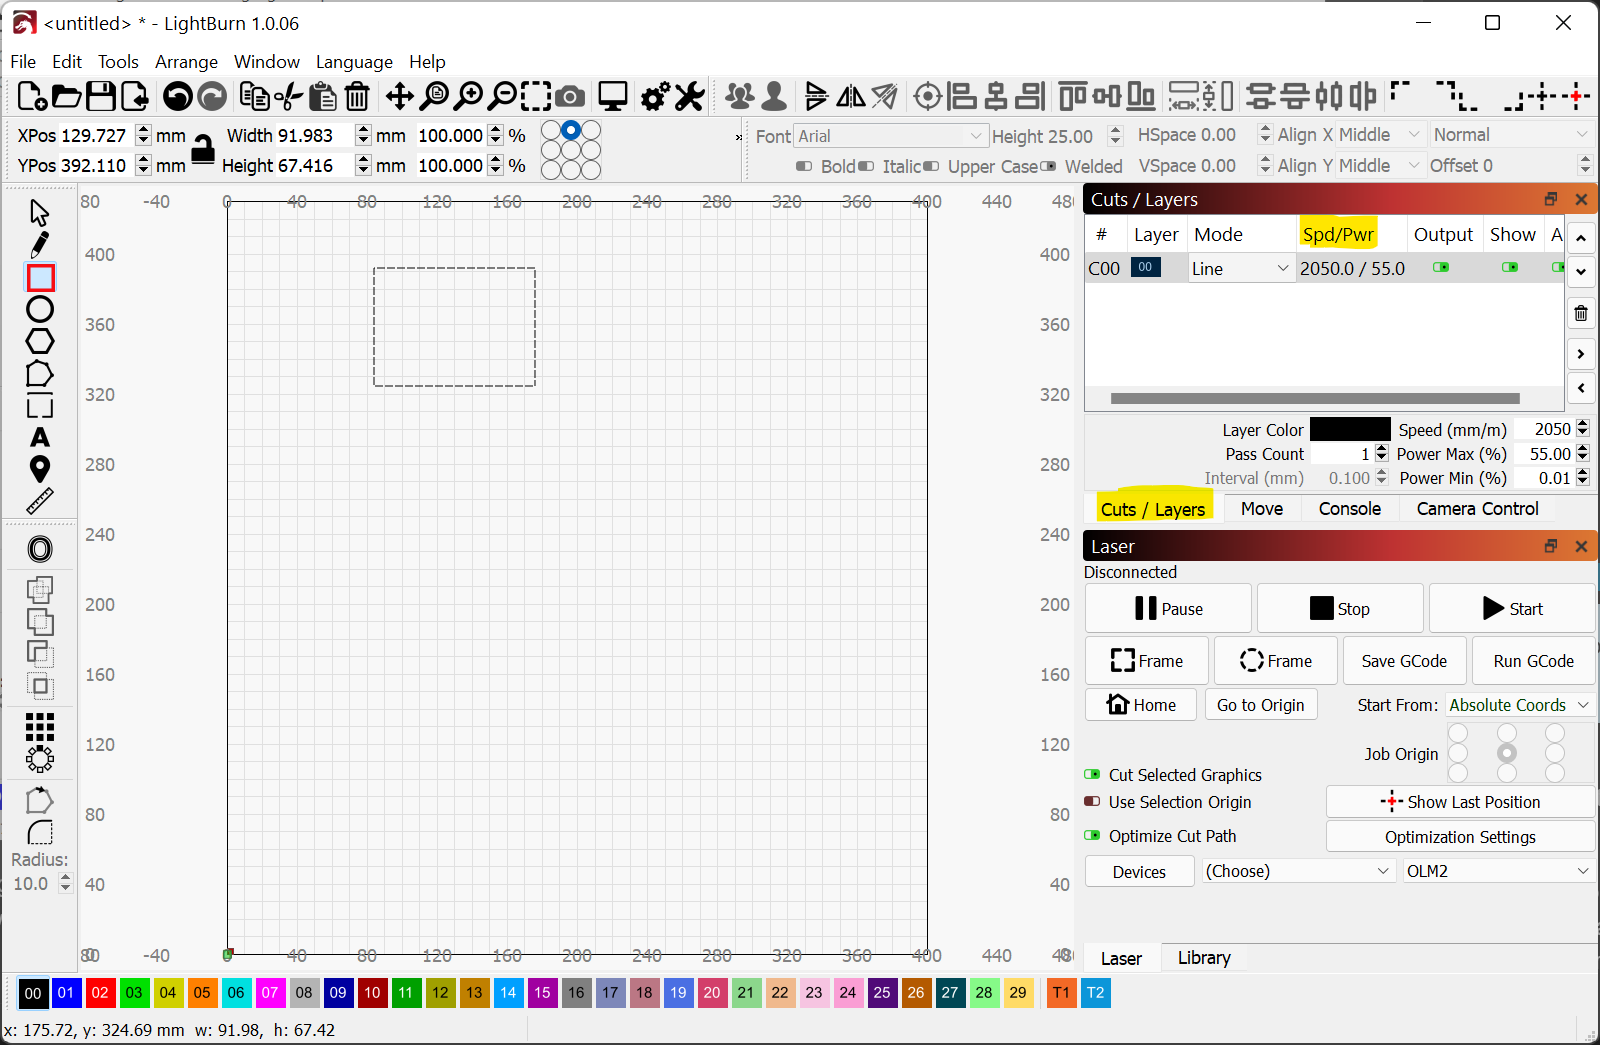
You can double click on a layer to get even more details about the operation for that layer.
Again, try to take a step back, and enjoy the learning process. The initial hurdle is a one-time thing.
If you’d like feedback on a particular activity or challenge that you have bring that also to this forum.
For this particular issue, post a screenshot of what you’re doing and upload the saved project file (.lbrn) and we can offer guidance.