I am extremely new to this and am totally lost. I’ve tried watching all sorts of videos and reading all types of forums, but I am clearly missing something. Any advice would be greatly appreciated.
i am using the Ortur Laser Master 2 with the LU1-4 (20W) Laser Module.
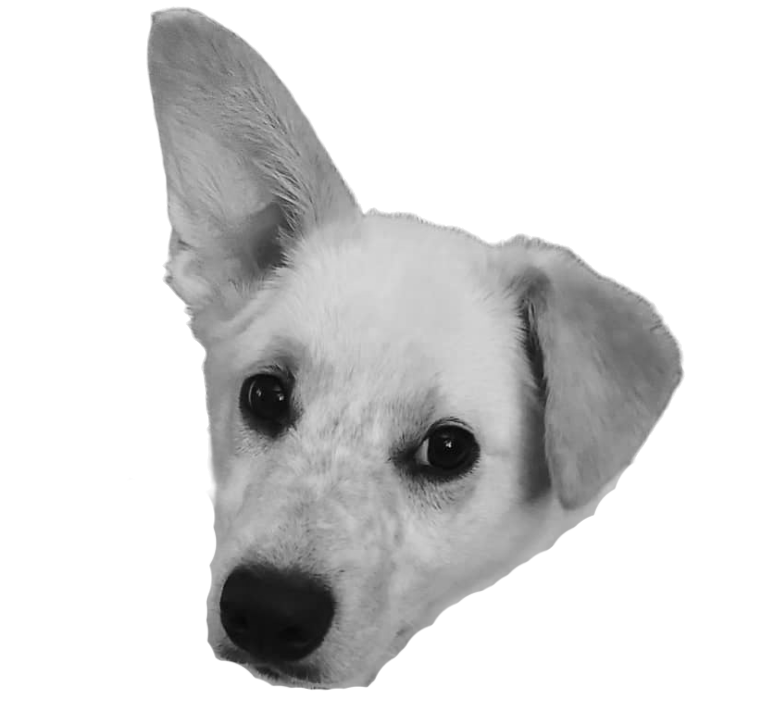
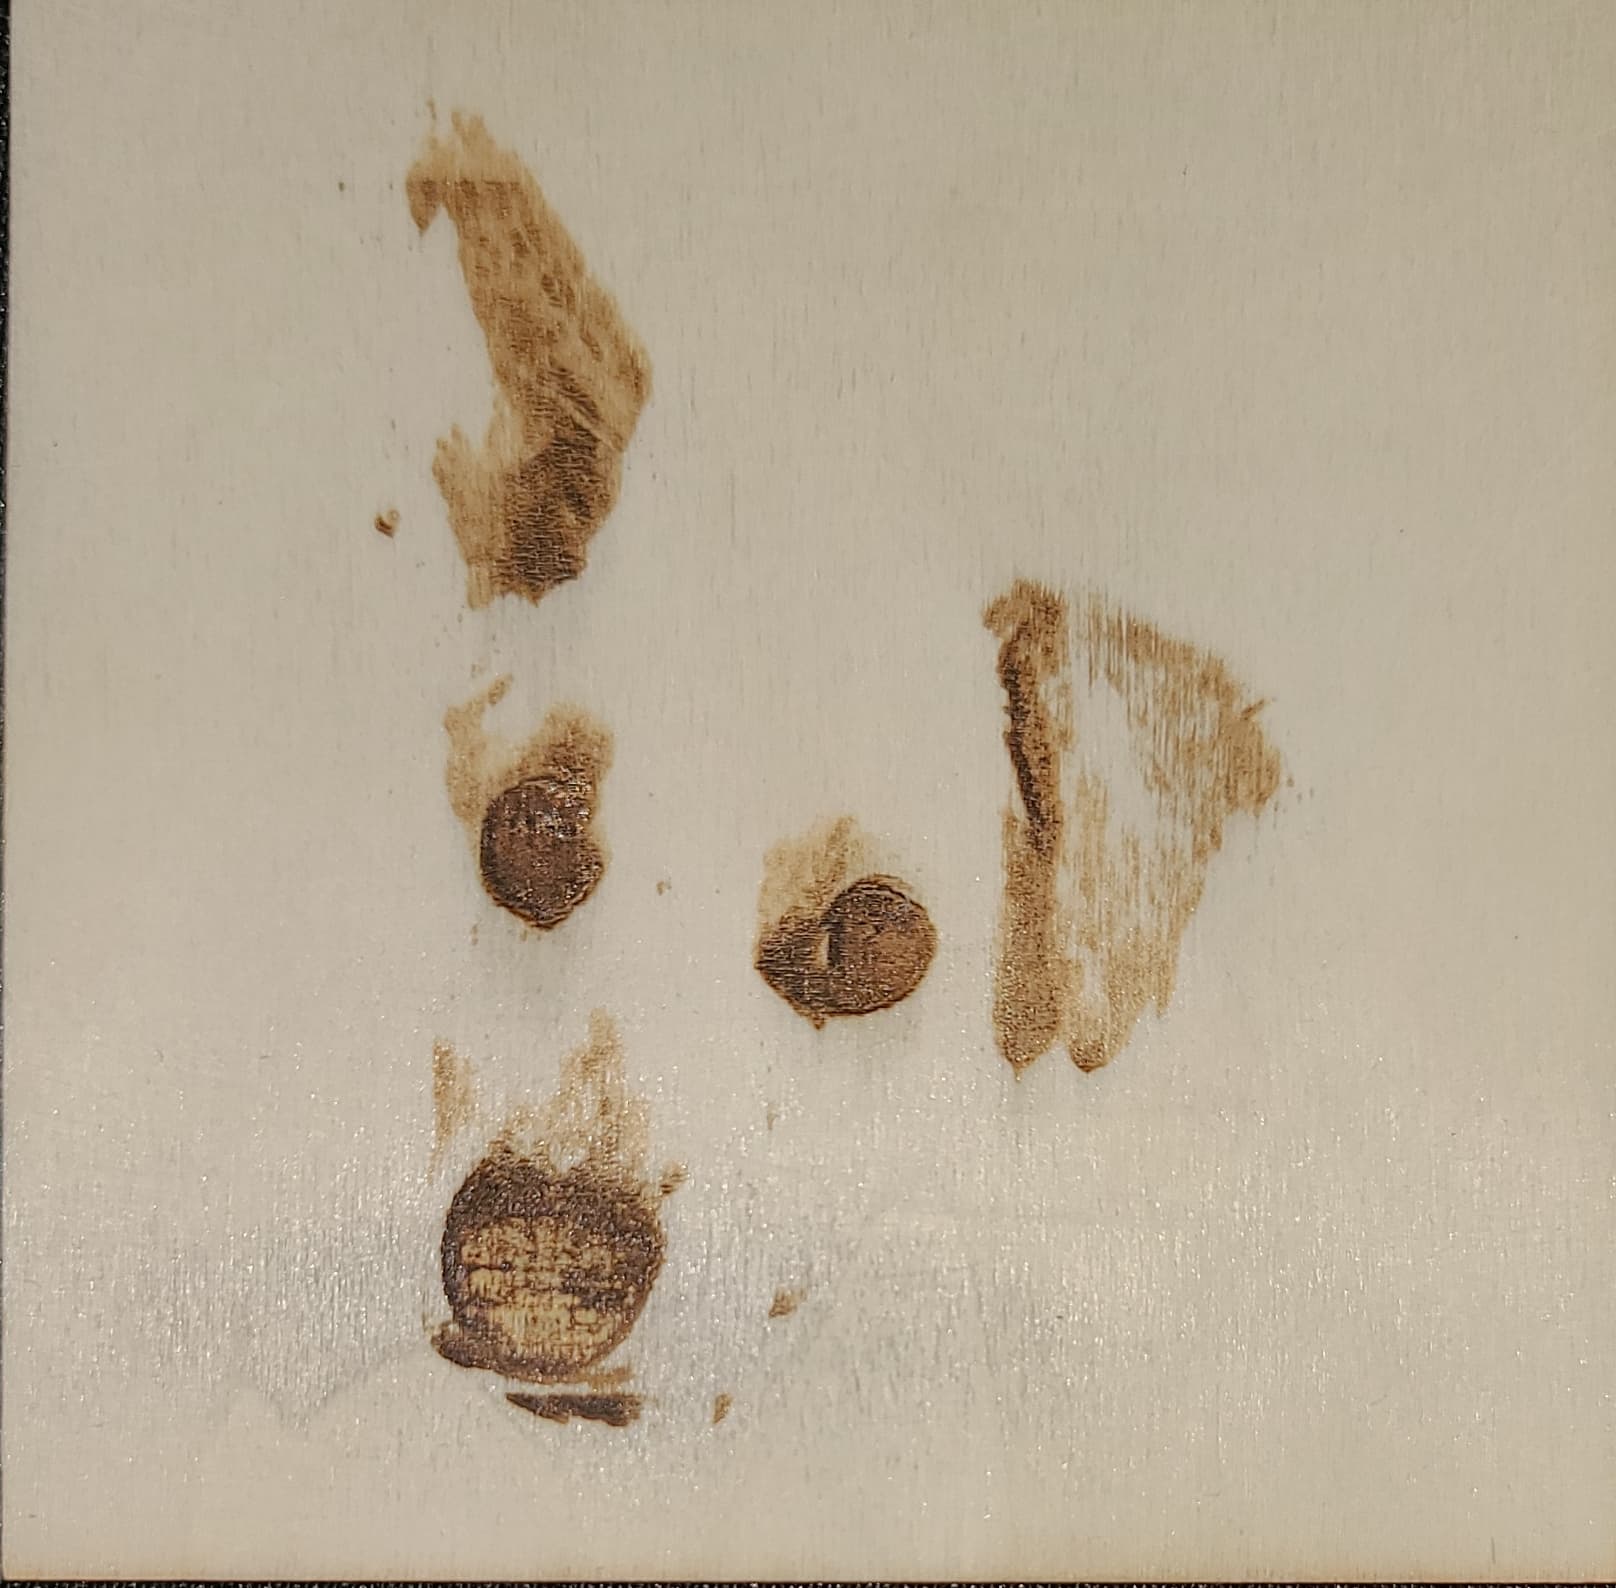
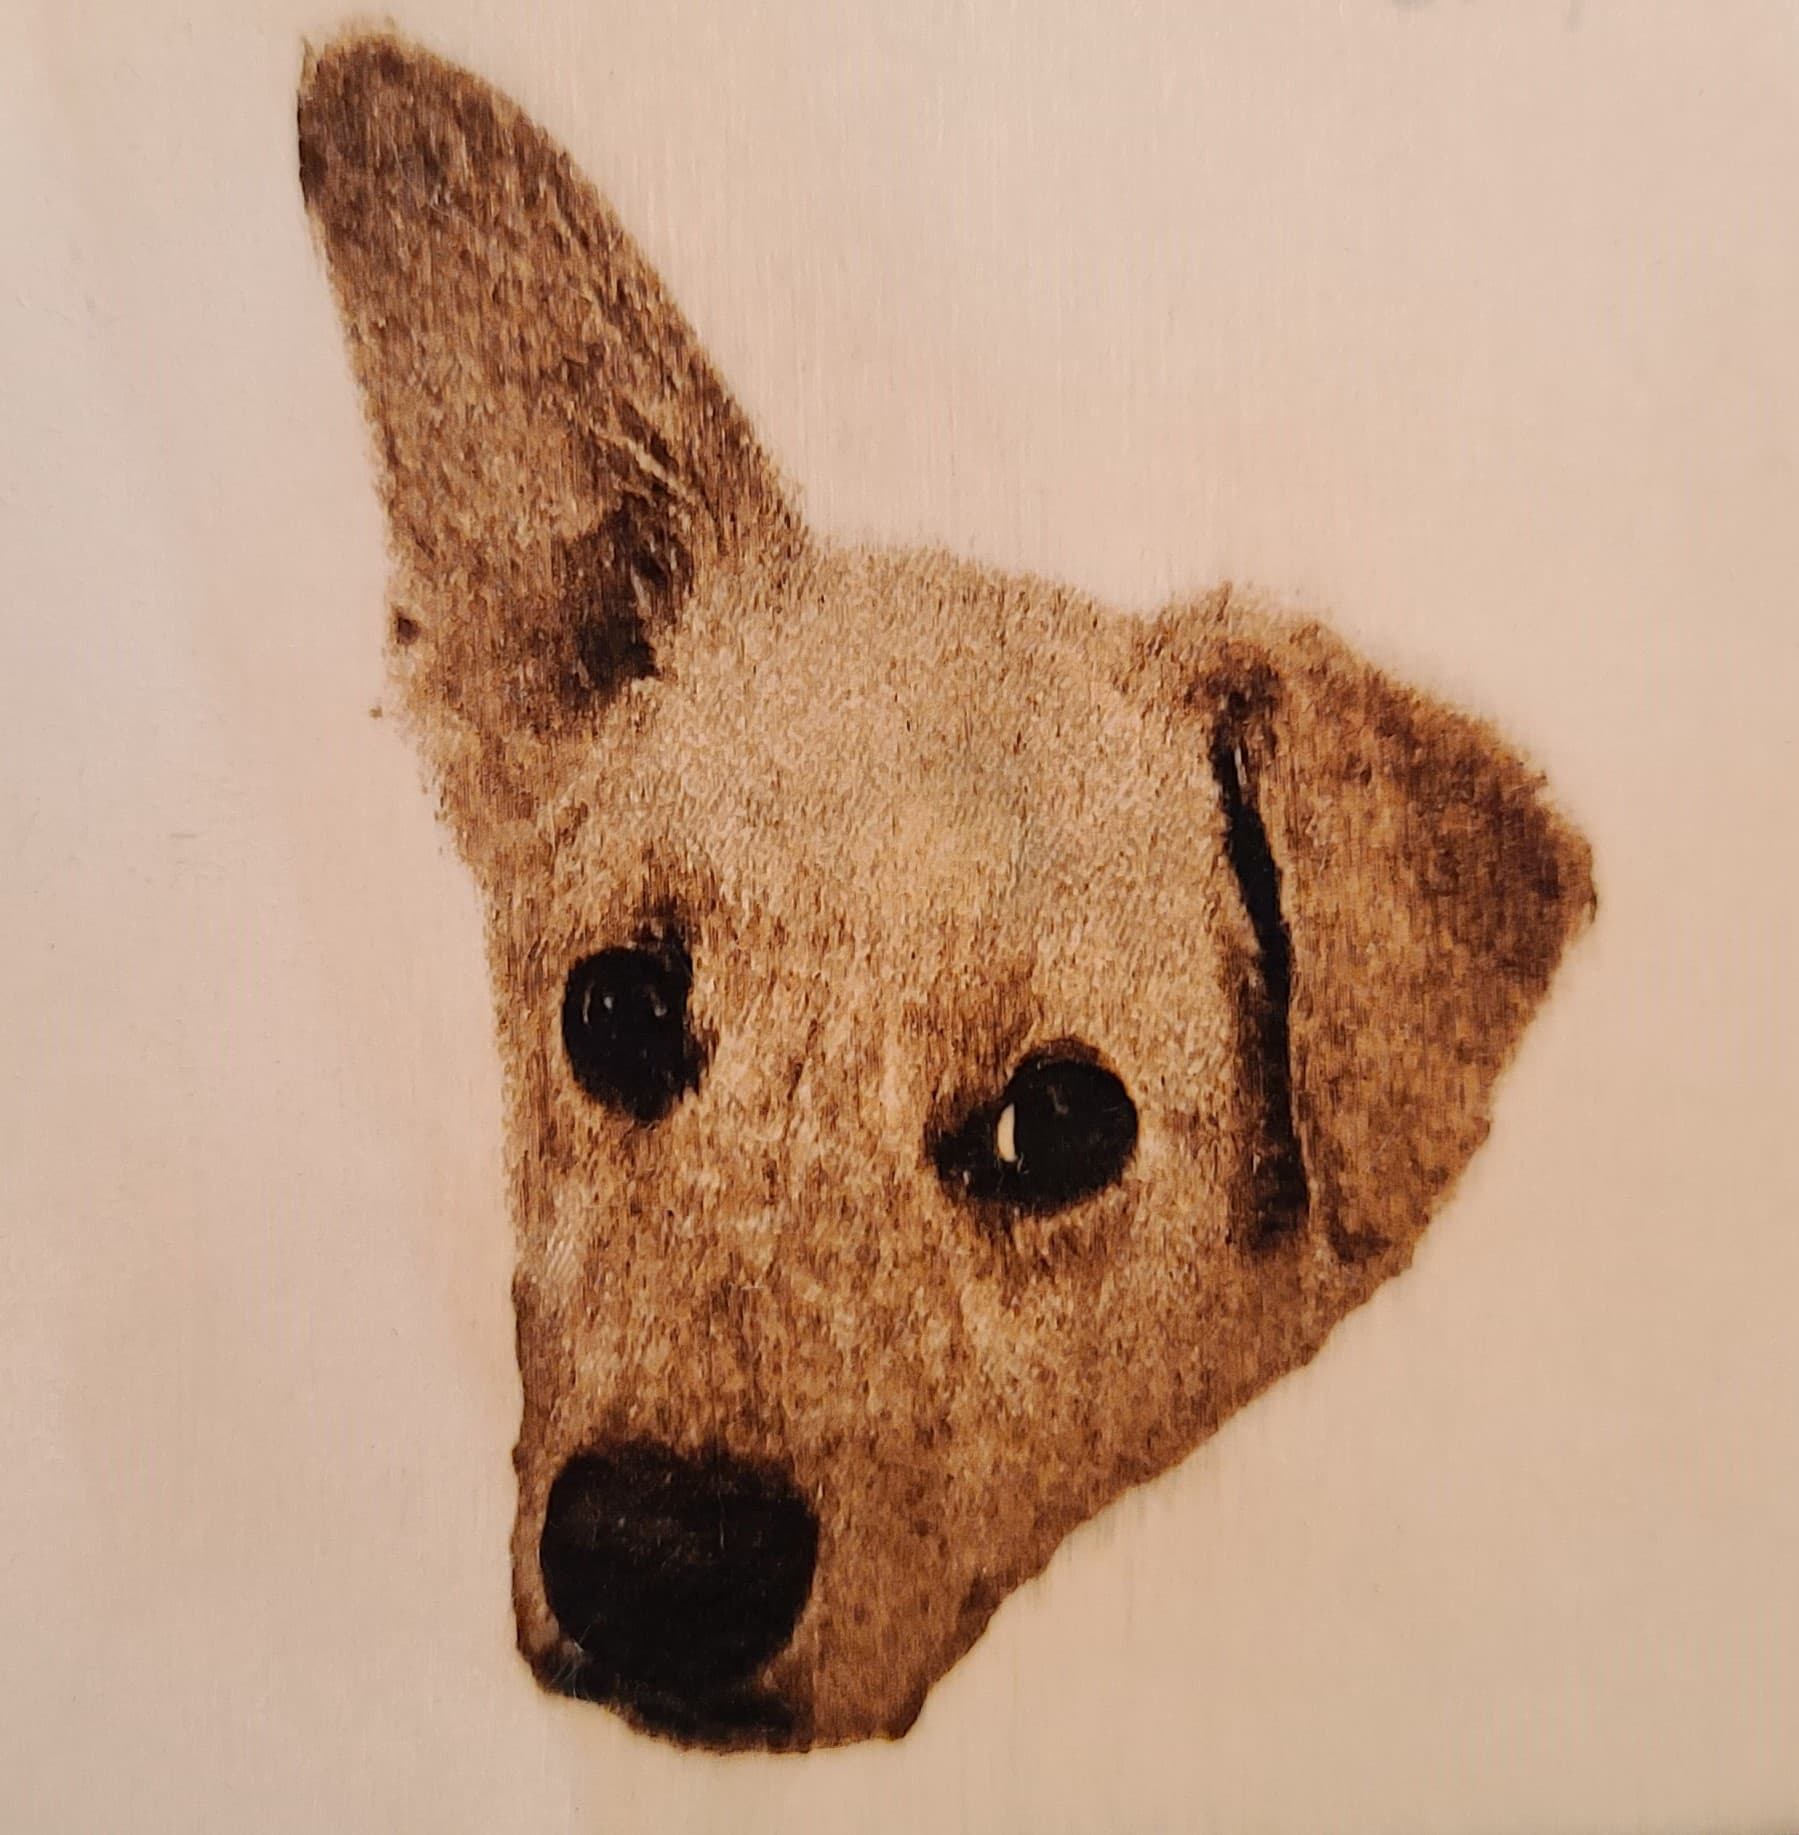
This is the image i am trying to burn on sanded (120 grit) 4in x 4in x .01in poplar plywood.
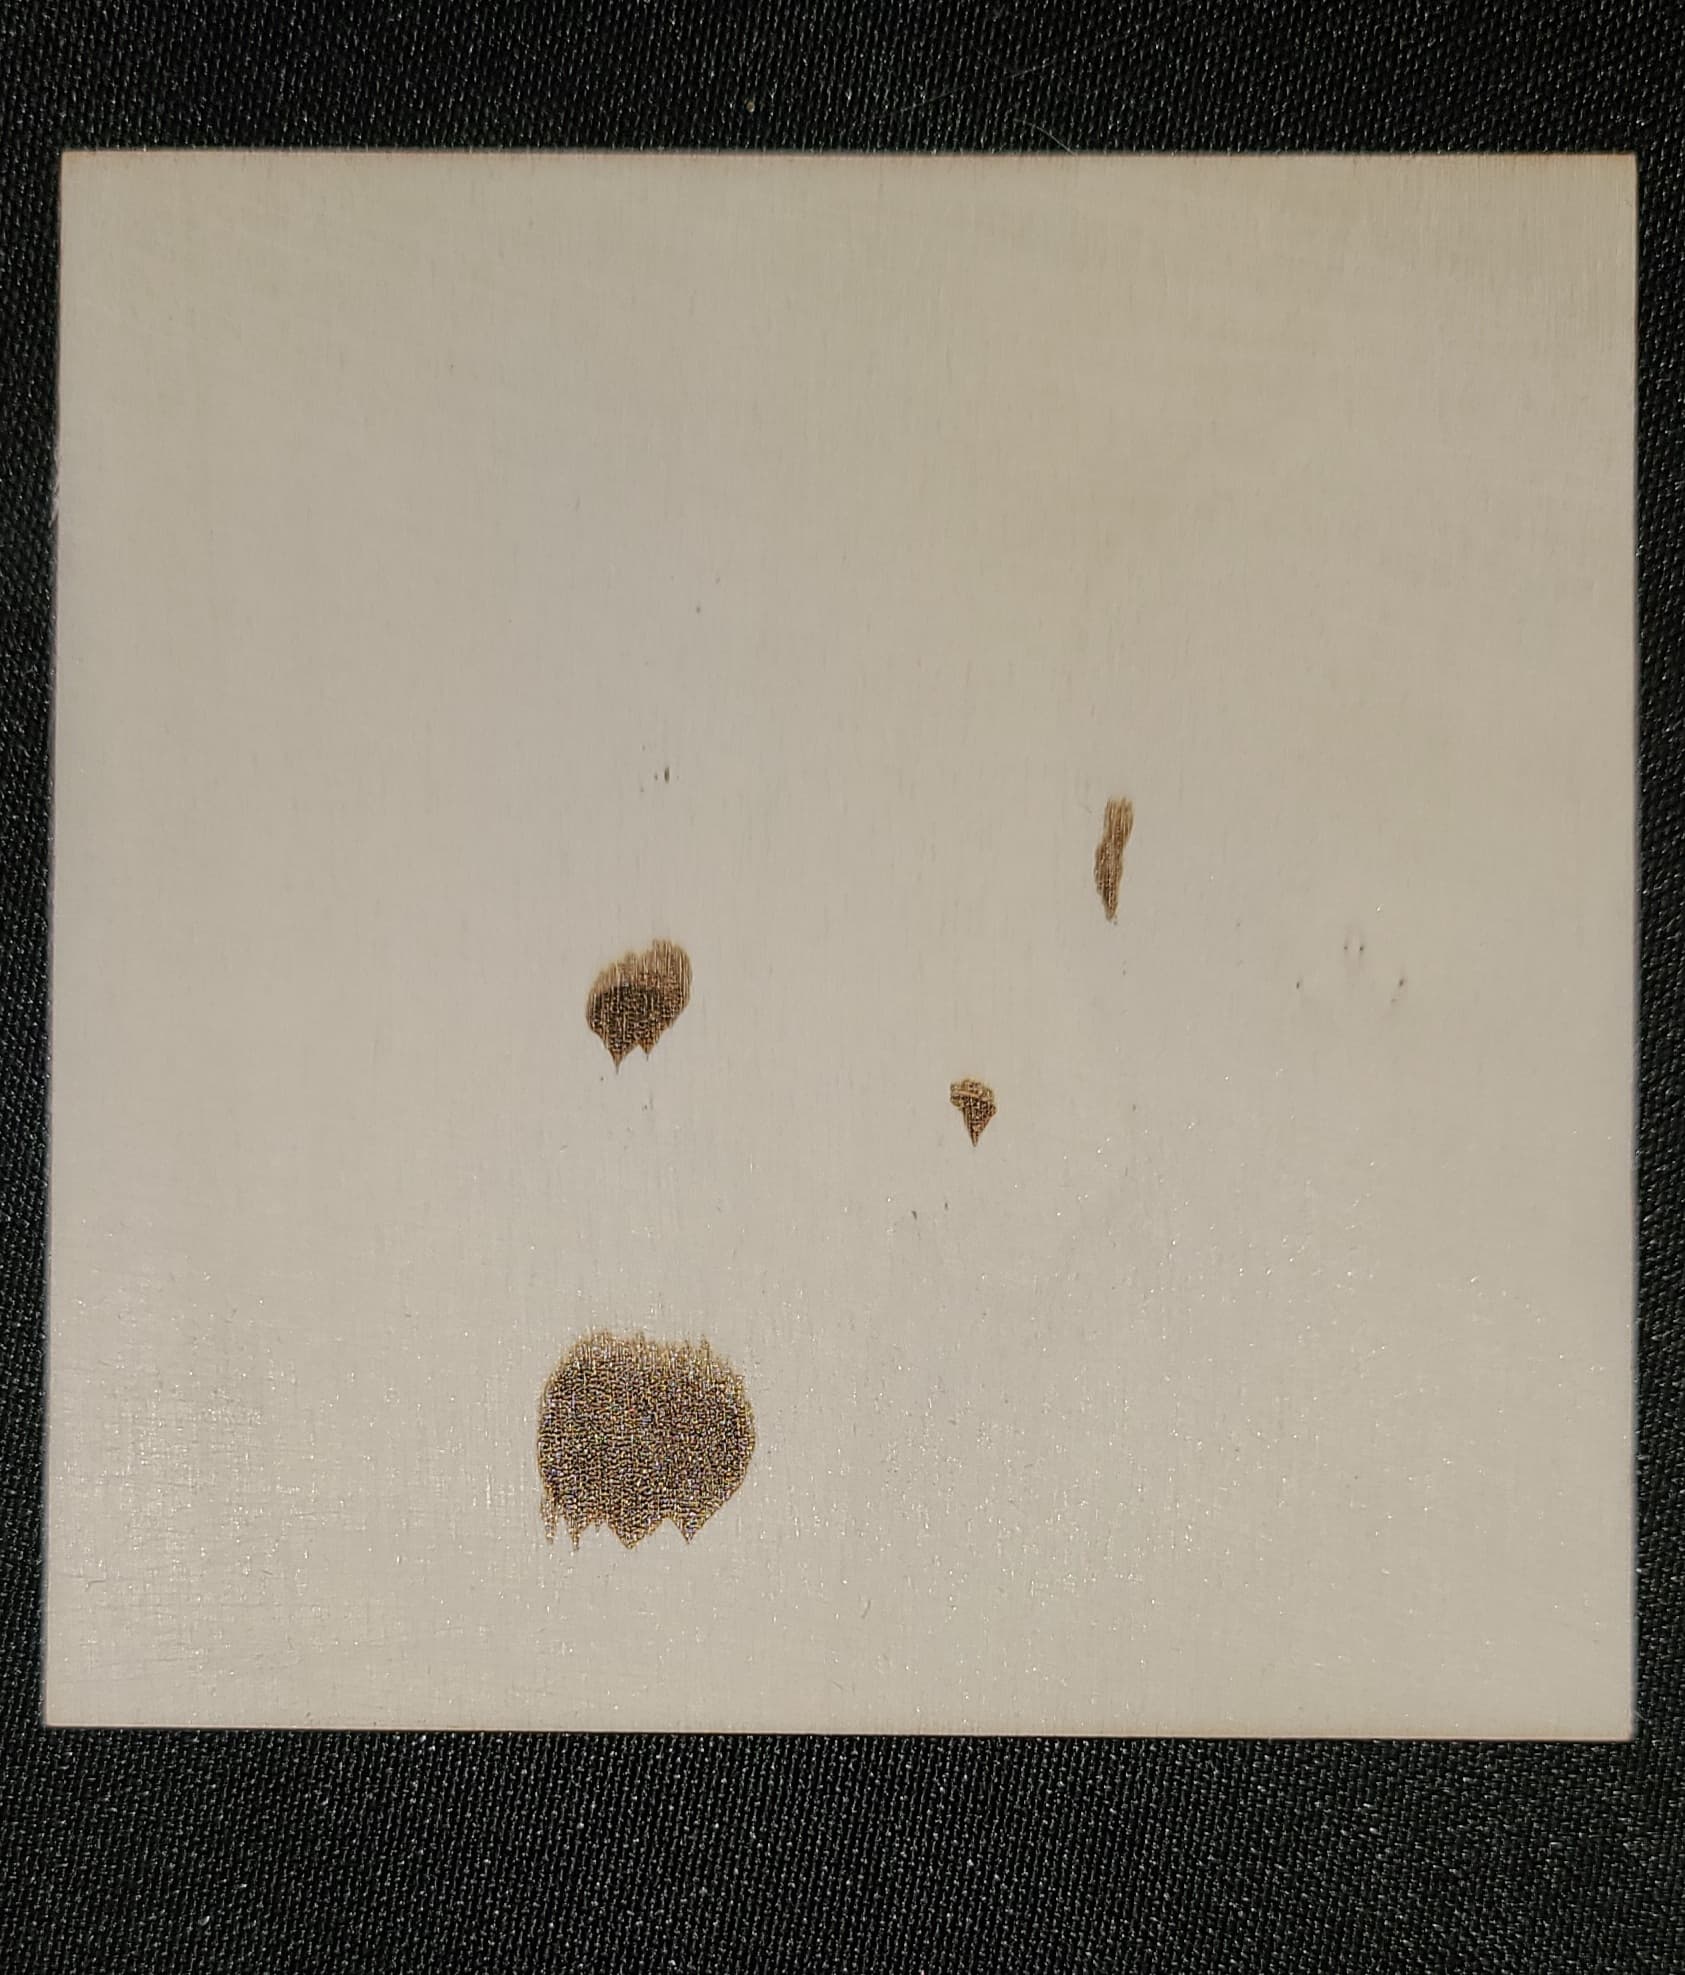
I have been able to get better results but I can’t remember the settings and am basically just guessing at this point. I have tried different speeds, DPI, power, and property settings but I am just truly at a loss.
Revisit your focus process. Are you getting sharp focus on the surface of the material? Do you have a fixed focus module or a dial focus module? Until you get more experienced you want this tack sharp directly on the surface of what you’re burning.
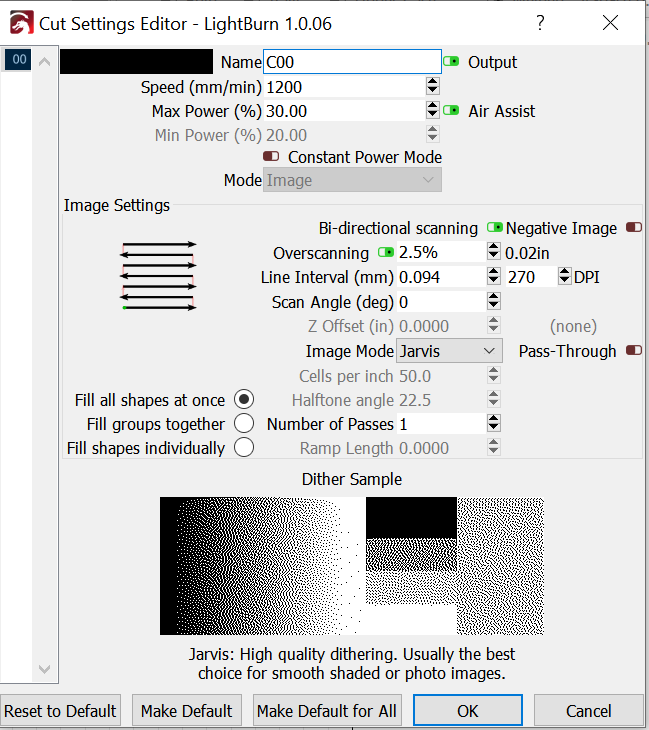
In general for engraving, you want the image to be “darker” than you would normally think for photos. At least more contrasty. Try zooming in on the preview to see exactly how the image is getting translated for a burn. You’ll see that a lot of the lighter details are getting washed away. You may want to experiment with doing full filled vector engravings before trying to use images on this material.
Perhaps try engraving to easier materials first. Like cardboard. This will help you get a feel for how the laser performs. That plywood may also have something in it that’s making your burn difficult.
If you’re not getting sufficient engraving darkness you generally want to either slow down or power up. You’ll need to experiment with this.
Try running a test pattern on any new material so that you can get a sense of the best settings for that material. You’ll still need to dial it in for any new type of image but it will give you a good starting base.
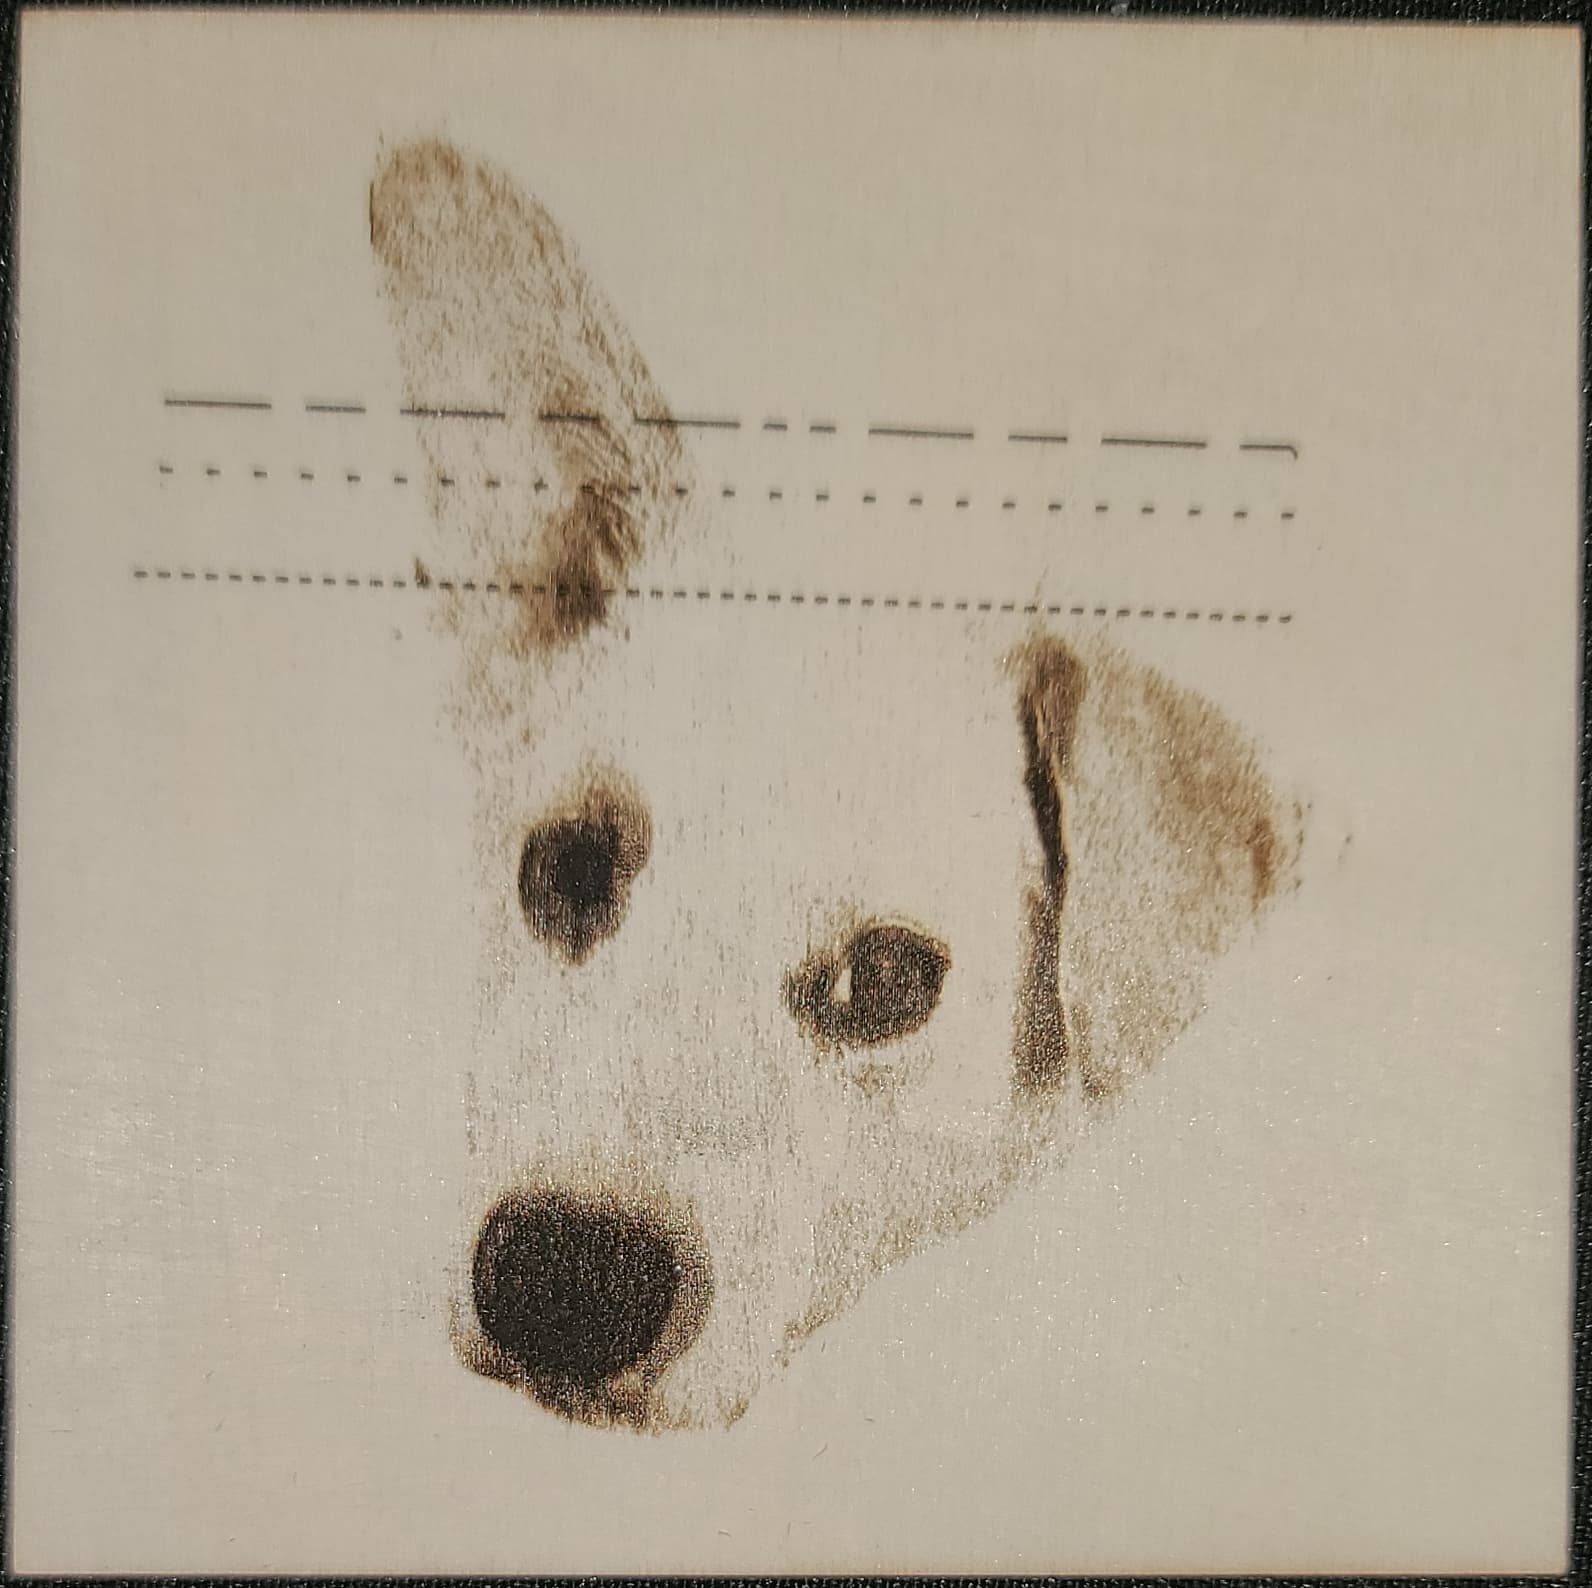
I thought I had it properly focused, but going back and watching this video about focusing the Ortur Laser Master 2, I think I am better off than before. The new burn is far from perfect but there was much improvement.
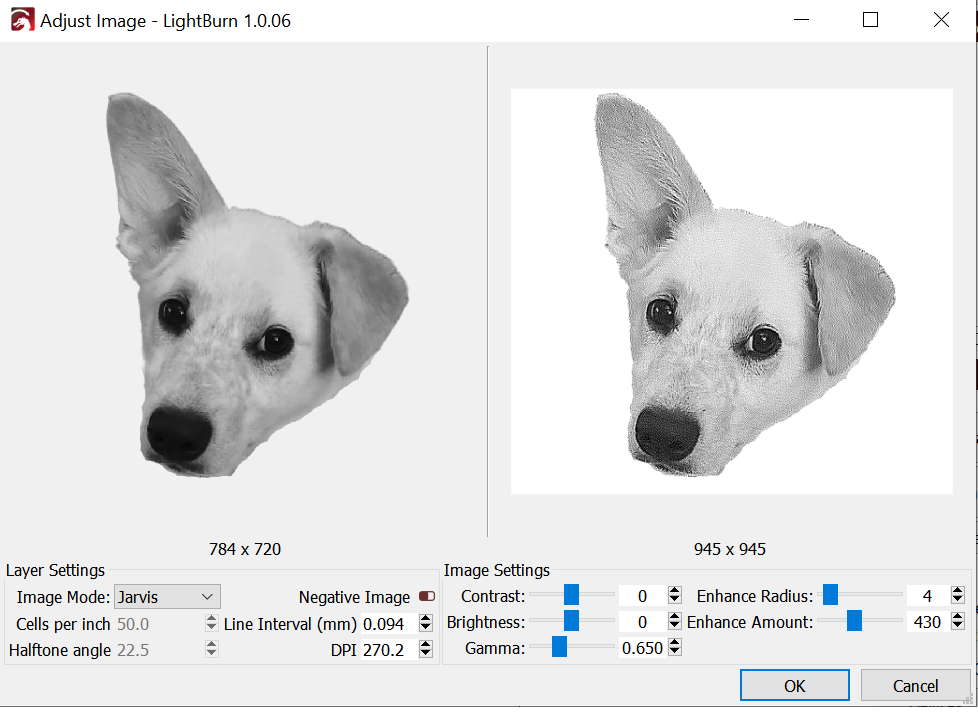
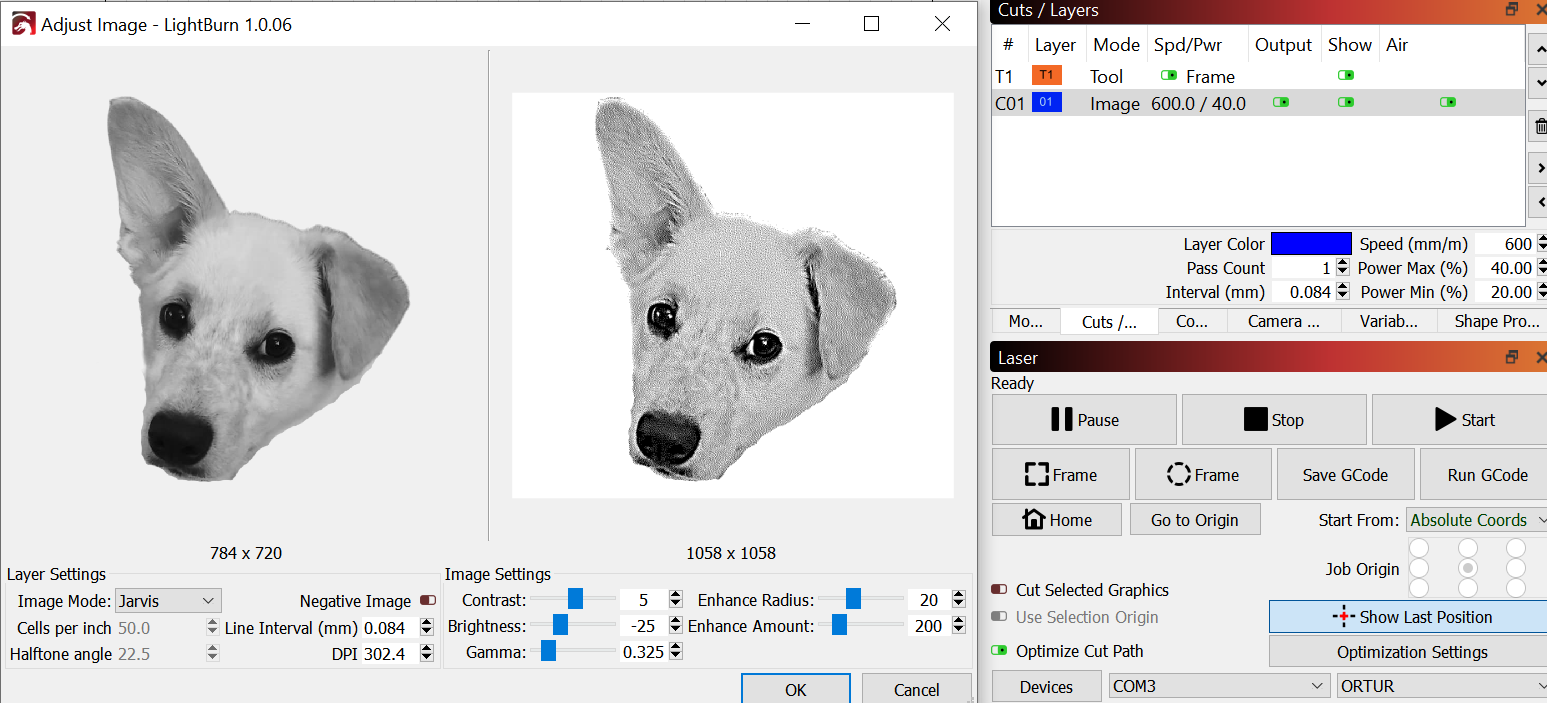
Nice! It’s coming along. I’d suggest upping power - try 40%. Also try reducing brightness so you’re not getting the highlights washed out. Perhaps reduce gamma. For this particular photo you probably want more burnable areas.
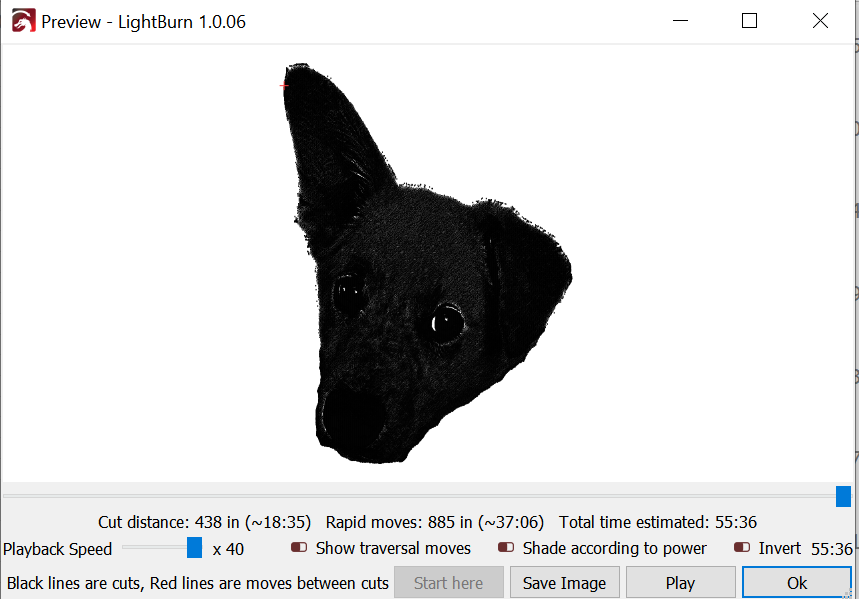
Are you using the Window->Preview feature to see exactly how the burn is going to be performed? When you first open that window it may look solid black. However, if you zoom in with the mouse wheel you’ll be able to see the individual cut lines that will be performed.