You didn’t mention the dpi/lpi or interval you are trying to accomplish…
I think you’re moving awful fast and using way too much power…
I don’t know what you expect from these… I’ve had this type of material before and it’s difficult to work with… The both look like polished floor tile…
Porcelain isn’t going to give you much in the way of a deep engraving… it’s best to use some type of coating like LBT100 or Cermark or even TiO2… or the Norton Tile Method… usually ntm. Bulldog is a master of photo engraving.
You can get regular coasters also available in bulk from them. There are larger slate cheese boards that also work well for graphics.
It’s always nice to have a magnified look at the damage done by your laser on the material.
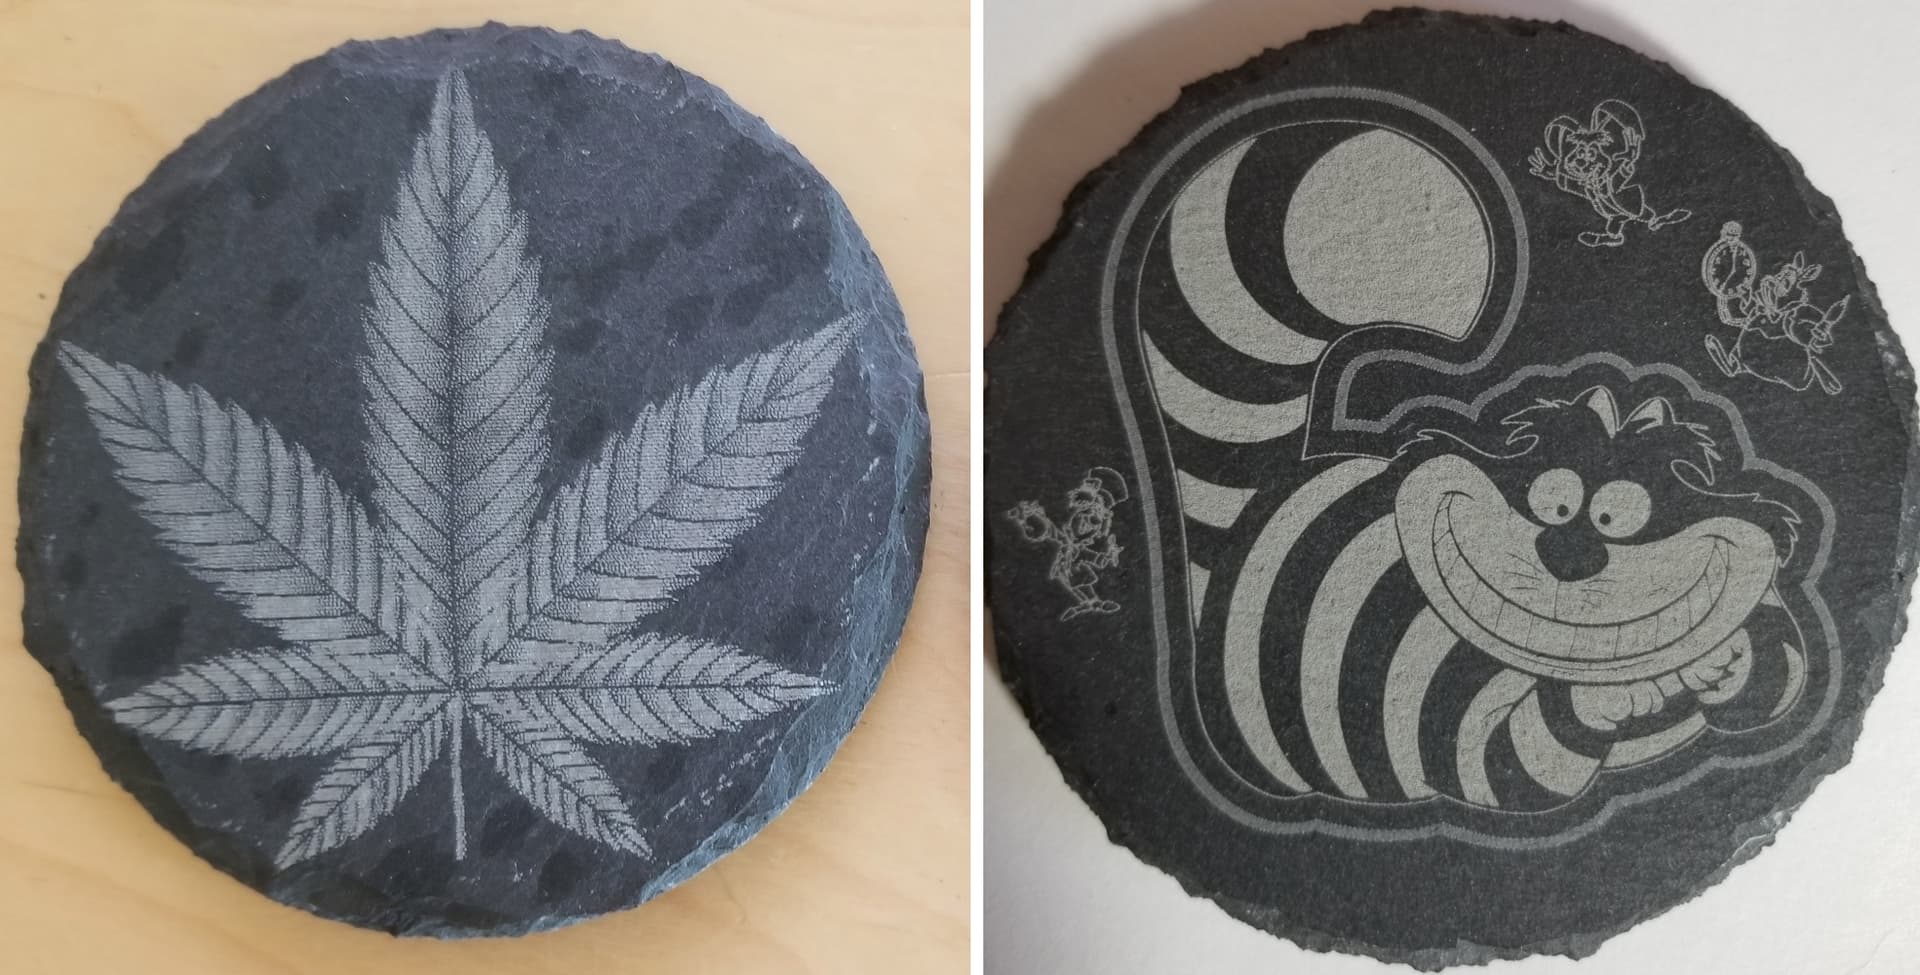
Here are a pair of engraving, guessing about 200mm/s@13%… The one on the right was same speed but 50% more power, or about 20%… You can see the right hand one is blown out by the power by the slight power increase.

Closer look at the co2 vs the fiber on the same batch of material. The light source was different, but it’s the same material. Left if an image with Stucki dither, on the right is a vector using fill.
Some of these materials will engrave dark instead of light…
There is a Laser Everything video on photo engraving… If you do photos or not it’s an excellent video to understand how to find the best dpi/lpi for any laser with any material… Suggest you check it out.
Good luck
![]()