Prospective new laser machine utilising LightBurn with Coreldraw

Explanation

I am currently using a Laserpro GX, it is very old and has done a lot of work, and I am looking to replace it. I have looked at a machine that I really like, it uses a Ruida controller and the choice of software to go with it is RDWorks or Lightburn.

I could buy the exact same machine again, but I think the hardware part of the proposed new machine would be a better bet, and it is also a bit cheaper.

All of my files are drawn in Corel X6, I have a LOT of historical files that do get called into use frequently, and a lot of templates for creation of new jobs.

Consequently, I do not want to have to do too much (if anything) to get the existing Corel files to work with the proposed new machine.

The files contain text, vector drawings (sometimes filled with graduated fills) and sometimes bitmaps.

I understand from a few exchanged emails with support that I would need to change anything with a tint in it to a bitmap in order for it to work, I am happy with that.

What I need to do is refine the process of preparing and sending files to the machine, and I do mostly one offs and a lot of them.

The existing machine sits as a virtual printer on the network, and you can load a material profile that will assign power and speed to all the different coloured vectors or bitmaps within the document, I do not have to specify each colour individually.

I will be continuing to use the old machine for some jobs, so again I could do with leaving the existing Corel templates alone.

Current Workflow

Open template, modify to suit new job

Press Print on the PC

In printer properties, select the material it is to be cut out of.

Press print on the PC

Go to machine, put some material in it, drag the head to the desired start position.

Press Print on the actual machine.

Possible new workflow (after installing and playing with Lightburn)

Open template, modify to suit new job.

If any shading exists, select these objects and turn into a bitmap.

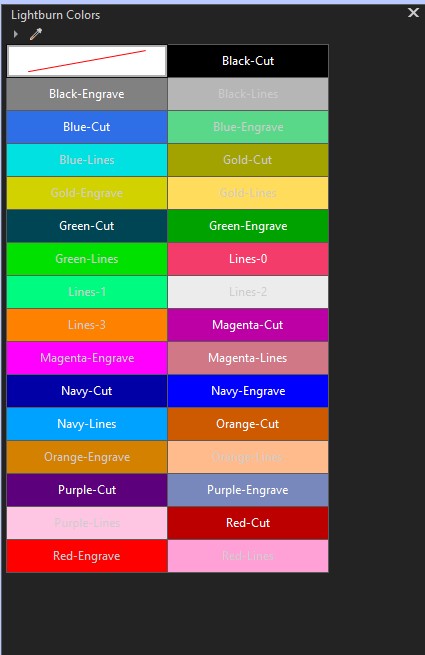
Select the inner border, turn vectors to purple instead of black.

Press macro button to send file to Lighburn

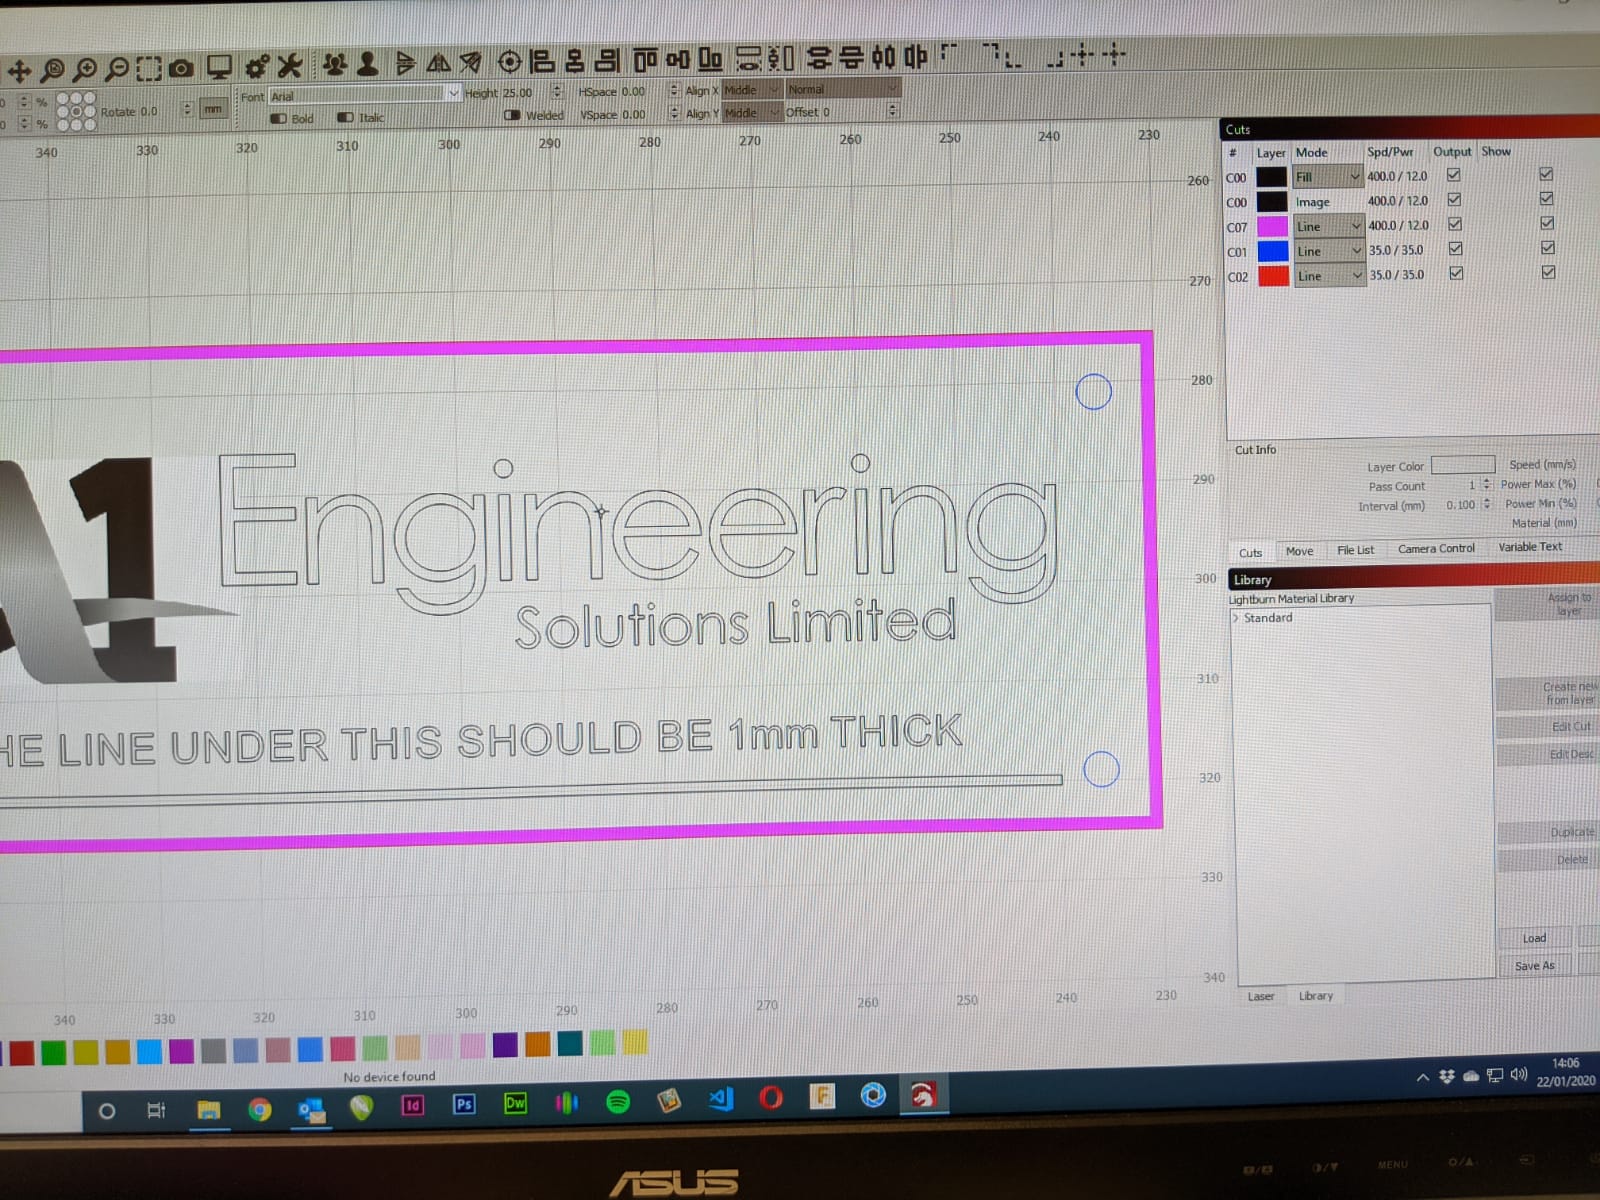
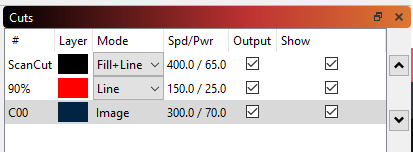
Individually edit each layer to cut or scan, and speed and power settings

Put material into machine

Press ‘Start’ in Lightburn

My Question

He proposed new workflow seems a bit lengthy, I am ok with converting anything with a shade of black in it into a bitmap, but having to individually alter each layer property every time before sending it to the machine is the bit that’s putting me off, is it possible to operate in the same way as my existing system and load a material profile that contains all the speeds and powers for each colour in one file?

Also any shading in it will appear as a black layer, I have a 1mm border on all my labels that appears as vectors .1mm apart to make 1 solid 1mm thick border, if I set black layer to scan it scans the whole lot, if I set it to cut and scan it will cut the border (but with low power to not go all the way through) but then will also try to cut all of the vectors on there that are filled with black (does that make sense) Hence the extra step in the proposed new workflow of changing the internal border to purple.

If you always use the same power / speed settings on a given color, LightBurn will remember them between runs, so you won’t have to set them again. You can also use the Material Library, which lets you store and recall color layer settings quickly. (How to use the material library?)

The black layer for images is a different settings bank than the black layer for vectors, so if you set the black vector layer to ‘Line’ it will do the outline runs for you without filling anything.

That’s very interesting that it remembers the last settings used, where does it store them? I might be able to get some software written that over writes them with a material drop down box or something.

They’re stored in the preferences file. You can also just save a template file of settings. Make a file that has all the cut settings set the way you like, then delete all the objects from it so the project is empty. Save that. LightBurn normally saves only the cut info attached to objects in a file, but if the project is empty, it assumes you want a cut settings template, and saves all of the cut settings.

If you load that file before you load vectors, the settings stored in that template file will be applied. This means you can save pre-set color banks for different materials, and still do the normal color-mapping approach.

I just did that, it seems the macro I am using (an older version aimed at X5, but I am using X6) will only work if Lightburn is not open prior to hitting the run macro button. if Lightburn is open then it goes through the motions but nothing happens as regards putting the file into LightBurn

I’ll have to have a look at the macro content again - there have been some changes recently to how LightBurn loads content, but the last time I checked the Corel macro still worked. If your macro uses older commands, that might be the issue.

cheers, off home now! thank you for the help so far.

In Corel draw you can create a Lightburn color pallette. I have done this and 98% of the time when it exports to lightvburn… all my elements have retained their settings used in Lightburn… EI: Dark Gray at 325mm/65% power pulls in at just that.

Since my projects consist of either, cutting, engraving or drawing lines, I broke my Corel palette into those color groups.

Hi, I’ve encountered another issue while playing with it this morning. Some of my stuff is drawn with a line thickness applied to the line, say 1mm. My existing system sees this as a scan not a cut, but lightburn sees every vector as a line and ignores the thickness, is that right? are there any plans to change this?

Yes, this is the way LightBurn works. There is no “line-weight” associated with a path in LightBurn. If you want to add “thickness” to a line, you need to define the bounds of the path to be filled. LightBurn does not provide for this to be done automatically based on settings in other drawing tools as you describe.

Have a look at this to better understand how LightBurn uses boundaries to define fill areas:

Most software will let you convert a stroke width to a path. LightBurn can do it as well using the offset tool, but it’s not how most other laser software works (for the Chinese machines at least) so I wanted to start with this behavior and then add the line thickness import as a possible future option.

Yeah this is my problem, I am taking a huge amount of historical work that was drawn in the way my current system likes it. I’m then attempting to use those files relatively unchanged on a totally different system.

Currently looking into having a Corel macro written to automate the conversion process from my artwork to how your system works.

Hi, me again :slight_smile:

Is it possible to make it remember or force it to order the layers the way I want without having to adjust them each time? I’ve made a material library and I am happy with how it works but at the moment I am having to re-order the layers manually each time.

It’d probably be easier to just set your layers up the way they’re arranged. Change your layers so they match the default order.

Not possible, I don’t use layers and I have a tonne of old corel files I wouldnt want to change.

You don’t use layers?

Maybe I’m not understanding the real issue. Why do you need the LB layers in a certain order? Is it so you can have things engraved and cut in a specific order? Maybe an example of one of the files, what an initial import looks like, and what it looks like after you’ve reordered them yourself, would help me understand and then offer another solution.

no I don’t use layers in Coreldraw, never felt the need.


this is what the order needs to look like, I basically want to do all the engraving before all the cutting, as it stands when it is imported its going to cut the outline before it does the engraving which will most likely make the material bow and give me focus issues.

thats how it comes in

I see now. I think you’ll want to mess around with the ‘Optimization Settings’ a bit. I would give these settings a try:

image

My layers look like this:
image

And it engraves the image first, then engraves the fill/line layer, then it cuts the hexagon.