I’ve been playing around with doing photos and I have only used greyscale because I can actually see the picture in the preview.
Why is it the the other preview (jarvis / stucki) are black in the preview.
I’ve been reluctant to use these setting for this reason alone.
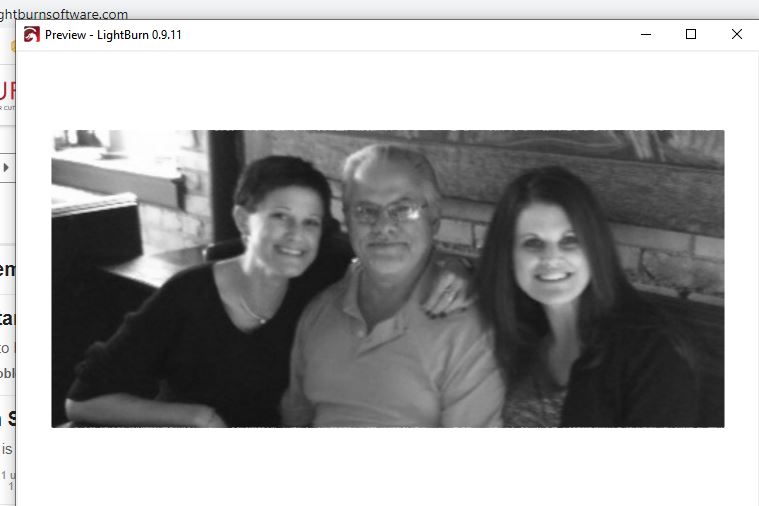
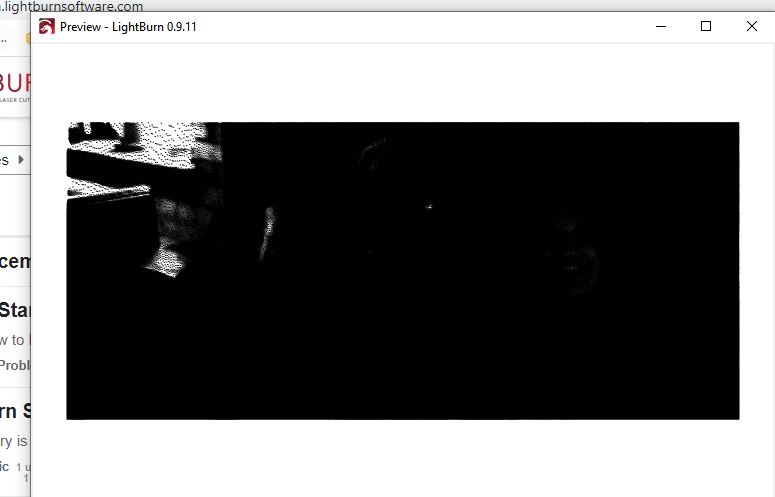
These two are the same picture.
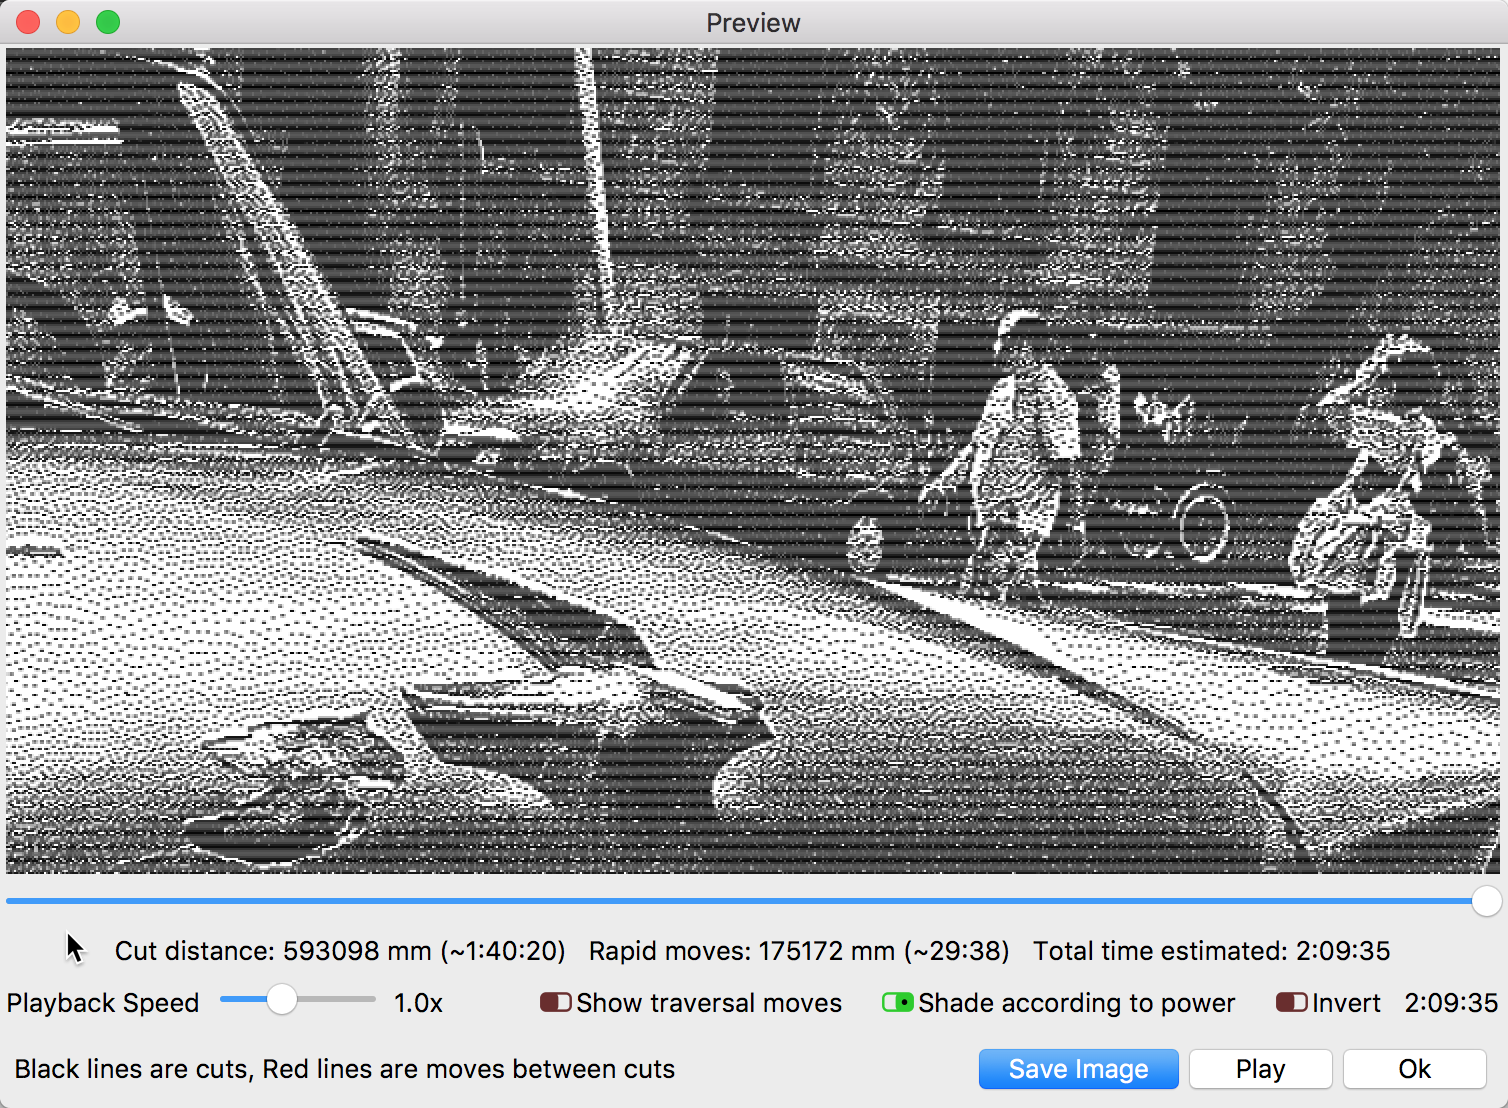
First is greyscale the second is jarvis
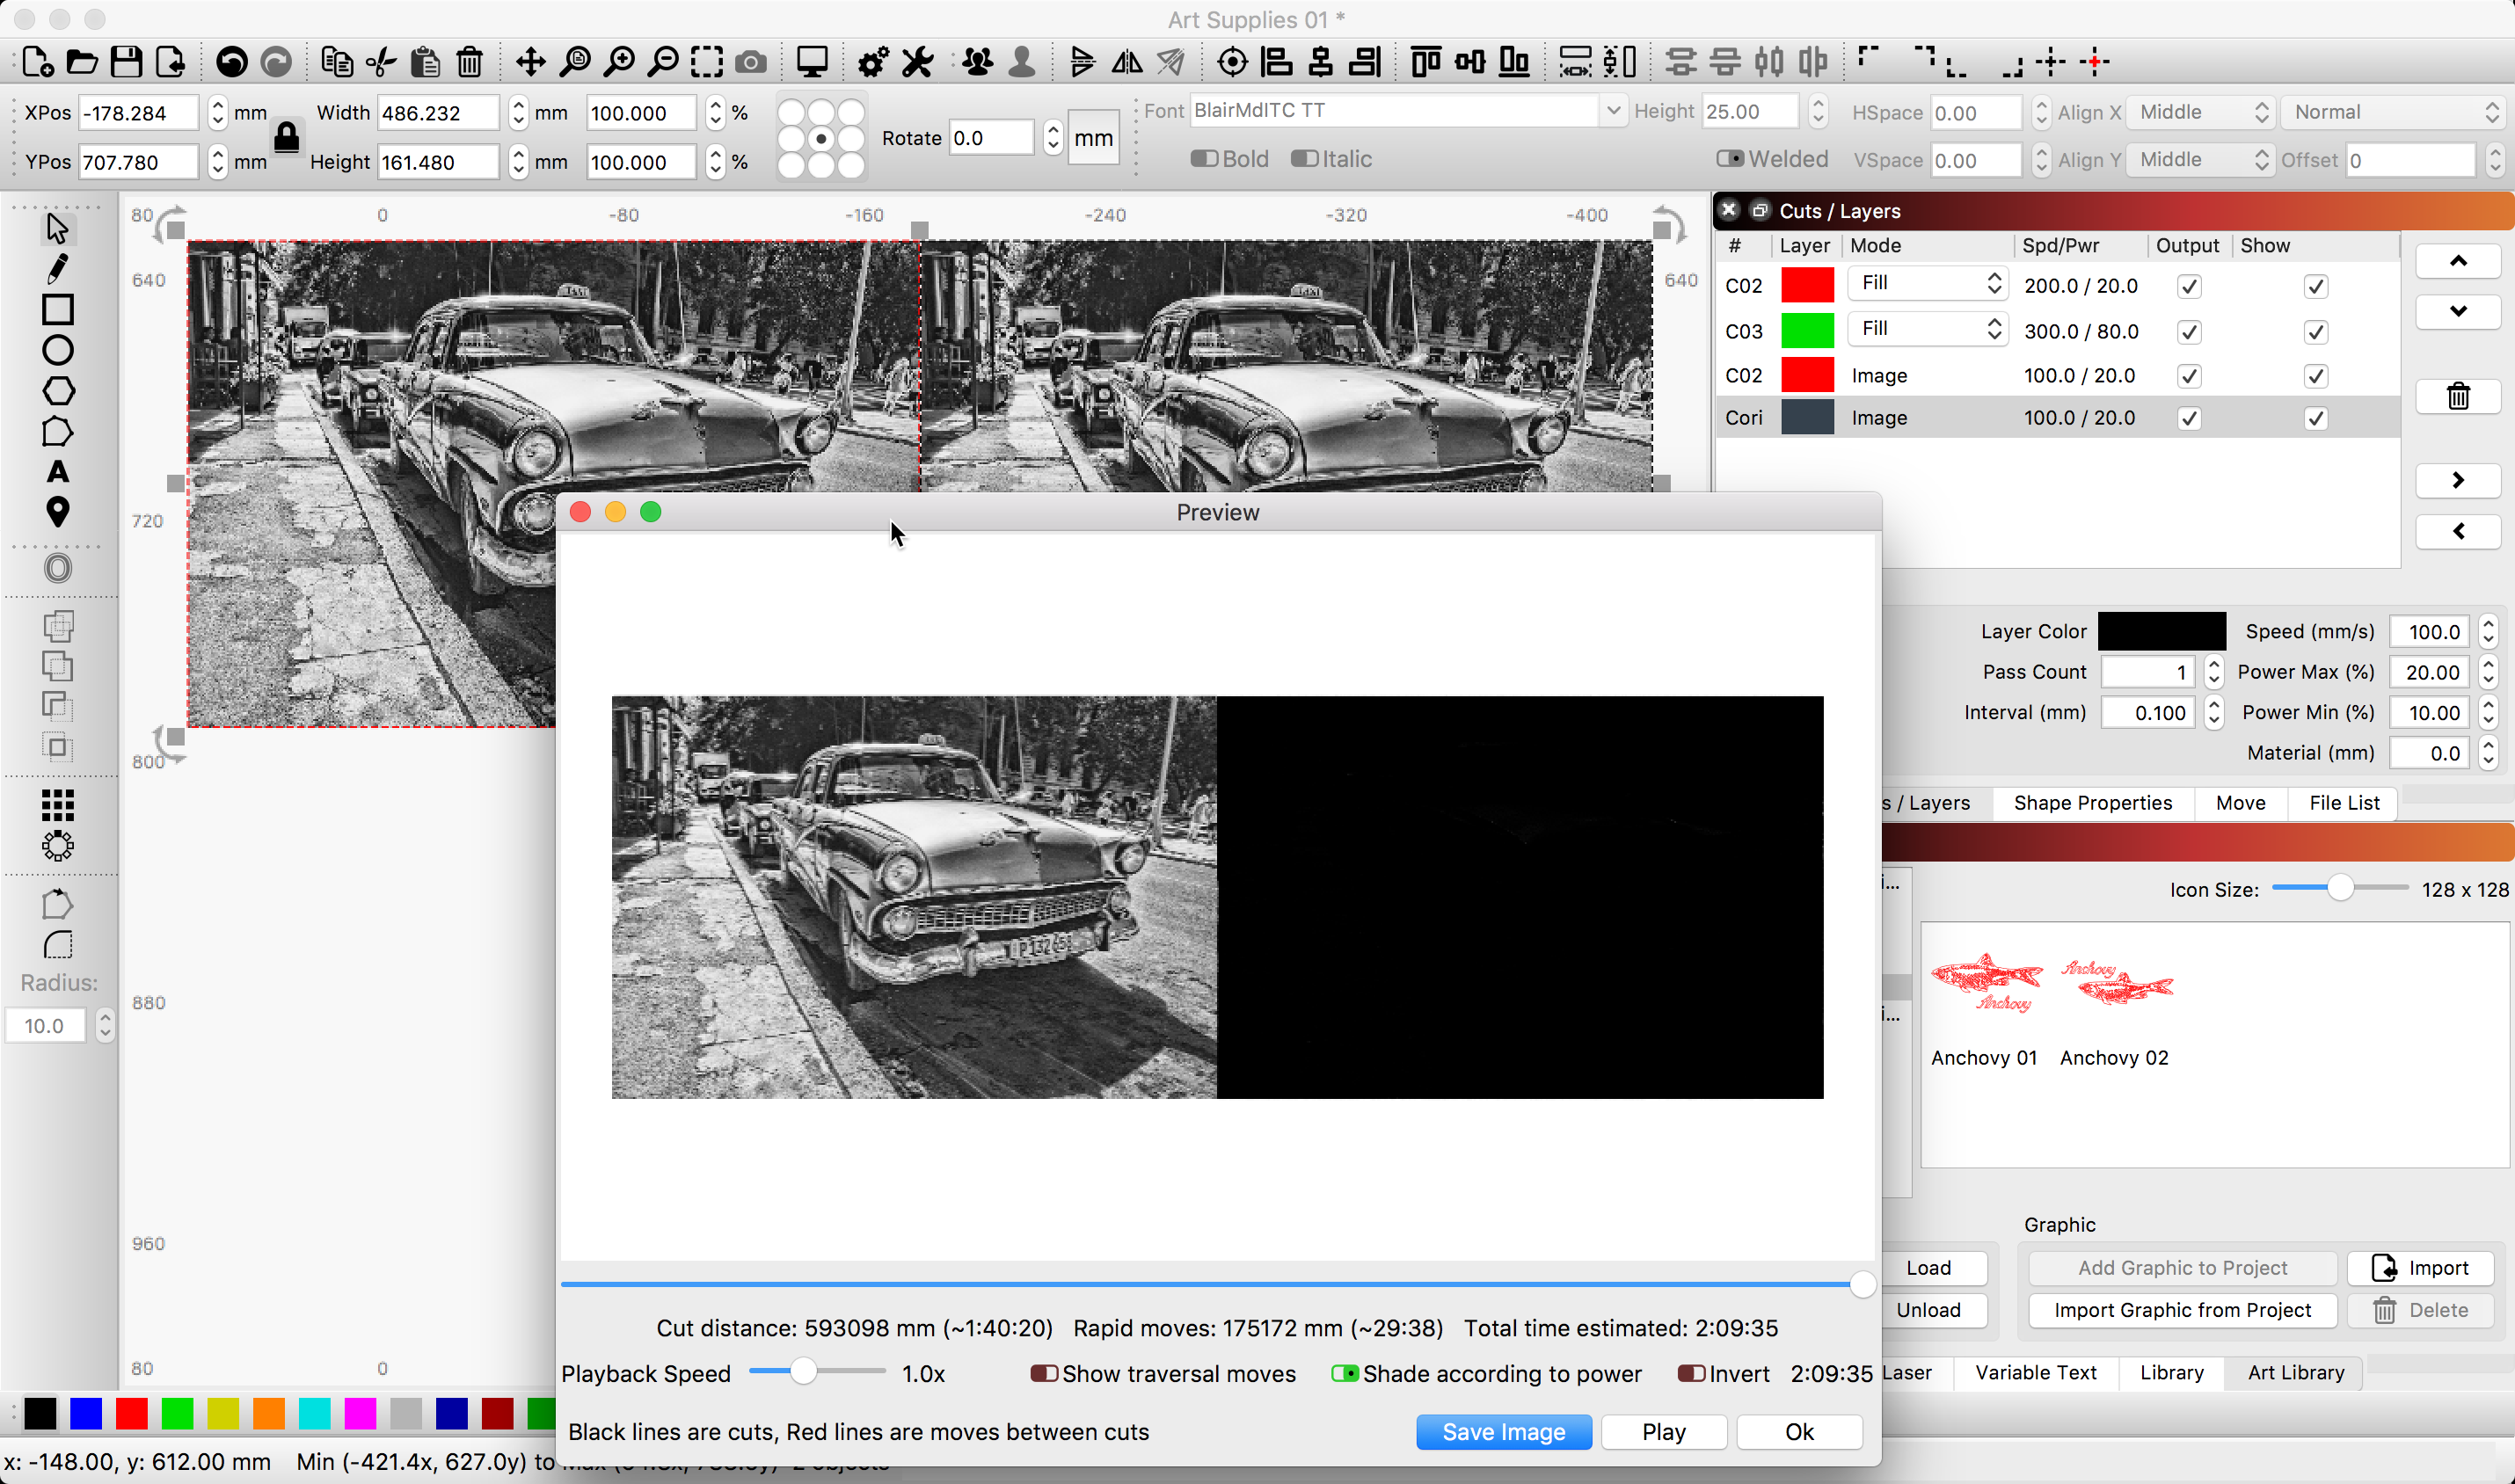
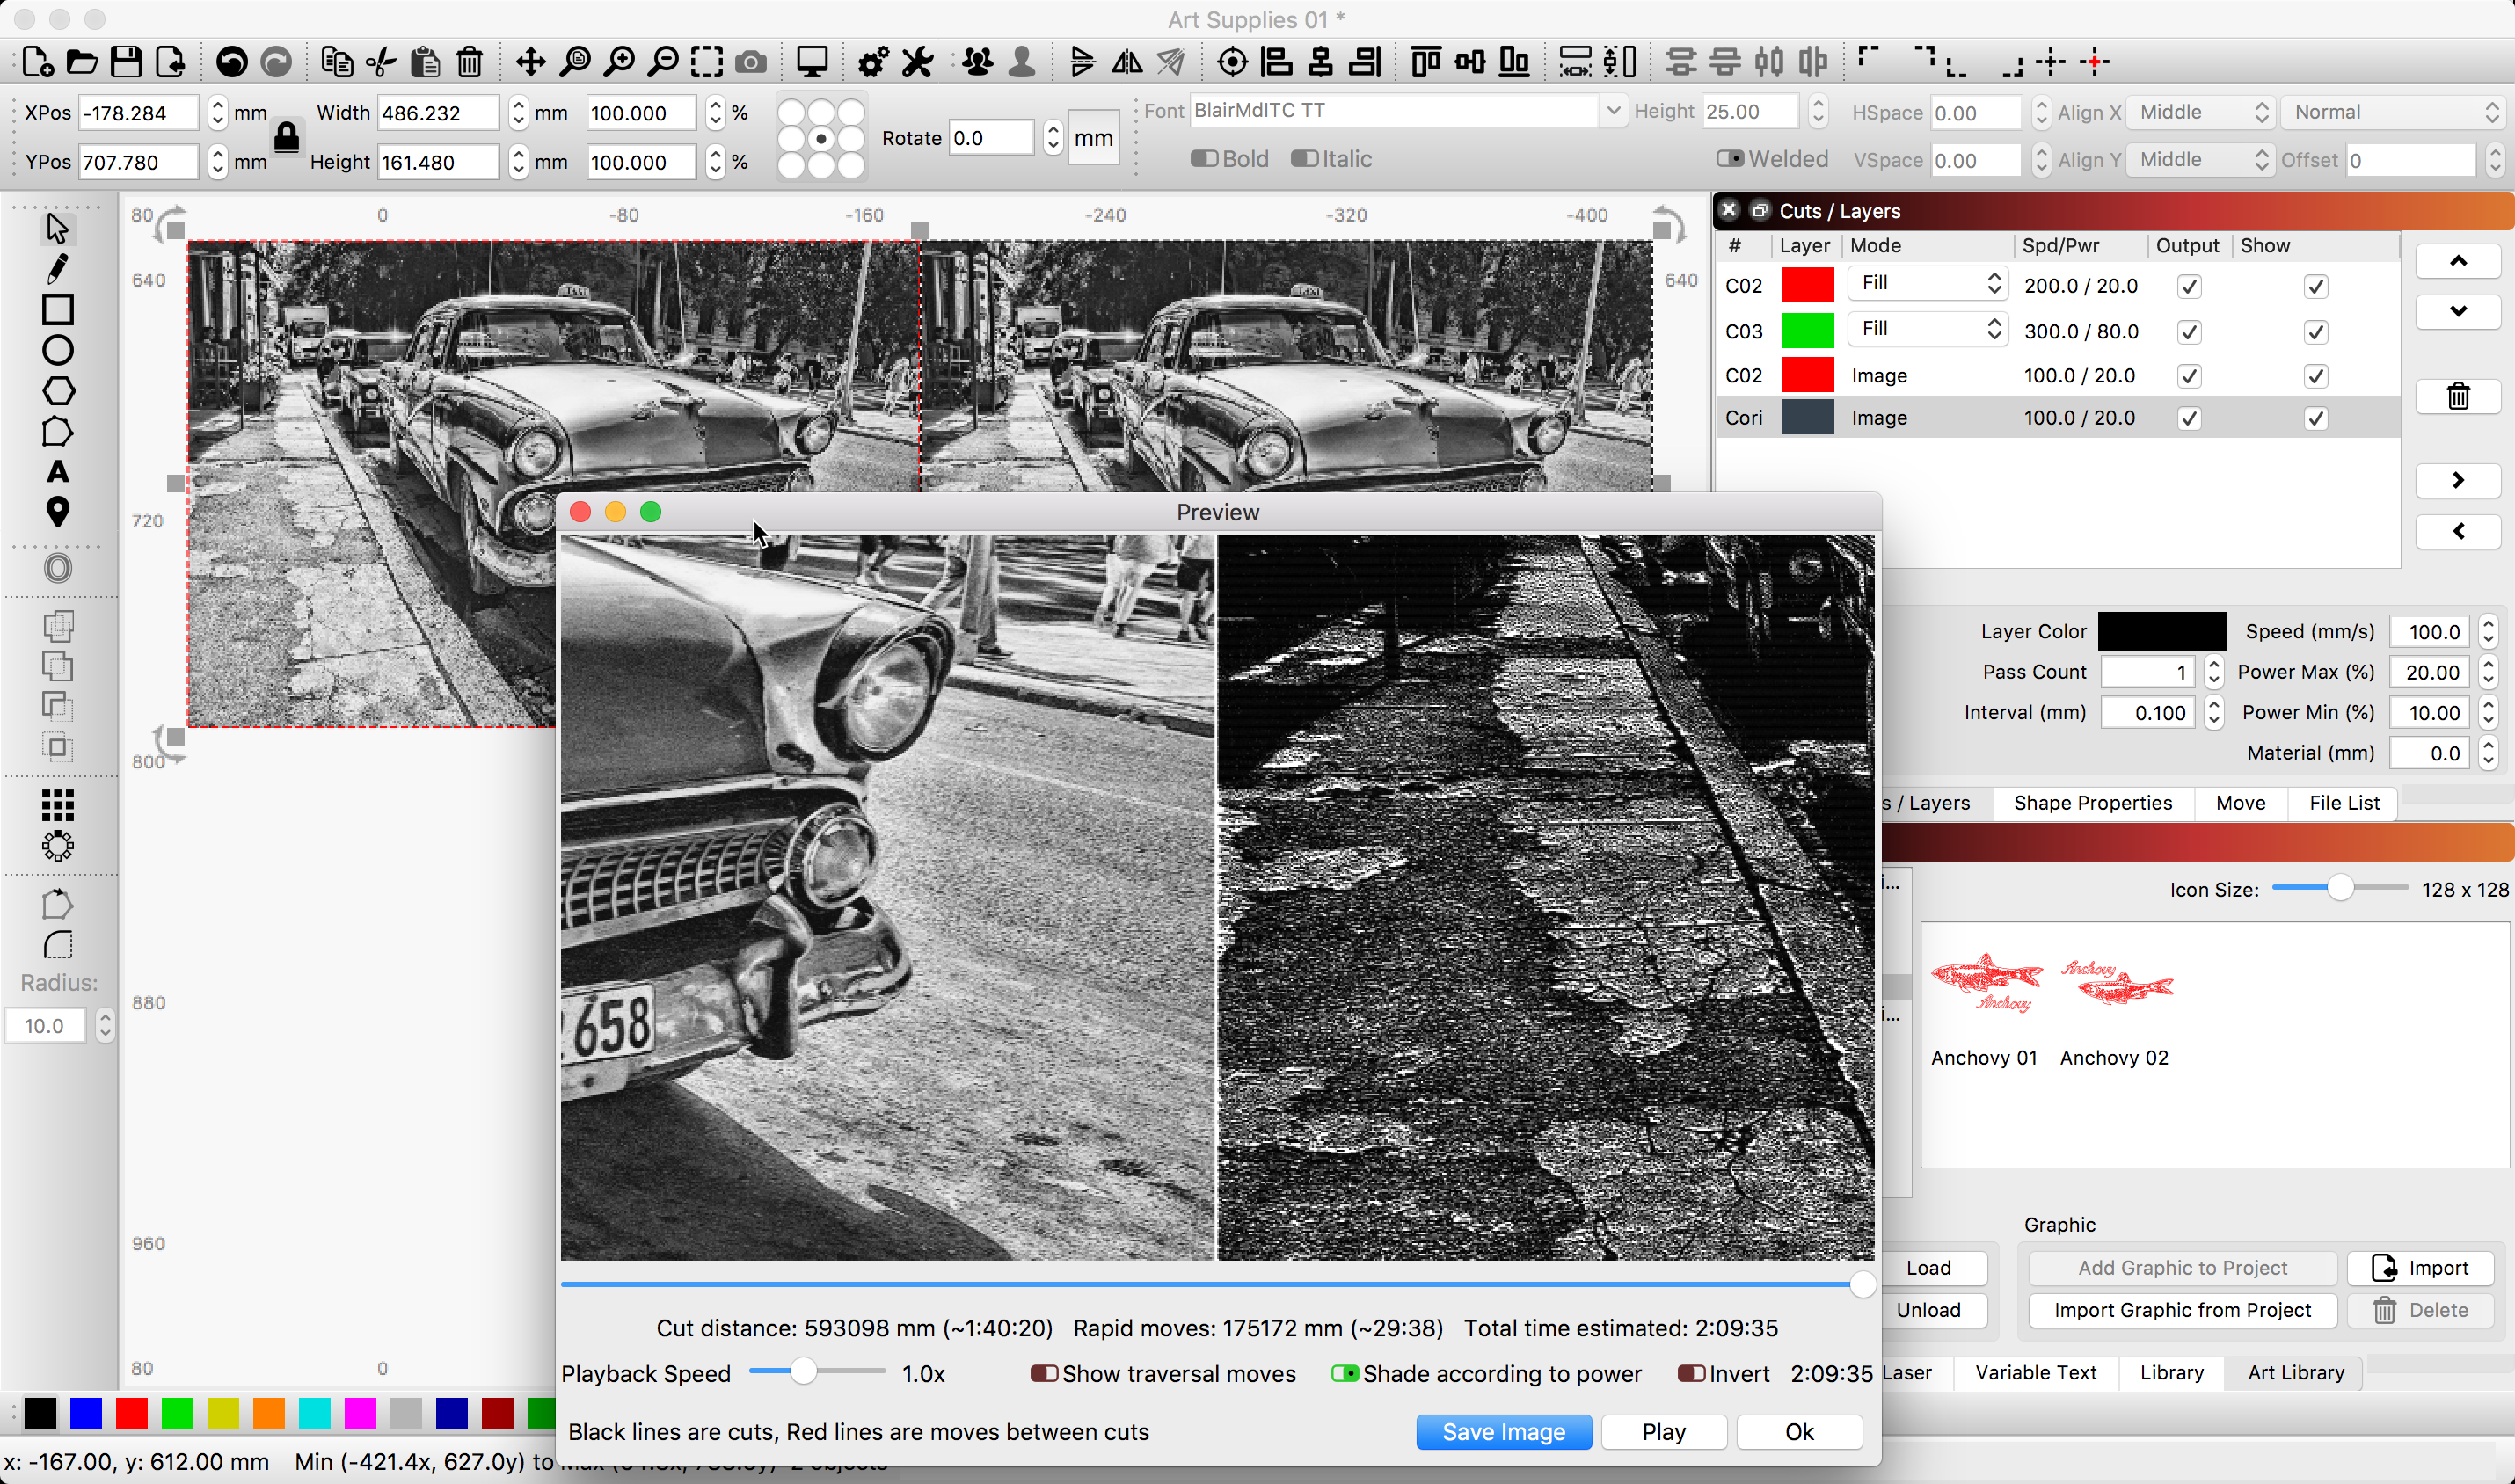
If you zoom in you will see the preview better. But the final results turn out very good using the dither modes. OZ did a great job on these modes 
The Preview will show the output sent to the laser and rendered this output to the screen. It is not really “black”. If you zoom in when viewing a dither, you will see the details of the output. Here is an example, showing 2 of the same image, one set to Grayscale and the other set to Stucki. Bottom image shows some of the Stucki detail when starting to zoom in on the Preview window.
So, I’m cutting right now (in jarvis) and I’m getting these lines exactly
as shown in the preview.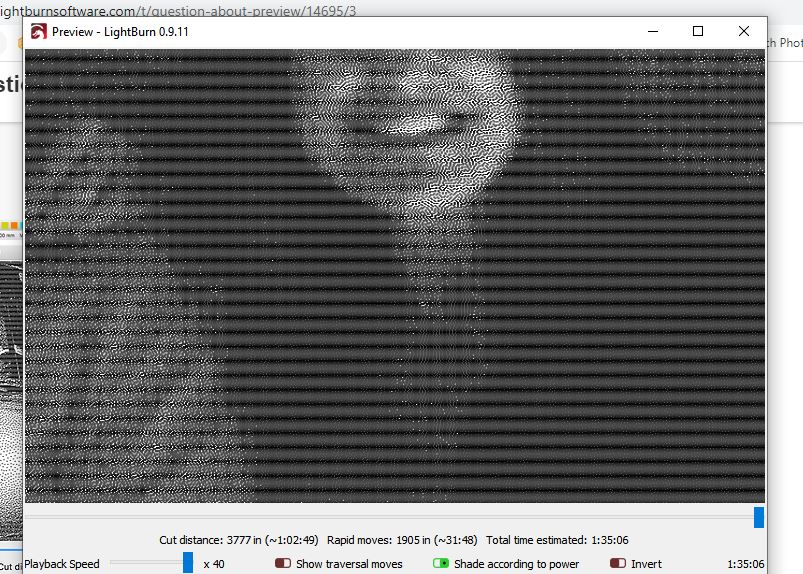
Why is that?
Hard to tell from the image you posted. Did you edit the image and apply any dithering effects outside LightBurn? If so, you will need to use the ‘Pass-through’ feature so LightBurn won’t try to dither this again. Guessing here, as you have not provided much more about the image, your settings and the like.
Rick,
I haven’t done anything to the picture.(well I cropped it)
It was a picture that I simply imported into lightburn.
Settings a 60 IPM 50% power (on a 7 watt Laser) 300 DPI (.003" step over)

If you zoom in on that does it go away?
It may just be moire from the combination of screen resolution and dithering pattern. It may be on screen only and not real.
ETA: I think I missed the part above where you said you were cutting it now and getting the pattern. Never mind.
Please post a picture of the output on your material so we can see it. You may have an issue with electrical interference. Do you have any devices close to or plugged in the same power source line? Small mini-fridge, compressor or other electronics around that might be interfering?
I should have no electrical interference.
All the lights in my shop are high quality LEDs for that exact reason and the only other thing running is the computer and the X controller.
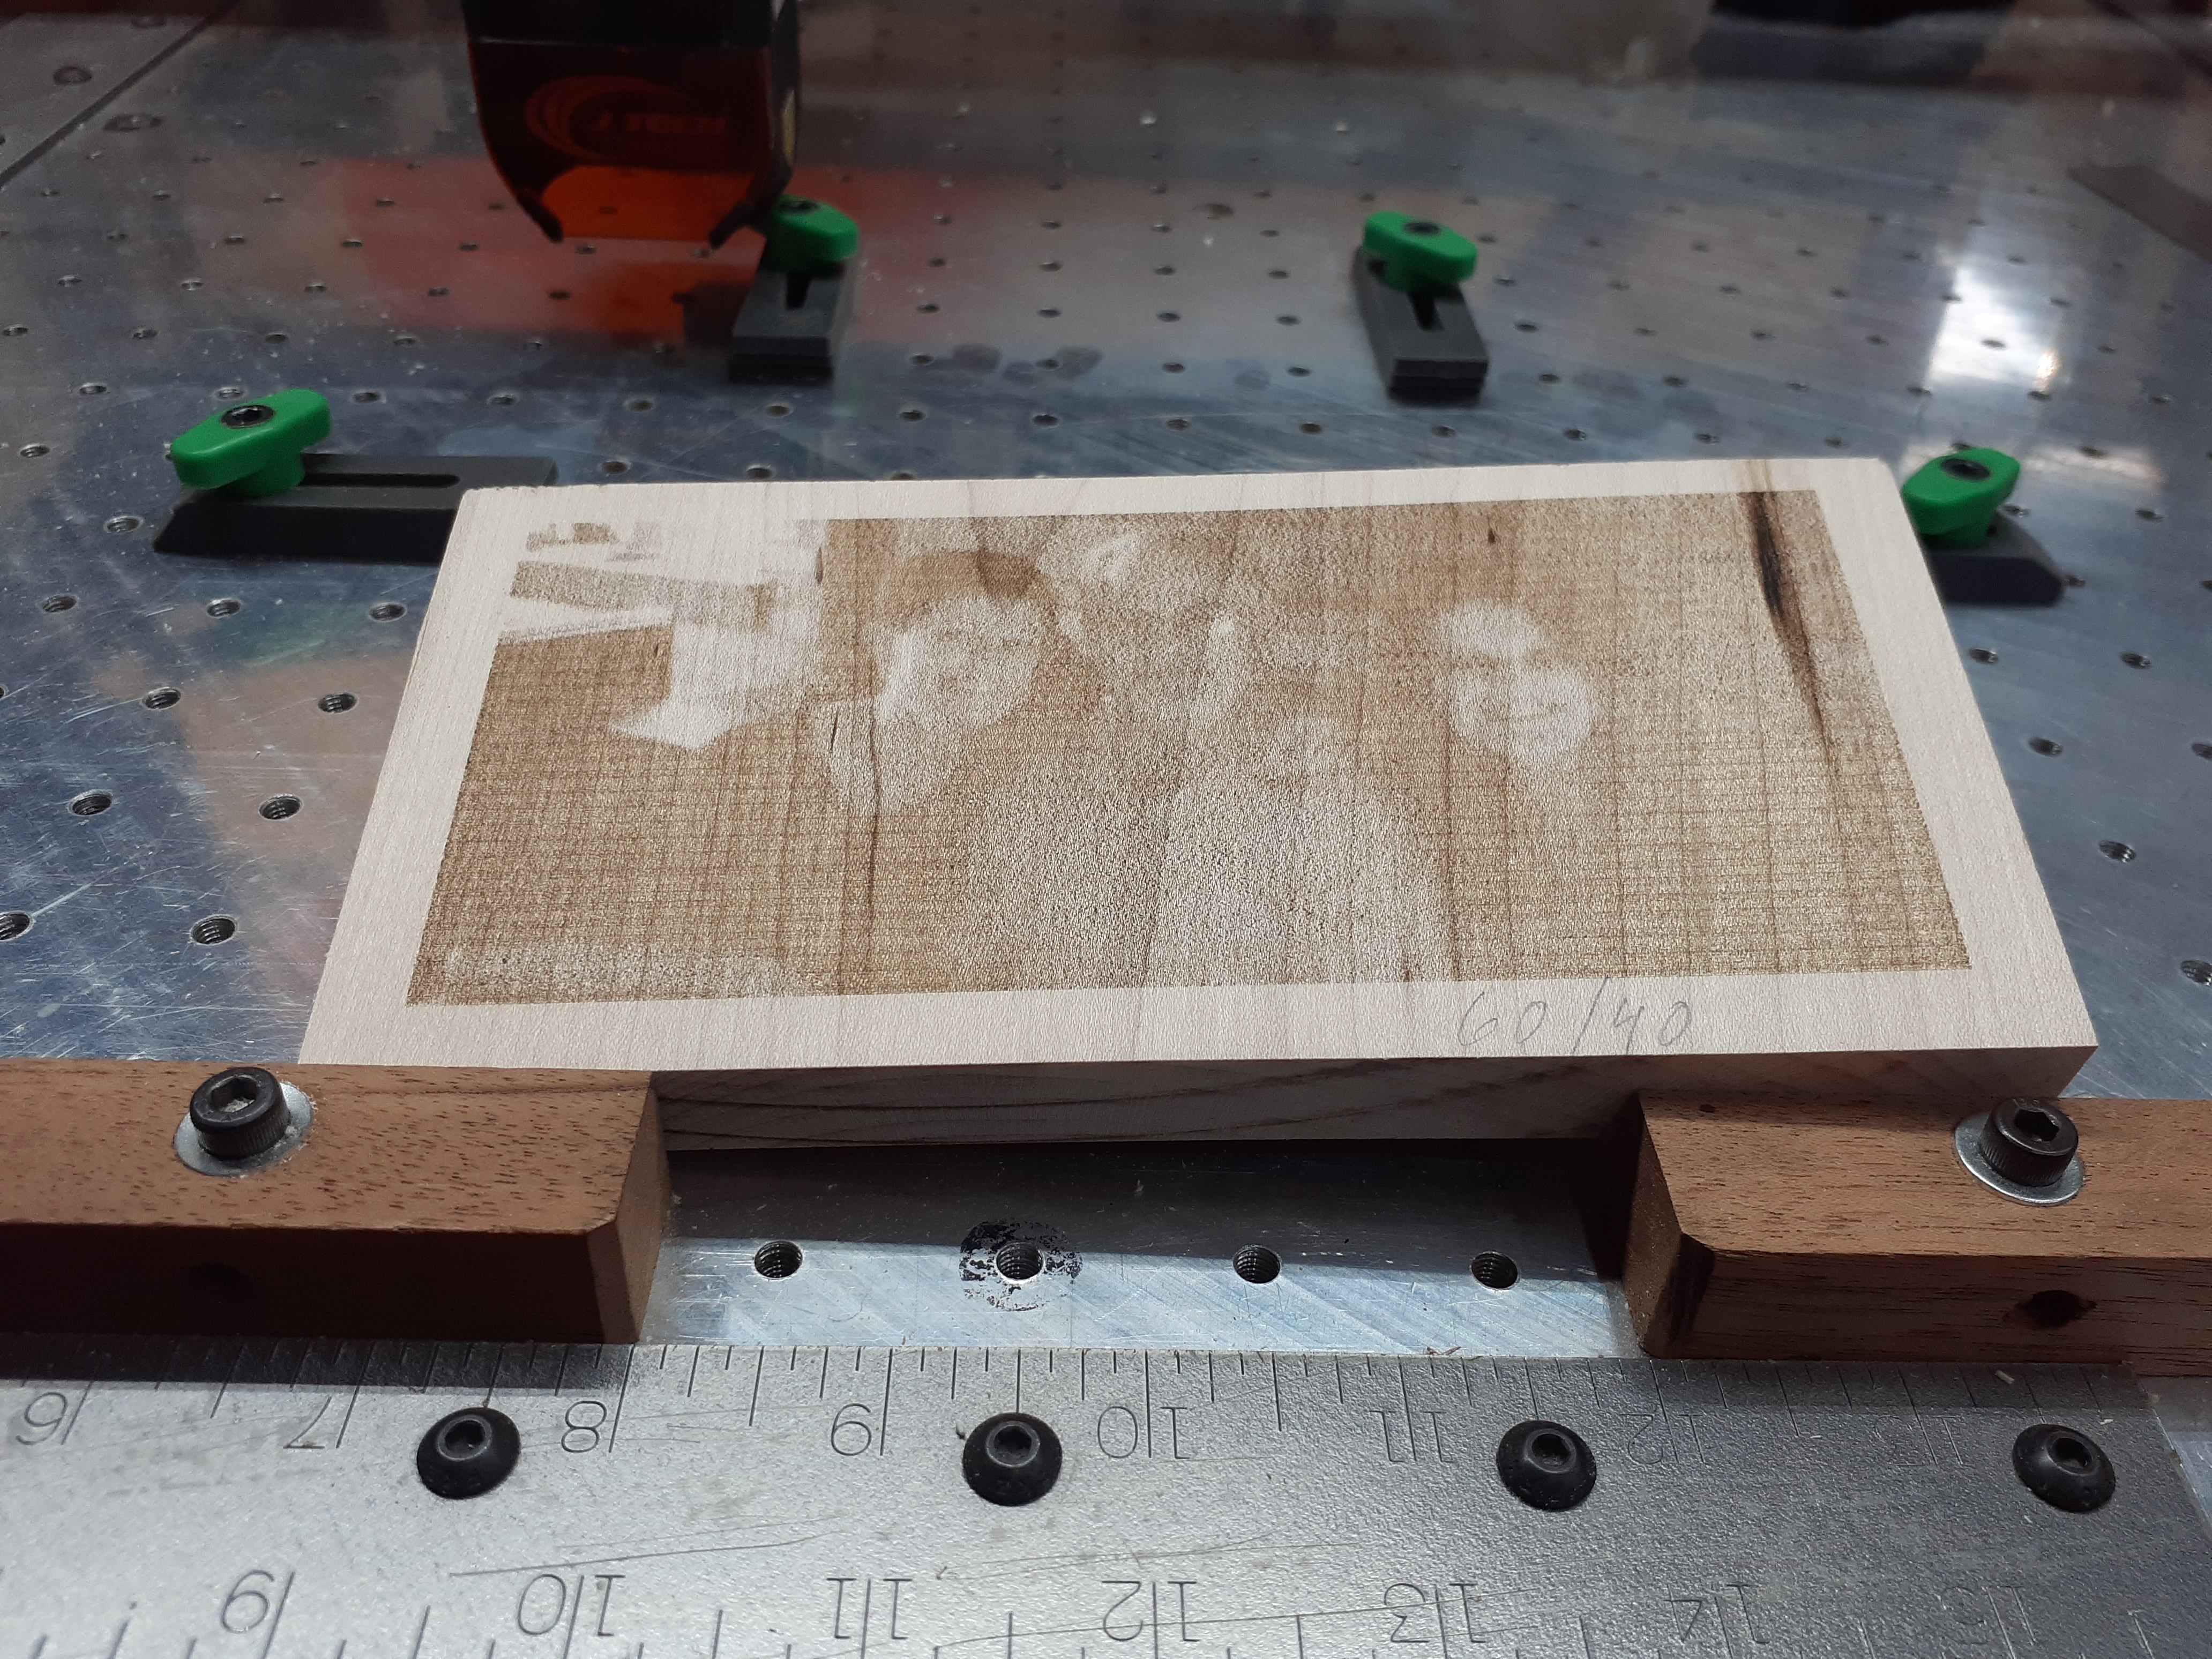
I just flipped the piece over and tried a couple of different settings ( 60 IPM 40%)
When its done i will post pictures.
Thank you for your help.
The horizontal moire effect you see here is just an artifact of the display. If you want to truly see the image, select it, then go to Tools > Save Processed Bitmap, and open the result in an image viewer. LightBurn is just drawing the lines it’s going to send to the laser, but it’s not attempting to be physically accurate in any way with the preview. It’s intended to check that the paths go the way you intend. Simulating the output on real material is, well, a PhD thesis topic.
Sorry I didn’t get back to you yesterday, I got called away from the shop.
Rick.
This is the result that I get.
It has the same lines as the preview shows.
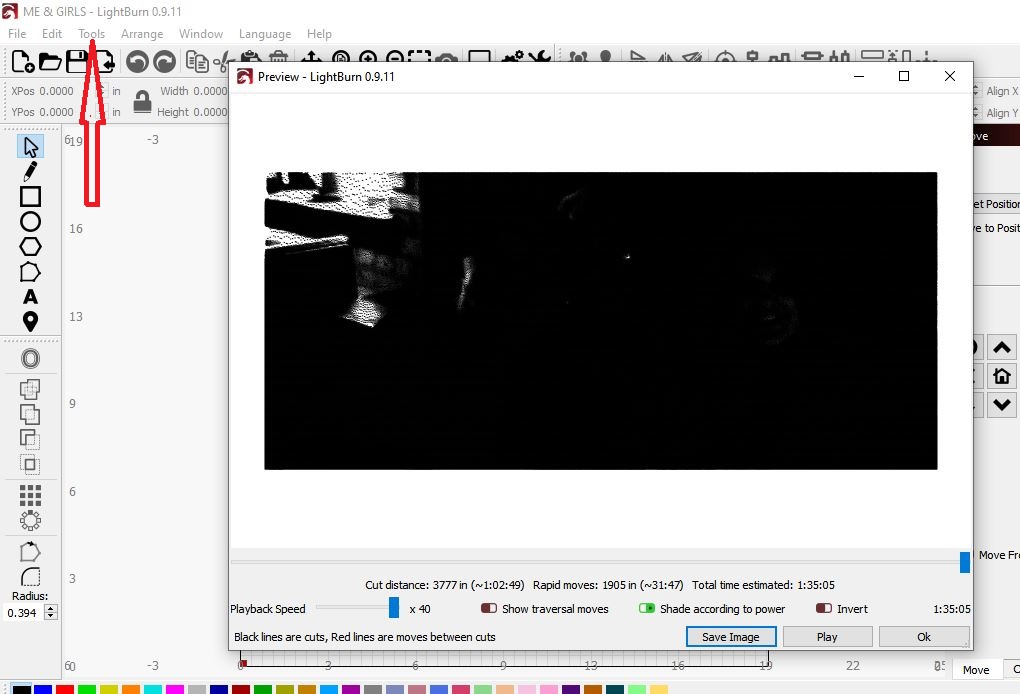
Oz,
When I do a preview, the tools button is grey’d out (can’t use)
Just an opinion, but I think you’ll be continually frustrated trying to use that image. It’s blurry to start with and you’re cropping in which further exacerbates the issue. In addition there just isn’t much detail at all in your shadows nor any definition in the eyes.
You definitely have some horizontal banding that seems to be consistently spaced. But that banding is different than what appears in the preview. In the preview, continue zooming in and you’ll see that banding goes away. It’s just an optical illusion.
Travis,
You are correct that when I zoom in further the banding goes away.
But I find it strange that It appears in the engraving.
Yes, It is not the best picture, but I get the banding on anything that I cut.
You may want to look at your pulleys and belts on the Y axis, to make sure everything is snug, but not too snug. You could try changing your speed a bit, if it’s some sort of resonance thing causing it.
My laser does the same thing, but on the X axis.
I have no doubt you get that banding on anything you engrave. My guess is you’ll see it just engraving a solid filled square as well. Something else is going on that’s causing that. I’d start with Blake’s suggestion.
I didn’t mean to do that from the preview - just select the image in the editor then do Tools > Save Processed Bitmap. It’ll run it through the processing steps you have (contrast / brightness / enhance, then dither) and then save the result.
WOW…
They all look horrible. (grainy)
The only thing that looks good is the grey scale.
I didn’t see it asked, but what’s up with the 3 thou stepover? Is that a LB setting?
0.003" is about 0.076mm, or 300 DPI.
Blake,
Everything on my machine (X carve) is properly adjusted.
You mention different speeds.
I’m currently running at 60 IPM.
Do you think I should go faster or slower?