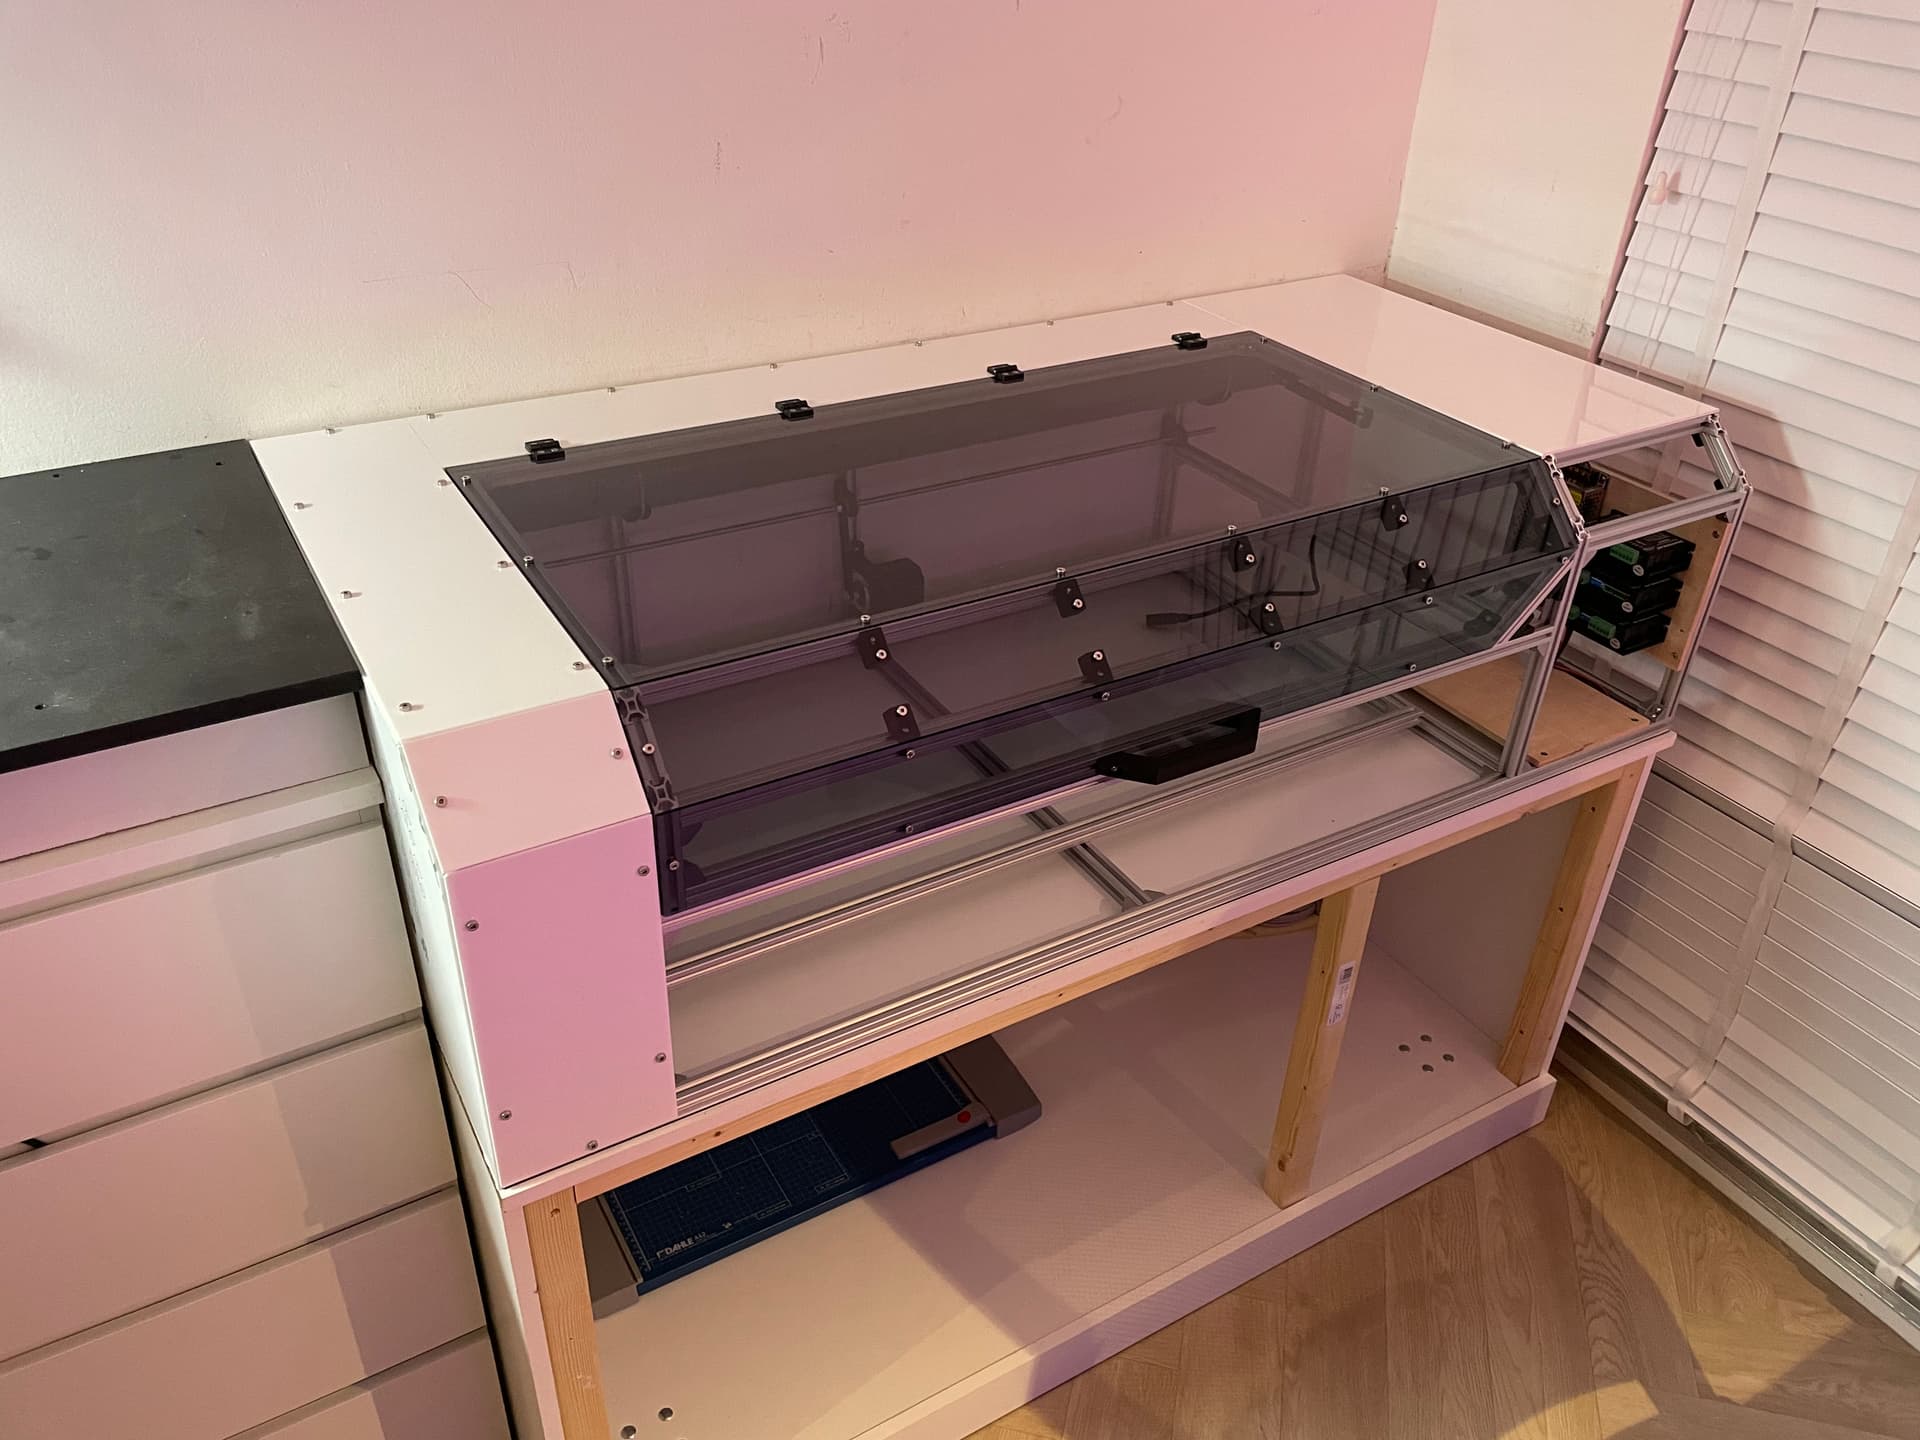
Hi! As I mentioned in previous topics I’m building my own 90W CO2 machine. Which is a fun project because I have near zero experience using a laser machine.
I have a few small questions that don’t really deserve their own topic. So please allow me to ask them here. Any help is welcome.
When I eventually start my first test cut. What speeds and power should I start with. I’ve got zero idea what kinds of speeds are normal for a laser cutter (since they are probably totally different from a CNC router). I don’t want to try something ridiculous, so my guess is 20mm/s with 20% power and see what happens on a piece of cardboard?
Before I connect my laser I want to make sure everything is connected as it should. How can I check the laser power supply part without connecting the actual laser tube?
My laser power supply has a connection for a watercooling warning. The Ruida has the same connection. To which of the two should I connect my cooler? My guess is the Ruida, so it will not only turn of the laser, but also stops the job?
How many endstops does a (DIY) lasercutter usually use? Only at the homing position? Or both sides?
What’s the most common place for the homing position? Top left or top right? (I’d like to use the industry standard if there is any)
Aside from the exhaust outlet it seems logical that there is a place where air can come in (inlet) to allow an air flow. My idea is to make 4 large holes in the base of the machine so that the inlet is on the bottom of the machine (no space at the sides or back). Does this make sense?
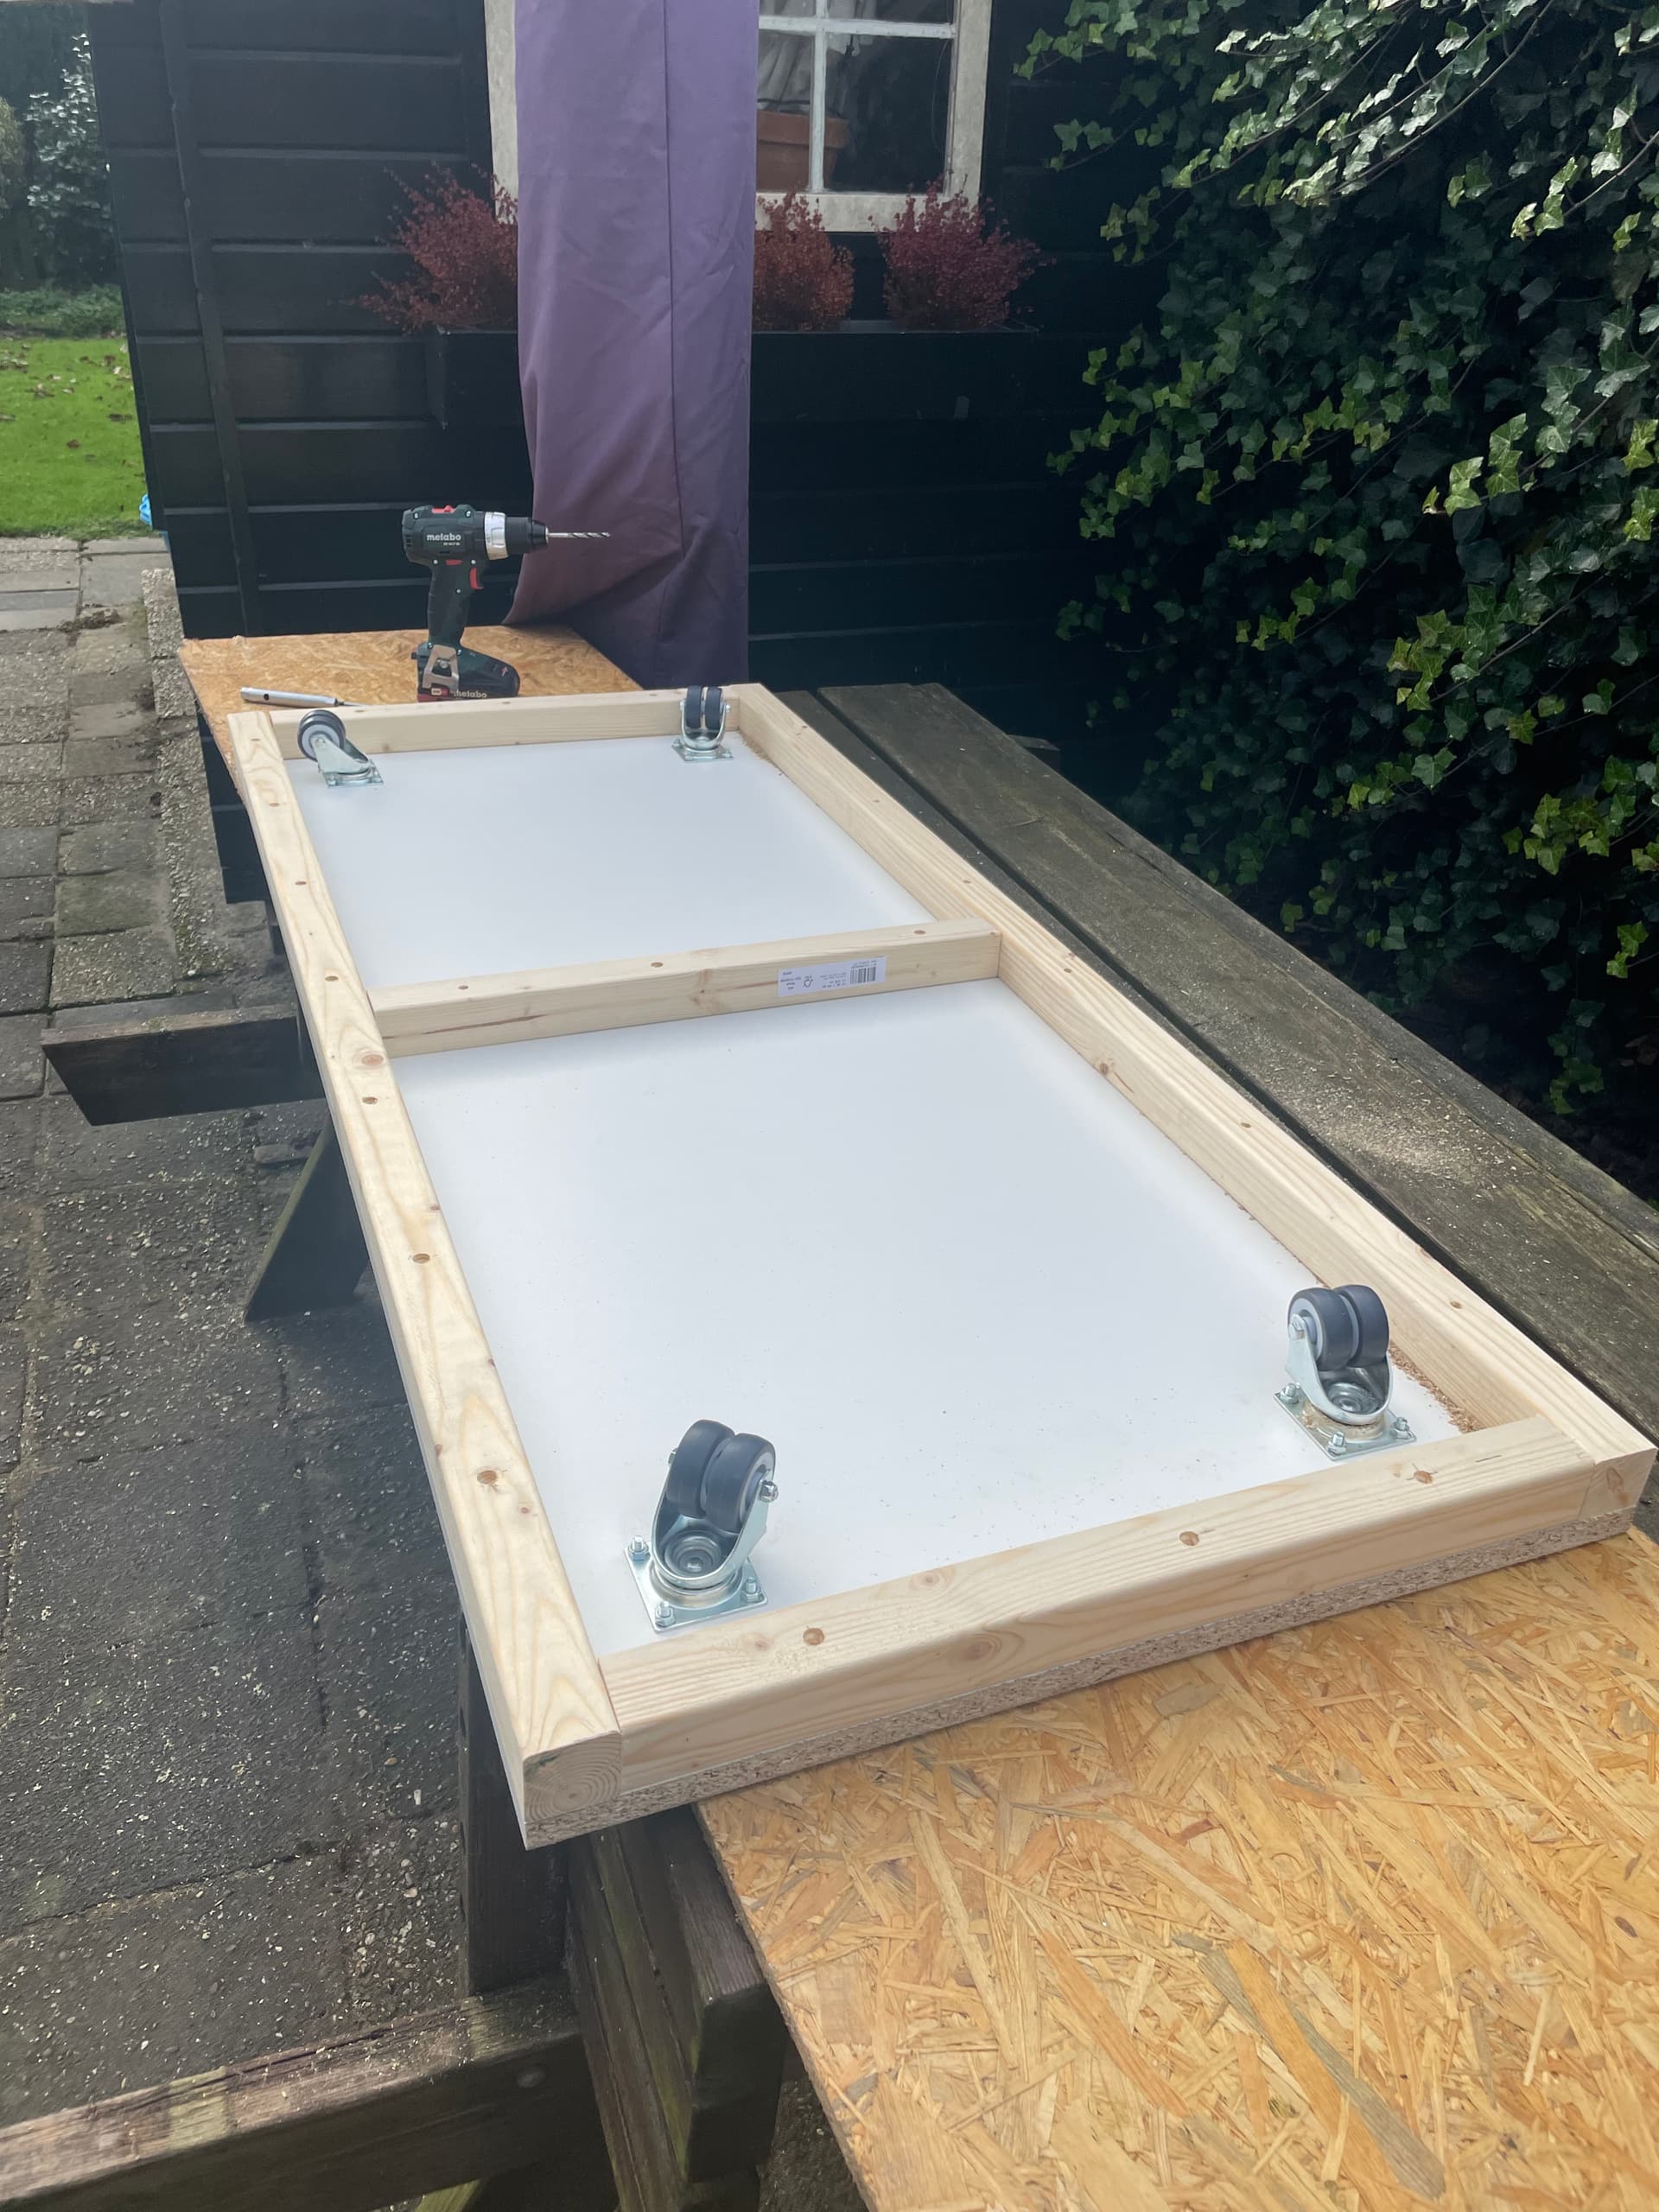
As my question tax I hereby present a sneak preview of the machine I’m building.
Hi Michael, Homing is normally top right.
When you start to try the laser, try using 50mm/sec with 12%power(engraving on ply), just draw a simple square 1 or 2 inches so you can check if it needs calibrating.
Not getting into any technical stuff, i’ll leave it to the more knowledgeable folk on here
Nice looking machine
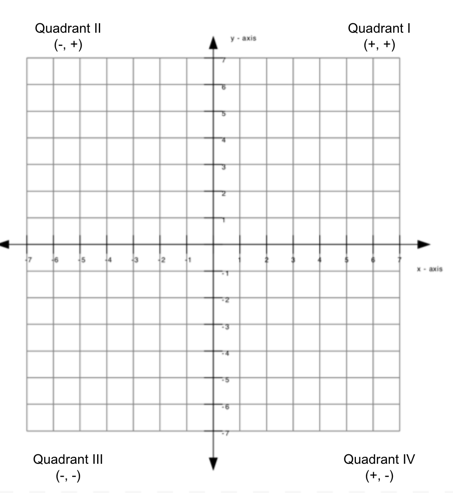
Home is ‘center’ in the graphic, so no matter what ‘corner’ you home in, you are starting from the center of the graphic. That is 0, 0.
If it homes ‘front right’ on the machine the only positive directions are away from you and to the left. Home ‘rear right’ the only positive directions are forward and left.
You can home in any corner and then the machine will put the head at it’s set origin.
Yes it absolutely makes sense. This is all the same as when I was building my CNC Router. I was just curious which was the most common homing position for laser cutters.
I have the best ventilation and ‘air flow’ over the material with the top open about an inch or less. The flows over/under the work piece and out the back. If you open up a large area it won’t ventilate properly.
Here is one of Russ’s videos on Honeycomb beds, but you can see how the air flow is affected. It’s about 15 minutes.
Hi Michael, Regarding air inlet, The size you mentioned is ok, but a little small, Arrange the cooling vents so that the incoming air flows over the power supply then to the cutting chamber. If you look at a conventional K40, the slots for cooling / ventilation air are arranged to flow over the power supply first. That is not coincidence.
That’s an interesting one. Not sure if I have the space to do the same. A Reddit user has some good suggestions on how to make the front panel a nice inlet. I need to figure out the rest of the airflow.
Do you have a link by chance? Your build is awesome by the way.
EDIT: Think I found it.
I am in process of building an exhaust plenum that’s split in 2 parts. The lower right of my machine has the 6" fan built in. I bought another 6" inline duct fan and the the lower half will have the 6" and the carbon filter in it. The upper half of the box is separated by a divider and will use my 4" fan setup that I had already purchased. It’s designed to make the panel for the mirror adjustments accessible. The whole side comes off for maintenance and mirror adjustments as needed. I will remove the seals from the right side of the machine making a crossflow across the bed. One lower, one upper. We will see if the design works.
I’m just wondering why your machine is boxed in between a bench or cabinet and the window, and also right against the wall in the back. How will you get access to the back or sides, when your table under the laser is not on casters?