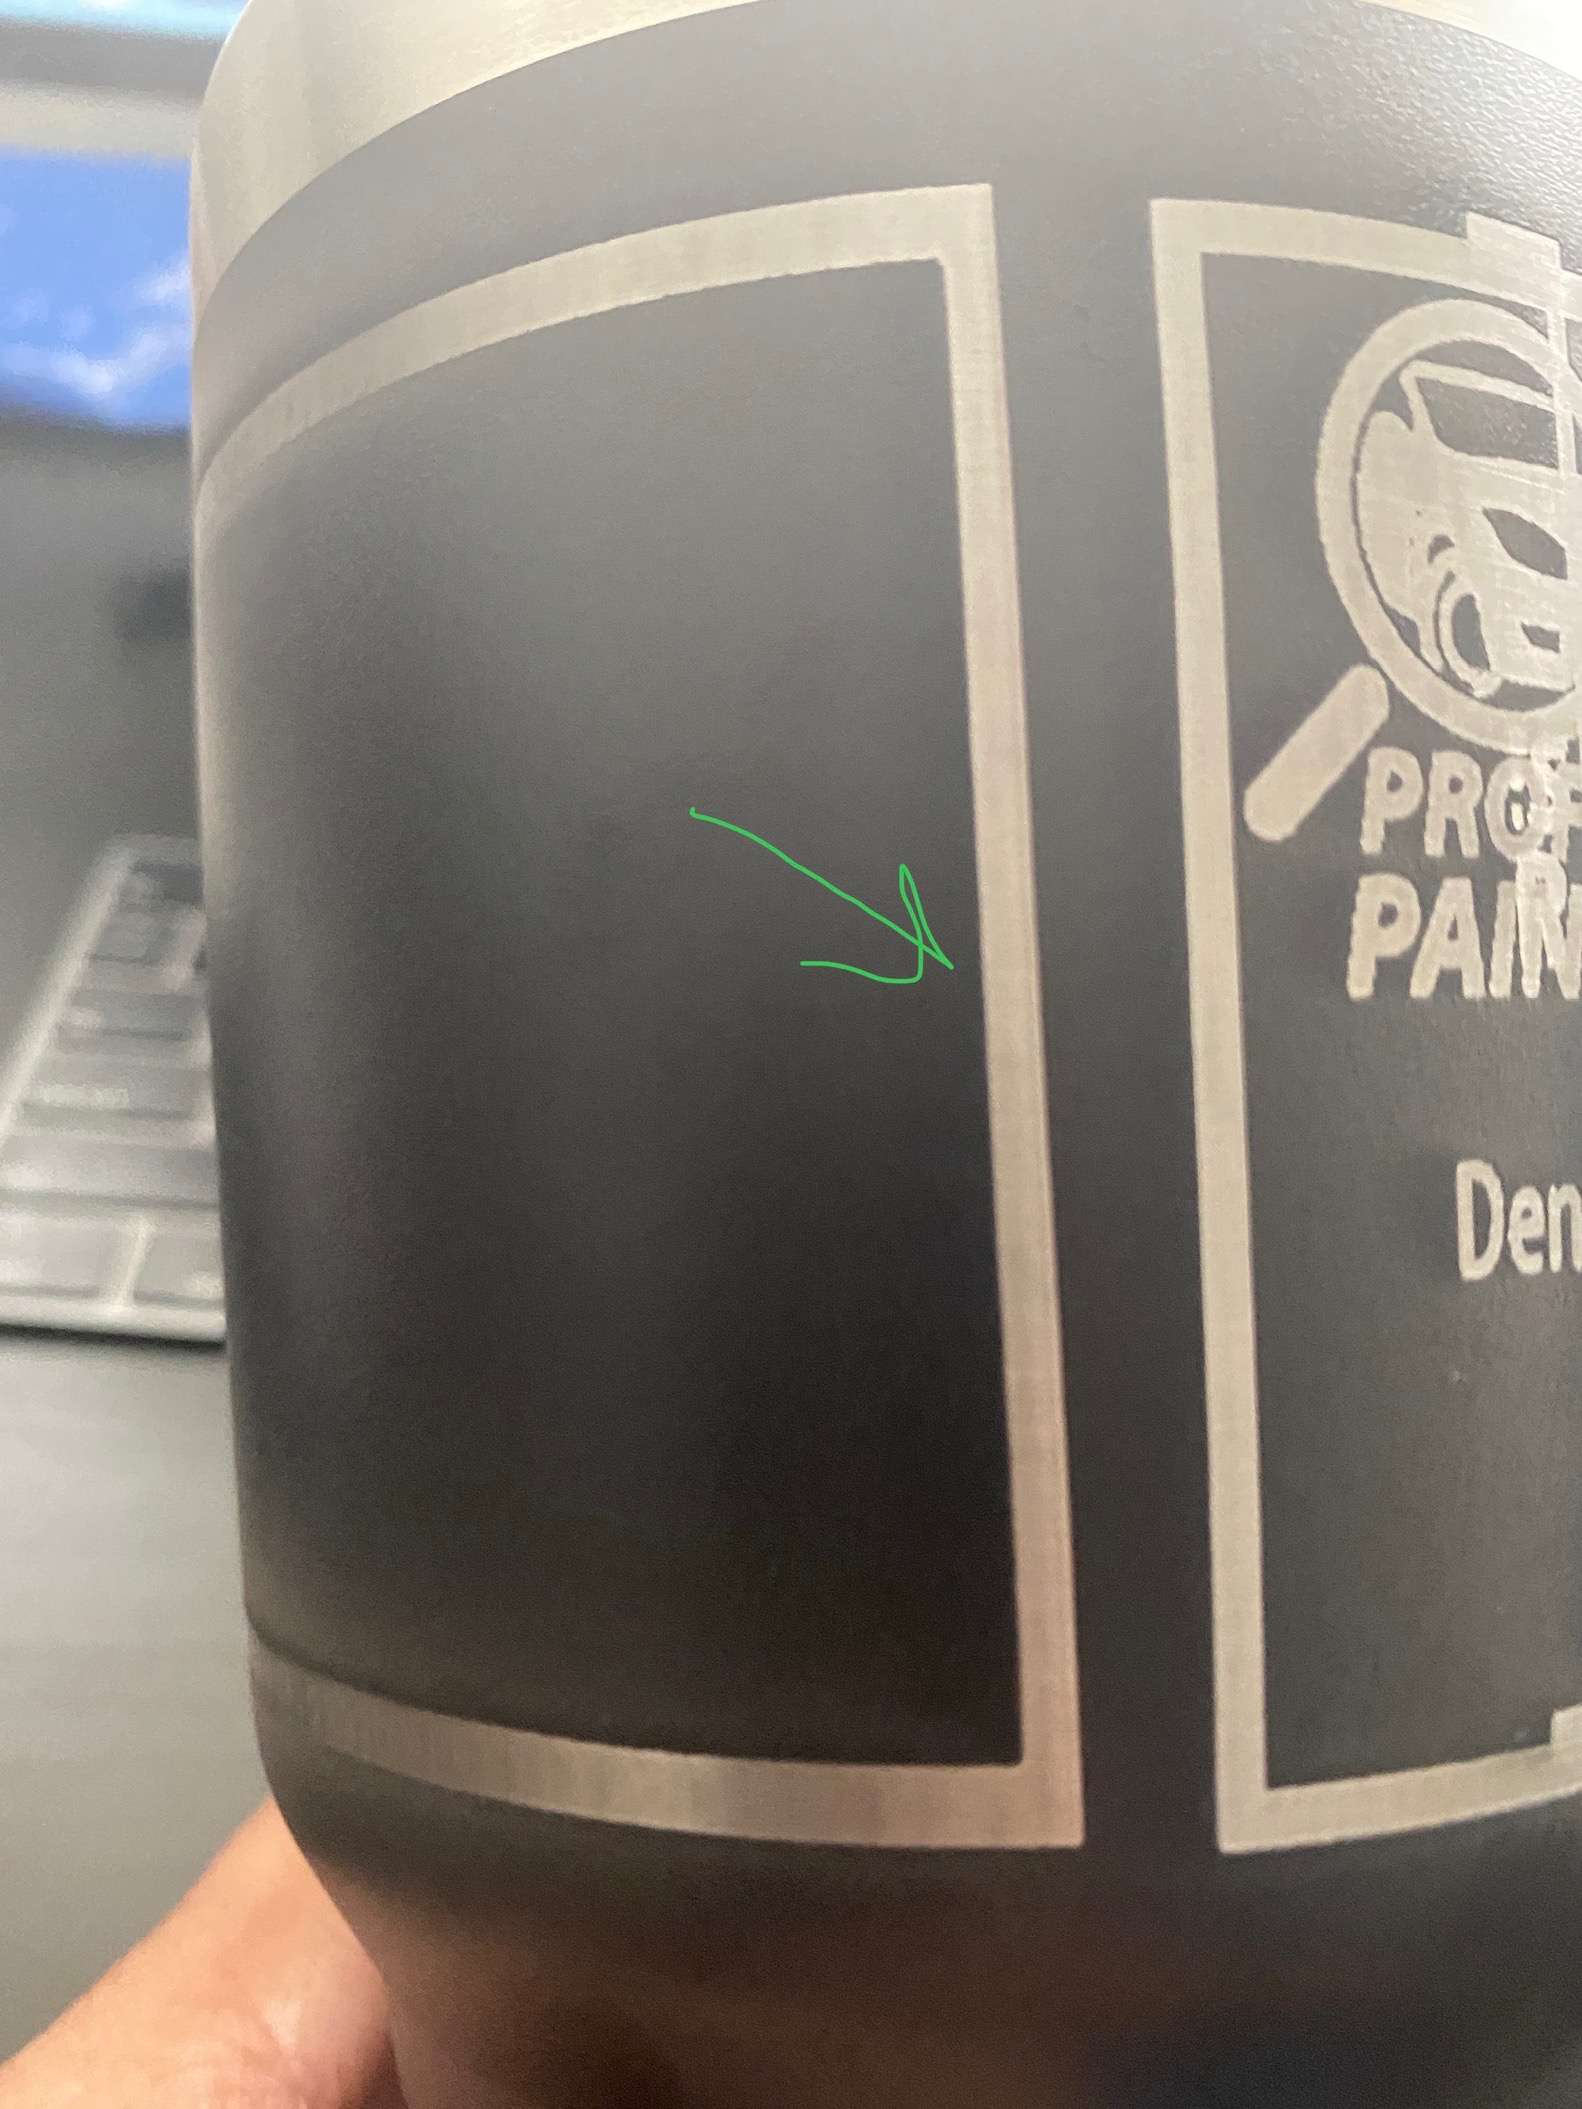
For my test cuts they were fine yesterday & today I noticed the outer square around my logo is thinner at the starting point. See pics.
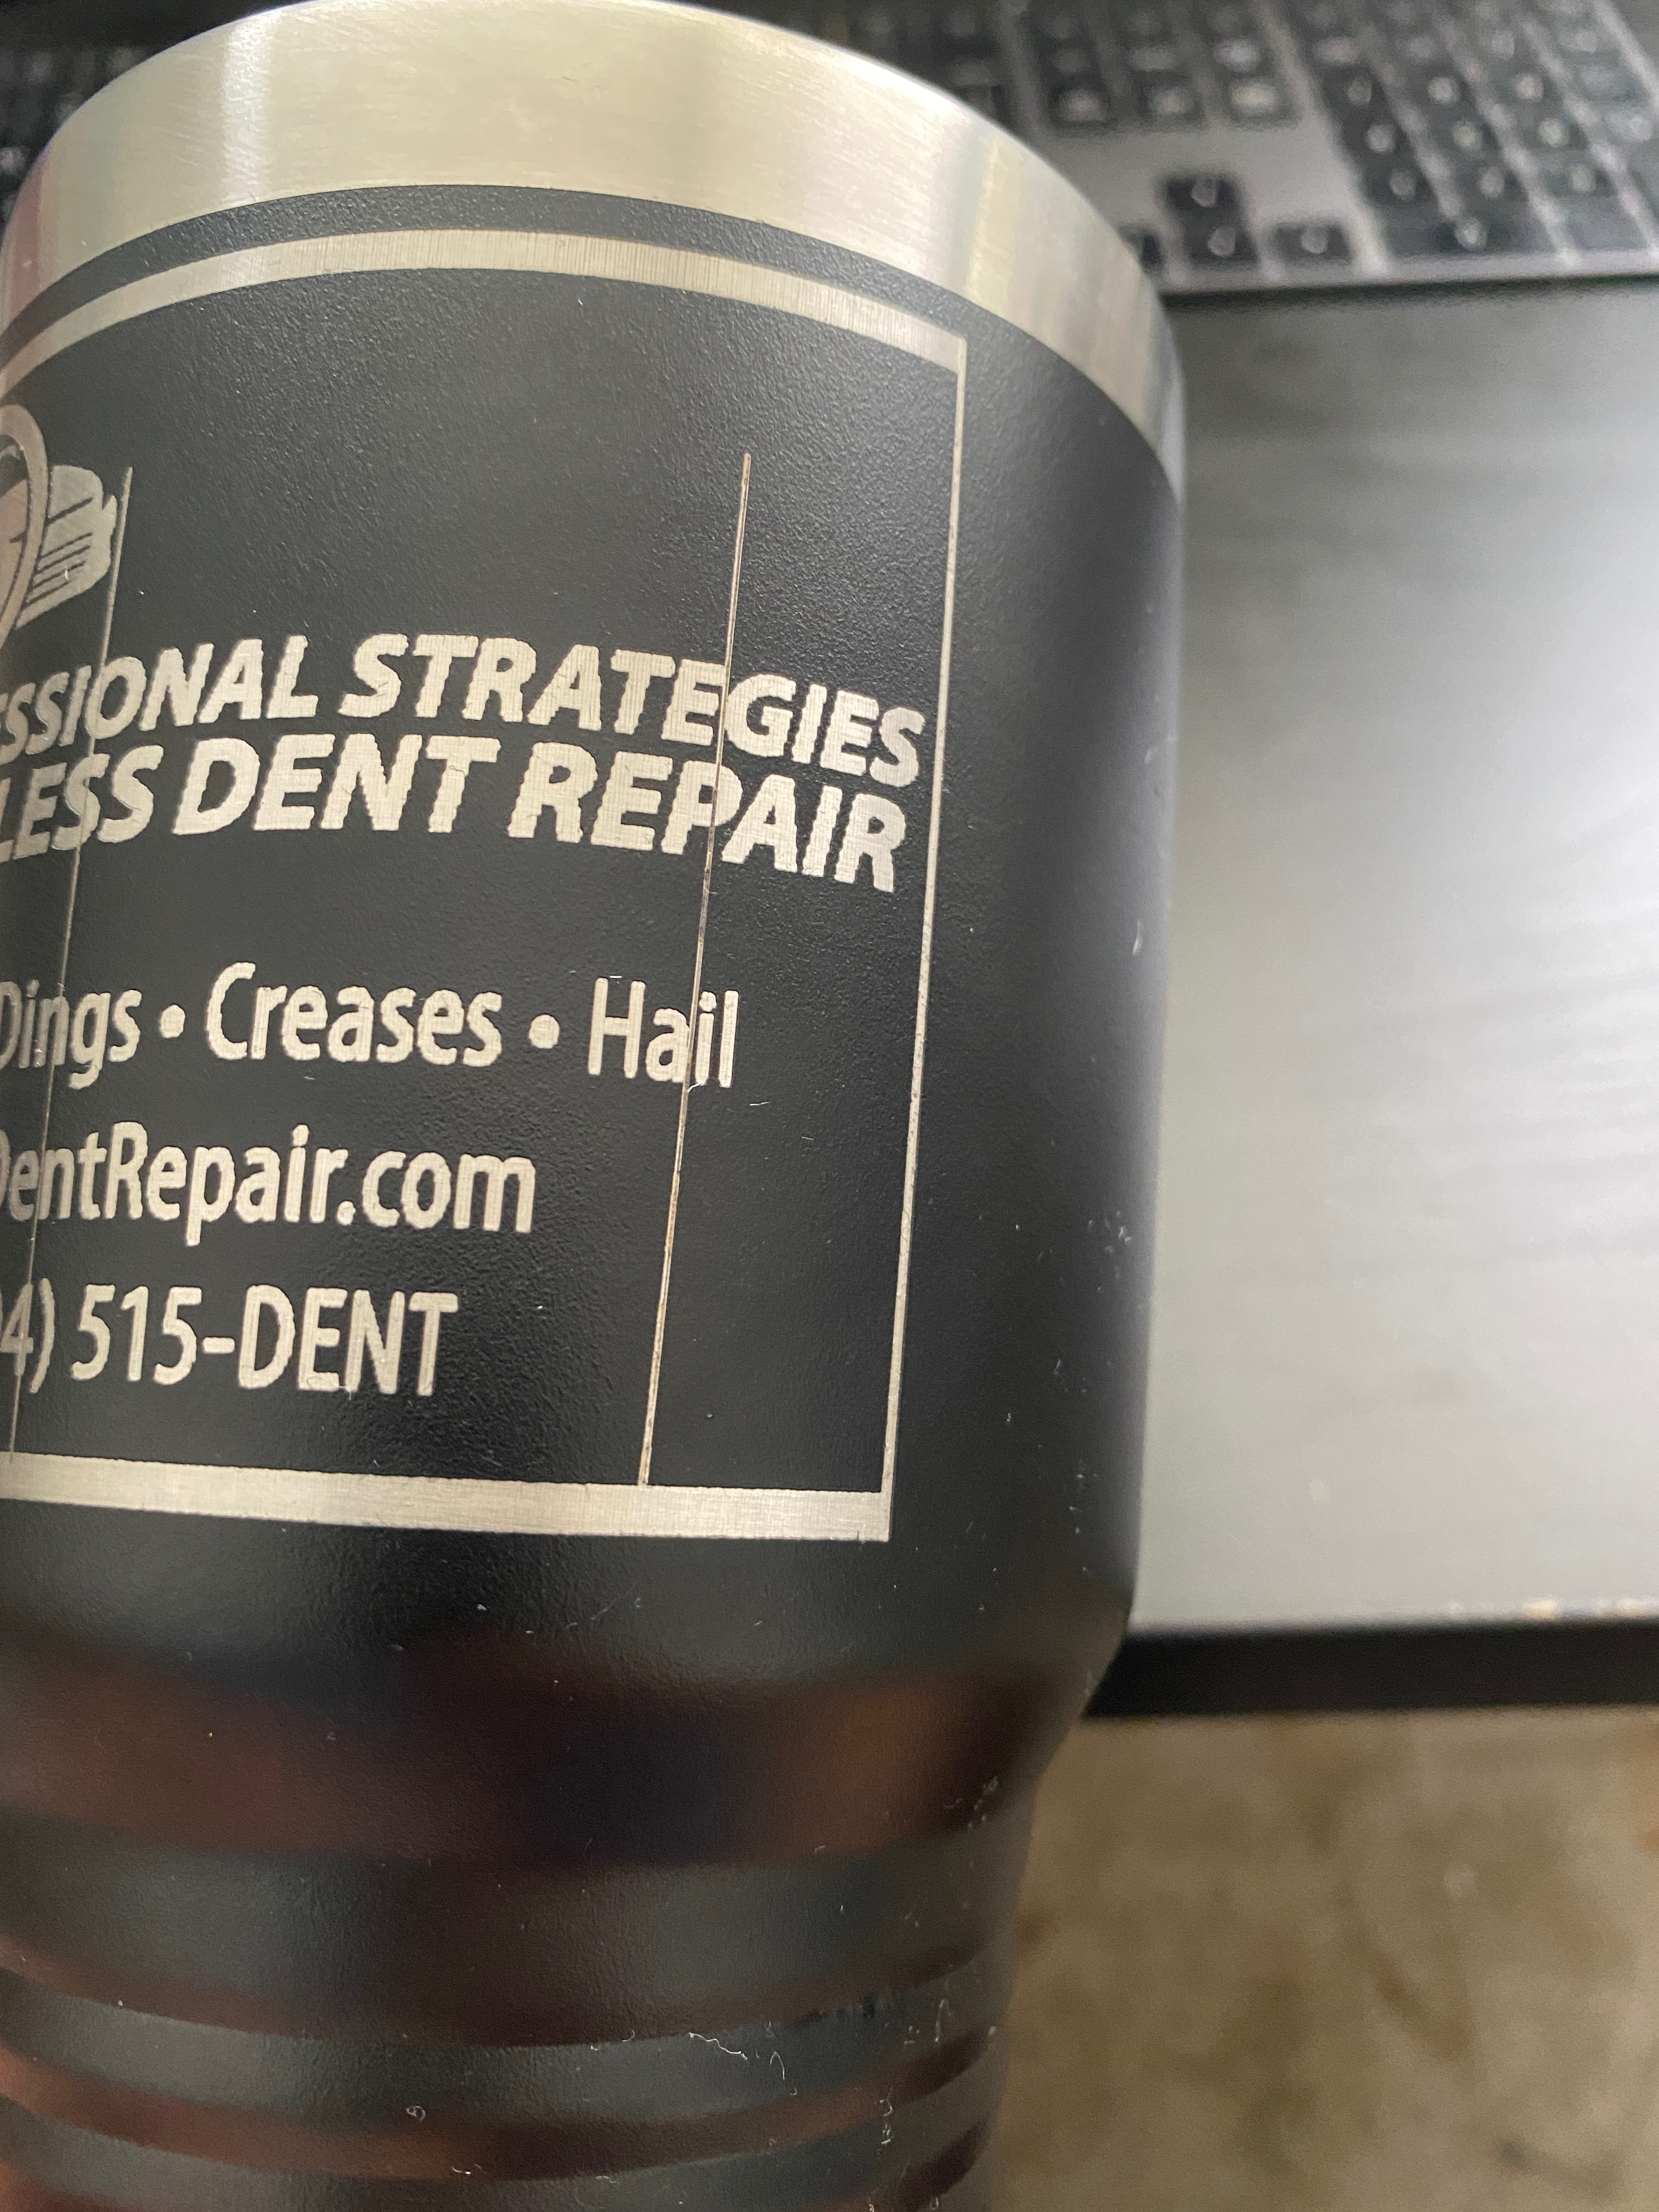
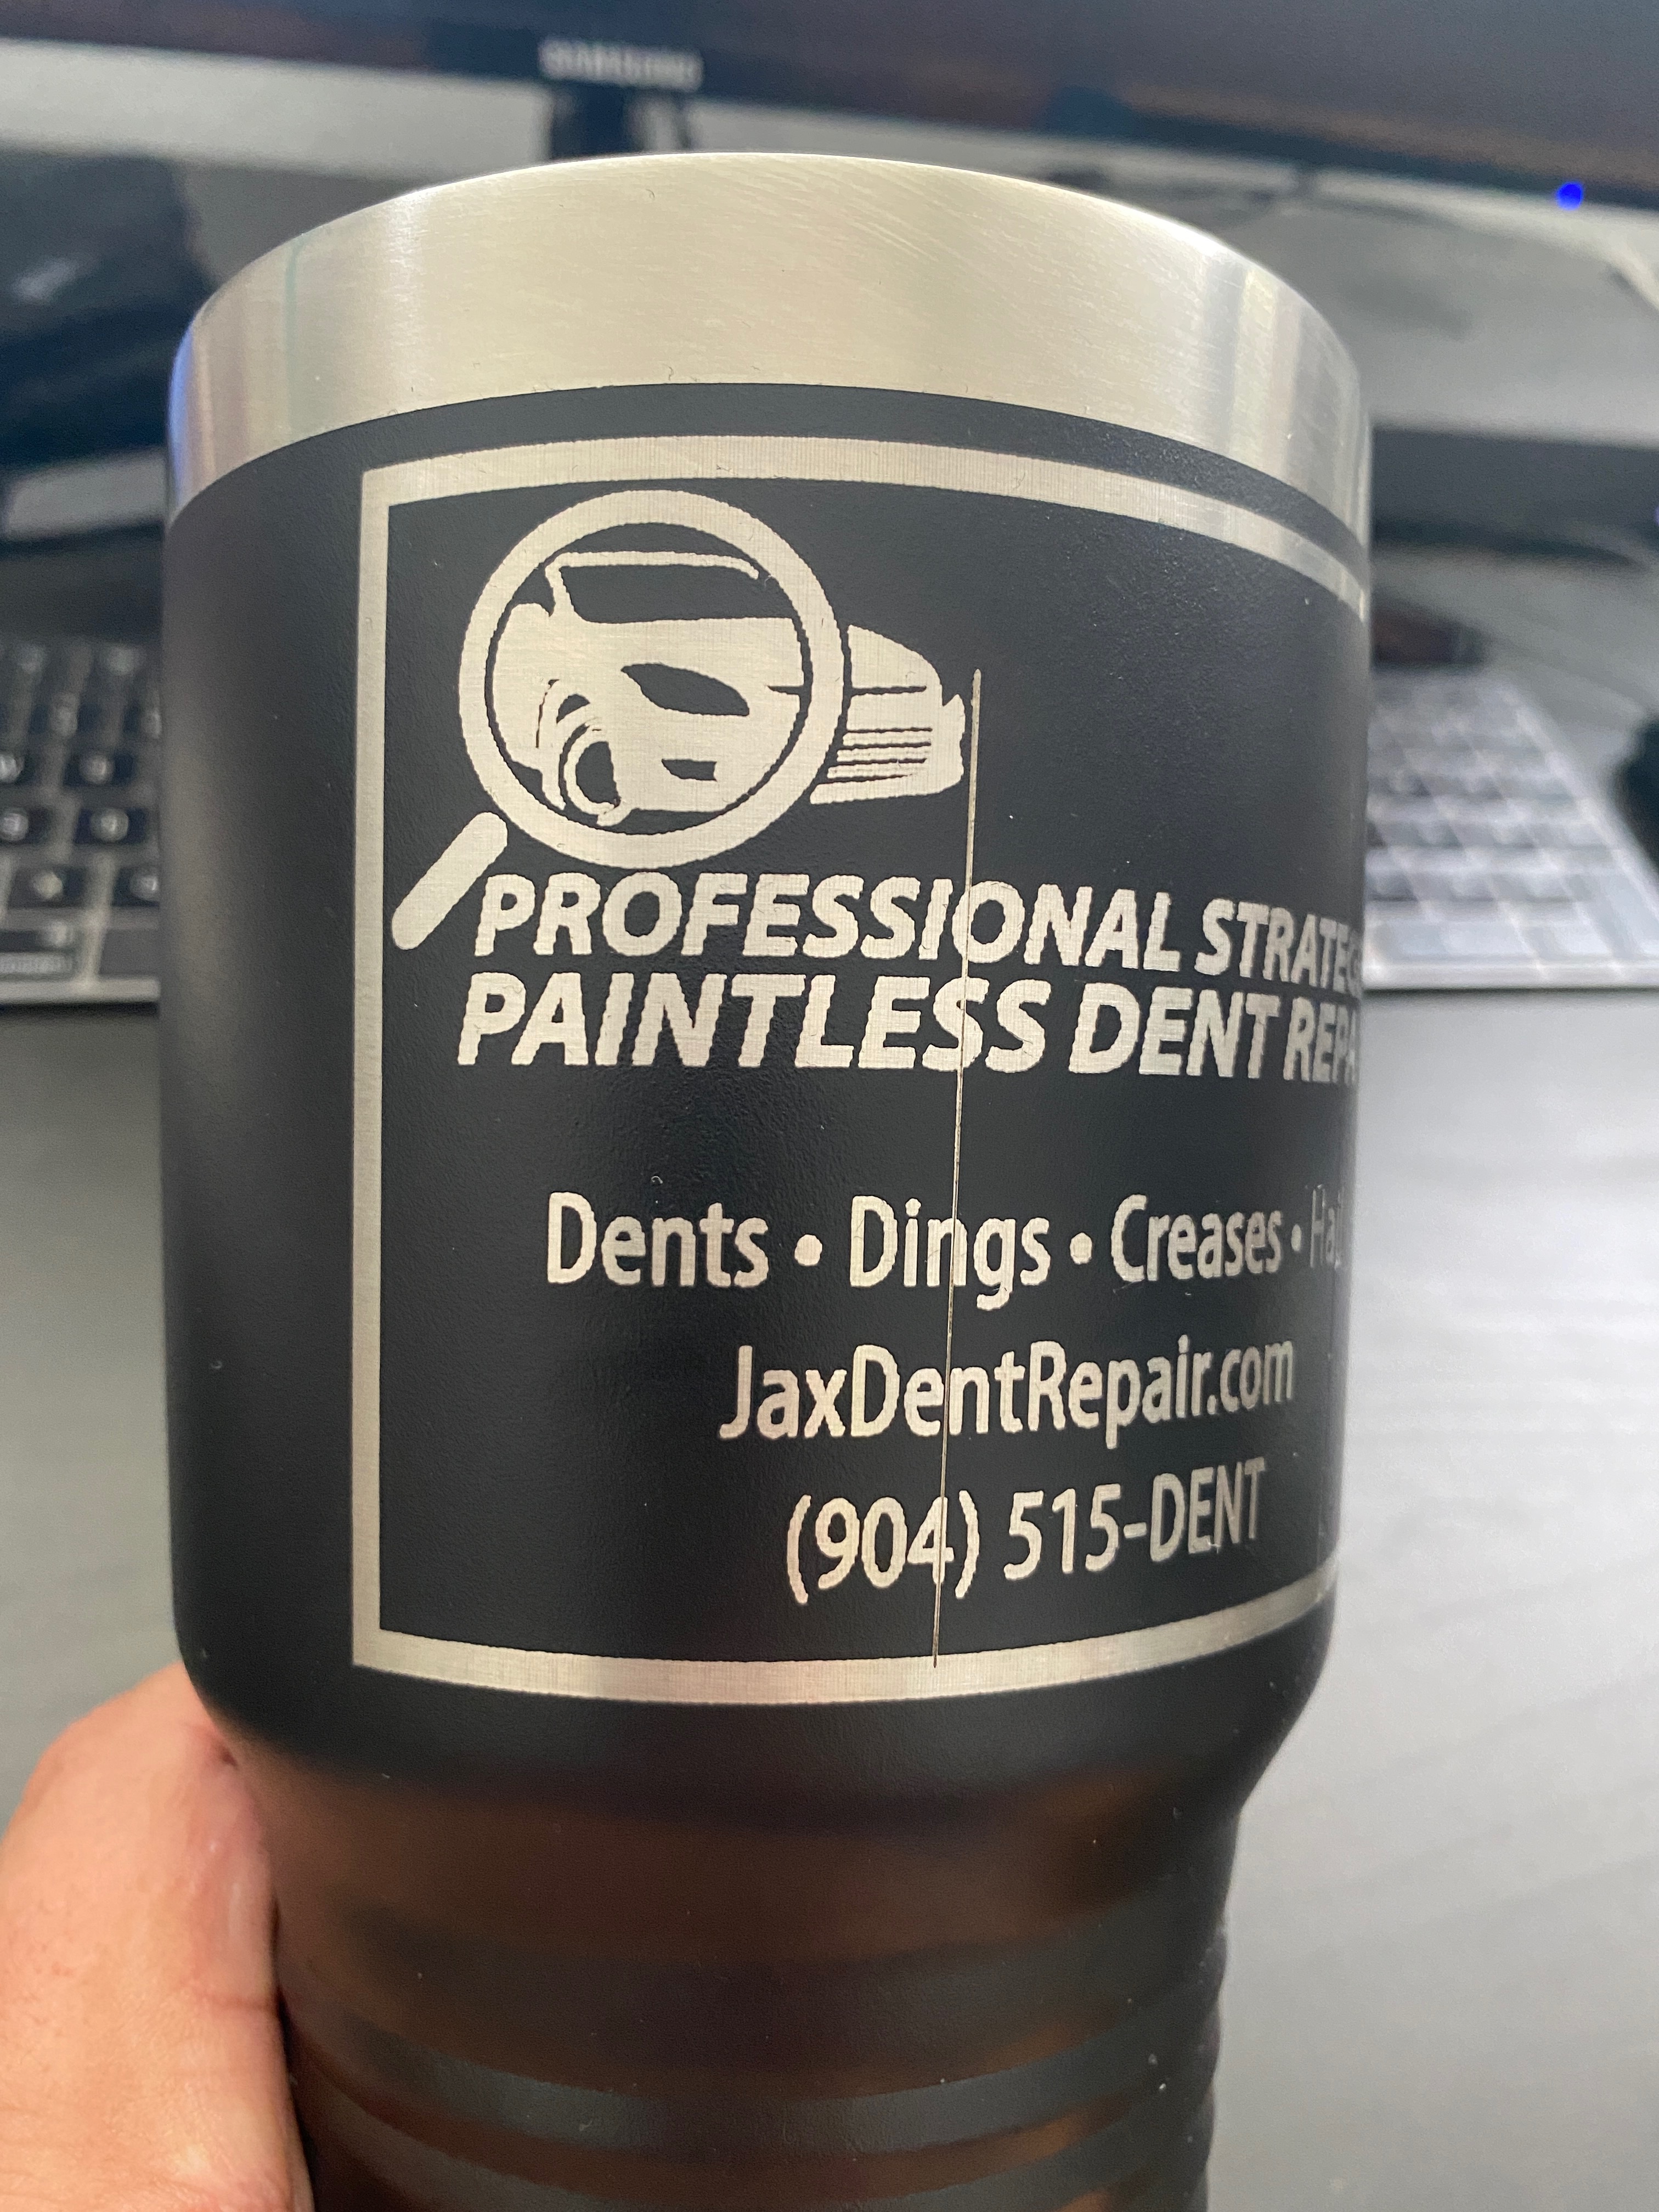
I tried adding a line to the side, and also at the bottom and it’s still coming out thinner. I also created a new box and tried that & still getting a thinner starting line. There’s no real way to tighten my belt on the rotary, They are pretty snug at the moment. Im on my 3rd cup LOL I shot a few more pics to show the line difference & a pic of my rotary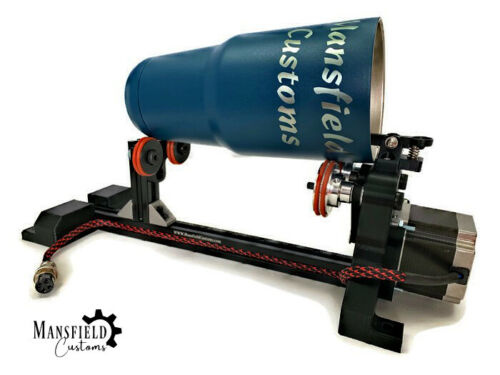

Can you show how you did this? (IE, show a screen shot of the design in LightBurn)
I am at home… Any way to send me another key to add it to my home computer ? I’ve got it on two computers at my shop
Email us your license key, asking for a 3rd seat. Send to support at lightburnsoftware.
sent the email 

You want the red one, but here you drew a line, set to fill - that won’t work because you can’t “fill” a line. It would also need to be the first layer in the list, not the last, or it won’t go there until after the engraving is done.
I forgot to move it there when I recreated it. But I did have it as the first layer. What should I have it as ? Not a line ?
This is my standard set up when using the rotary for this issue. I normally would set up the blue layer first but when I did this to show others how to do it, I did not put it first before I took the screenshot.
https://forum.lightburnsoftware.com/t/rotary-text-issue/15390/2
Link says does not work or is set to private.
I was able to search and find your post elsewhere [Willyivy] & set the line to line and not fill and it corrected my problem… Thank you everyone who chimed in… <3
I think his post had his username attached - I edited it to remove that, so the link should work now.
1 Like
This topic was automatically closed 14 days after the last reply. New replies are no longer allowed.