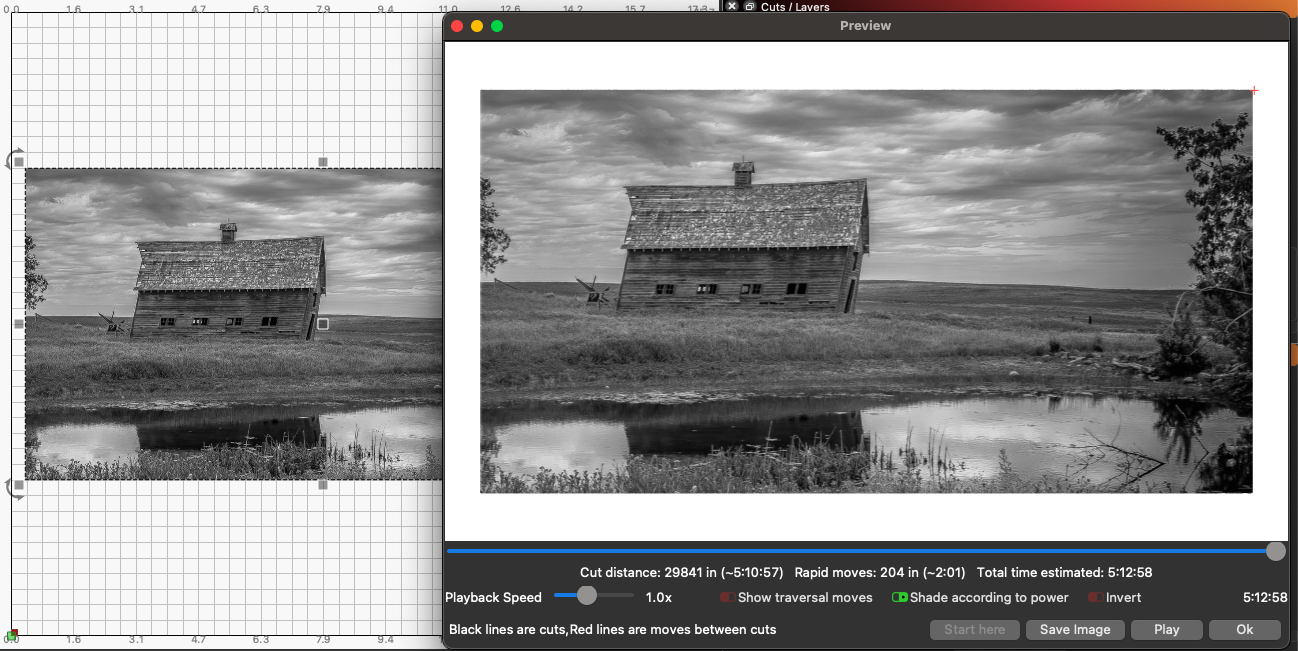
The image on deck looks good and when I open the preview it is good.
But that is in grayscale.
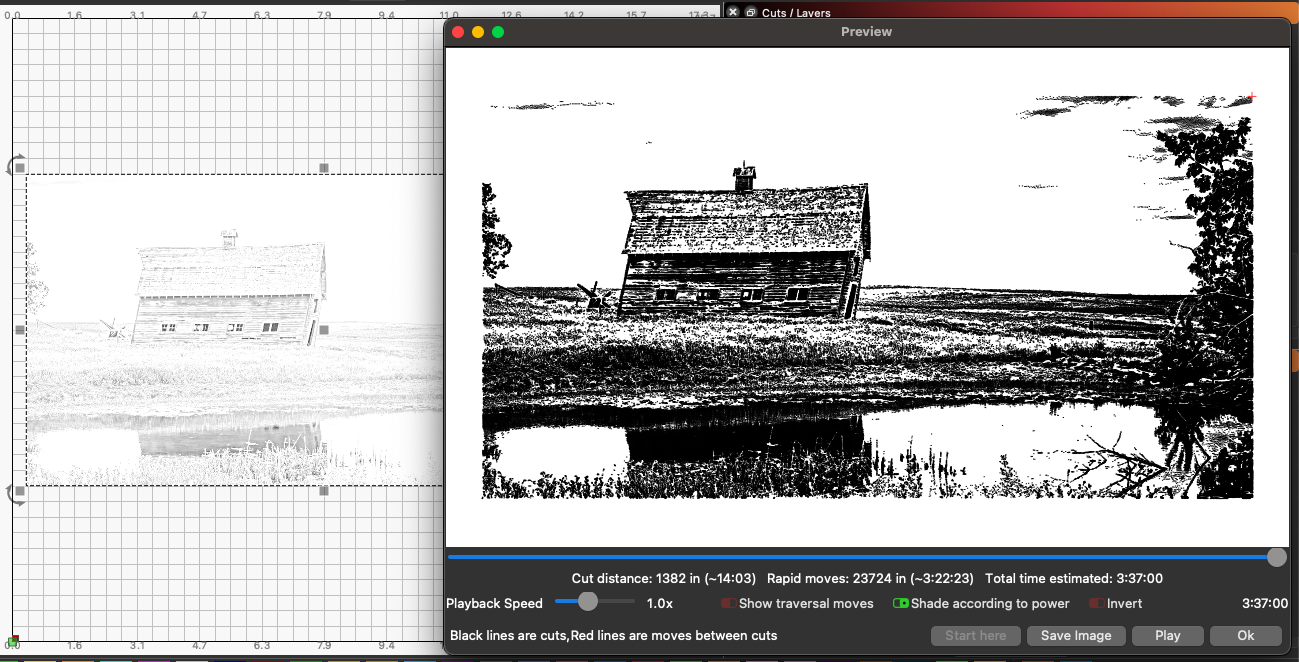
If I shift to any other rendering type (stucki, dither, atkinson ) then the preview image is black.
I have to adjust the brightness , gamma , contrast settings to get anything that is not a black out.

it’s probably because any of the dithering options produce white/whiter space by literally leaving more white space where there’s no dots being burned. darker areas have high density of dots. But in grayscale, all pixels have a laser firing event and it takes lots more adjusting and calibration to get the real grayscale effect even on the material.
I am very new to this software and for that matter laser engraving so I am have a real time with the learning curve…
Here is another shot after making huge adjustments. And the burn still turns out to dark.
It would be really nice if we could make all the needed adjustments in preview rather than having to jump from screen to screen.
well, it is always going to be a learning experience and lots and lots of this is an art form. You can NOT click a button and magically get perfect results on the output for every laser type, wood type, plastic or mirror, etc. There are gobs of videos and tutorials on techniques for working with images to get closer to expected results when you burn onto wood.
BTW, getting a laser and the first thing you want to do is engrave is a lot to bite off. Just learning how to cut things, then learn how to cut and do basic engraving of text is the best starting point. Then you move to trying more advanced things like picture/image reproduction.
I can see your sky is all washed out. when you learn more about image manipulation for grayscale or dithering reproduction you will learn you sometimes have to apply area masks and manipulate some areas more/less than others and even with differing techniques.
it’s not easy to get good results but when you learn all the proceses and learn tools like GIMP, Inkscape, or photoshop, etc and how to make the image ready for LightBurn you’ll produce amazing art. And LightBurn has lots of great features too but full blown image manipulation software having hundreds of plugins and decades of development are sometimes needed before LightBurn touches the project. All a learning experience.
1 Like
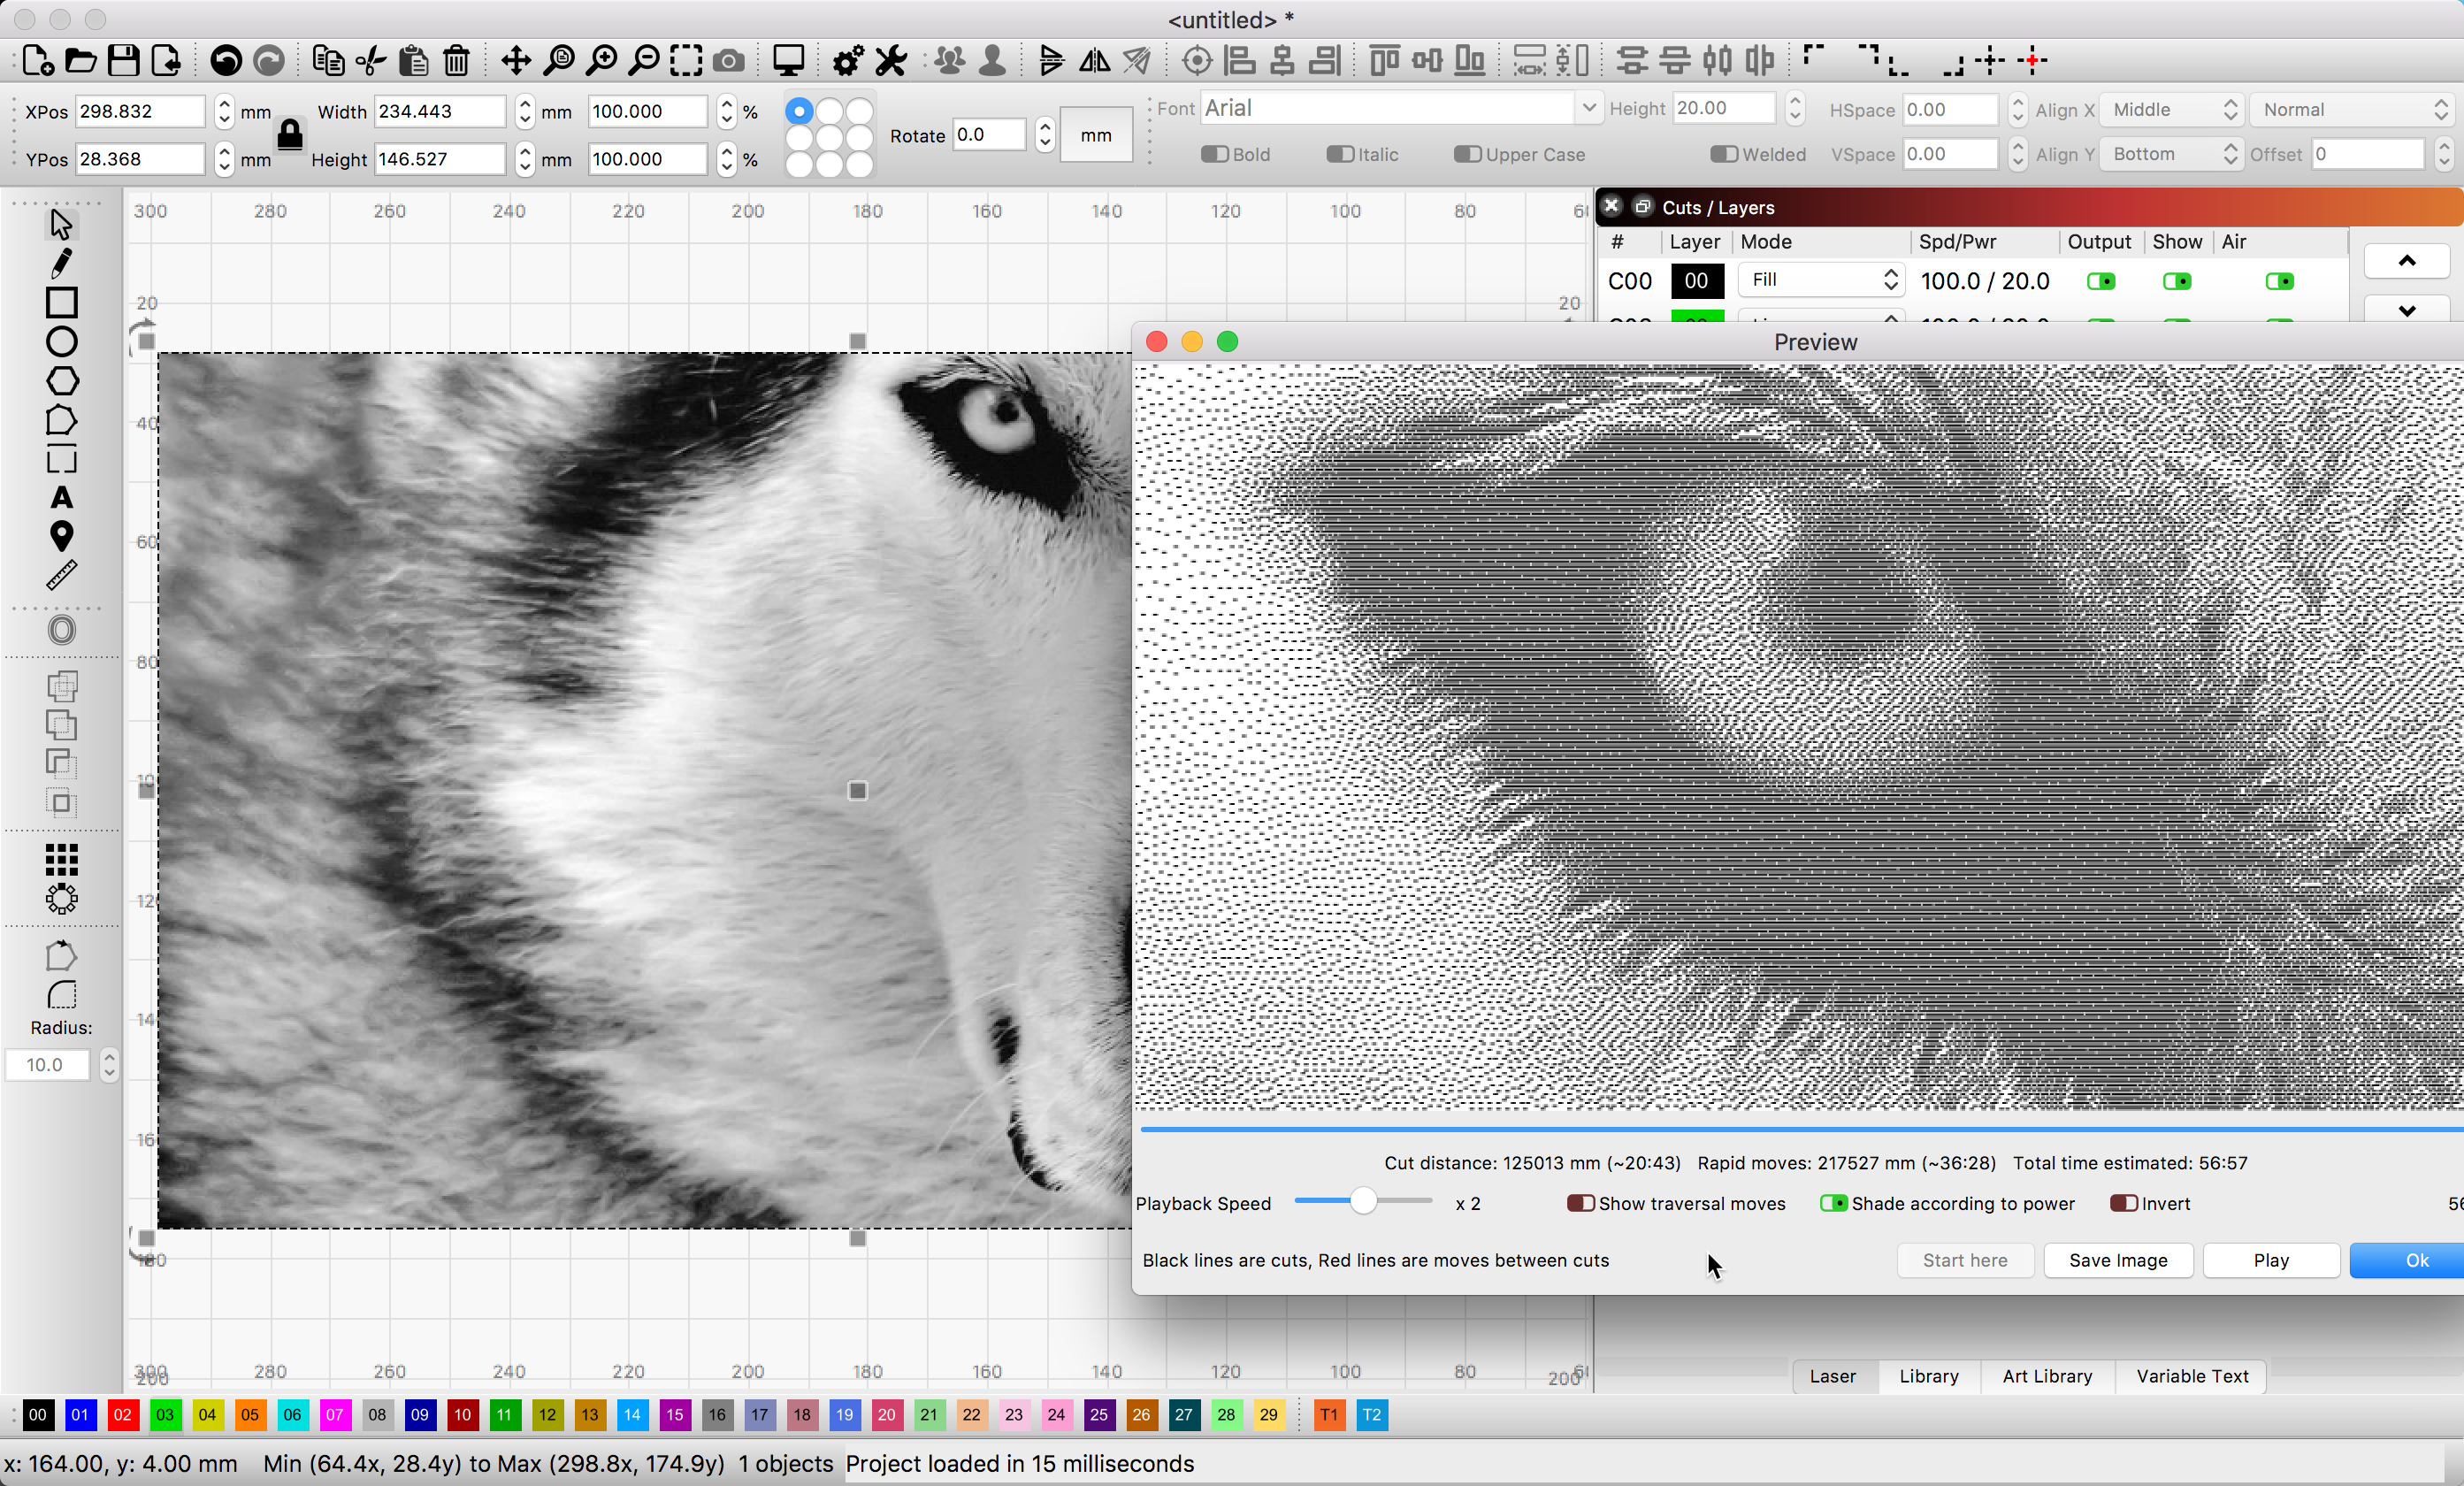
If you zoom in while in Preview, you will see the details the laser will produce. Difficult to show this level of detail when in full view. ![]()
Thank’s.
I’ll check it out.
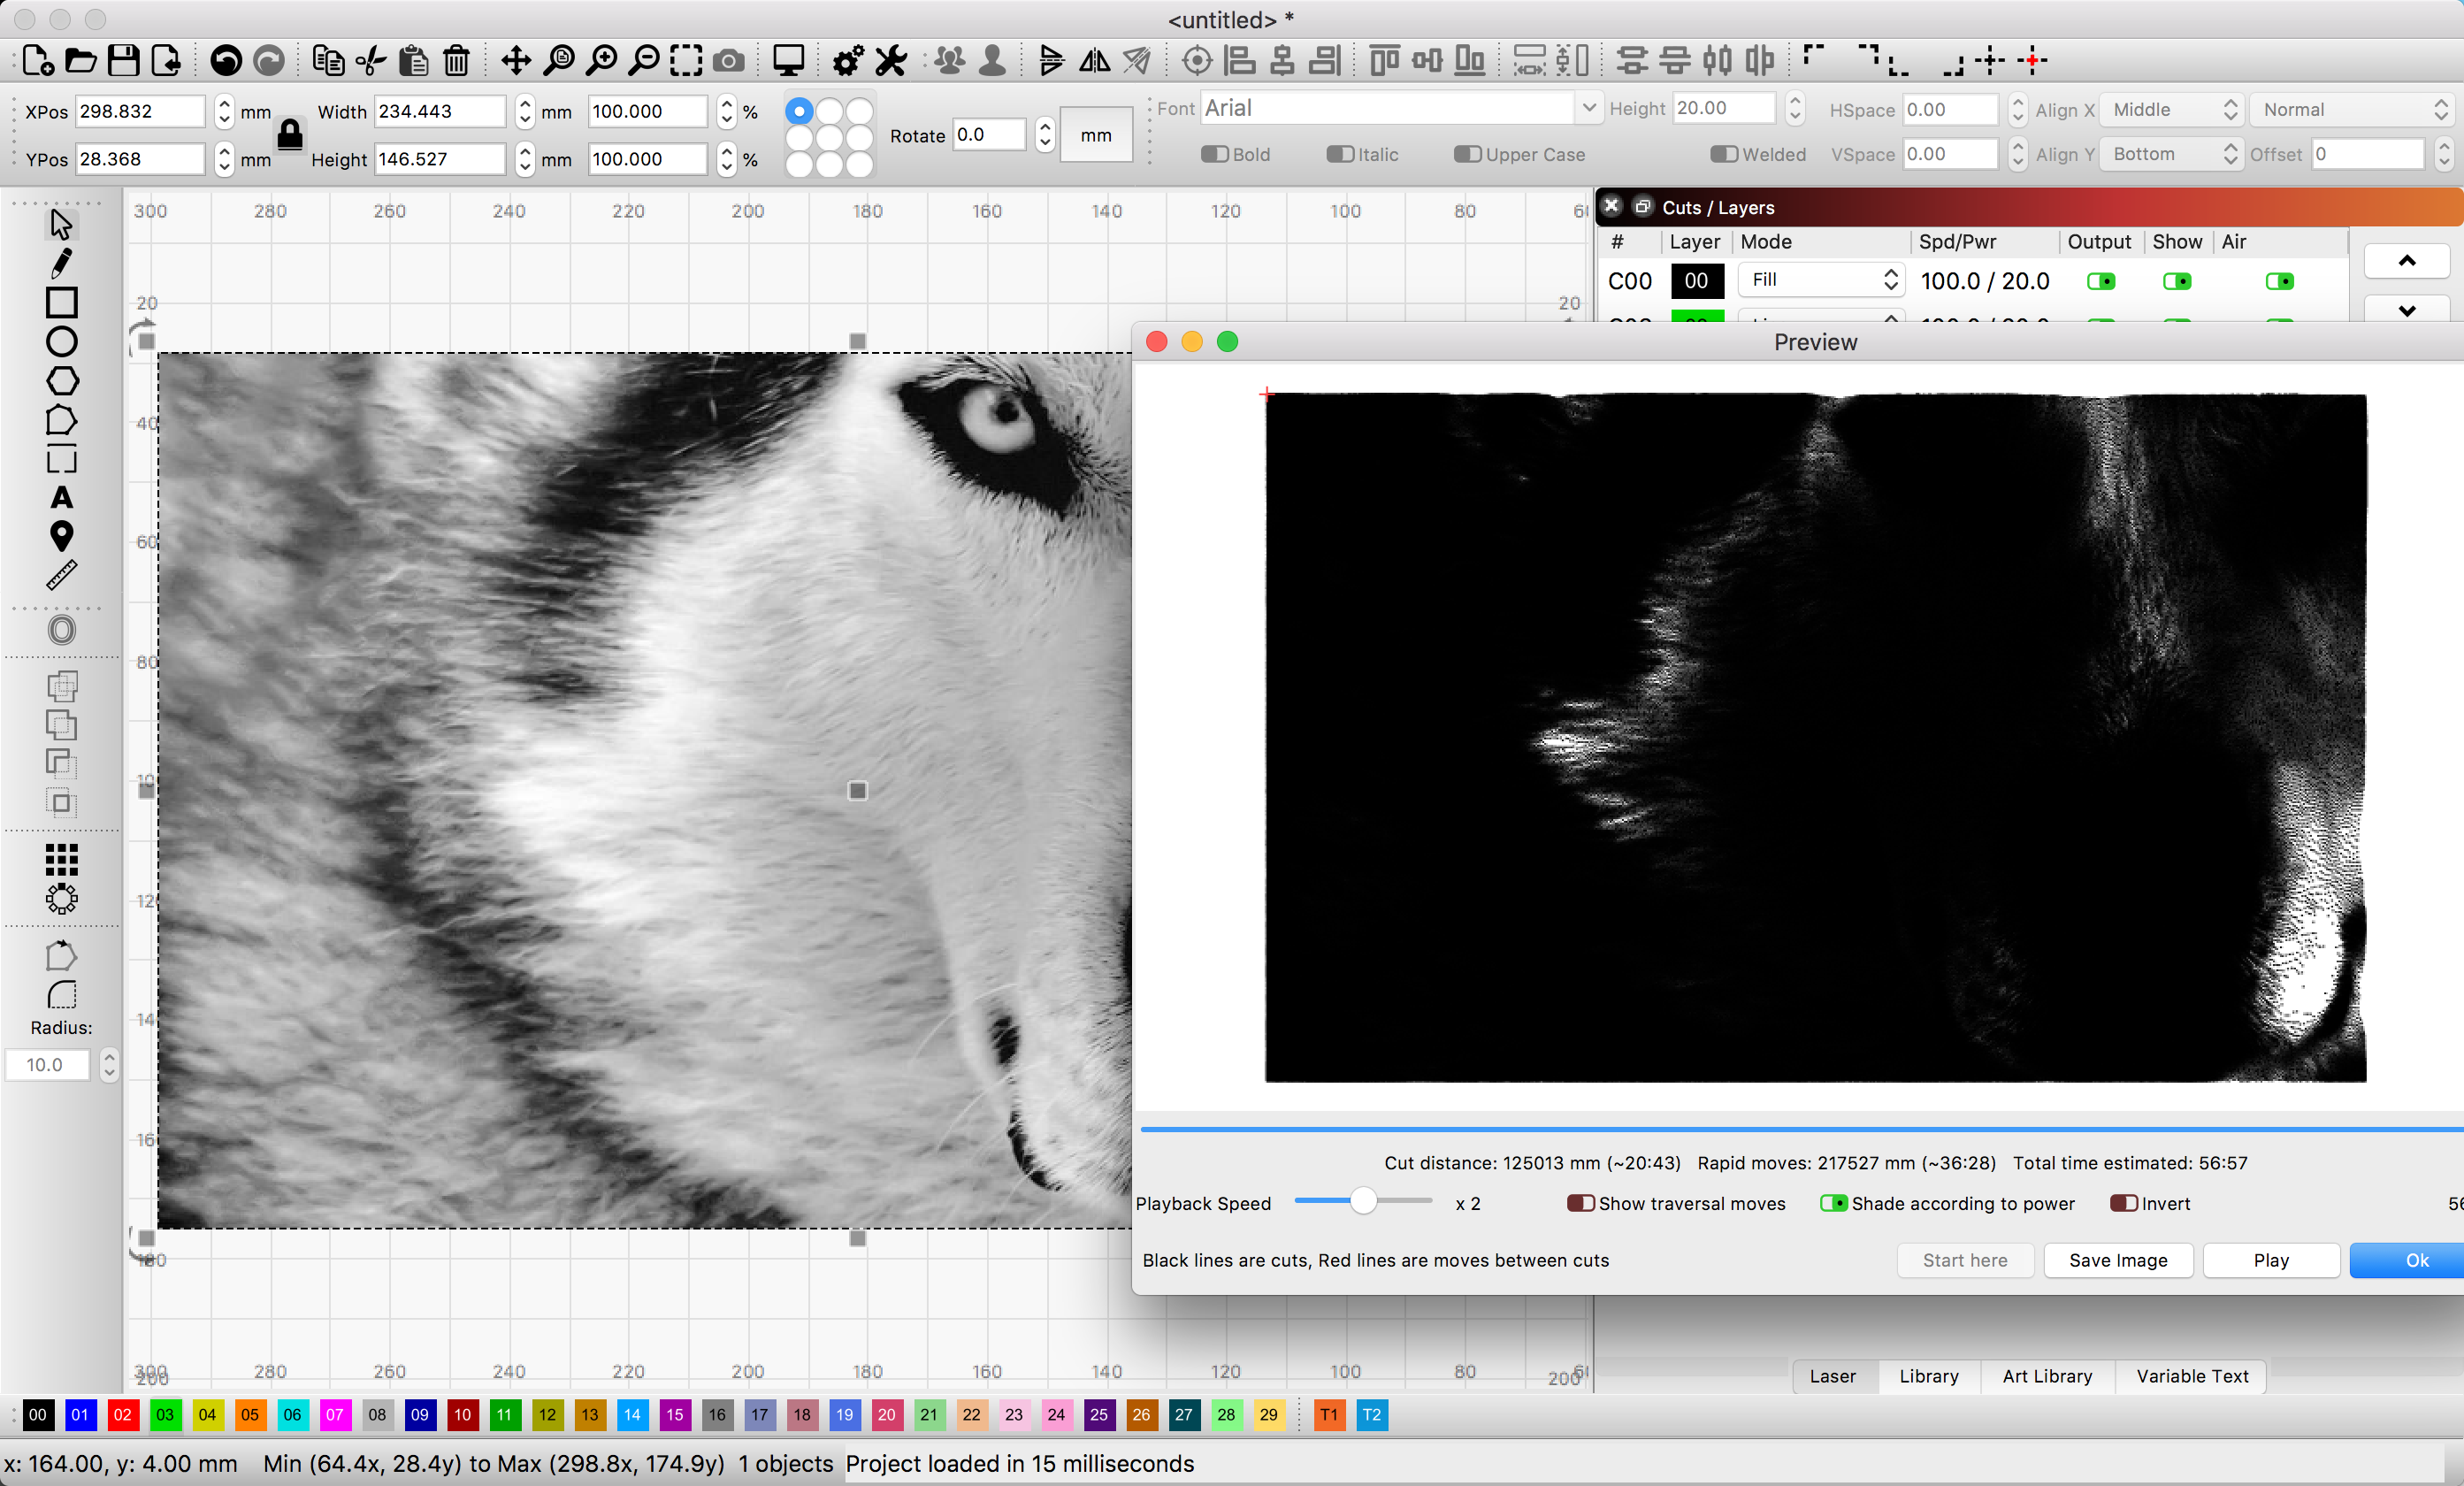
The preview just displays the path the laser is going to take - it’s not trying to simulate the output on the material. It draws all the lines that will be sent to the laser, and because we can’t make the dots on your screen any smaller, they overlap and it looks black. If you zoom in, you’ll see the details.
1 Like
Thank’s Oz.
I am doing some testing now…
I have a feeling this is where I went wrong and my burns were turning out lighter than I expected.
I’ll keep ya posted.
Thank’s again to all who lent a hand in getting me on track.

That’s not bad for an early effort. Image engraving is not easy.
1 Like
Getting there slow but sure…
Here is a test I ran this evening to try and get a better idea of speed and power.
I had originally thought the speed was too slow and adjustments were not accurate.
I set 3 different speeds and took a video of each while running … That helped tremendously.

This topic was automatically closed 30 days after the last reply. New replies are no longer allowed.