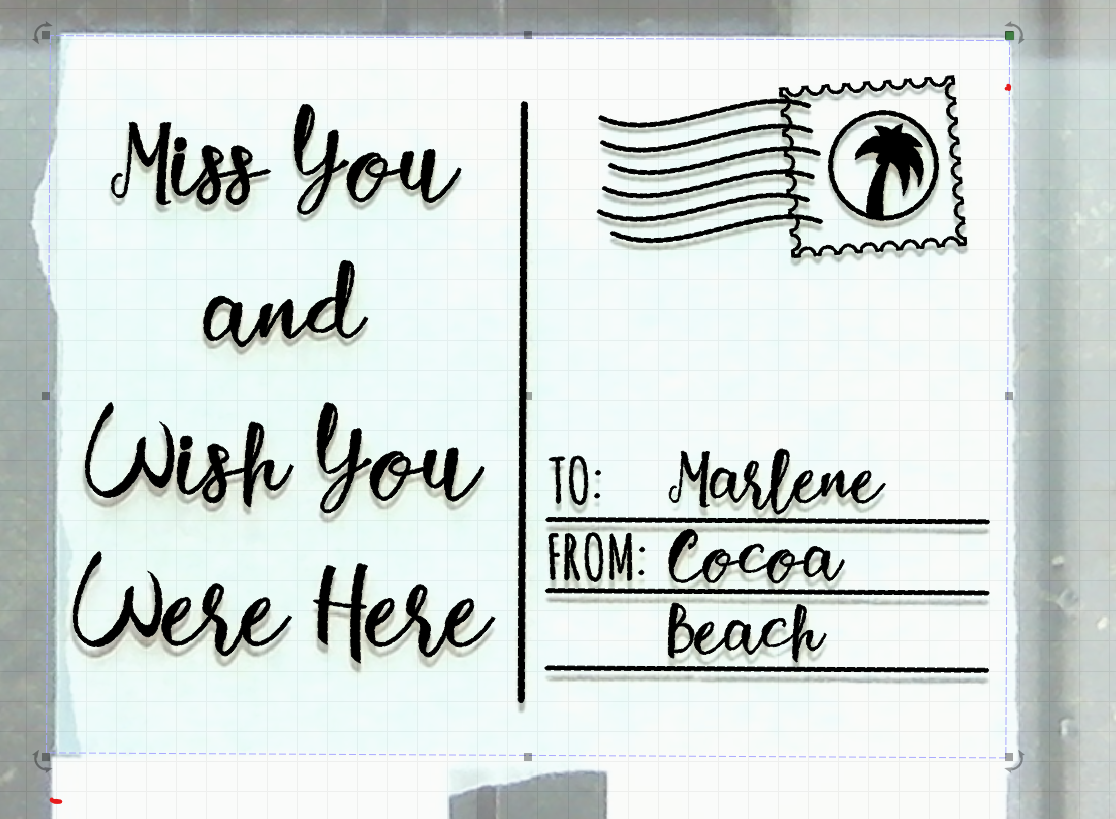
Searched for bit and could not find an answer. My camera to object alignment is off in the y by about .50 inches. If I click on the preview on the bottom left corner of a square to move the laser head. It moves along x perfectly but y falls short and ends up below the bottom left corner of the actual object. Same happens when I click the upper right corner. X is perfect but y is short falling about .5 inches inside the perimeter of the object. If I manually poistion the head on the upper right corner and laser the job, then do a camera preview the image is only slightly off (about 1mm higher than the camera overlay picture. I attached an image showing where the head ends using the position tool in lightburn.
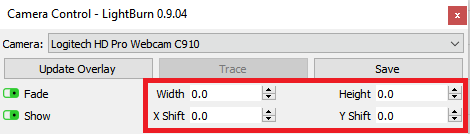
If the alignment is off, you can use these numbers in the Camera Control window to fine tune the placement and scale:
The Shift values move the background image around, and the Width & Height values adjust the size. When you have it aligned, click Save so the values persist.
What’s your camera lens angle and capture resolution, and what were your scores when doing the lens calibration?
Also, have you ever calibrated the machine itself? IE, measured that when your machine cuts a 200mm square it’s actually 200mm? If that’s off, it’ll mess up the camera alignment too.
As someone who’s battled with this a lot, it’s all to do with your camera quality and the calibration. It has to be done exactly right. I’ve managed to get my camera perfect twice… but my camera is a mobile phone and not secured properly. Lol
Also, size up the sample scan to fill your bed. Makes a huge difference.
, the yellow sign was burned about a week, then I added the outline using camera view. All seemed great. Until the next time I booted everything up. Alignment way off again, I saved as suggested also. If I pull in a svg file thats 5.5x15 and drop it on a board that is cut to 5.5x15 they don’t come close to lining up.
Is this something I have to do everytime I restart the machine?
physical alignment of the machine (meaning the locations of your limit switches)
If you move the camera relative to the laser bed, or raise/lower the laser head, or change to a different focal length lens, you’ll need to redo the camera alignment. The most common problem I see is the lid of the machine opening to a different position because of slop in the hinges or struts used to hold the lid up. Since you’ve said only the Y axis is off, this is likely your issue as well.
The camera alignment is also done at the focus point of the material, so you need to set the top of the material to the focus point of your lens before you capture with the camera. A change in the height of the laser head or material would affect both X and Y alignment though.