1/4" Baltic Birch Won't Cut

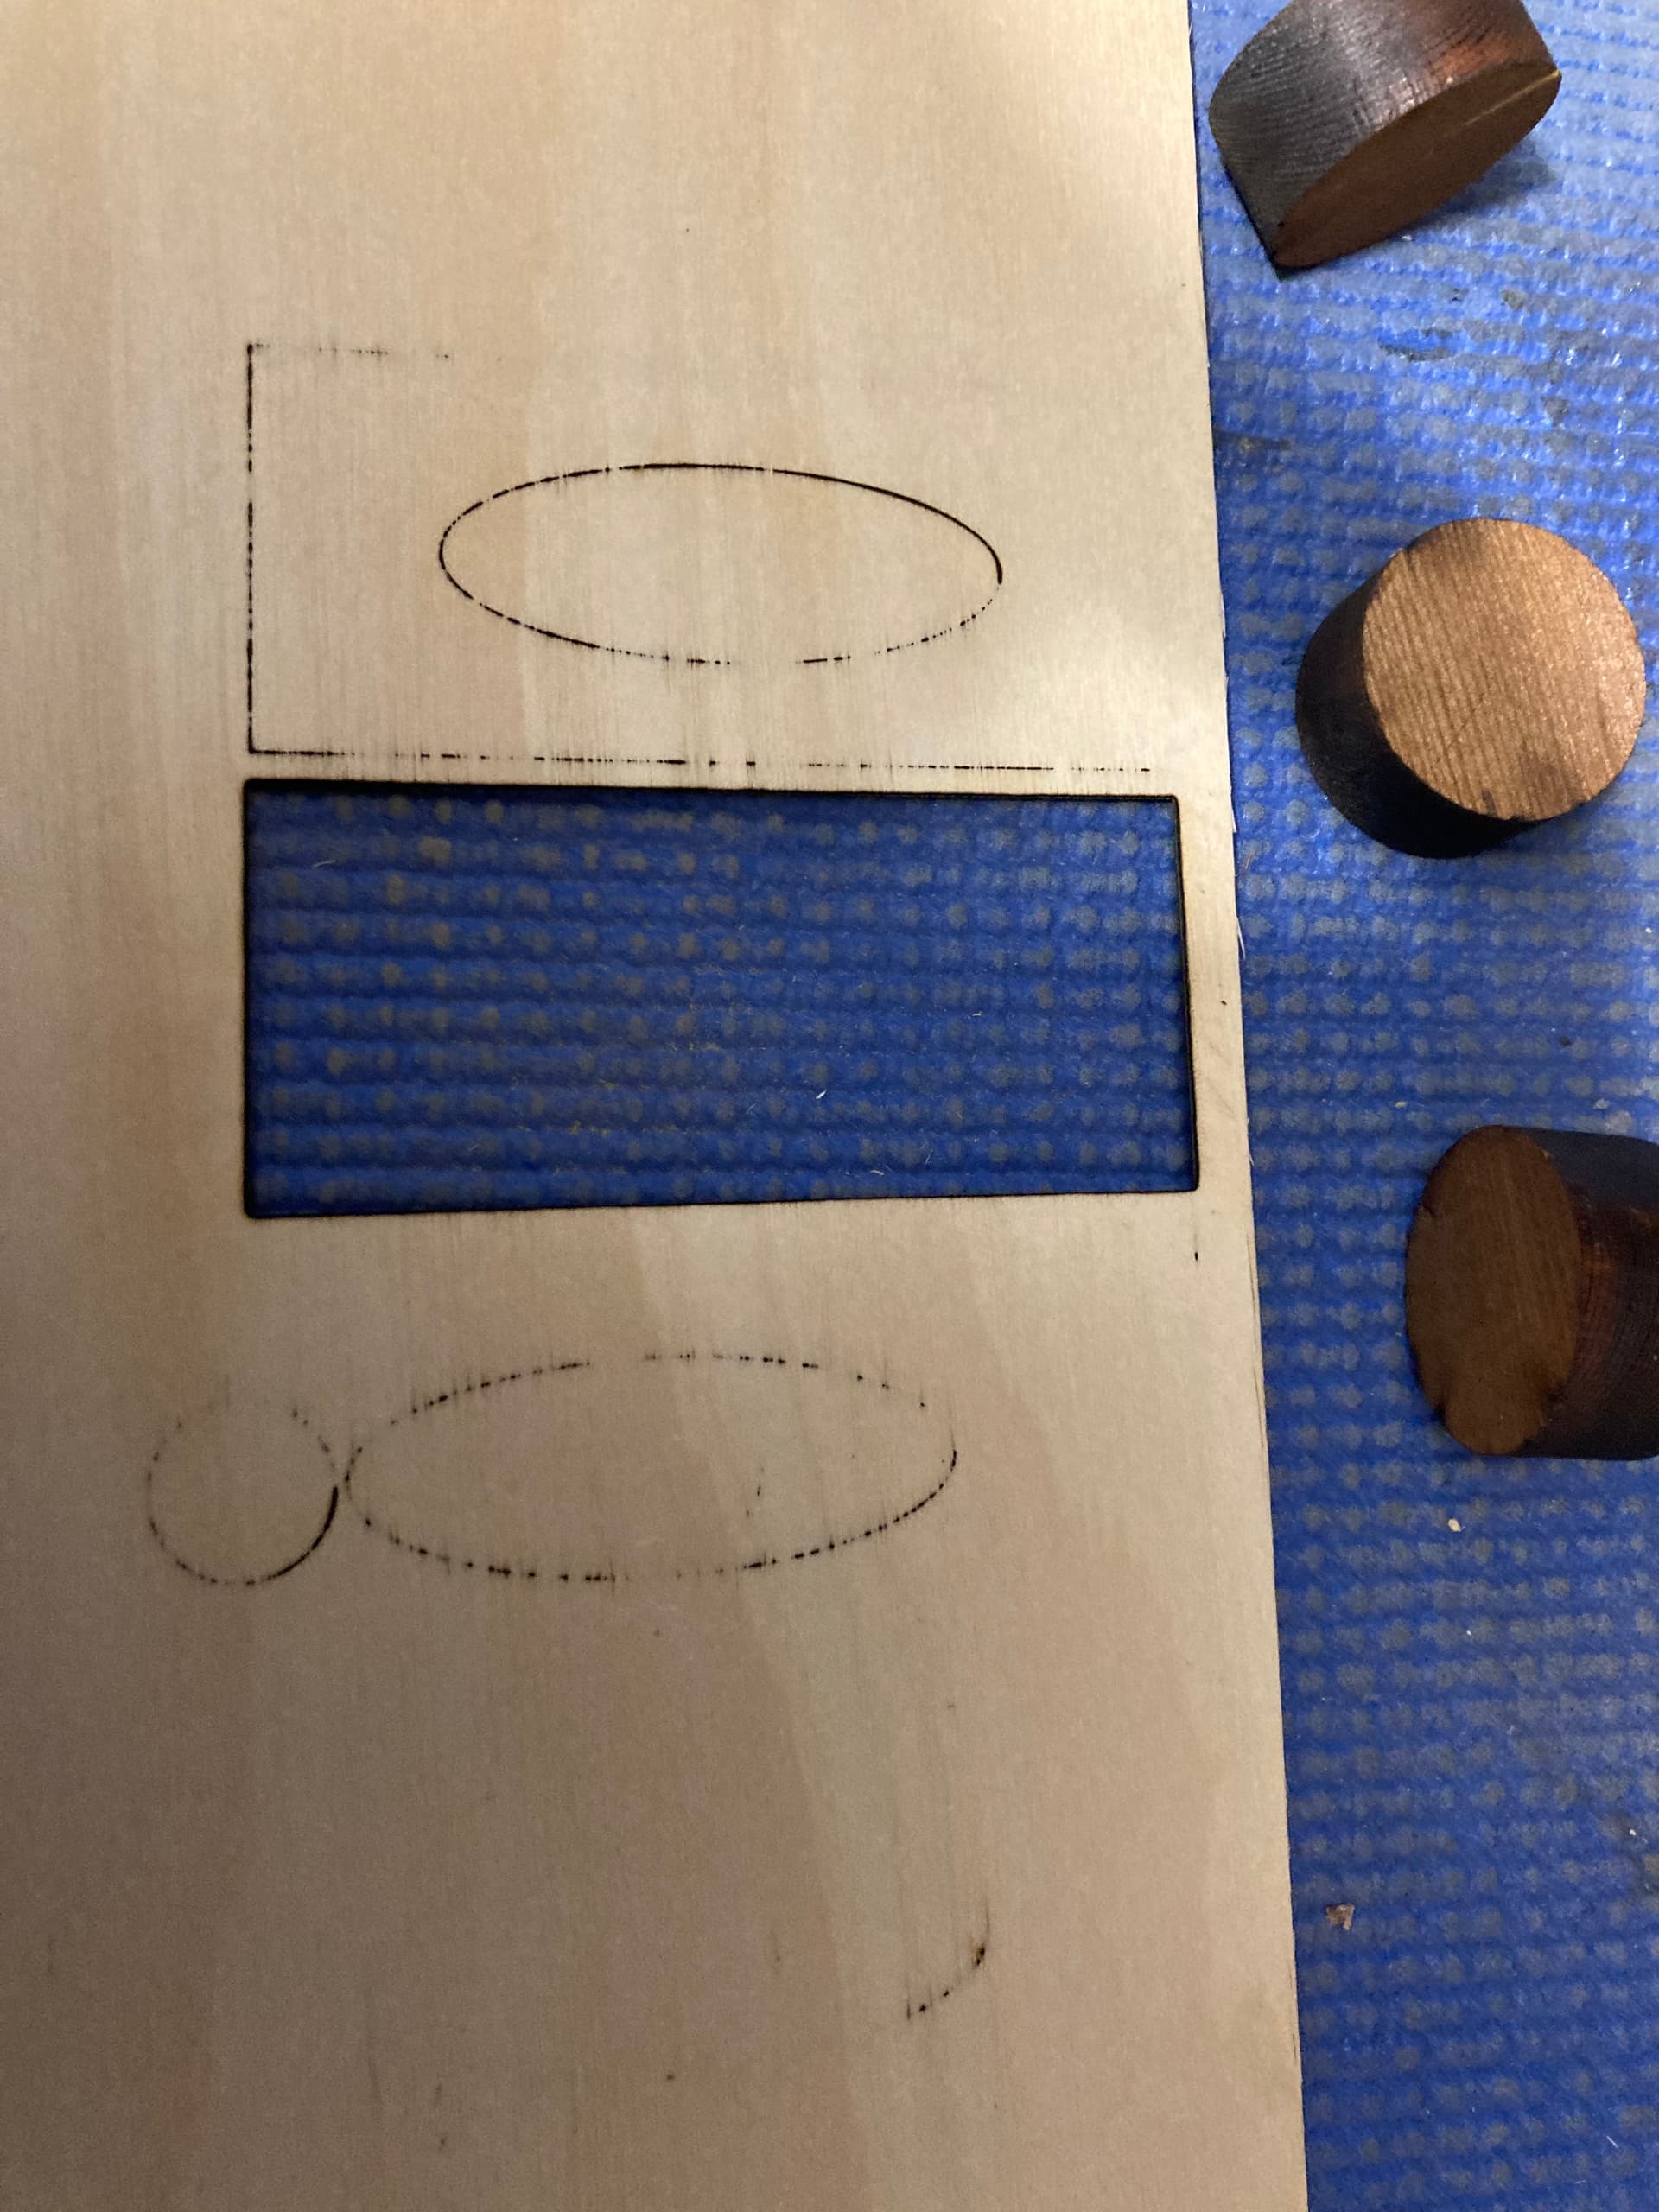
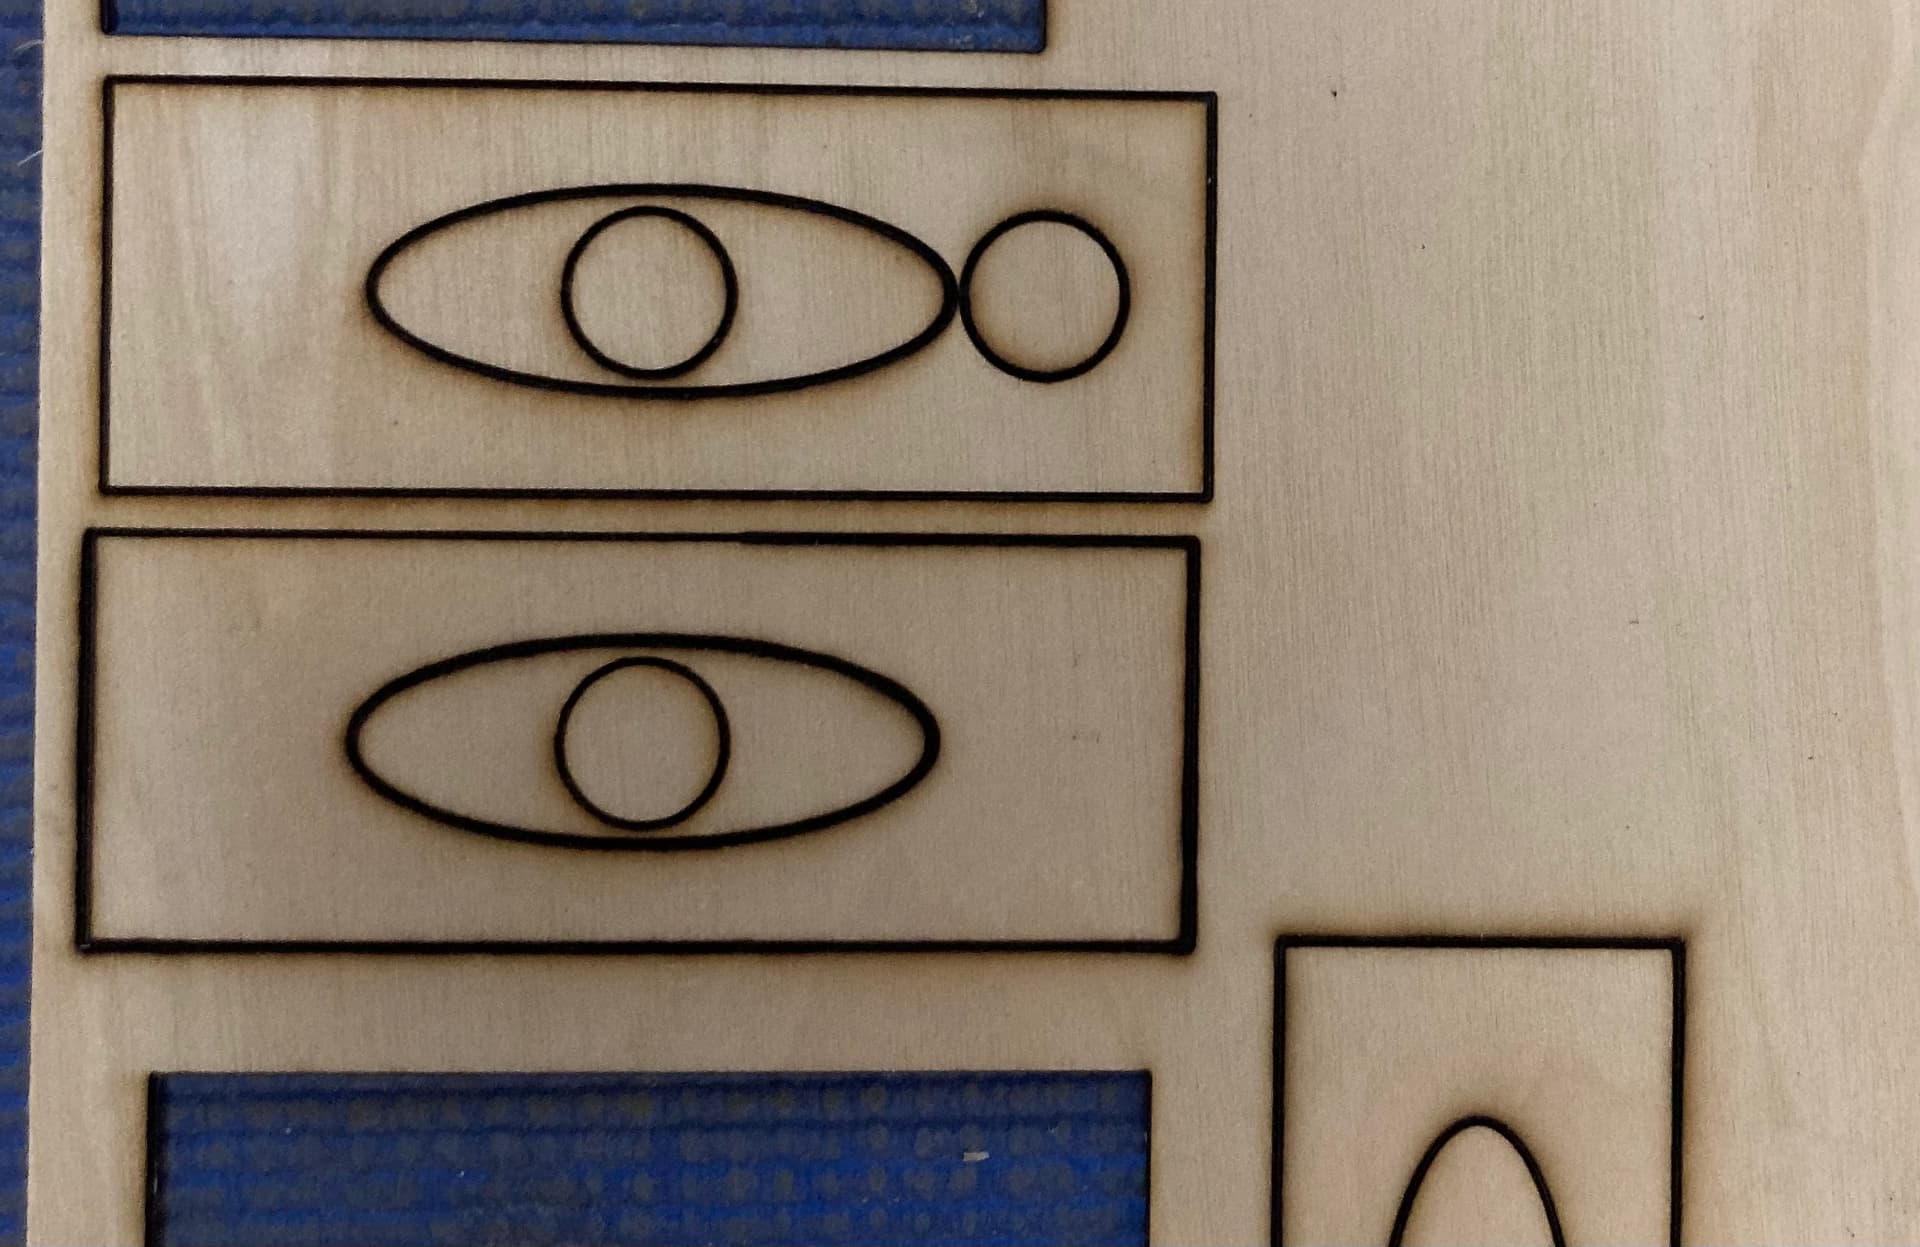
I have an Omtech 60 watt machine, which I got in November. I use 4-6 hours/day, 4-5 days per week. For the vast majority of my projects, I use 3-3.2mm Baltic Birch ply, and everything works fine. I started an elaborate “3D” etching with an irregular cut line in 1/4" baltic birch. The lens had just been leaned before I ran the project. The etched image turned out perfect but cutting it out was impossible.

I will preface by saying that speed is mm/sec, power is %. Omtech suggests in their manual for 1/4" set speed at 6 and power at 32. I did this but didn’t cut through. I ran the cut again, 2 more at the same speed an power, still wouldn’t cut through. I changed speed to 4 and power to 45 for 2 passes, still wouldn’t go through. Finally, I upped it to speed of 4 and power of 70. Still wouldn’t go through.

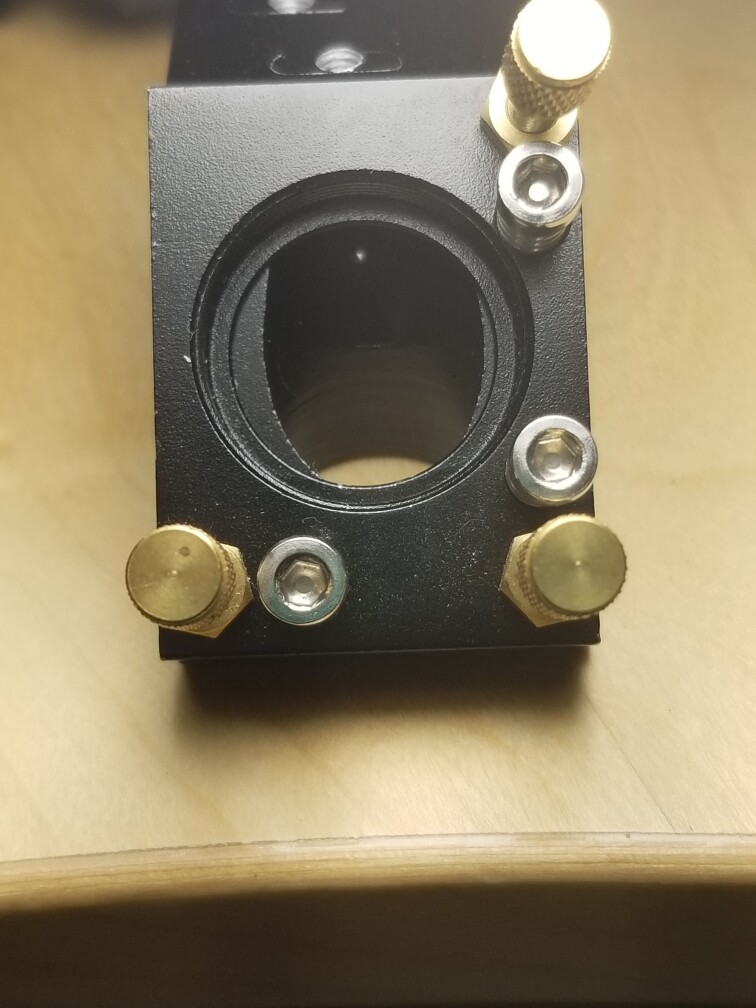
I checked my mirror alignment and it’s perfect. I cleaned the lens which by this time was filthy and proceeded to try some tests on the same material. Same results but now instead of a fine cut line I get a very wide burn line.

I’m clueless! I’m asking Omtech the same question.

Any ideas?

Dale

It sounds like the lens is not in the right position or is defective. What does a test shot from M2 to M3 look like?

I thought the same thing. Prior to running the 1/4" project, my 3mm projects went fine. After this problem, I checked mirror alignment, and it’s as perfect as I can get it., M2 to M3 hit the same spot in all 4 positions very close to dead center. I double checked the lens position and the curved surface is pointing up towards the laser.

I’m waiting for a call back from Omtech tech support.

Thanks!

Dale

… Then you have to make a test shot from the tube to M1 on some tape to see the status of your laser beam.
Use only a little power, then it is easier to identify.

I’ve done this already. Tube to Mi is fine, M1 to M2 in forward and back is fine, M2 to M3 hits the same spot in all 4 positions.

Another thought. I should have tried this first before this posting. Perhaps my mirrors need to be cleaned?

If the tube is ok and your laser beam is in the center, all the way round, then there is only material and focus left. (and mirrors)
I cut 3-4 mm plywood and MDF with my 60 Watt OMT, with approx. 20-30 mm/s and 35-45% power…

Hi, you stated that you’re getting a ‘very wide burn line’.
Have you done a ramp test to check distance from laser to material?

1 Like

Yes I have and I get at lest a 1-2mm wide line

I need to check if my mirrors are clean which I will do immediately after I send this. I’ll report back. Also I have a call into Omtech.

thanks!

Dale

That sounds like an out of focus issue to me - can you attach a photo of the poor result?

Thank you for your response! As I think I mentioned earlier, I’m pretty new to lasers and still don’t know what I don’t know. You guys have been a tremendous help.

So, I think I have figured this out and hopefully you can confirm my thoughts.

When I first got my machine, I also bought a spare lens from Omtech. The original lens is 2"“, the replacement lens is 1 1/2” focal length. Having noticed a small defect on the 2" lens, I switched to my replacement. Since I found this problem, I reread the manual which says the 2" lens is recommended for cutting and engraving but the 1 1/2" is better for engraving. It didn’t say it wasn’t good for cutting but I think this maybe the case. OK, I’ve got another 2" lens coming to replace my original which I’ve put back in. using now. Please confirm my thoughts on the 1 1/2" lens.

But, I still have the problem with the 1/4" birch ply. It took me 8 passes at 6mm/sec and 35% power to cut through. I’ve had no trouble cutting 3 and 3.2mm birch ply. So, my next step is to call the wood supplier to see if they may be supplying Baltic birch with exterior glue. I don’t know if this will make a difference but at this point, I don’t think my problem is machine related. All mirrors are clean and aligned properly, the 2" lens is focused properly. That’s where I’m at.

comments?

Dale

It has a huge impact whether it is internal or external glue. However, you should be able to use your (nominal) 60 Watts, to cut through with a single pass. The cutting surface just doesn’t get pretty.

The pictures show 2mm birch plywood/exterior, tried to cut with the same settings as interior plywood. (Initially)
The glue layer after the first wood layer “reflects” the laser so violently that the wide edges occur. It is the heat from below that makes the material burn on the surface.
As I said, it is possible to cut exterior glued plywood but it will not be pretty.

If you then imagine a 0.5-1mm thick glue layer in a pocket … then it doesn’t matter if the material is 3 or 5 mm, you can’t cut through without extrem high power.

(PS … Yes, my focus was perfect)

1 Like

Thank you for confirming my suspicion!

Also, can you comment on my lens question? The lens that came cwith my machine has a focal length of 50.8mm, Like I said earlier, I don’t know what I don’t know. I bought a backup lens and it’s focal length is 38.1. After trying to cut with the 50.8 lens didn’t work, I swapped lenses. Then read that the 38.1 is better for engraving. Does this also mean that it doesn’t cut? All I get with this lens is a wide, perhaps1mm line.

Dale

If these three exist

  1. proper tube operation
  2. clean and aligned optics
  3. proper focus

They work… One of these isn’t …

The response about m1 isn’t what I think @bernd.dk is talking about. I believe he’s referring to the power distribution in the beam emitted form the tube. This is known as TEM00 resonance or mode, for a properly working tube.

A change from TEM00 to another mode happened to me over a three day weekend when I was out doing other things. The machine was and has been aligned very precisely, m1 and m2 dead center. Left was m2, both near and far pulses. Right is m1 after the 3 day weekend.

You need to have as close to a Gaussian power distribution across the beam as possible. This is generally referred to as the M2 or the beam factor, and is used when computing the effects on a beam/lens combination. This is a 3d type graphic for Gaussian power distribution… However on the right is how it will show on your target.

This can’t be fixed by any other method except a tube replacement.

When you check your alignment, you need to start at m1, checking this should be part of the alignment procedure. You can’t align a tube in a mode other than TEM00.


Keep in mind that not all openings are centered. This is the head from my machine…


Always nice for you to post photos, might look fine to you, but we may see something you don’t… Besides a picture is worth a thousand words.


The two inch lens (50.8mm) compared to a one inch lens (25.4mm) or your 35mm is relatively straight forward. The shorter the lens the smaller the spot and the more shallow the depth of field. A longer lens has a larger spot and a larger depth of field.

Shorter lens, smaller spot (more power) and is best for engraving… longer lens larger spot (less power) and is best for cutting thicker materials.

The calculator will allow you to compute this for your specific lens.

Best of luck

:smile_cat:

Thanks Jack,

Even though I was a lighting sales engineer for Westinghouse 50+ years ago, this is way over my head. My mirrors are slightly off dead center but all are hitting the same spot. Laser to mirror 1 is also off a bit. I’ve moved spacers around and only made it worse. Mirror 1 to 2 is off about the same but hitting the same spot, both near and far. 2 to 3 the same and in all 4 positions, hitting the same spot. Not sure what else I can do.

Dale

As so often, I agree with Jack :wink:
What I don’t really like is that you (we) don’t know if the tube gives the correct beam.
Have you done the test with the nozzle tip?? the laser beam comes out of the nozzle in the center?

Regarding lenses, it doesn’t matter if it’s a 2", 1.5" or 2.5" lens, set to the right focal length, they all easily cut through 3mm plywood.

Bernd, not sure what you are talking about. I put tape over M1, are you suggesting I put tape on the end of the tube?

I get nothing but a fat line with the shorter focal length lens. I tried a ramp test with it and the line is consistently wide. And yes, I installed it curved side up.

Yes, that’s what I mean. You can quickly see if your nozzle head is right in both directions. If the little dot from the laser pulse is in the middle of the tape you have pressed on the end of the nozzle so you can see the nozzle imprint in tape, it is fine, otherwise it may hit the side in the nozzle.
You can also remove the nozzle tip and use tap on the end of the nozzle tube directly, it gives a very clear picture.

A few months ago my son tried cutting a piece of thin plywood scrap we’d been given by my father in law. It was extremely difficult to cut through and impossible to get a reasonably clean cut. It turned out to be aircraft grade plywood that was left over from a home-built that he’d been building years before.