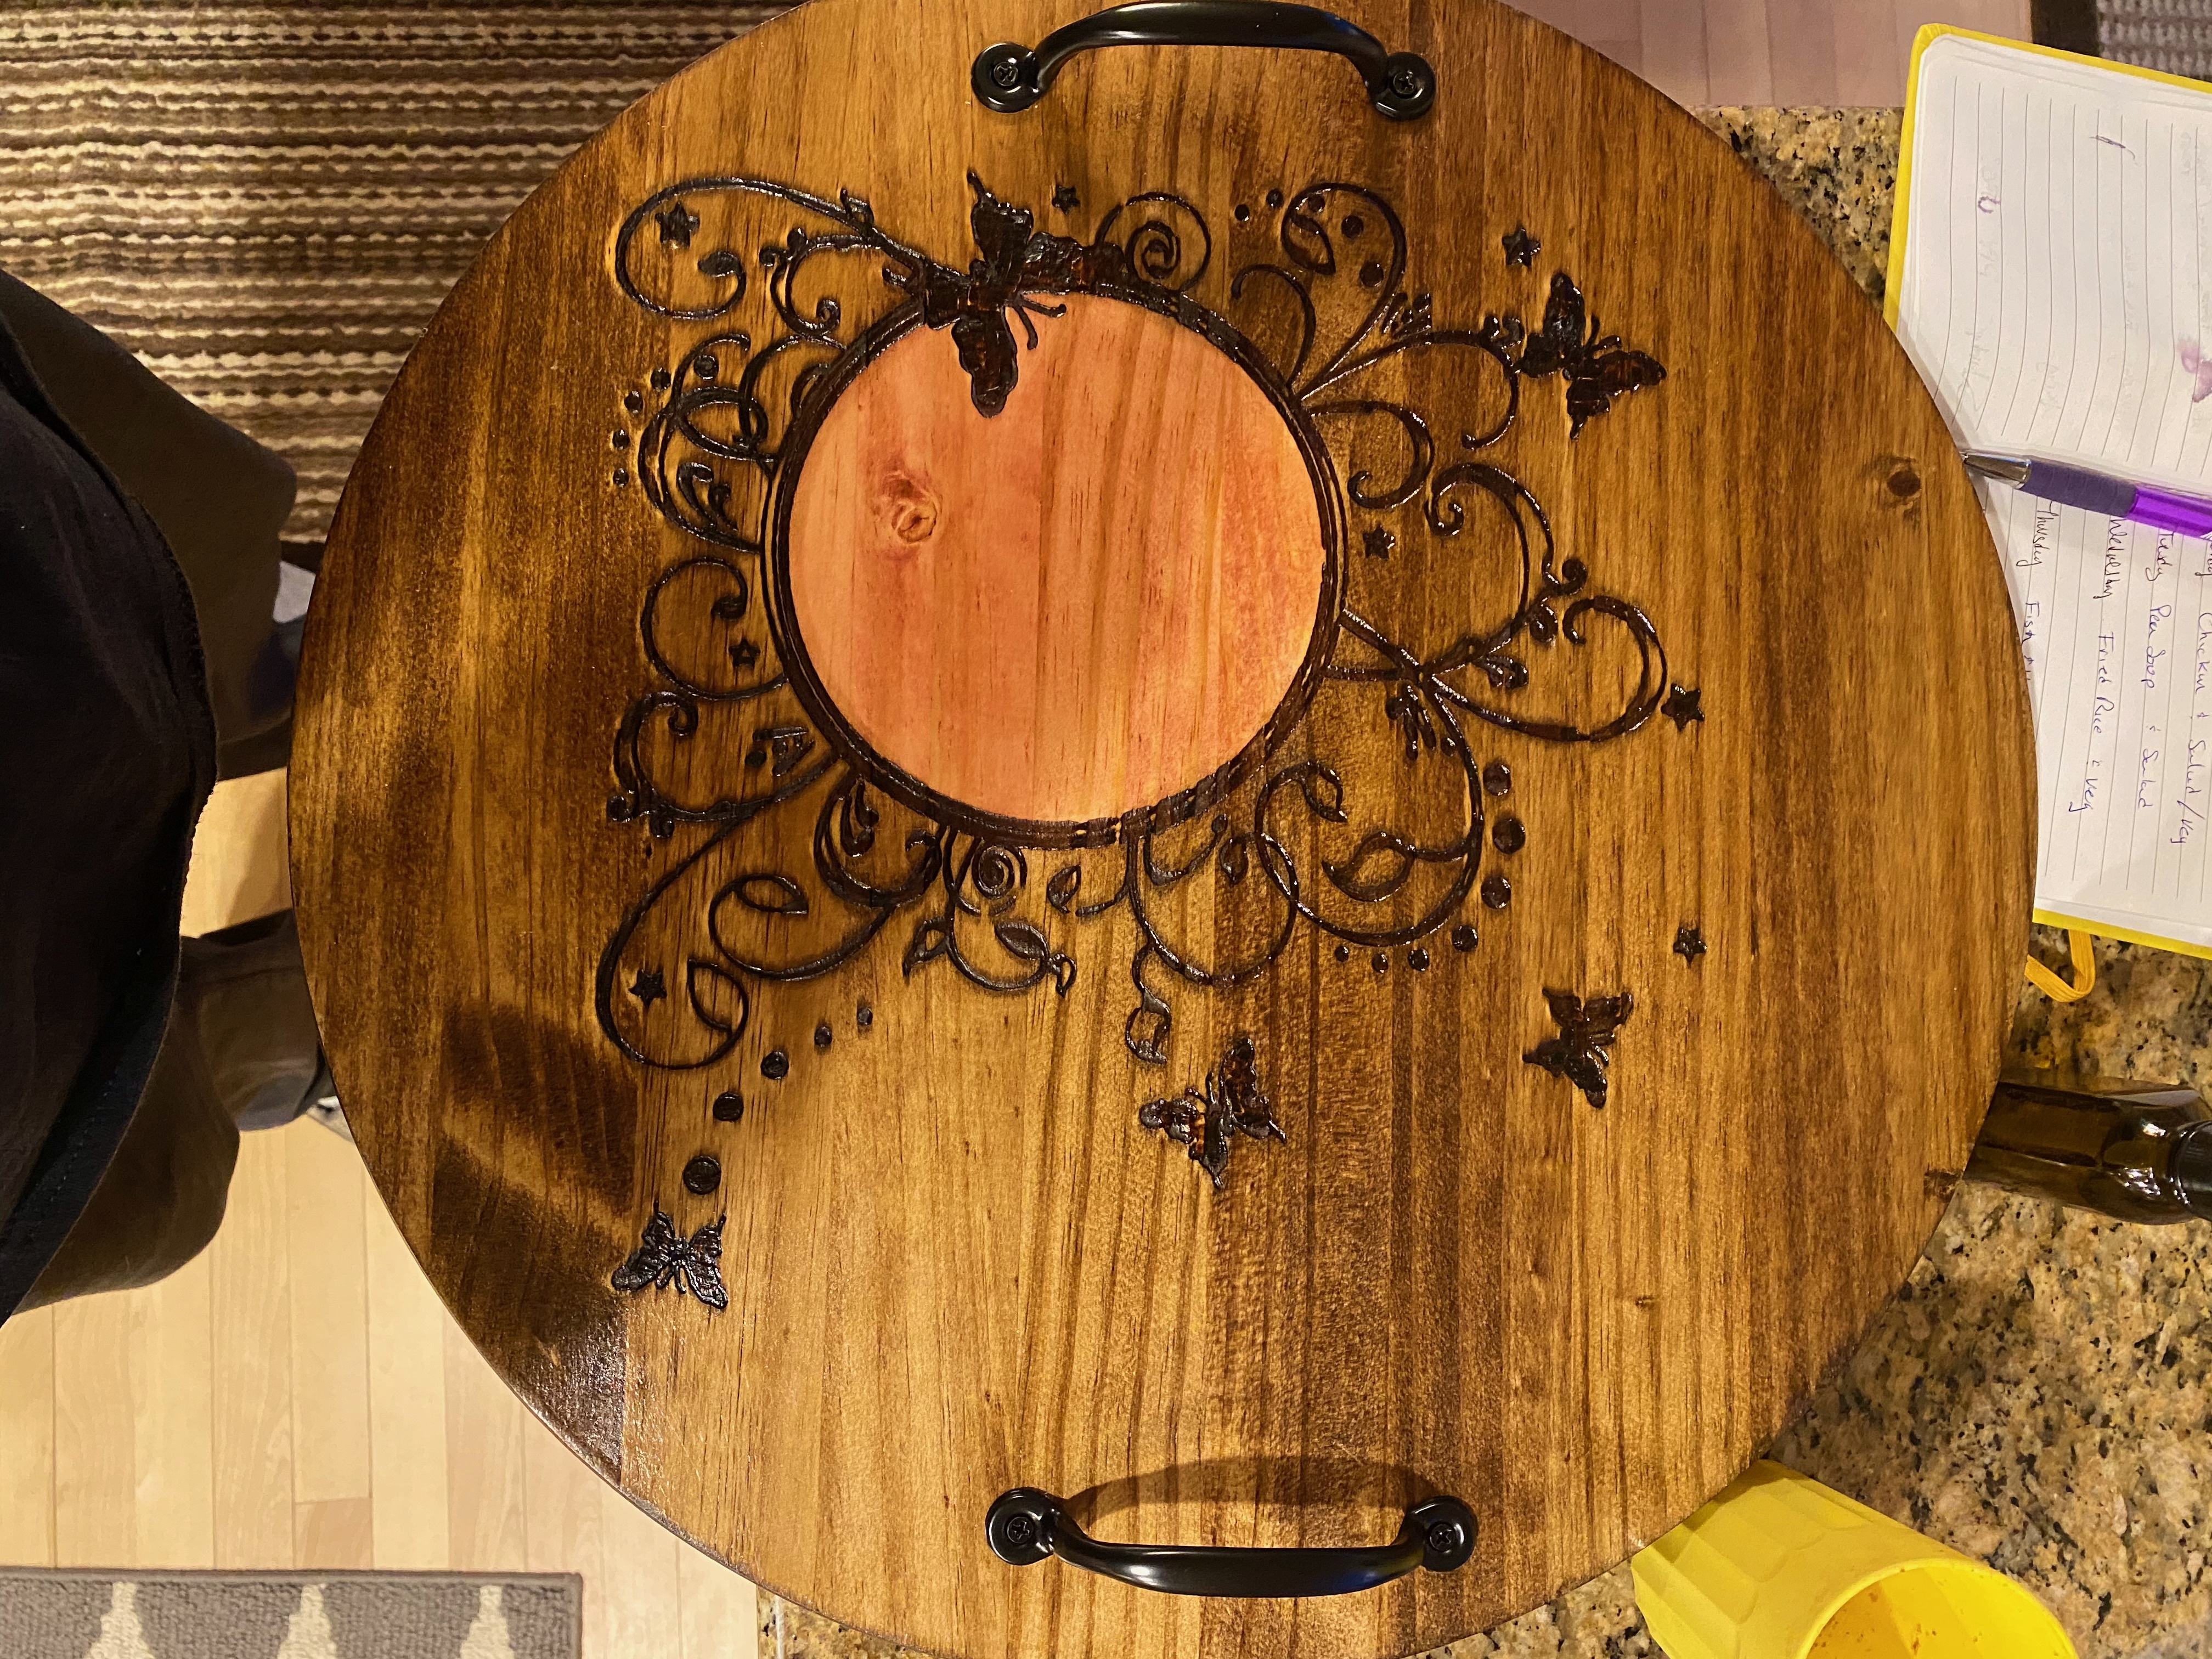
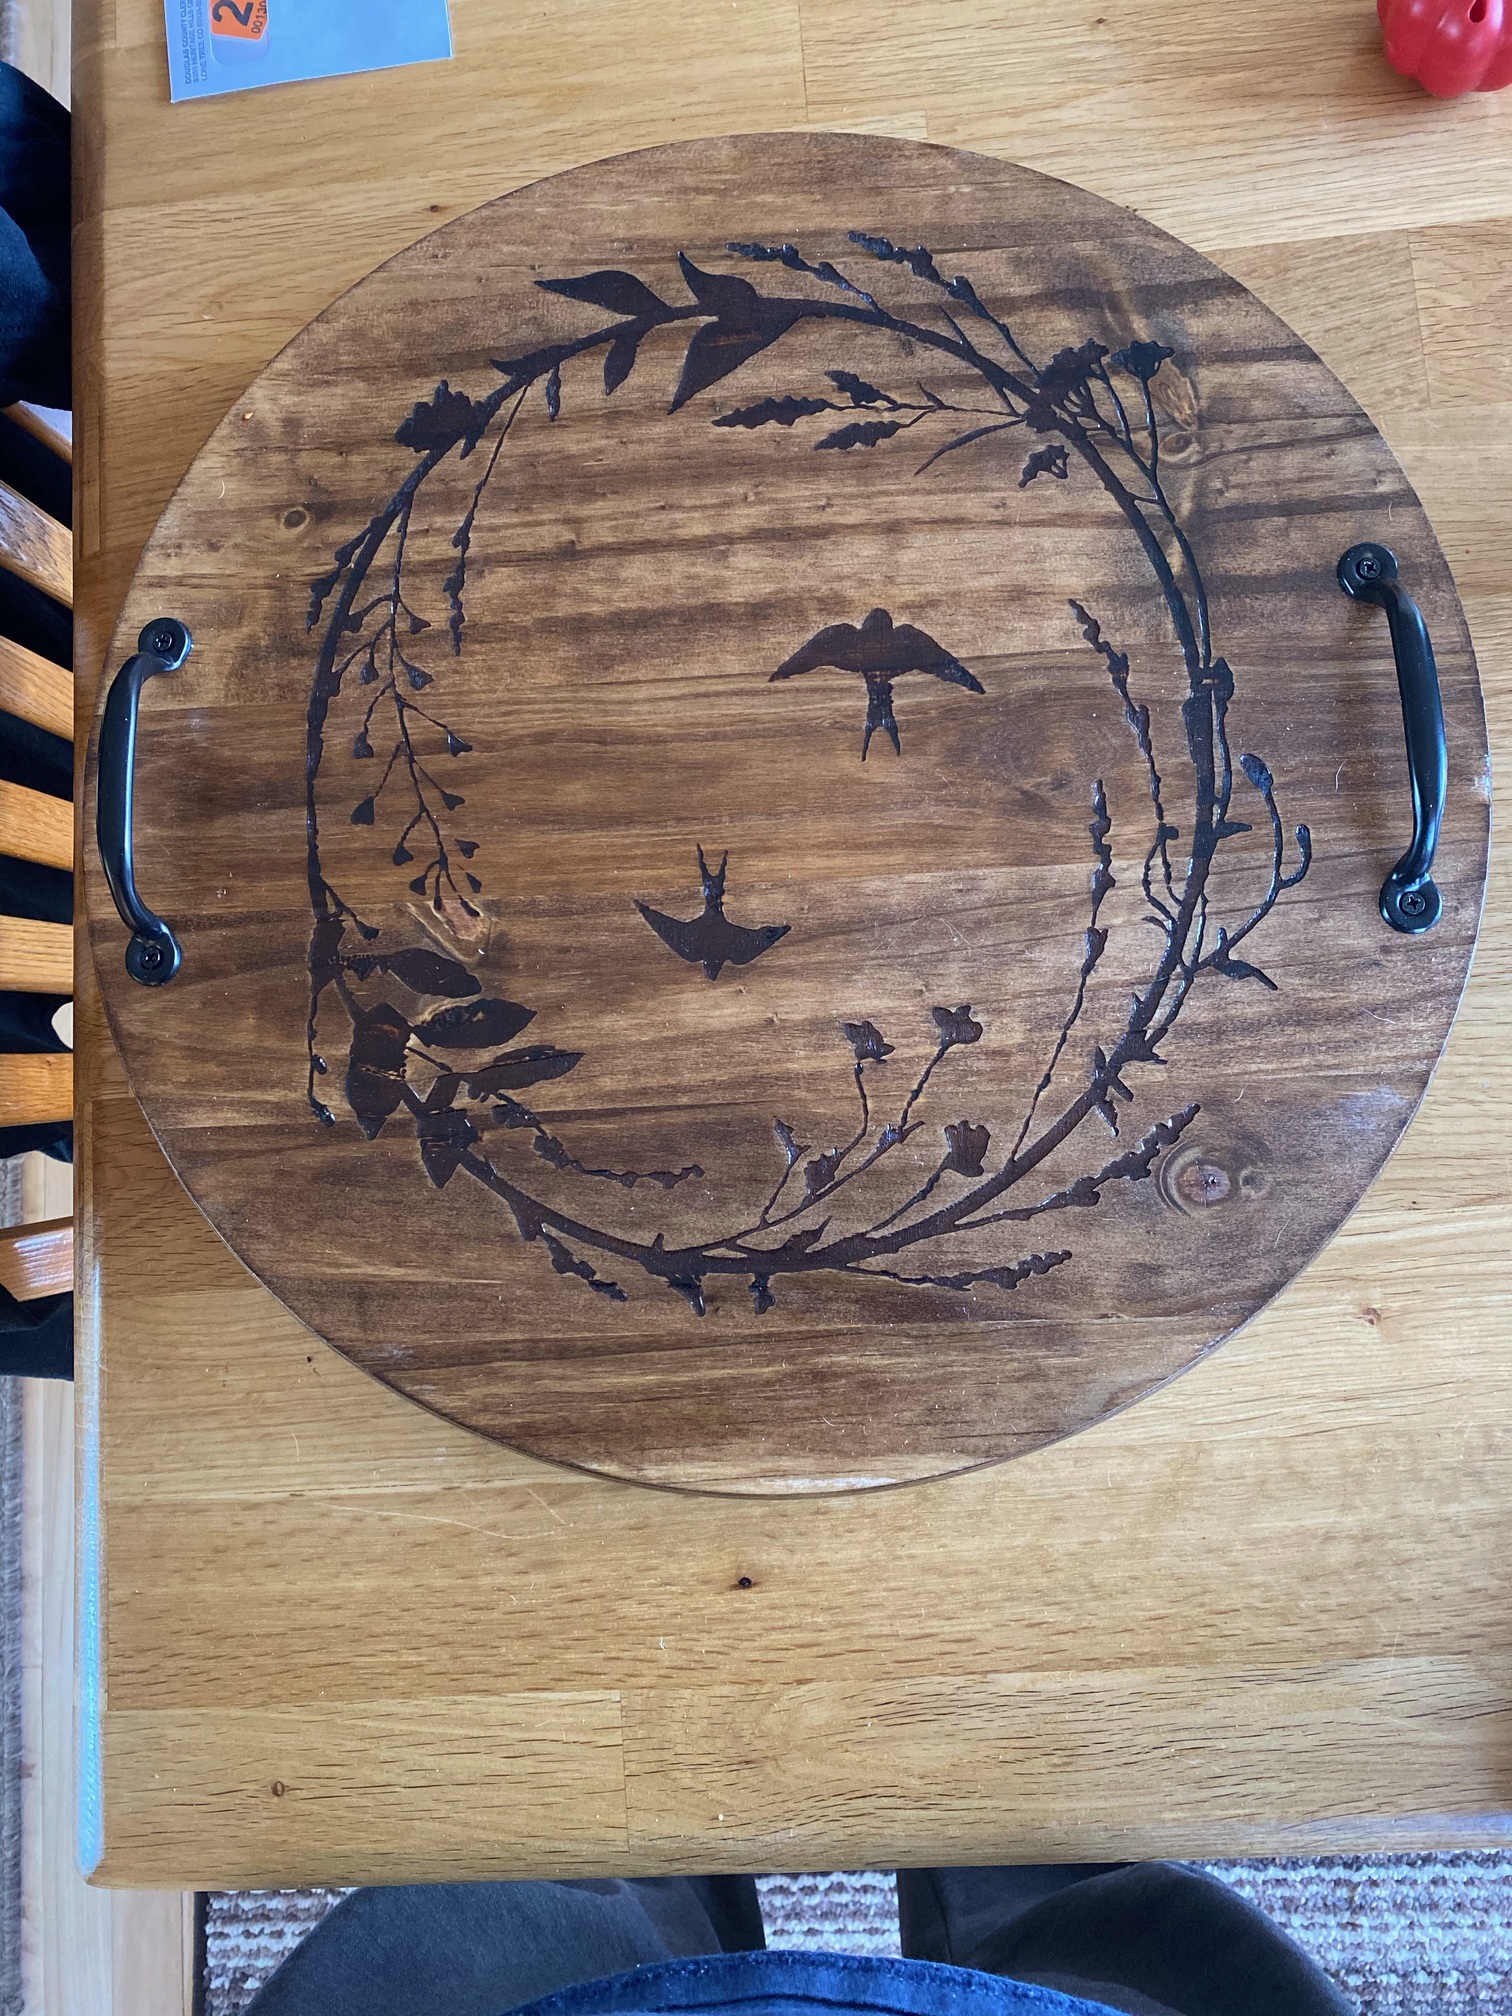
Here are a few Lazy Susan projects i have completed. Each takes about 13 hours to burn. Lazy Susan for reference is 17.5 inches

burned using BENBOX system, flashed with 1.1f firmware so its usable on Lightburn
Here are a few Lazy Susan projects i have completed. Each takes about 13 hours to burn. Lazy Susan for reference is 17.5 inches
burned using BENBOX system, flashed with 1.1f firmware so its usable on Lightburn
I would very much like to see your settings from lightBurn for your fine items because it amazes me a lot that it takes all these hours.
@Bernd, thanks for the reply. I think these are the setting you are after, if not point me in right direction
Looks nice I have also tried the pine rounds got mine from home depot made a few table tops with clear acrylic to protect the artwork.
Thank you. these too are from HD.
Hi Virgel, it was line interval I thought probably stands so “high”, I think your dpi of 500 is not reflecting the physical possibility of your laser. Your dots overlap each other without you getting a better engraving and that is also why it takes so long.
Oz has responded to a post recently where he demonstrates quite excellently with a small calculation how the relationship between the laser dot size and dpi is, here however in the context of photography. I think with 255 dpi you get the same result and save a few hours.
But still, I think your work looks very nice!
Thank you. I ran a test burn and it seems 250-275 is a perfect DPI range
Very nice results they look amazing.
Thanks appreciate the feedback
On the Butterfly round, how did you stain the inside of the circle differently than the outer portion? It seems as if you would get bleeding into the lighter color.
@TomWS i stained it first with 3 coats to get the color i wanted, then stained the rest. the engraving is deep enough to prevent bleed through
13 hours - ouch!
The timber is only capable of showing a certain sized dot, and the black char grows a bit due to wood’s organic nature.
I find in the finest woods, 250 dpi is plenty, and sometimes even coarser is quite good, eg 150 dpi.
We do a lot of lazy susans in 16" dia, and from start to end is 48 minutes, covering most of the area. But that’s with a 100 watt CO2 system, cutting at about 260 mm/sec.
@Stewey I would love a 48 minute burn, but thats not gonna happen with a 3W laser. Would love to see some of your designs if you have ay to post. Maybe one day Ill upgrade to CO2.
Those Lazy.s look outstanding! But I noted you said 13 hours! WoW! I looked at the setting you put up, but didn’t see what you have your “Device” settings. Click the icon of the wrench and screw driver and see if your "Fast Whitespace Scan button is turned off. if it is, turn it on and set it to 4000-5000. this speed up the laser travers time when the laser scanning across non-firing dead space. You may have to play with the speed a bit. You want it moving quickly across the white space, but not so much that it starts to jerk the machine around. you may want to turn on your over scanning with this if you are not already using it.
Thanks. I did have FWS set, but at defaul of zero. I will play around with this a bit
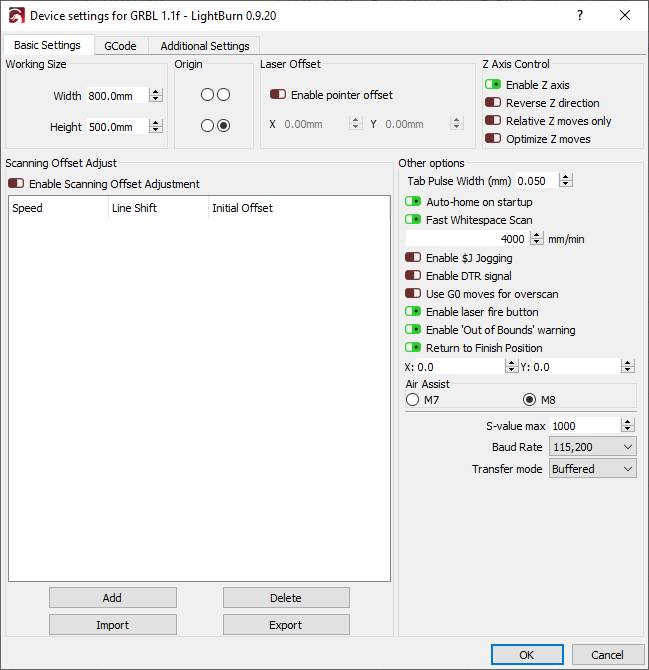
here is the settings page you mentioned
Yeah, I was having really long cut times with lightburn in the beginning. but having used other programs I knew there had to be a way to speed things up. took me awhile to find it. I;m sure it will cut the time down for you too, good luck!
13hrs??? I can do this on my little ShapeOko 3 in about 15 minutes each! Plus, I agree with others that you are over burning the dots by overlapping them too much. High res doesn’t always mean clean raster scan.
I’m more than willing to listen to suggestions on settings, you have all the settings that I’m currently working with if there’s something you think I need to adjust let me know