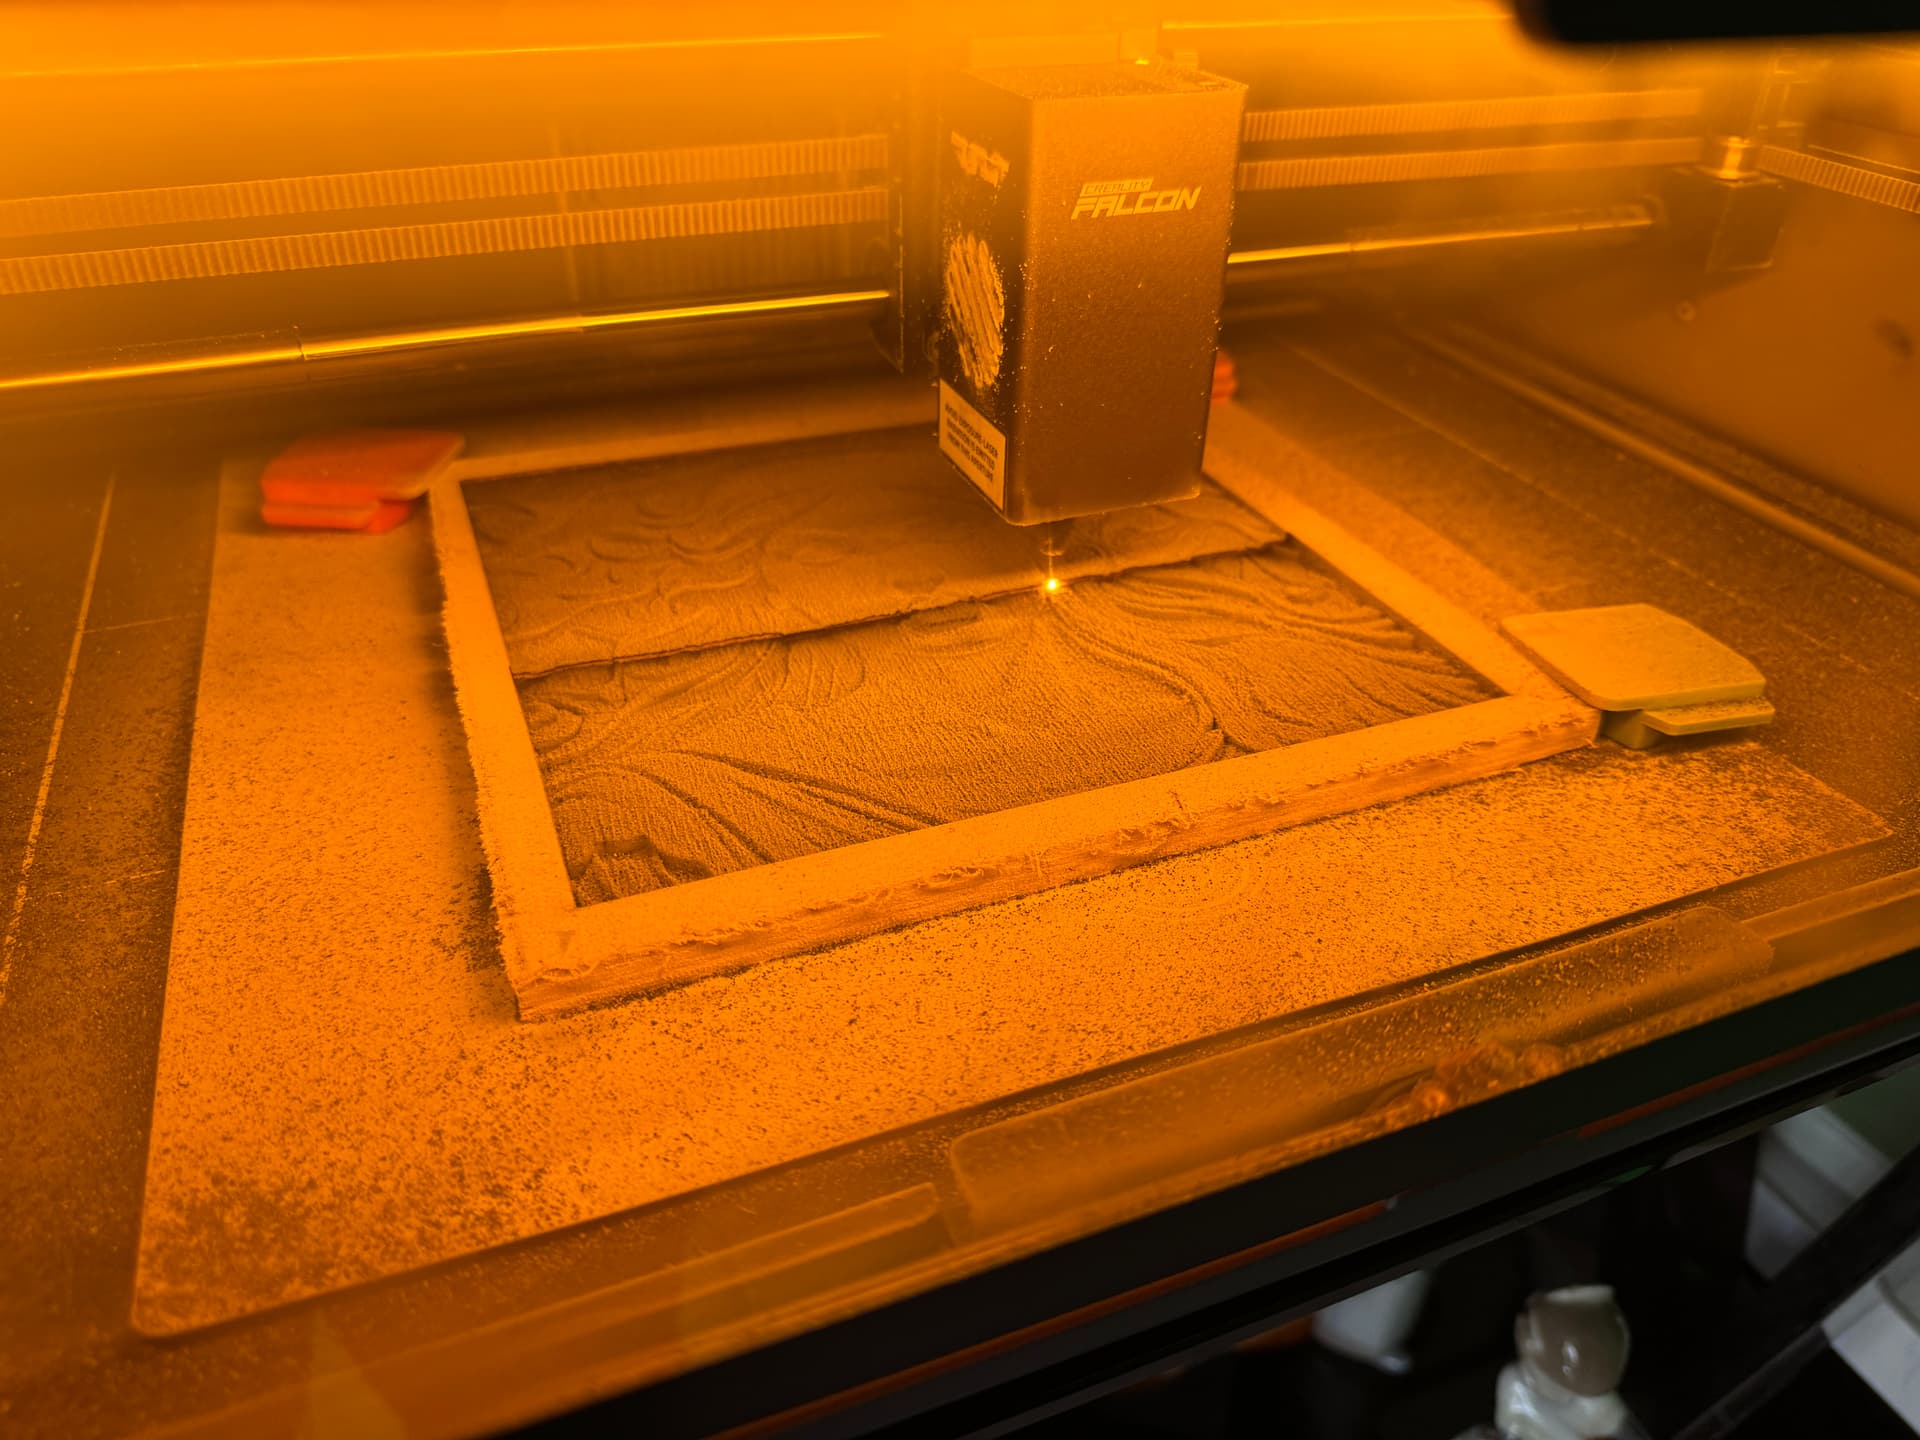
Has anyone experimented with the best settings to 3D deep emboss/engrave on pine wood. i.e. 1/4" pine. I’m testing the following settings: I had to adjust 20% more power because it seemed a little light.
Falcon A1 10w
Grayscale:
700 mm speed
250 dpi
20 min Pwr
45 max Pwr
3 Passes
Has anyone achieved good results with deep 3D embossed engraving? If so, what settings / material did you use?
Post your pics!! Show off your handy work!
I’ll post my results when it finishes in 23 hours.
There is nothing to stop you from attempting it, but a fiber laser takes material out and allows for a 3d type effect. Lightburn has an added option for fiber called 3dslice for doing this.
If you want to do depth, a co2 using grayscale option is intended for variable depth engraving.
It’s not included for regular led lasers as an led uses grayscale. Using grayscale creates very large data file. If every time it lases, it does so at a different power, then there will be lots of power data sent, that normally would not be needed.
How did you pick the power range of 20 - 45%?
Show us your results, we’d all like to see it. Also include the original, so we have some way to compare them.
After seeing numerous videos on YouTube. It’s a first attempt. According to the videos I saw, it’s possible to achieve with a 10w diode laser but not to the degree of a CO2. That’s why I was wondering if anyone tried. Also engraving a coin was other experiments I saw on YouTube
I havent done much of this with my 20w diode since I carbonised an image down to maybe 2mm..ish, it worked but it was rough, but if you get it at the right speed and dont obliterate the surface by passing the same spot too close or repeatedly ..a layer of paint might cover the burnt bits and get some result.
I think its worth the learning.
If I can find that piece I’ll take a pic and post it.
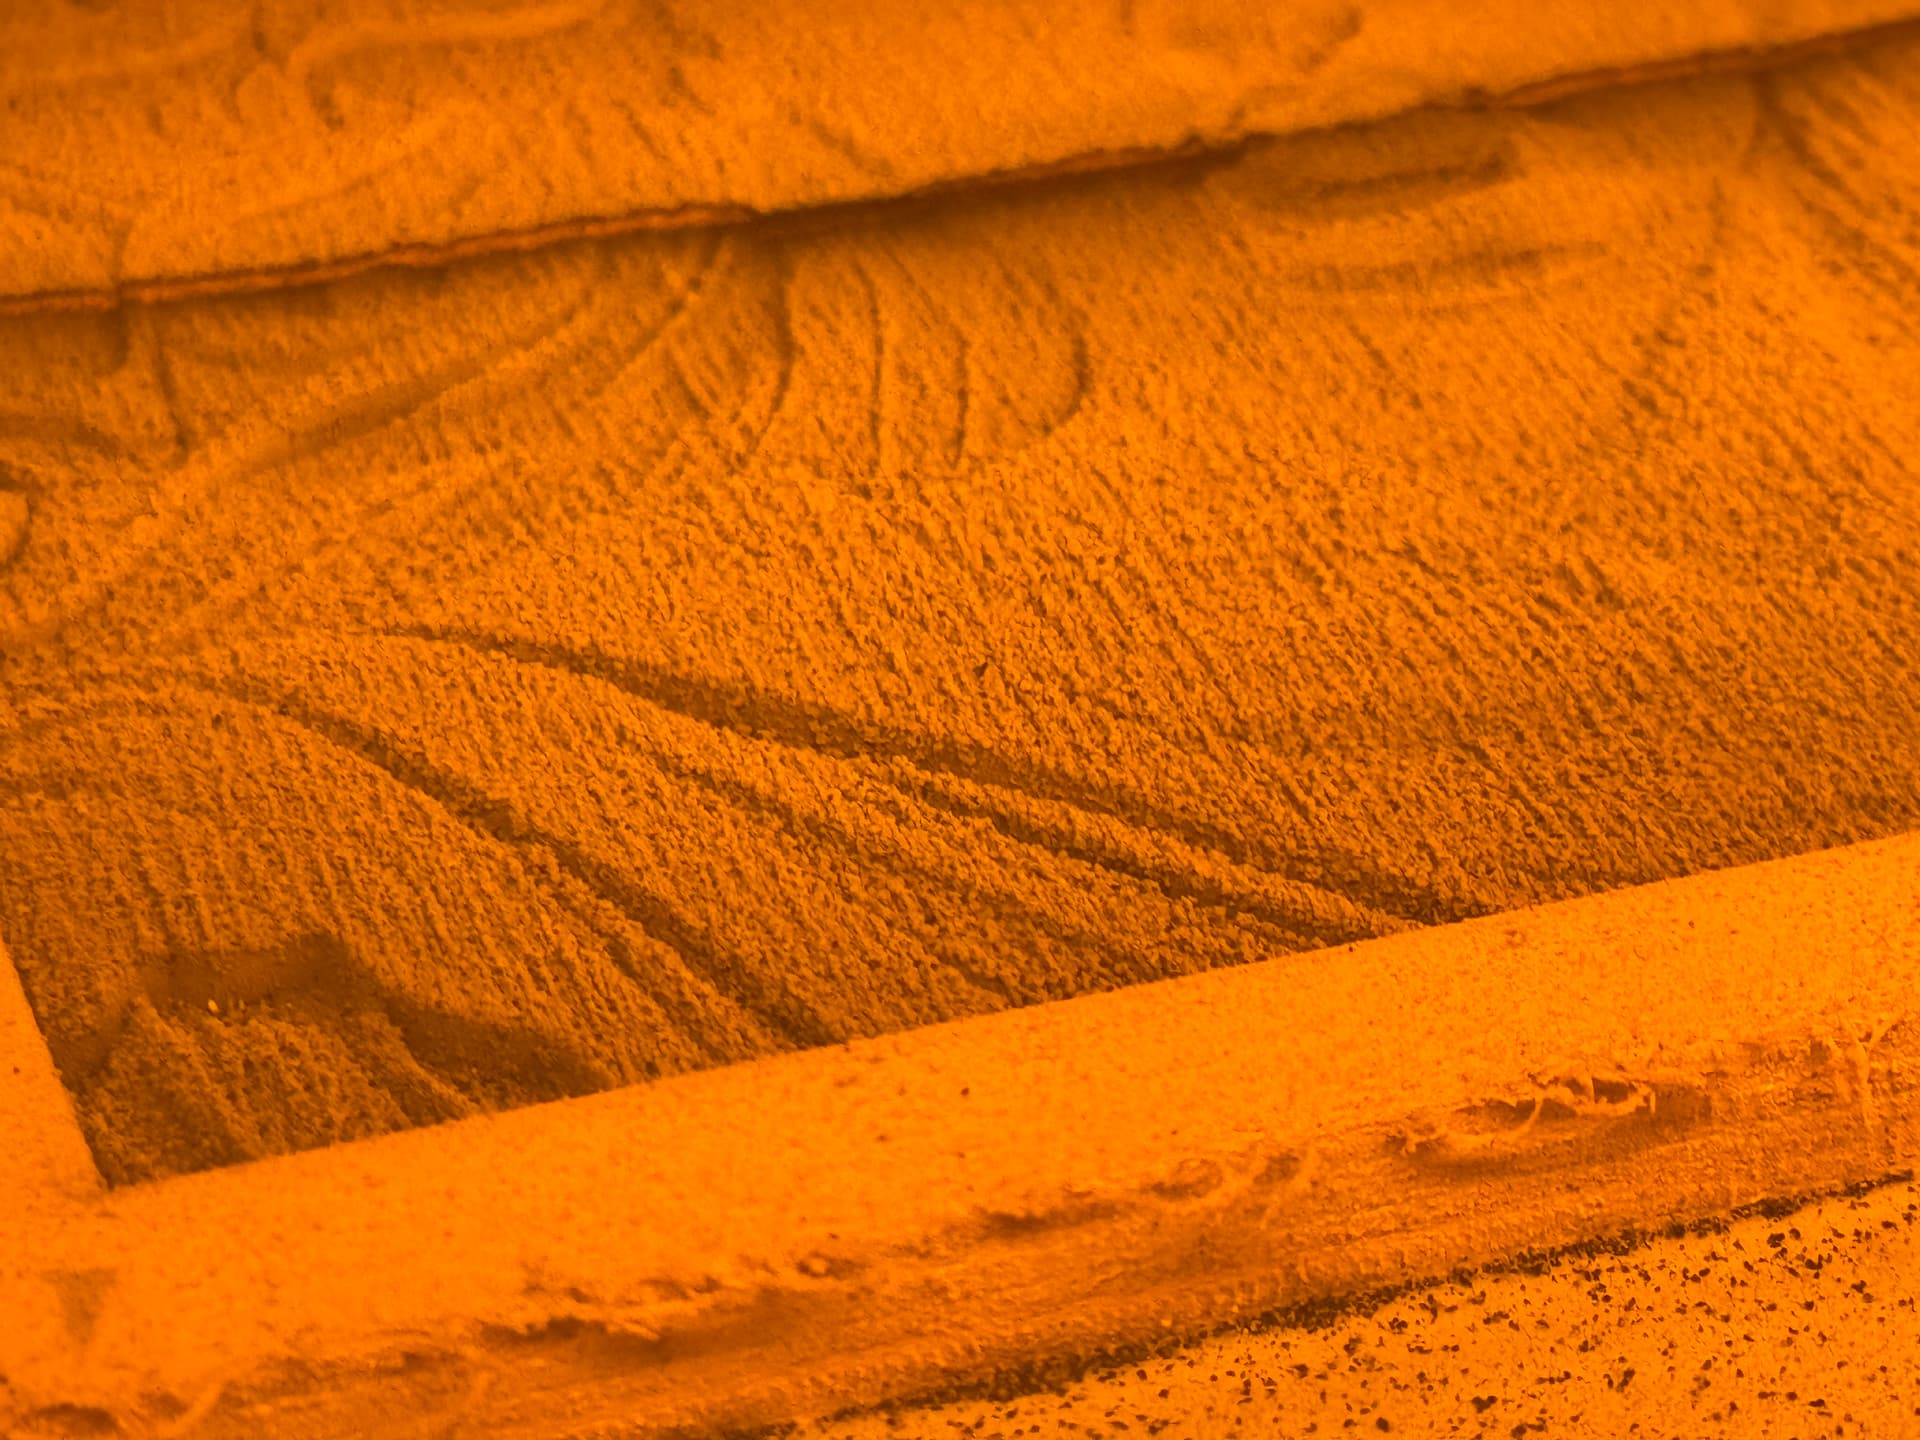
Big mess, but I can see that fine tuning the settings could achieve some acceptable results.
I would increase the power spread and slow it down to 400-500mm, 3 passes seem to be the right amount. this is a piece of 1/4" white pine repurposed from the side of a dresser drawer.
I’m going to have to clean up the A1 when it cools down.
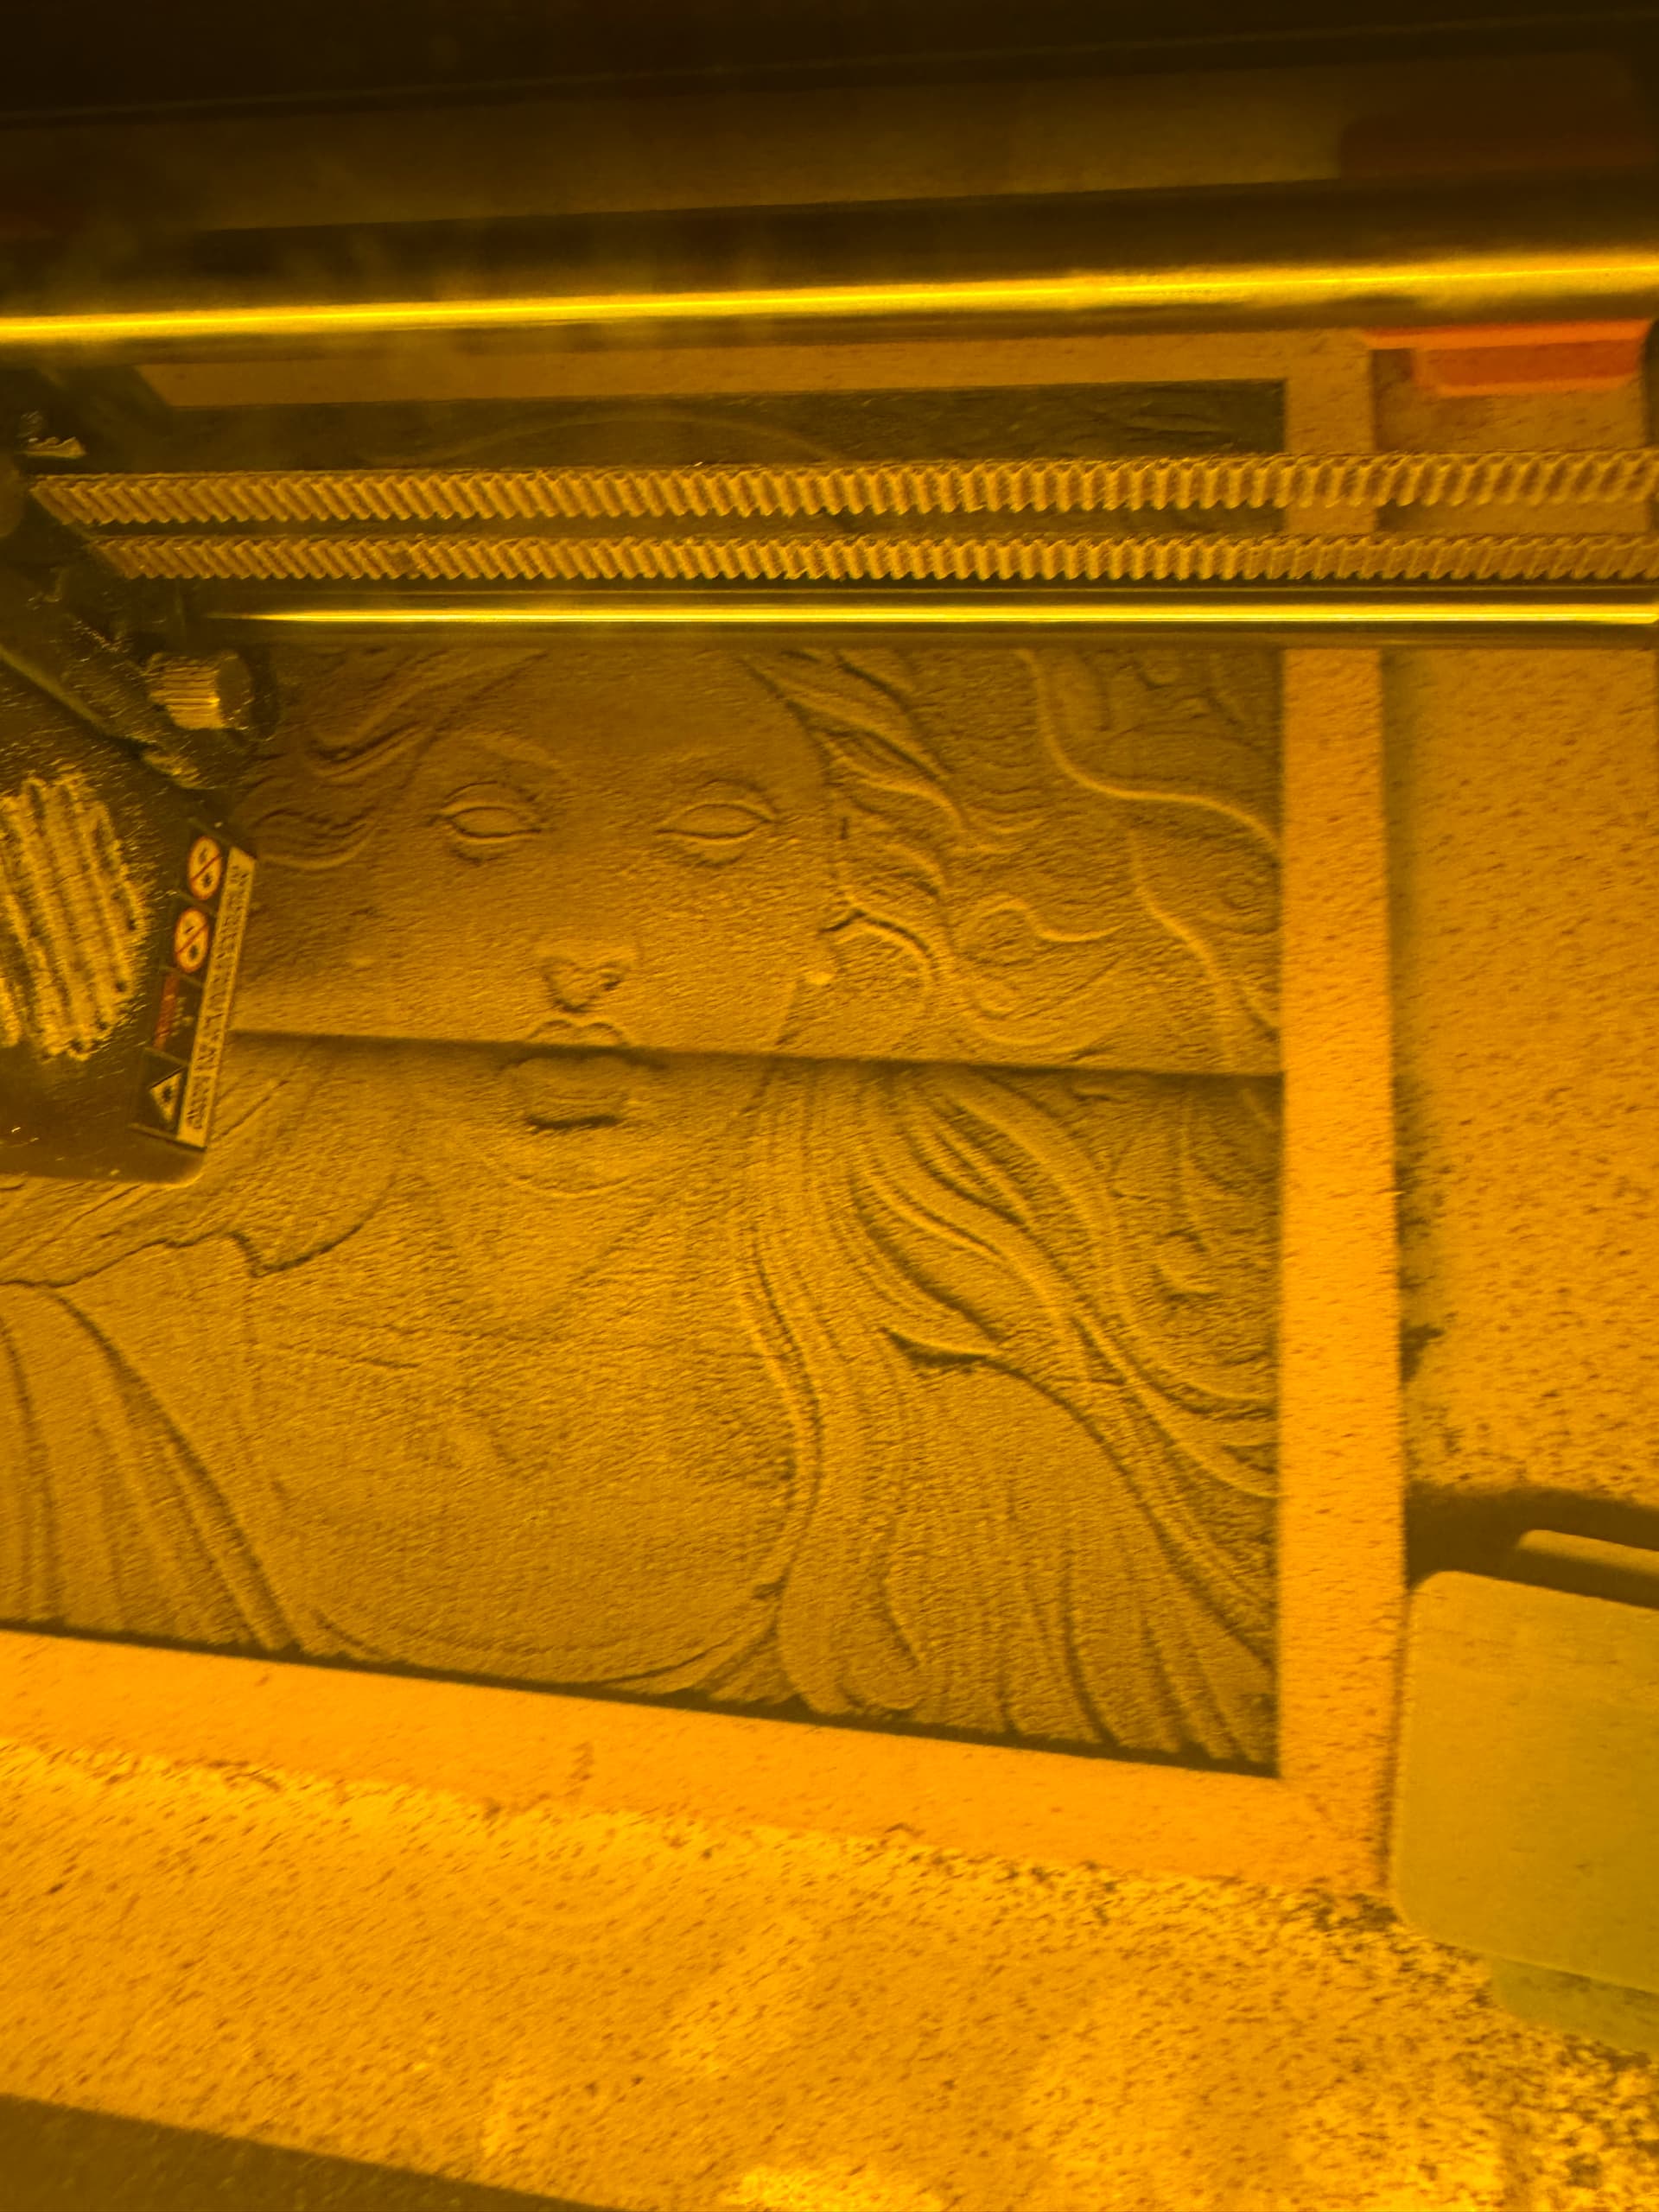
So far its 28 hrs & 37 Minutes and it’s still at 82% complete.
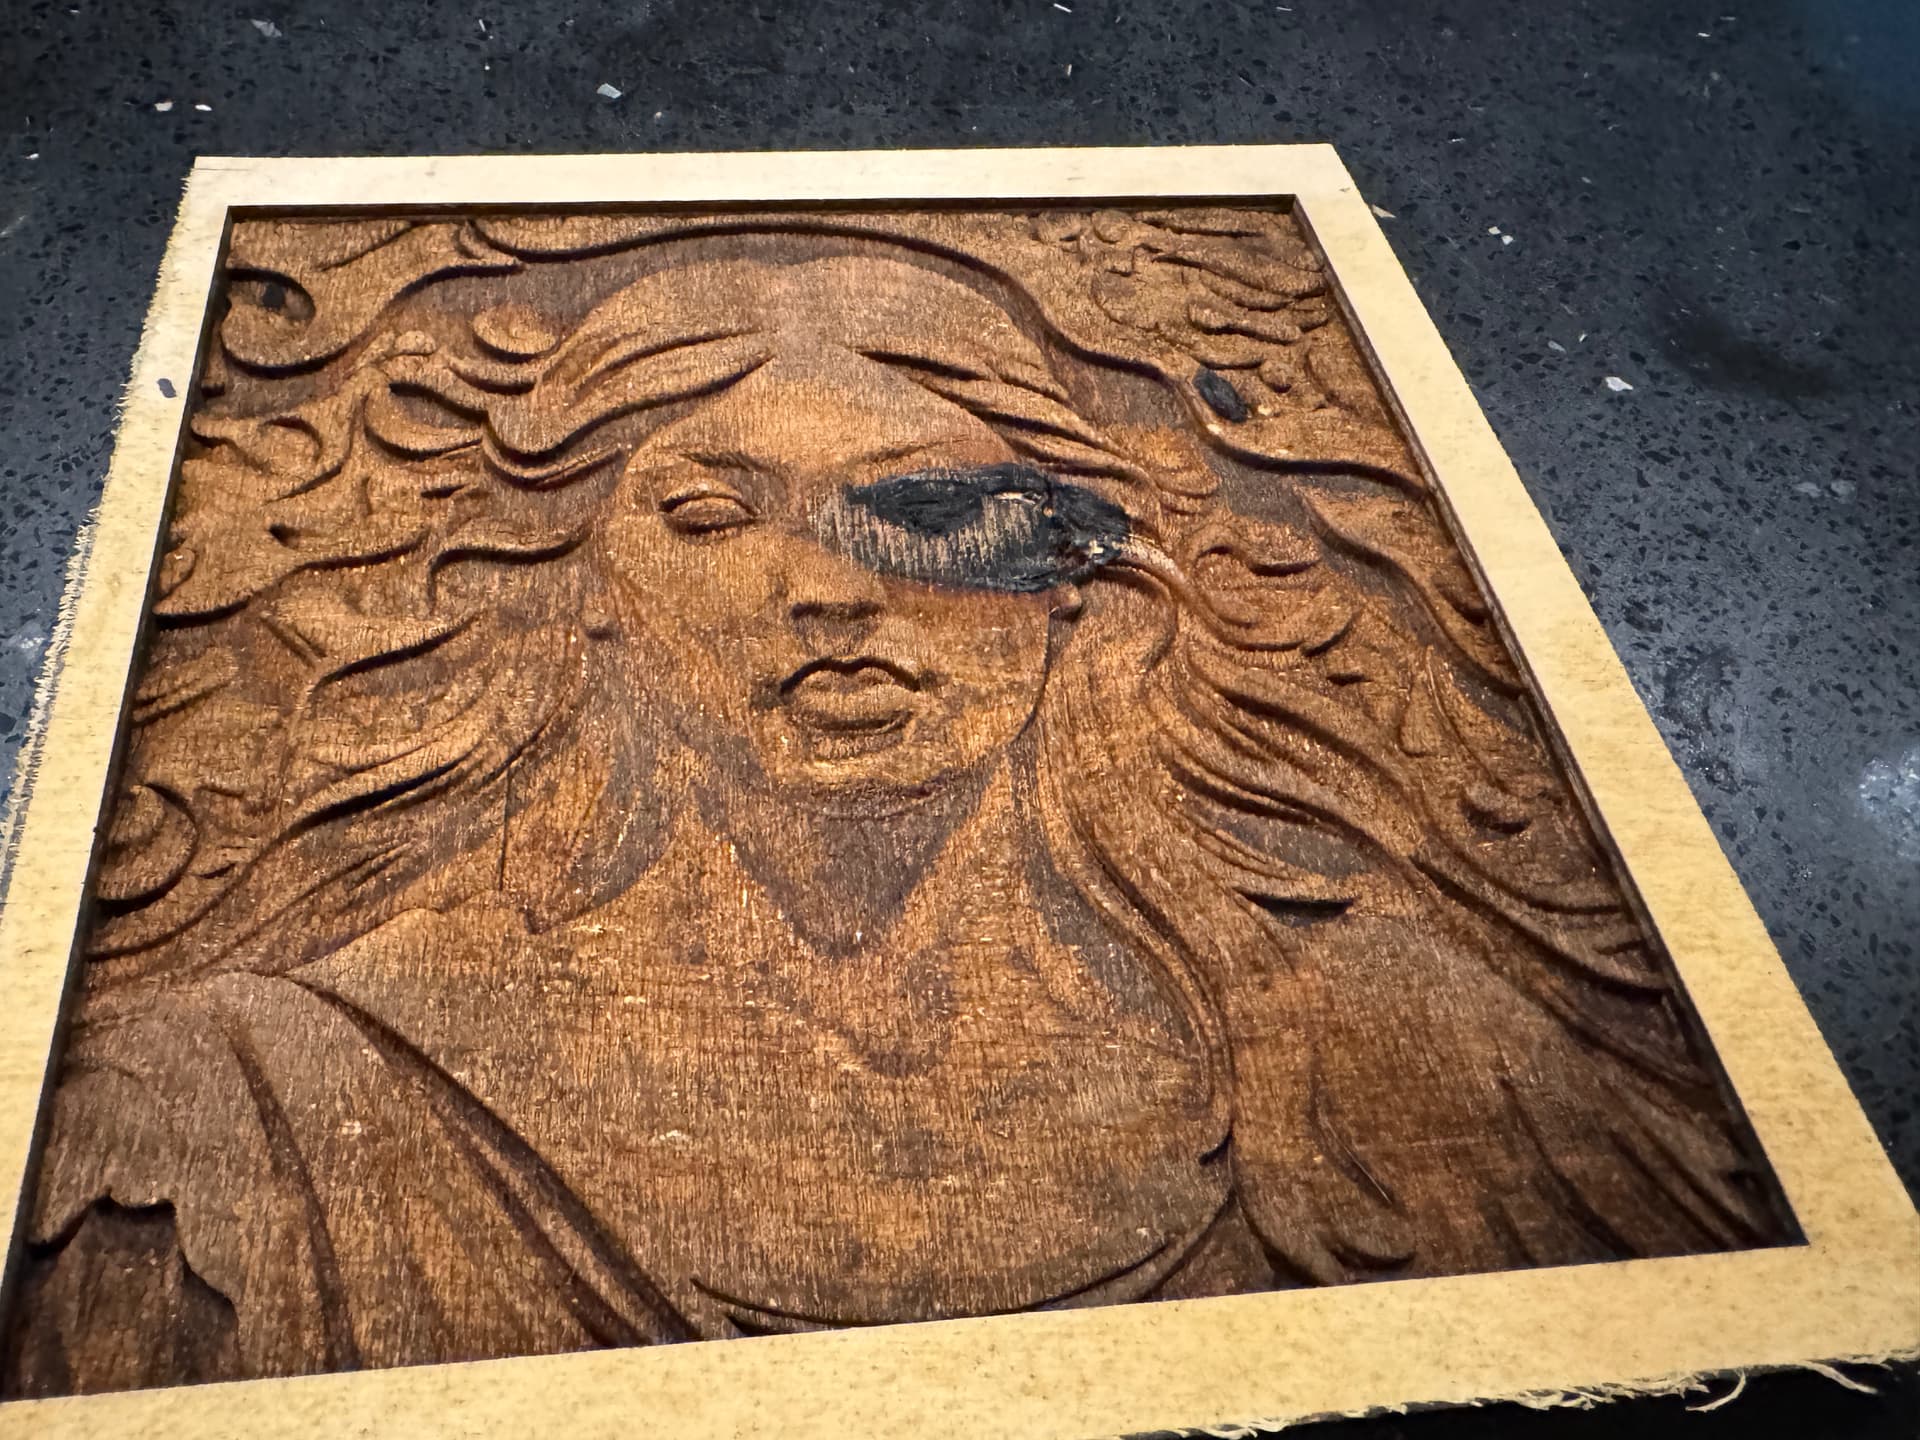
Finally finished and in the last layer, a knot was revealed. But as a test piece I think for a 10w diode the results are very positive. I’ll see when it dries how to possibly cover up the dark spot. Any recommendations are welcomed.