First:
I TAKE NO RESPONSIBILITY IN YOUR DECISION TO REDUCE THE SAFETY FEATURES OF YOUR MACHINE. ALWAYS make sure to use any class 4 laser in a safe manner and ensure any available protection is in place.
On my immediate first test run, I got annoyed with how low the shield rode above the workpiece. Any form of hold-down that might get close has to be very slimline. So I figured… I’d remove it!
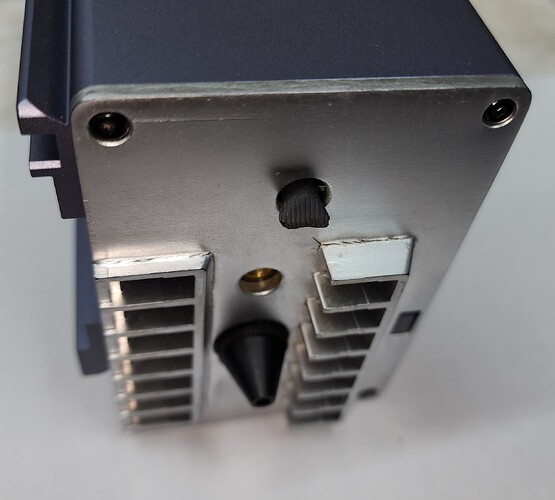
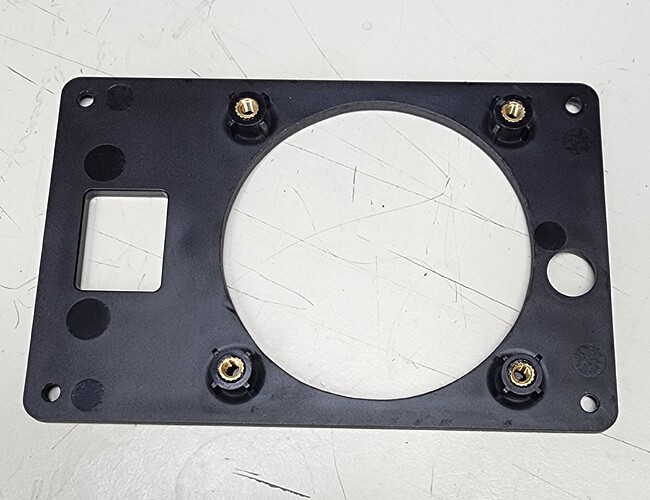
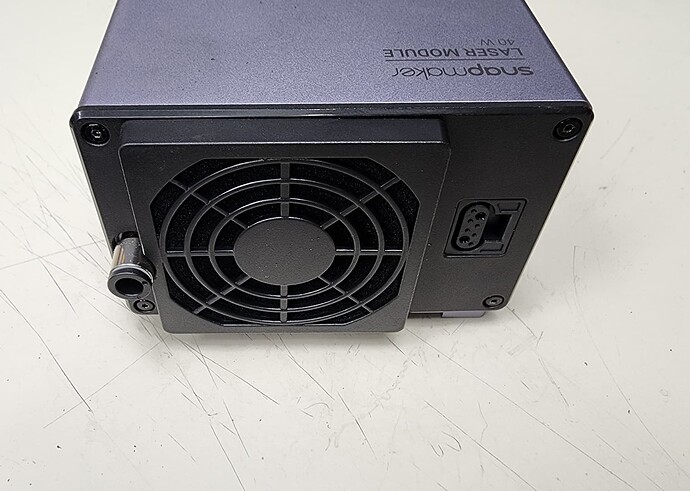
I took the shield off my 40W and modeled it up to remove it. My goal was to have more open access under the laser so it doesn’t ram into my hold downs, and to help smoke clear quicker from underneath the laser. After my first test, the orange shield was already fogged up with smoke particles.
I’ve also included models with a full surround opaque shield (making the lens area solid) and a replacement with the window, you’ll have to source 80x15x1mm acrylic yourself, or salvage from your broken old one.
A bonus I found was the fact it gives me 8mm of clearance between the cone and material, so ~5mm of safe Z travel for cutting.
Reduce safety, increase capability…
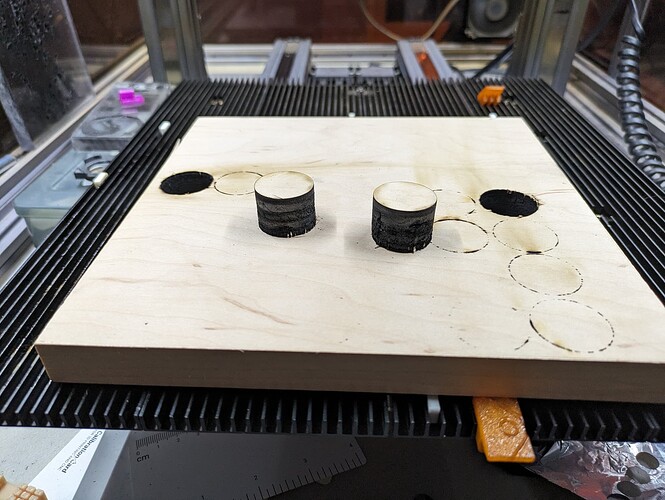
18mm plywood.
Again, reminder, removing safety equipment is never a good thing to do unless you ABSOLUTELY know what you’re doing.
I started with the base in Luban of cutting 10mm basswood. 1 pass, 220mm/min. Works well for 12mm maple plywood.
Knowing I had 5mm of travel, and knowing I’d need multiple passes I sped it up a little and began trying a combo of pass/z-drop/speed. Ended with 5 passes, 1mm drop between each.


