I received the laser a week ago and built a 8020 enclosure for it and have a fiber laser window on the way. Test panels and rotary on the way and time to start getting ready to fire it. I tried to upgrade my LB lic but they refunded it immediately saying I already had Pro- I was an early adopter so maybe we were accepted as full members after the different lic classes were established? I was a very early RDworkslab forum member and remember the LB founder talking about developing LB- I gave him little chance [in my mind] of success but am delighted to be very wrong. I have not opened RDworks in many years and could not be happier about it.
Anyway, I am aged and looking for any shortcuts possible so I can enjoy this new laser which is along side my original 1300 x 900 laser. A gent on estsy has files for many wattages and materials of fiber lasers for $20 which seems like a no brainer to get me up and running in the time I have left on earth. Any thoughts or questions?
Thanks GeneMpls
It’s not a comprehensive set of settings, but I did like having Laser Everything’s free settings starter pack to at least have some references to look at.
I most often just go in completely different directions with lots of material tests (since things like “these landscaping rocks from Lowe’s” aren’t in many stock libraries), but I used one of their example settings, tweaked slightly, just this morning to do a test engrave on a stainless steel Contigo travel mug.
(I was seeing whether my F420/300x300mm lens would have enough depth of focus to get substantially uniform engraving in spite of the significant distance variation due to the compound curve of the travel mug. The answer was a definitive yes.)
It’s always nice to have a range of materials and images. If you hunt around for free images these are also around and available.
Once you get moving, you’ll probably pick up something and try to lase it… Laser everything has a list of videos and other information. They have software to convert the settings from the 30W machine to your machine (actually any wattage). Not perfect, but I used it with my 60W JPT MOPA M7.
Although the basics of a laser, I’m sure you have down, however a co2 is a continuous wave (cw) type laser. You can set it for 50% power and it will run at 50% power, most other led lasers are digital and operated at 100% power for whatever the on pwm period is.
Fiber and other lasers in the frequency range are pulse lasers, with a MOPA giving you more adjustments to control operation such as number of pulses/mm (frequency) and the actual pulse width (q-pulse).
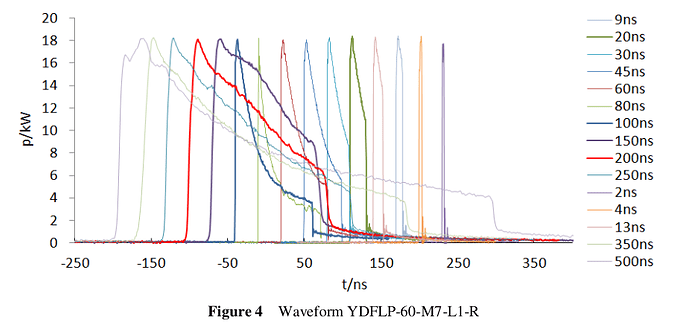
My fiber can produce 18kW pulses, which is why they are effective on most man made materials and work poorly with natural materials. If you hunt around you can find JPT or Raycus sources producing very high power (>1.5kW) at these frequencies for rust removal and they don’t wear any eye protection. I always wear the supplied goggles, but I still wonder…
You didn’t mention what lens you are getting with the machine?
Although there is no change in source output, a shorter lens will appear a more powerful. This is because my F420mm has as spot size of about 50 microns (0.050mm) a depth of focus (dof) of just over 13mm… Compare with my F100mm spot size of 16 microns and dof of <1mm.
Same power, smaller spot appears as an increase of power…
I hope you enjoy your new machine, I’ve enjoyed mine.
Have fun
![]()
Nice machine! I’m envious. Lasertips.org has a ton of settings and is always adding more, free. A lot of them you will have to convert lens/power to your more powerful laser, you will get the hang of that. Laser Master Academy has a great library that can be downloaded and imported into LB, no paywall. Lots of fiber laser conversation. Ask questions and as mentioned above, have fun!
[I am back… this is an active forum- that is encouraging. It is hard to find a forum with helpful peeps and something going on. I was on the RDworks forum which a gent from UK is trying to resurrect but it is not going well.
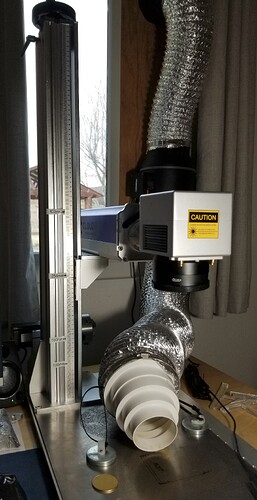
I haven’t even tried to fire my fiber yet- have been building a enclosure as it sits in an active sign/graphics shop and googles are not going to cut it. I have most of it built and am finishing up the details like air assist and exhaust and accordion seals around the laser path [I think that is the terminology?]] where it sticks out of the box. I have 6 inch ducting from my CO2 laser and a air comp next to it so that should not be too bad. Can I get by with a 2.5 inch exhaust? There are not any fumes or smoke like the CO2 are there? Also the air assist will not be doing much I would not think? I want air to blow the machine off in any case. Here is a pict of my progress so far. Gene]
(Fiber laser enclosure 12.24.jpg - Google Drive)
I am hoping this link works- never tried this before,
Yes and it needs to be vented outside. Even leaves a trail of metal debris when I do coins. I have a 6" AC Infinity on mine. I wish I’d gone bigger, it still doesn’t evacuate the stink out of the air in my work room. I think anything that heats stuff up enough to vaporize or melt, leaves debris.
The ventilation fan is behind the galvo head, but I think you can figure it out.
The link does work, very nice looking cabinet…
![]()
Thank you Sir- I have a powerful two inline fan setup going thru the wall for the CO2 as we cut a lot of plastics [like styrene for construction stencils] which can really smoke and stink. The fiber will be closer to the wall and can have it’s own fan- I was thinking a 4 inch path. I am constantly revising and trying new setups, so nothing is permanent. Shop is closed thru Xmas week so I hope to finish the enclosure and can detail that further if there is interest.
Some progress on enclosure- altho I have spent several hours making a 3D printed splint for the fingertip I ‘almost’ chopped off last week, I’ll try another picture- Gene, not sure what I am doing differently today, I have long covid and memory and brain issues
Unless you have some engineering behind it, I’d run only one fan, The second fan will act as drag on the faster fan. Even same fans are not the same.
Like a plane that feathers it’s prop when that engine fails or a helicopter that can auto gyrate without engine power. It produces known drag.
![]()
I am a wannabe engineer- went two years to Tech school for electronics and computers [and programming], now I regret not going to a real school for engineering. Funny after 78 years you can see more clearly, I had one fan at the wall and then read that the fan should be pushing from the source instead of pulling about 10 feet. Finally bought a cheap airflow meter and the old fan helps a bit but most of the flow is from the laser mounted fan. I probably will try tapping in just before the wall fan temporarily - I will replumb it if necessary. Really want to try this new toy, yaknow?
I am making progress [slowly] with my new toy- making 4x4 inch alum material tests with a lot of different perimeters and learning which affects what. I am also learning how the enclosure complicates operation of the laser. For instance- very hard to adjust [manually] the focus in flight. I started designing a power drive but now I am leaning toward a timing belt/pulley to move the ‘crank’ toward the front of the cabinet- if that doesn’t work I can add a DC motor pretty easily at that point. Any thoughts appreciated… Gene
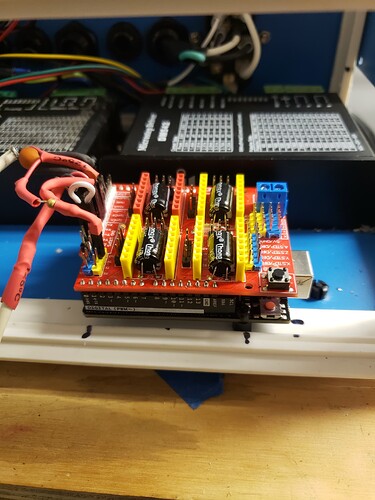
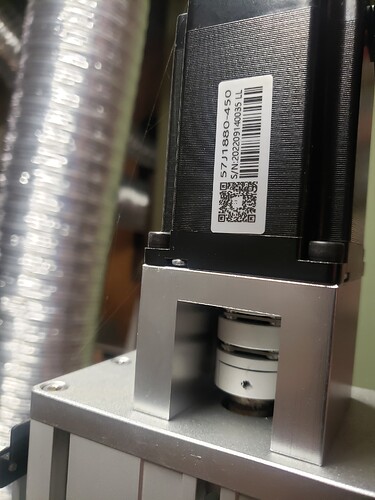
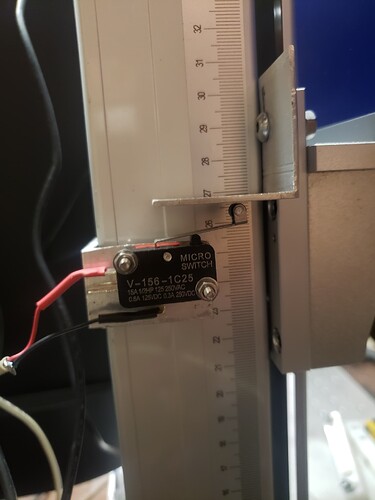
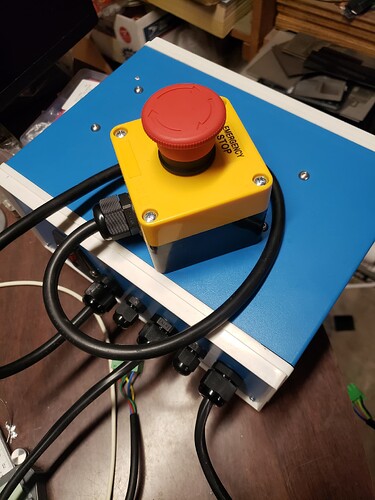
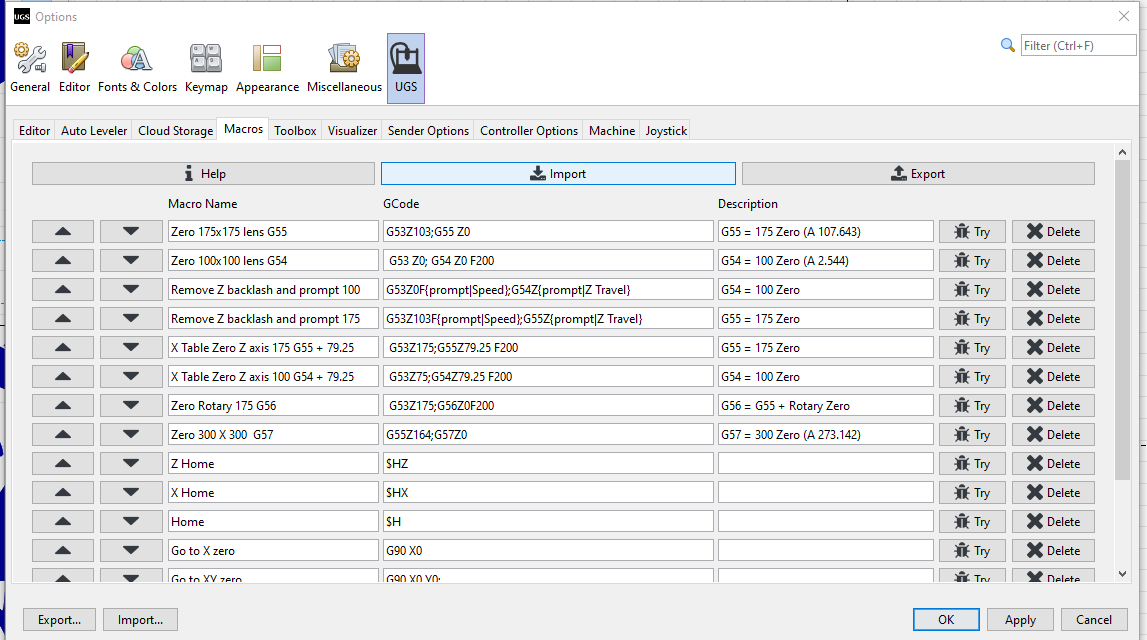
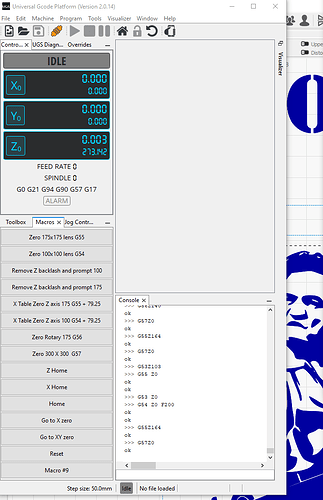
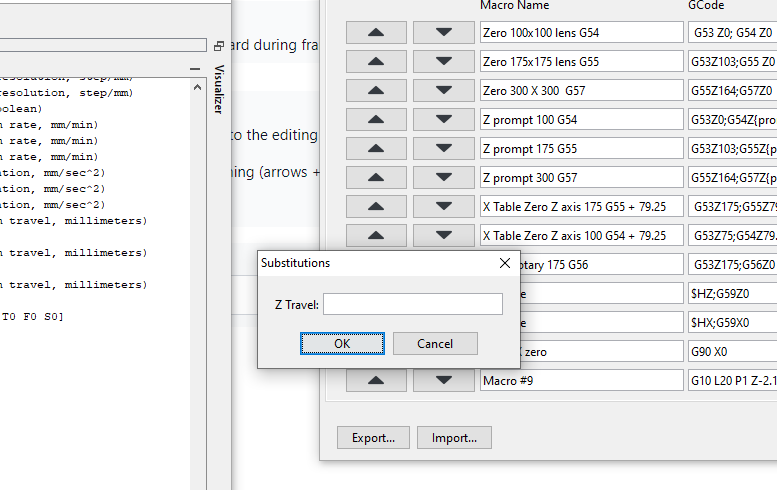
I went through the options, settled on a stepper mounted on top, an Uno and Universal G-Code sender. UGS is great for storing/ running macros for the 3 lenses. Put two micrstep drivers in the project bx, run my X table if I like as well.
Holy complicated. I admire your efforts and I am sure they were enjoyable? It appears to be a prefab motor system which comes with an up/down switch- I have plans to make my own system and will be manually operated initially and easily converted to a small DC motor. Thanks for the input tho, Gene
It would be complicated to do all at once, especially if there wasn’t this thing called the internet.
I did build up to it. Started with a DRO, added the stepper motor and the up/down switch. Then switched that to the CNC, leaving the DRO scale on it for double check.
The accuracy and speed of the CNC is nice, measure thickness, input and done. Want to add defocus, bang. Don’t have to watch, bump, check height, repeat. I have a DC motor up/down on my DRO bench mill, hate it. Need to hold the switch until position is arrived at, very loud and slow. No way to home. Be converting that to stepper / CNC/ USG one of these days.
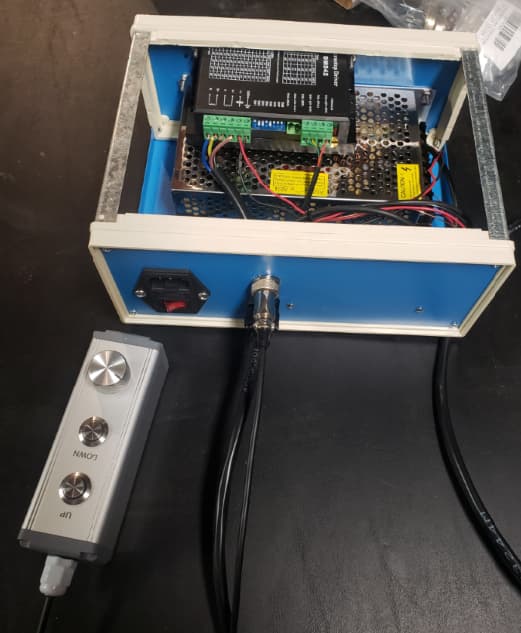
Simple microstep driver Up/Down/Speed configuration
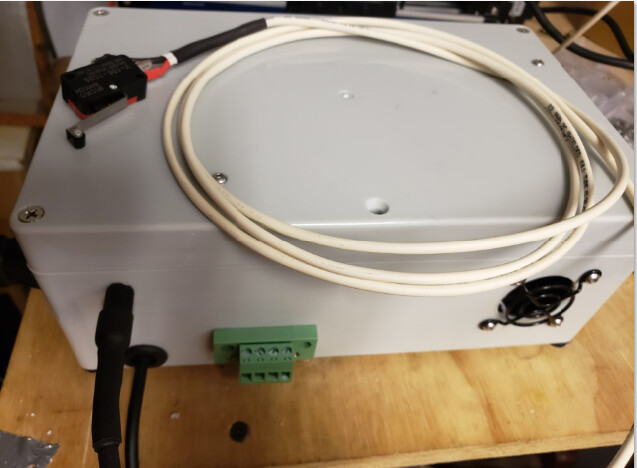
Single axis CNC controller I built for another project. Getting better at it.
Color me impressed. I took a year of programing in 1967 [Bitran] but my Brainfog symptoms keep me fairly shallow now days- some good days, more bad days, but I still enjoy myself, fortunately. I ordered timing belt and pulleys, etc to start my system. Gene
