That 36w unit is a pretty attractive package for the $1K price!
Knock me over with a feather! ![]()
They claim, somewhat inconsistently, “Electric Power: 220W” for the machine and “Output Voltage: DC24V, 5A” for the power brick.
It’s not obvious what fraction of the current goes to the laser, but JST SM connectors seem under-qualified for the job.
Yeah, this seems to be the norm for a lot of them.
1 Like
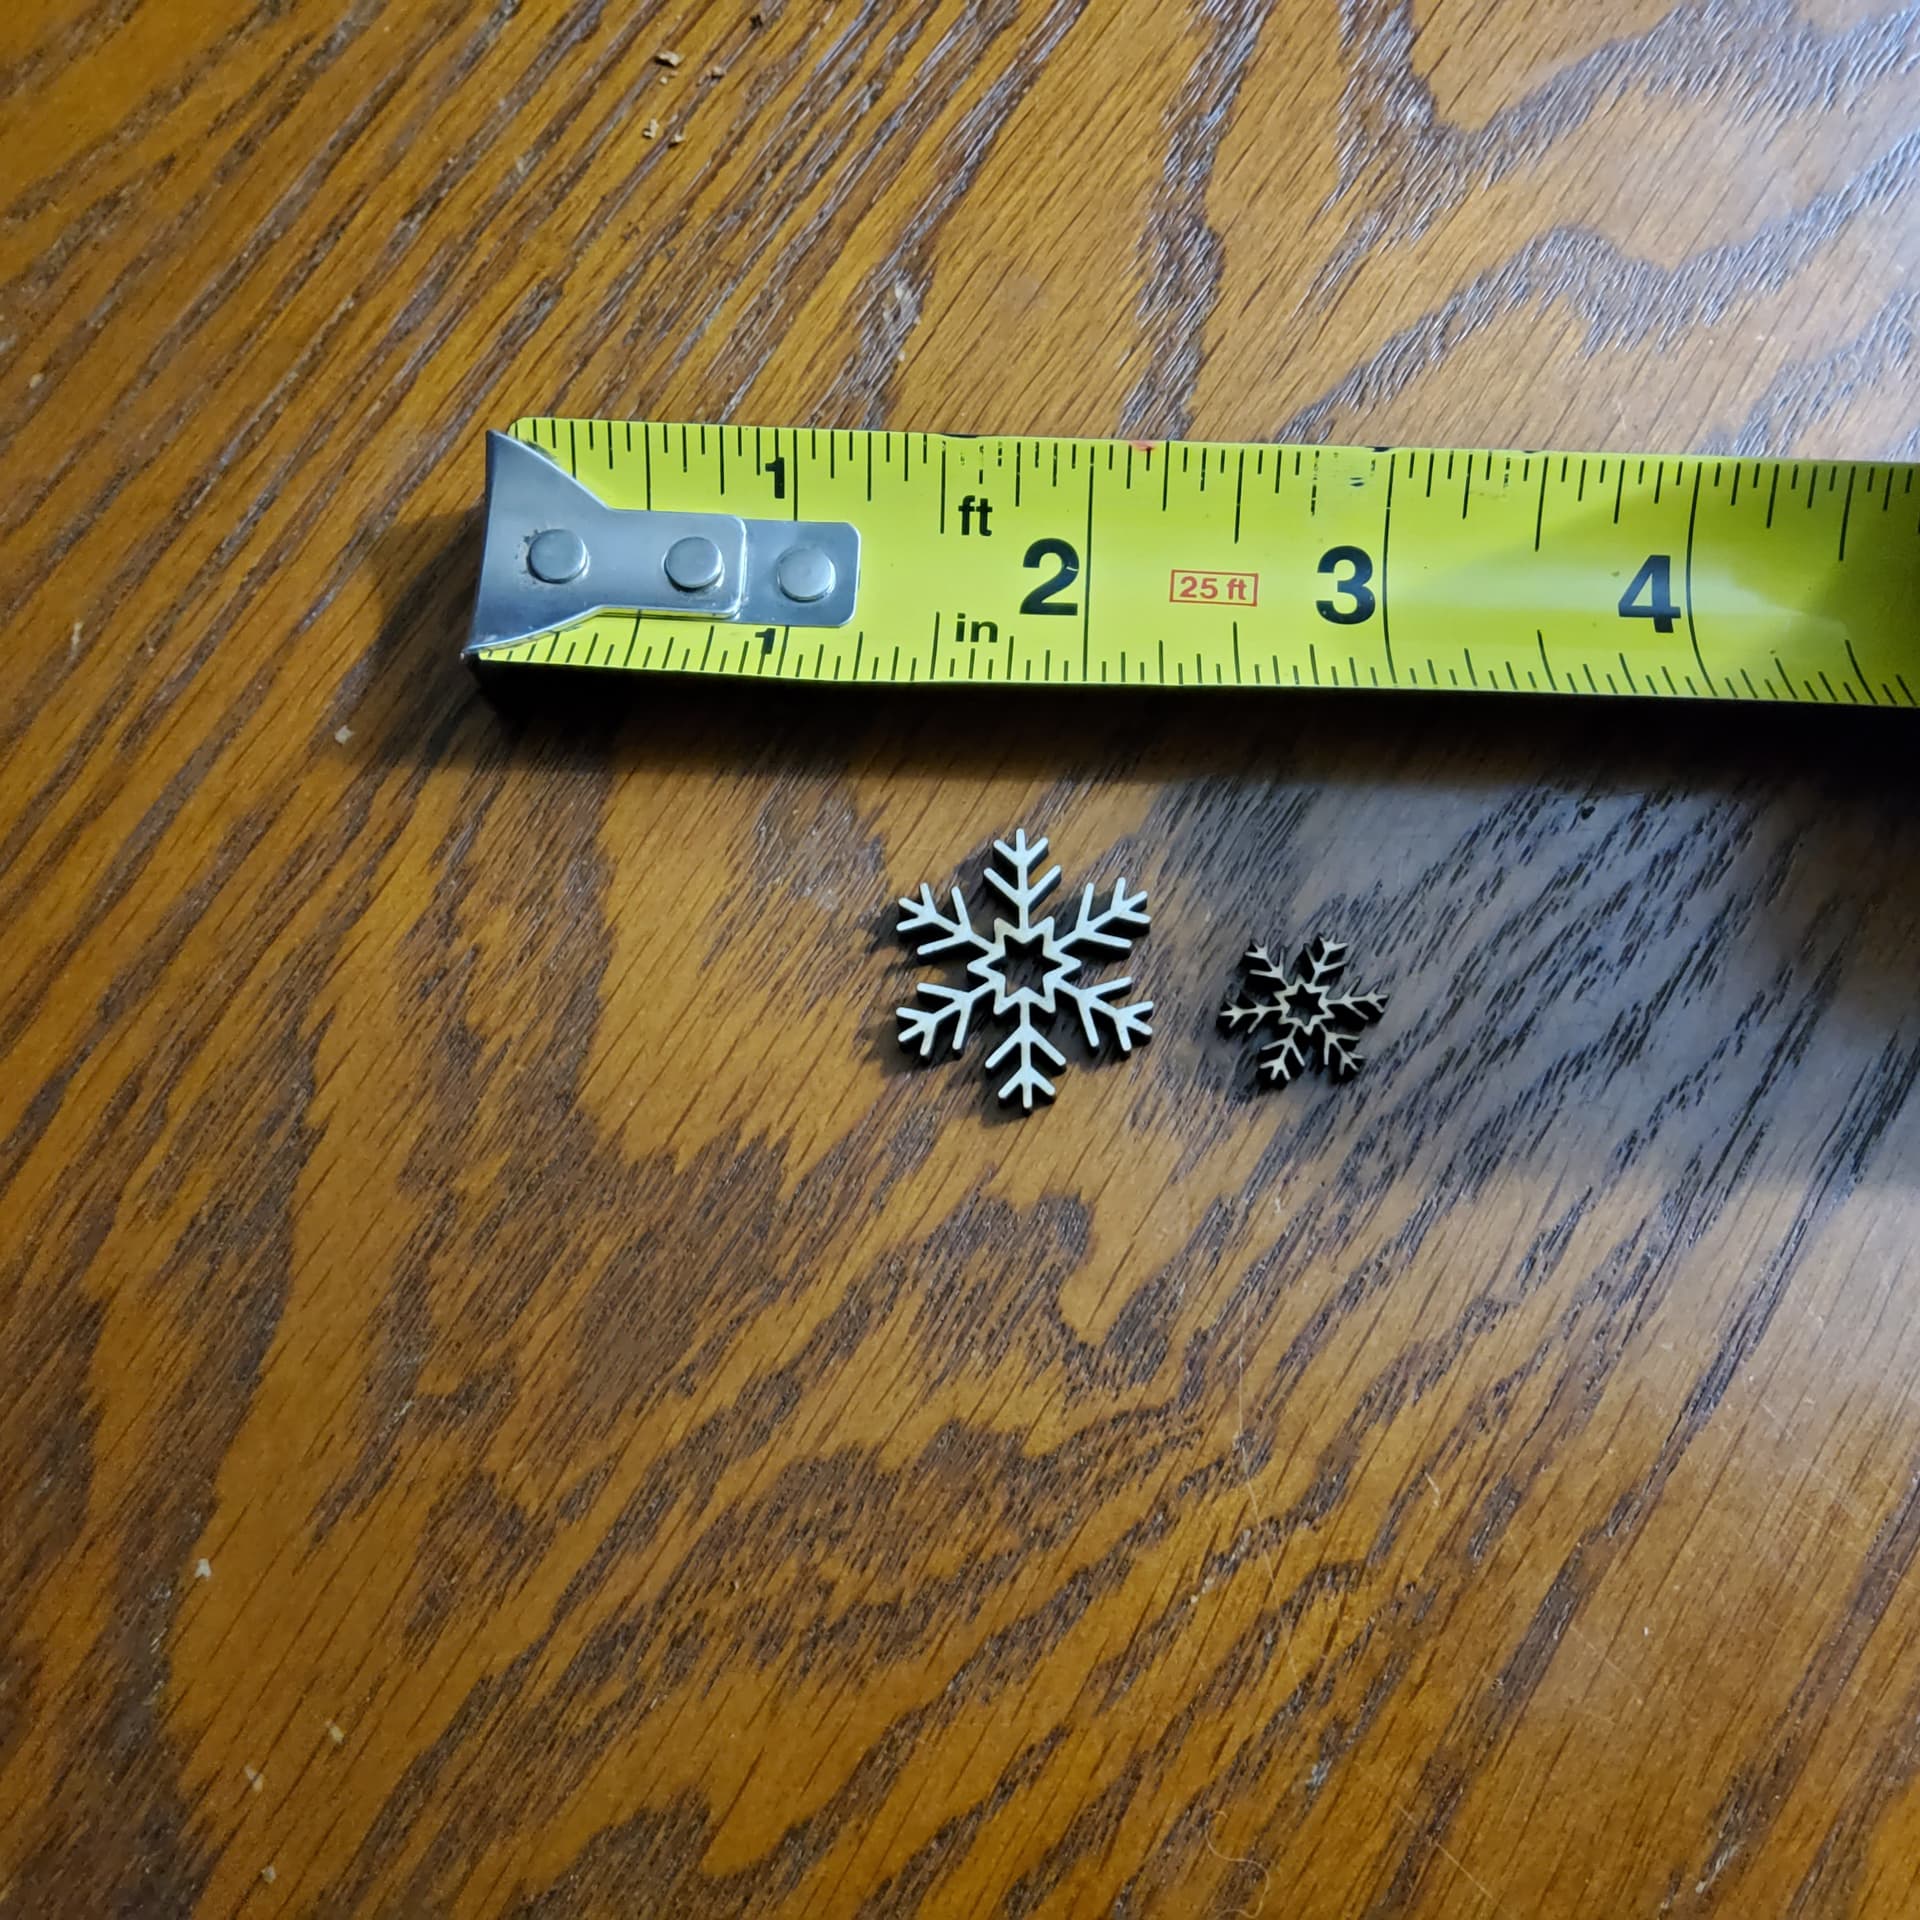
I know nothing about the connectors used or even what they claim they are. I can guess, without actually measuring them that the wires are most likely 24 gauge? Not sure…real small, real breakable. It seems unlikely to me, although I guess possible, they are not carrying anywhere near 2 amps. I have 5 wires connected to the laser itself, 4 wires connected just for the targeting crosshairs on a seperate connector. My isssue was having to pull the connectors apart quite often, in order to remove the module to clean, would result in a breakage sooner rather than later. Sorry if I didn’t explain that well enough. After doing quite a bit of more research, the issue is really with my exhuast fan just not able to remove the smoke fast enough to prevent residual resin and debris accumulating on the cone.Thank you for your responses. I do appreciate any and all comments.
There are quite a few confirmed issues with these Ikier machines, not the least being an incredible lack of support. I randomly have negative movements after homing and using the Lightburn ‘map’ button. Also the autofocus is terrible. I always have to home, move laser (via lightburn move screen) to autofocus…two times autofocus. The first will just take it to the top of the limit switch on the z axis. After doing that and repositioning for the burn, when I start the job, 50% of the time, I will get a laser busy message. This requires a restart of both Lightburn and the laser. Rinse, Repeat. 2nd time usually works fine. It’s not exactly quicker than a manual focus. However, when it works…it’s pretty amazing even using the 48 watt setting as far as detail.
1 Like
Last time I looked at Nichia 7W TO3 laser diodes, I wanna say they dissipated 7W as heat and consumed about 14W total. I think the 6W version was slightly less efficient, or about the same power and heat as the 7W. That puts the 48W laser module input at well over 112W (4.7A@24v) if you include the fan, blinky lights, and driver (I believe it’s housed in the head)…and omit the stepper and pointer laser.
They probably assume max current as transient with some unrealistic low duty cycle and/or run connector/wires in parallel to get the system to pass regulation (he laughed under his breath).
I have a FLIR… I should probably have a look at mine to see how warm things get after a typical burn. Maybe I’ll do that this weekend. I’ve got a couple relatively lengthy engrave-then-cut jobs to do. About 90min total, per execution.
I try not to run mine higher than 85% power and never noticed anything getting more than “barely warm”.
The voltage drop along the entire wiring path depends on the length, so it’s faintly possible such thin wires would be adequate. Wikipedia suggests 100-ish mΩ/m, which means the whole loop might drop a fraction of a volt or so. Maybe that’s good enough.
Using enough copper seems optional:
Heck, just using copper is optional:
A thread here a while ago involved rewiring a diode laser head with known-good larger diameter wires, whereupon all the weird laser control problems Went Away™.
If the thing is out of whatever warranty you might think is has, I’d say improving the wiring any way you can would not be wasted effort.
Given all the flexing required along the way, silicone insulation should last longer than PVC. I’ve had good results with this stuff from Amazon:
Measuring the actual current would be enlightening and provide some guide toward the proper wire gauge.
[quote=“ednisley, post:26, topic:113242”]
If the thing is out of whatever warranty you might think is has, I’d say improving the wiring any way you can would not be wasted effort.
/quote]
ThIs is still under warranty, but this is just how they sell the machines. It isn’t violating their advertised specs, so I am sure this is on me. It is interesting to see that proper wires could correct these random and weird issues. I’m not ready for a CO2 laser yet, but it may come to that for more of a production machine. Thank you for your response and the links.
I have an ikea pro max also and I have had endless issues with it. The general QA and engineering is very poor. My air assist gets a significant amount of tar build up inside the pipe that the rubber hose connects to. I have resorted to dismantling it off the black circular cover and immersing it in boiling water. This melts the tar away and saves a lot of hassle. Once I’ve done that, role a small amount of tissue up, tightly enough to screw it into the pipe that gets bunged up that the rubber hose connects to. I soak it in alcohol first and keep repeating until there’s very little tar left. The design of the pro max laser is garbage. The cooling fan at the top of the laser module draws in the smoke that the laser creates. I emailed ikea for a maintenance guild and they sent me a couple of BS marketing videos. In one, it suggests that you get to the cooling fan and clean the fan blades. I was shocked by how much tar had built up on the blades and how much soot was building up inside and coating the heat sinks which of course you cannot get at properly to clean. I am blown away by how badly the pro max laser module has been poorly designed and built. And your spot on with the poor flimsy cabling , especially with frequency you have to pull them off.
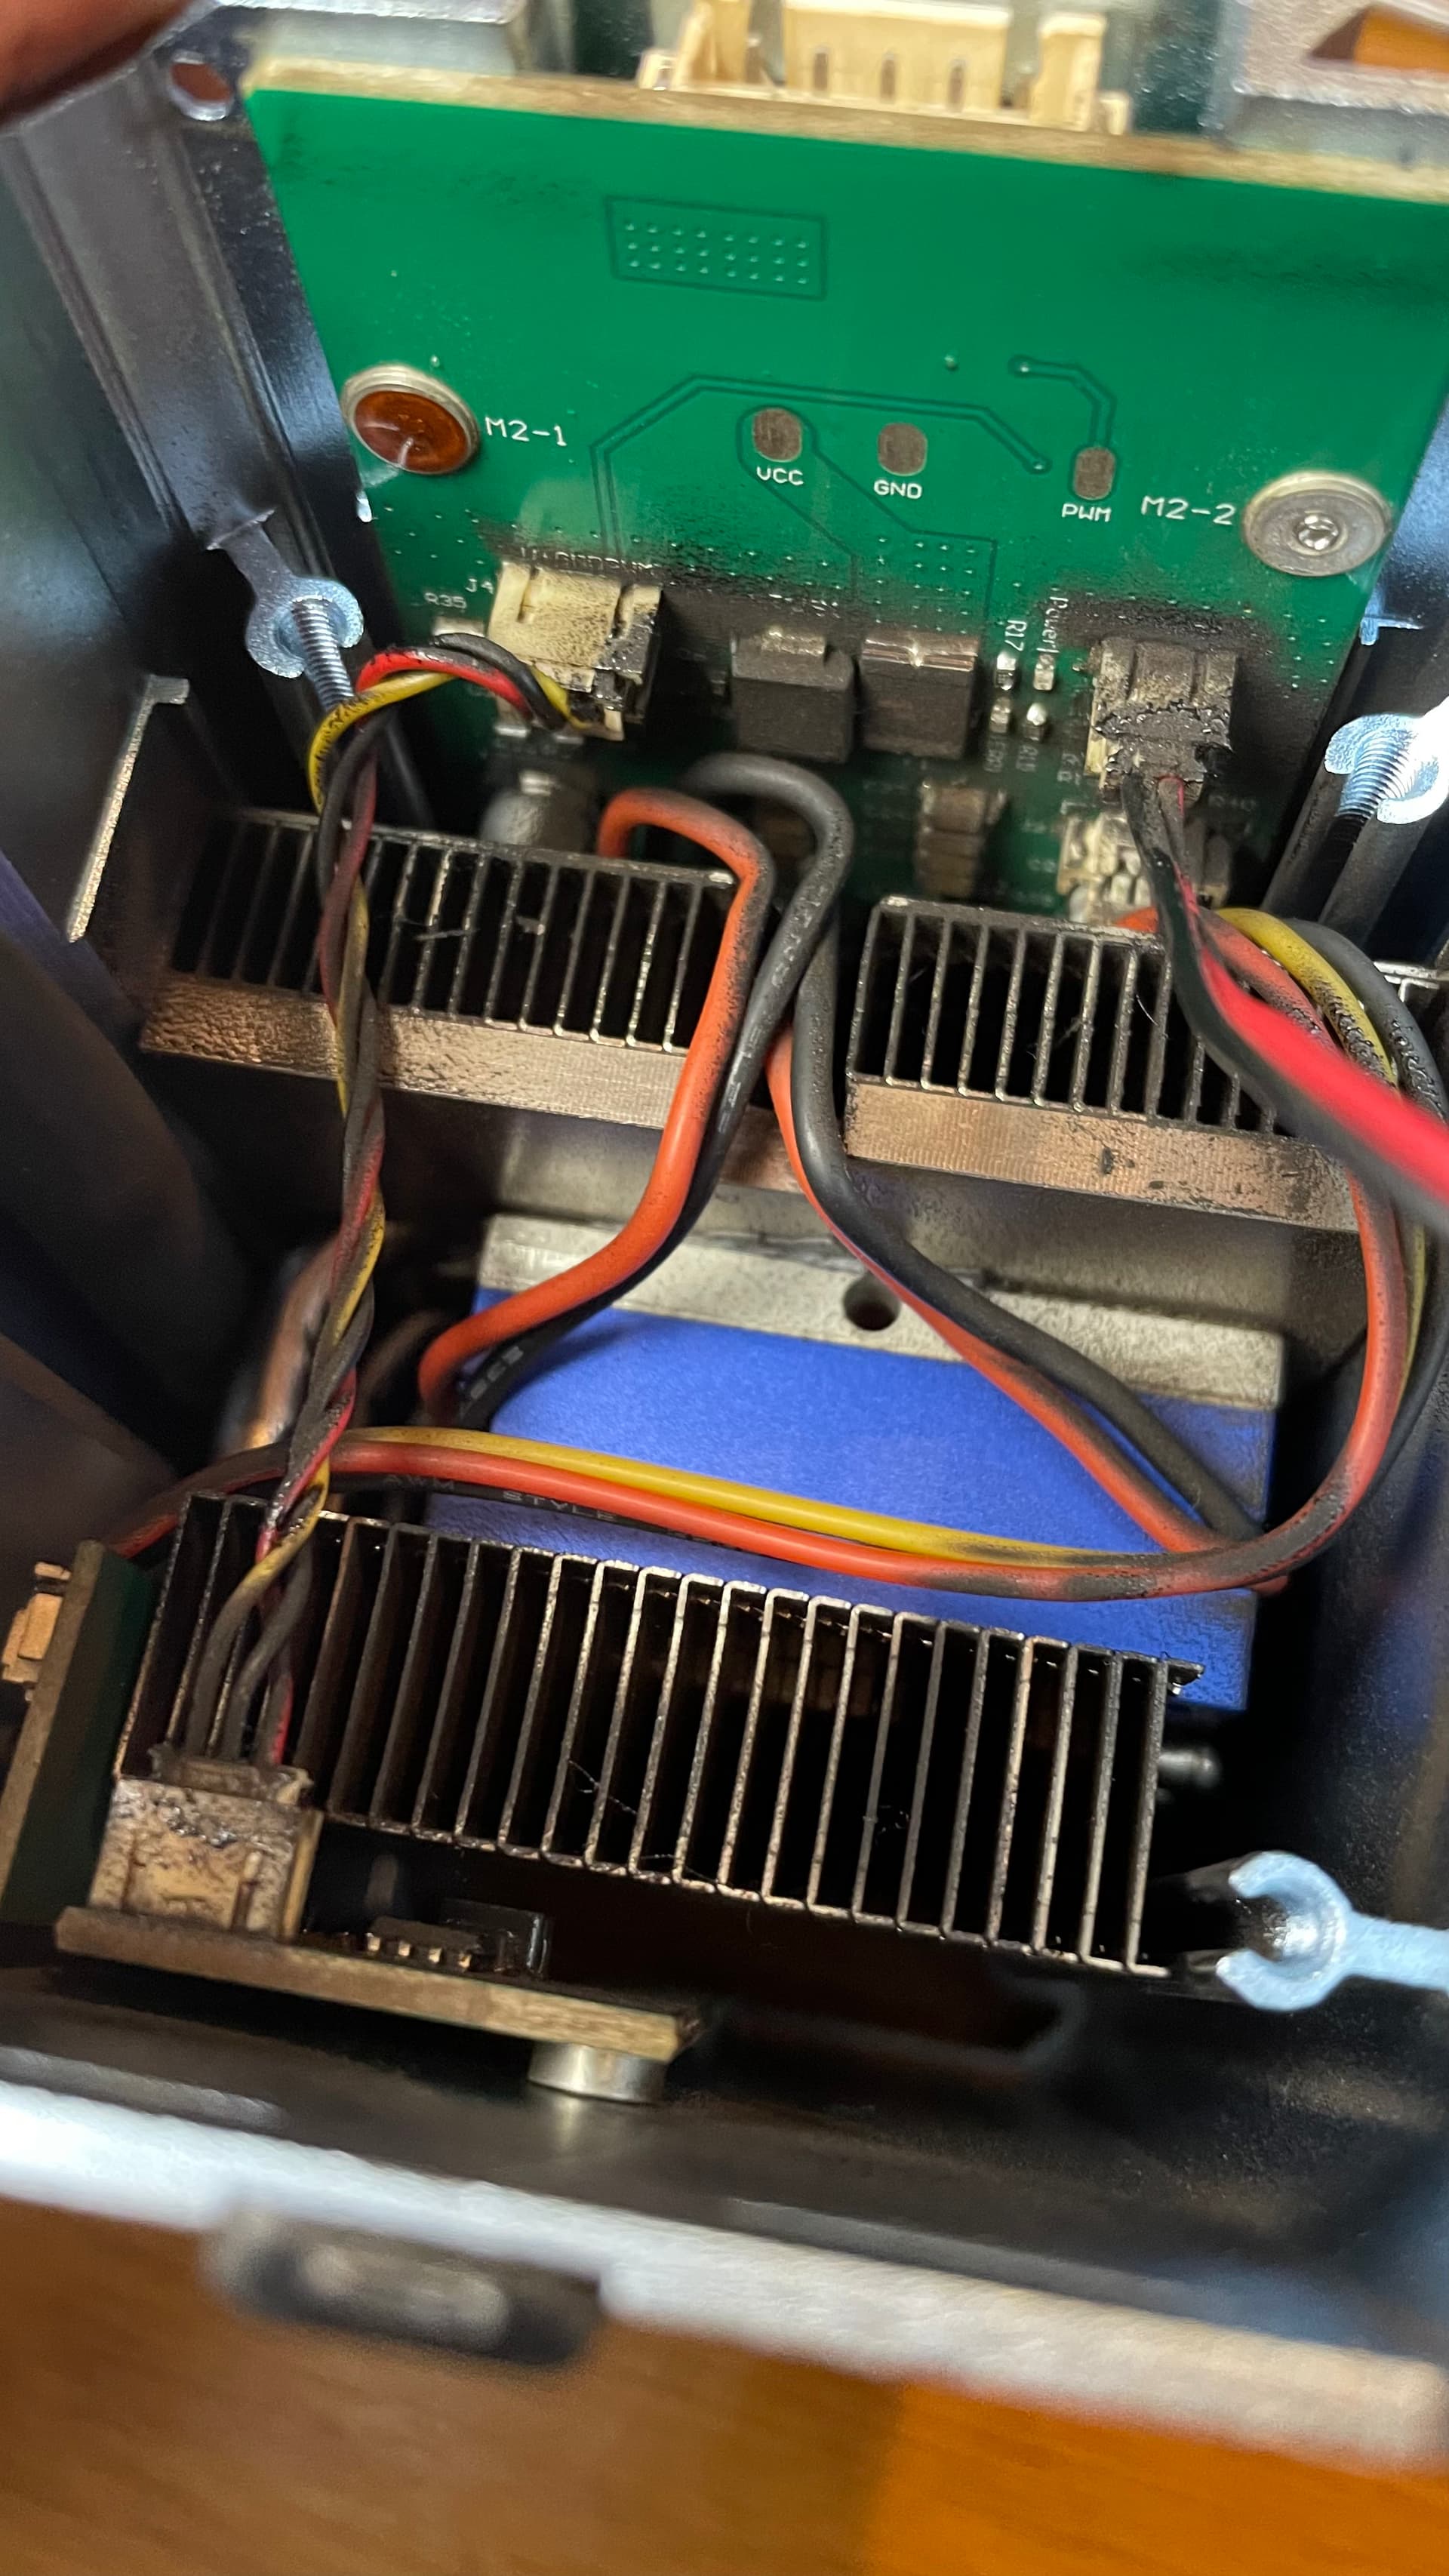
The Pro max 1 is an even worse design with air assist. Requires removing the shield and then the cone, where the air assist just has an approx 1" line coming from the module itself. Meaning to reassemble it, it is done blind and upside down to get the air assist seated properly into the cone. I have also noticed the fan draws contaminated air INTO and down through the module. I don’t expect a very long life for this laser, and it’s a shame. Next time I disassemble and clean it, I will take pictures.
I’m just going to try a large in line fan I think it’s large enough at 200 cfm, hooked directly to my enclosure then ran through about 10" of duct and hope I can suck the smoke out before it contaminates everything. I don’t know. Why can’t other countries compete with these Chinese diodes and even CO2’s? Is there any diode that isn’t made in China? In the same Province? Wish there were Swiss or German or US made diodes that were priced similar. Gladly pay 20% more for those. Right now, hesitant to even use it because I am sure that damn module is 50%-60% of full unit price, and don’t even want the same design.
Also Youtubers that promote these products suck. Period. Either they don’t know their a$$ from a hole in the ground, or they purposely lie in order to keep receiving free lasers from these companies. I trust about 5 or 6 and sure we know who they are. Especially the top 3.
I’m running a K1 Pro (24W). Same basic module design as the ProMax 48…just smaller. Same cooling airflow path and air assist.
I also use the Ikier cutting bed. I feel it’s a better design (for airflow) than a traditional honeycomb. Smoke exits rapidly out the sides and my workpiece undersides are spotless.
Mine is staying pretty clean so far.
I run a 200CFM fan (AC Infinity S4 Pro) and ALWAYS have at least a little air assist running to help keep the lens clean. I run vent blower speed @ 100% and have the enclosure inlets sized to keep the smoke low and moving horizontal as quickly as I can. The assist air come from a compressor regulated down to about 30psi. It’s dual circuit, with one side always on but choked down via needle valve to approx 3-5lpm. The other side is switched with a 24v solenoid controlled thru LB M8 and the factory air assist power port (3.5mm barrel connector). For now, I’m pushing 20-25lpm thru that side.
The factory assist pump can do about 10lpm max. It adequate for keeping the cuts reasonably clean. I wanted a bit more oomph to help increase my cutting capacity (speed and thickness). More air does produce a cleaner cut edge at a slightly higher speed/lower power (maybe 10-15% faster) but also increases kerf width and taper slightly.
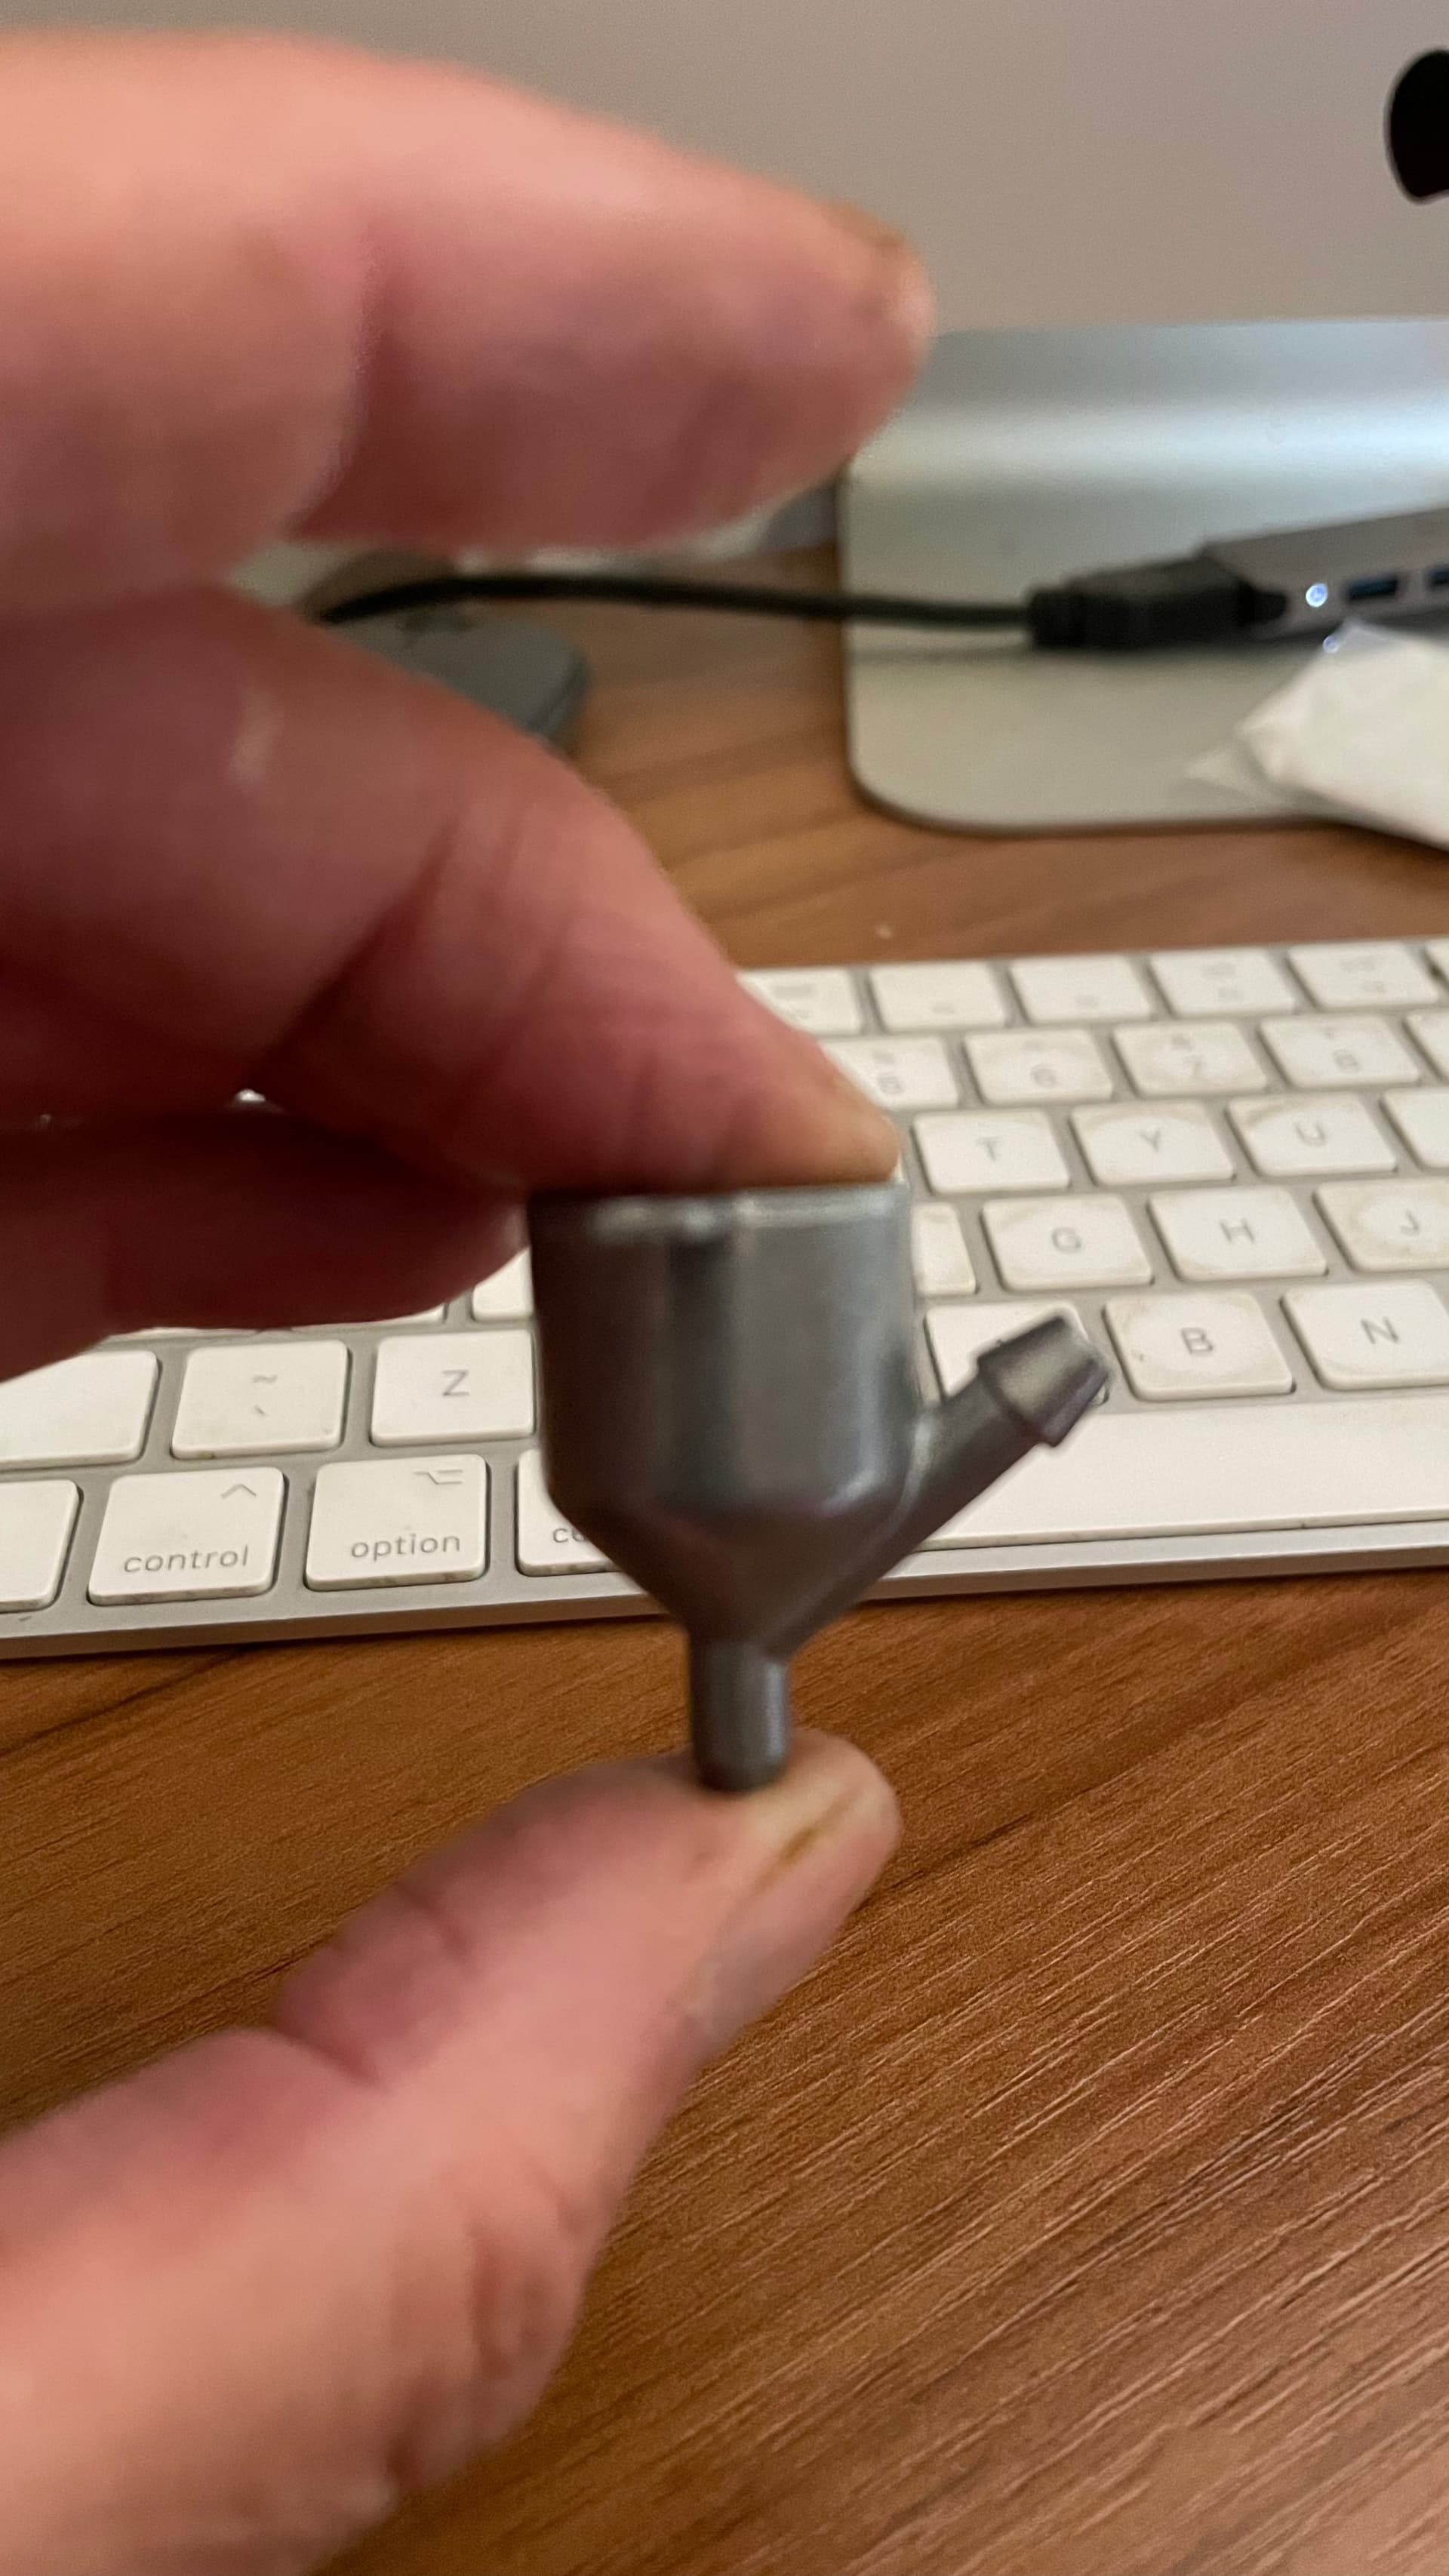
I will probably remove the fan grill/trim and connect the air line directly via a coupler. It’s MUCH easier to remove the air nozzle and outer shield without the top grill attached. The tubing is 5mm ID x 8 mm OD, FWIW.
Thanks. I’ll be honest, unless doing physics and sending something out of Eath’s orbit, I don’t want to do this math for just ventilation. Diode lasers should not be this complicated imo. I’m, obviously, not an engineer of anything. I can not imagine the cheap plastic laser enclosures that major companies sell are in anyway better than mine. They are almost airtight, lacking bottom of course, and seem to be using a smaller fan than I am currently. Right now I am almost, but not quite, ready to give up with wood on a diode. I’ll just get a new fan and not over worry about particulars in positive and negative airflow and attempt calculations that I seem to be unable to comprehend. I’m still working on node editing and such in LB let alone doing differential equations for proper ventilation, esp. without exact measurements.
I would be interested how the airflow changes the kerf. I have never heard of that before. Thanks man, appreciate your comments and help.
I only use the honeycomb when there are heaps of small pieces. I mainly use a slat bed with a catching tray. The slats do get a lot of residue which I clean easily in a large plastic storage bin - HOT water and a dose of Dawn or dishwashing liquid. I use Zeiss lens cleaners to clean the optics and these are really cheap. Maintenance and keeping everything clean will give you the best results and minimal downtime.
Ratings are free-air, and not with ducting. Mine is a 3" fan at 130 cfm, 6’ of ducting, and I consider it barely inadequate.
It really has taken me this long to get the in line fan and hook it up and do some testing. I am running it directly out my enclosure to the outside via a 6ft 4" dryer hose that is folded up pretty tight. I am guessing there is a slight 12° angle to the hose and its only a 4" length when coiled to the outside window. Absolutely no smoke and no fumes (once I sealed up all connections). I believe I have enough negative air pressure from gaps in enclosure and front ventilation holes. Its rated at 196 cfm for what that is worth. Thanks for everyones help. Now just need a proper laser. Avoid Ikier.