Good day folks. Hope all is well in your part of the world.
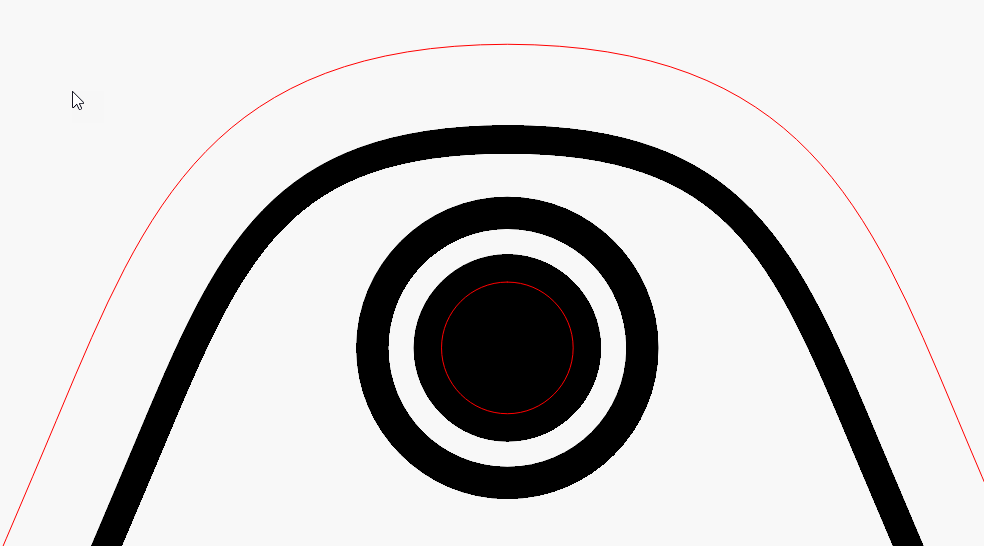
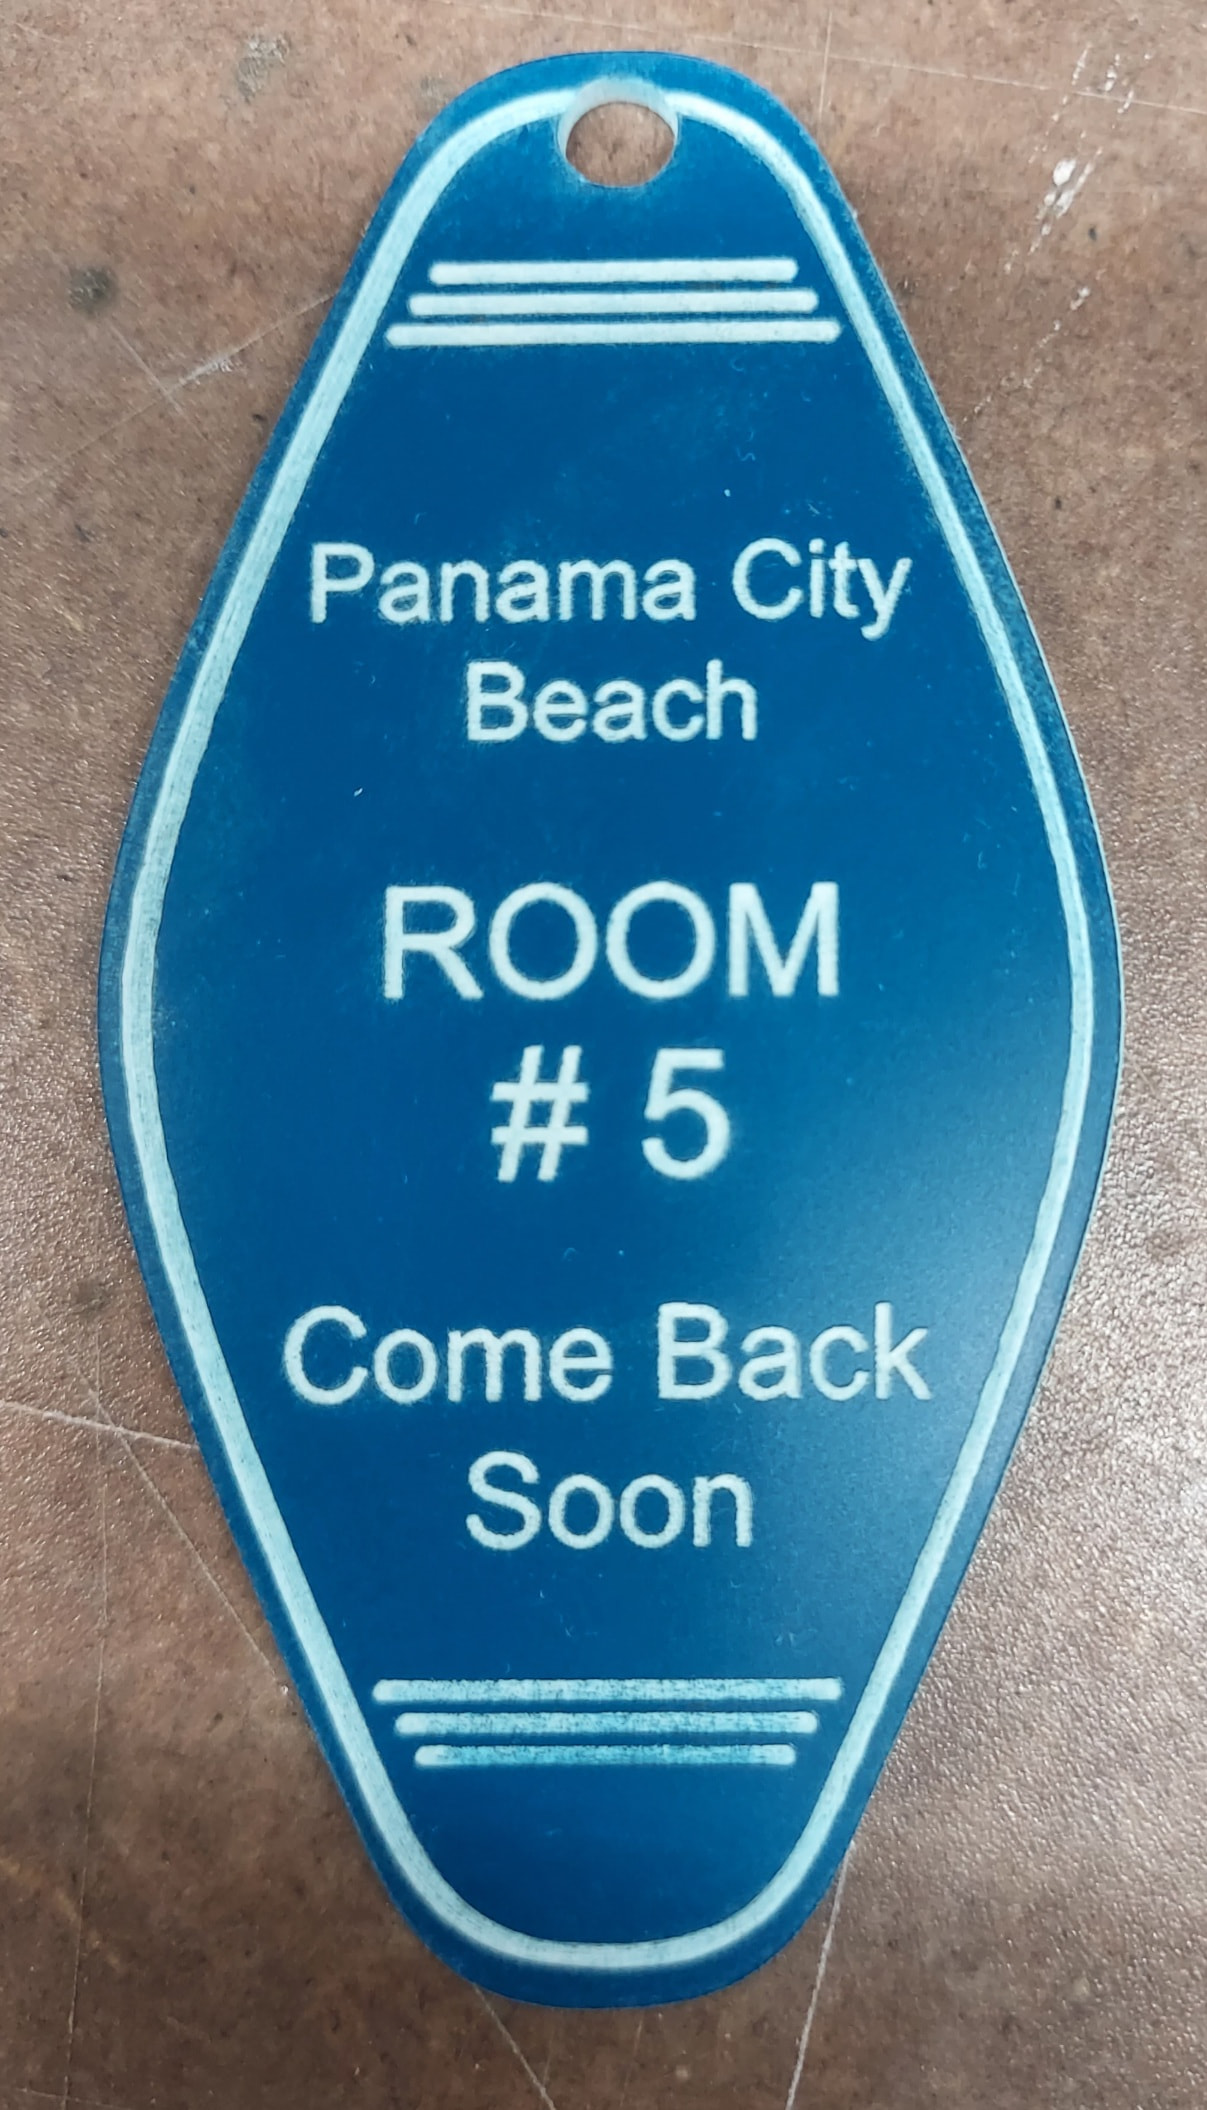
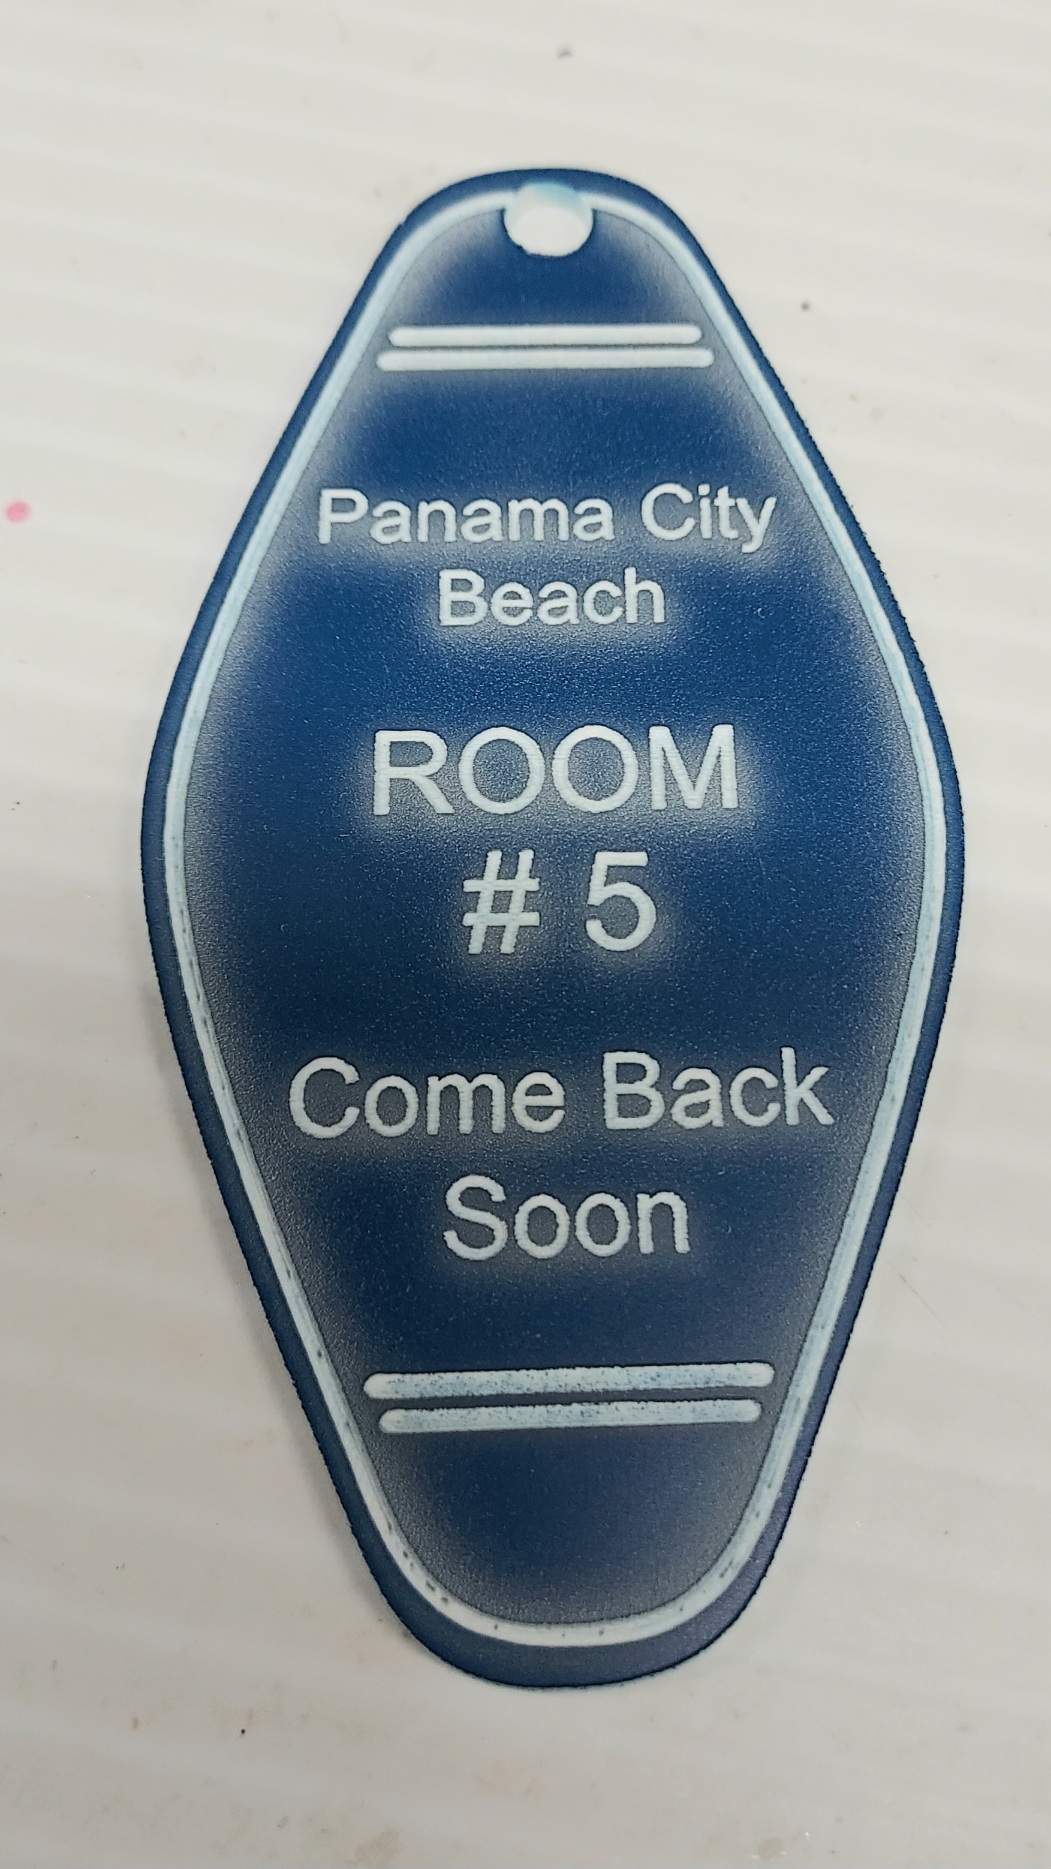
I’m attempting to create a sample hotel key ring. My line layer is blue, and fill is black. When I do a preview of the whole item, the hole at the top doesn’t look like it will be removed so I can place a key ring on it. What am I missing?
It is not easy to judge without seeing your file, but if I have understood it correctly there are several possibilities to solve the problem.
The easiest thing is to place your cutting layer at the bottom of the hirakie, then it will cut out exactly what you want, including the “covered” keyhole. But there are other, more elegant solutions, where you optically retain a better look over your project.
I just see there’s a link to your key ring, I’ll try to look it up.
The hole for the key ring is achieved by duplicating the small hole and putting it on the same layer -C00-black.
… as I said, it is only cosmetic because the blue layer will cut the hole out, no matter if it is filled or not.
But I have allowed myself to change your file a little, so it will process faster you can try if it is something that can be used or else you set the layer back to what you want. I have not changed power or speed
The first answer was without seeing the actual keychain, and sometimes one layer overlaps the other…
So, the layer order was ok in the original.
(But generally the last layer should be the layer that will cut the outer edge.)
The hole for the ring itself is duplicated and added to the black layer to make the donut.
Thanks all for your input. This is the only time of the year when I have time to experiment, and come up with items for my customer down south.
My wife also educated me that no one in their 20’s or maybe 30’s will know what it is anyway… LOL Just us old geezers remember hotel keychains like this one…
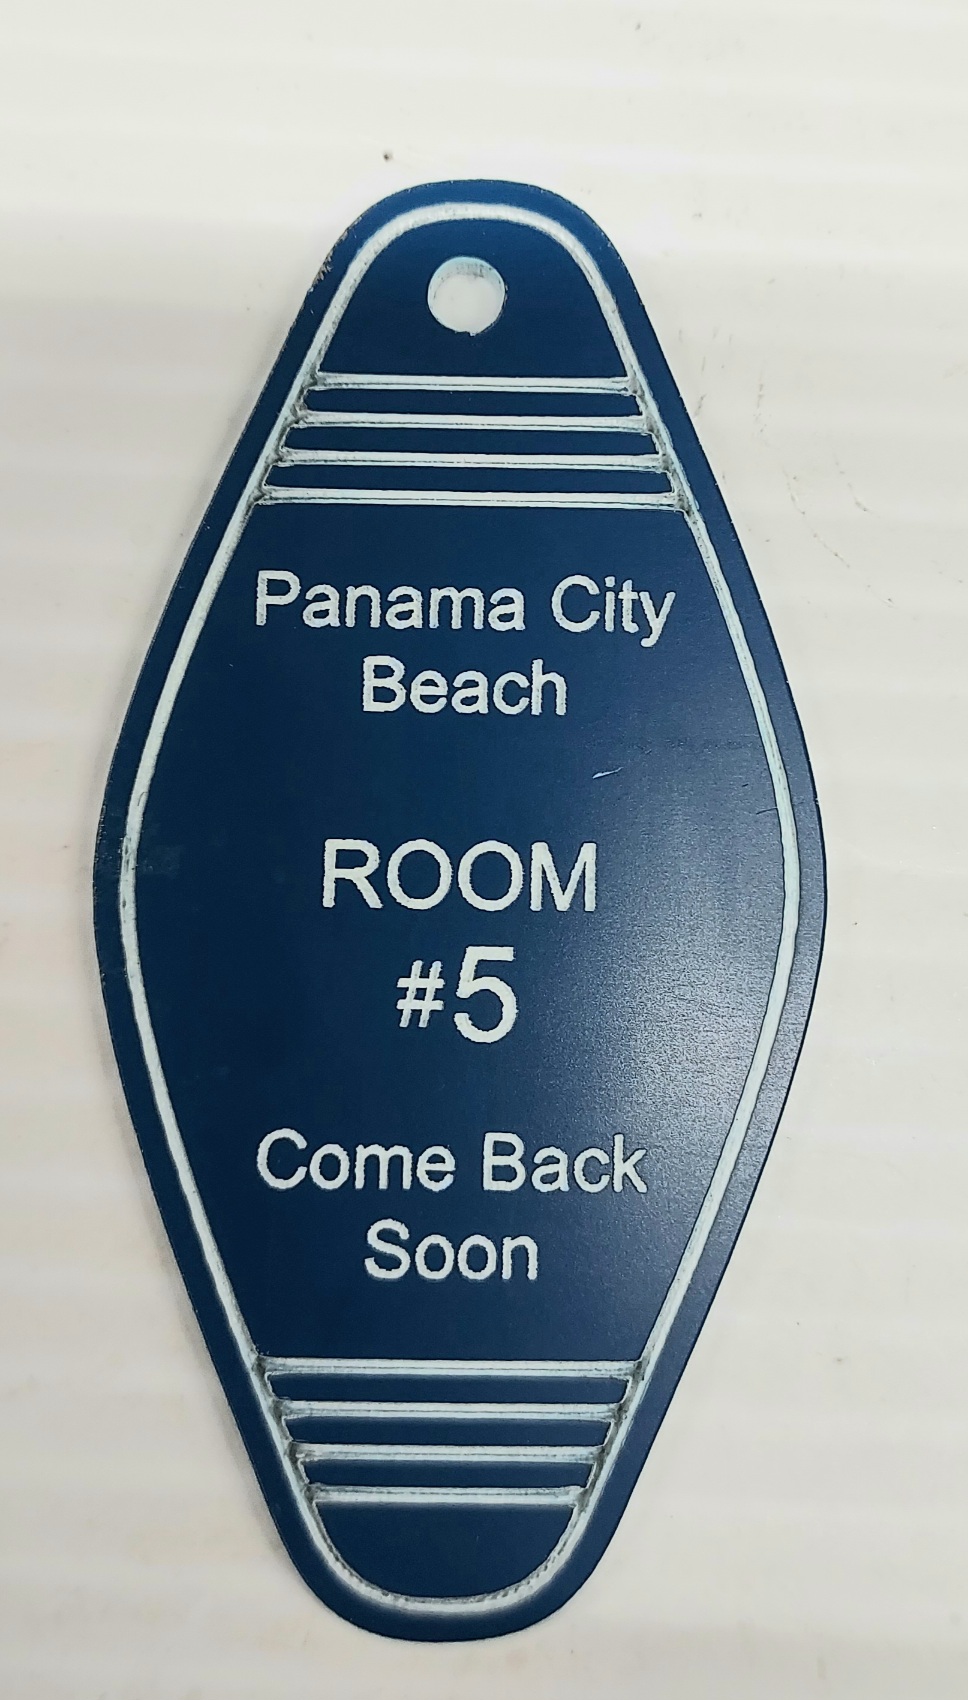
I wanted to do some of this using DUET acrylic. Blue on top, with a white under coat. I don’t have enough air assist to keep the blue from melting and mixing in with the white. I have a spare air compressor in the barn I could use to introduce a higher PSI but not by a whole lot.
I’ve never really messed with acrylics, and barely use my C02 anymore. I would love it if Santa brought me a UV Fiber, but that’s not going to happen either. AND, I’ve been a good fellow most of the year… !!!
Learned something new! I have some black on gold that I am getting ready to experiment on. I knew it was going to be difficult, but was not aware of HOW difficult.
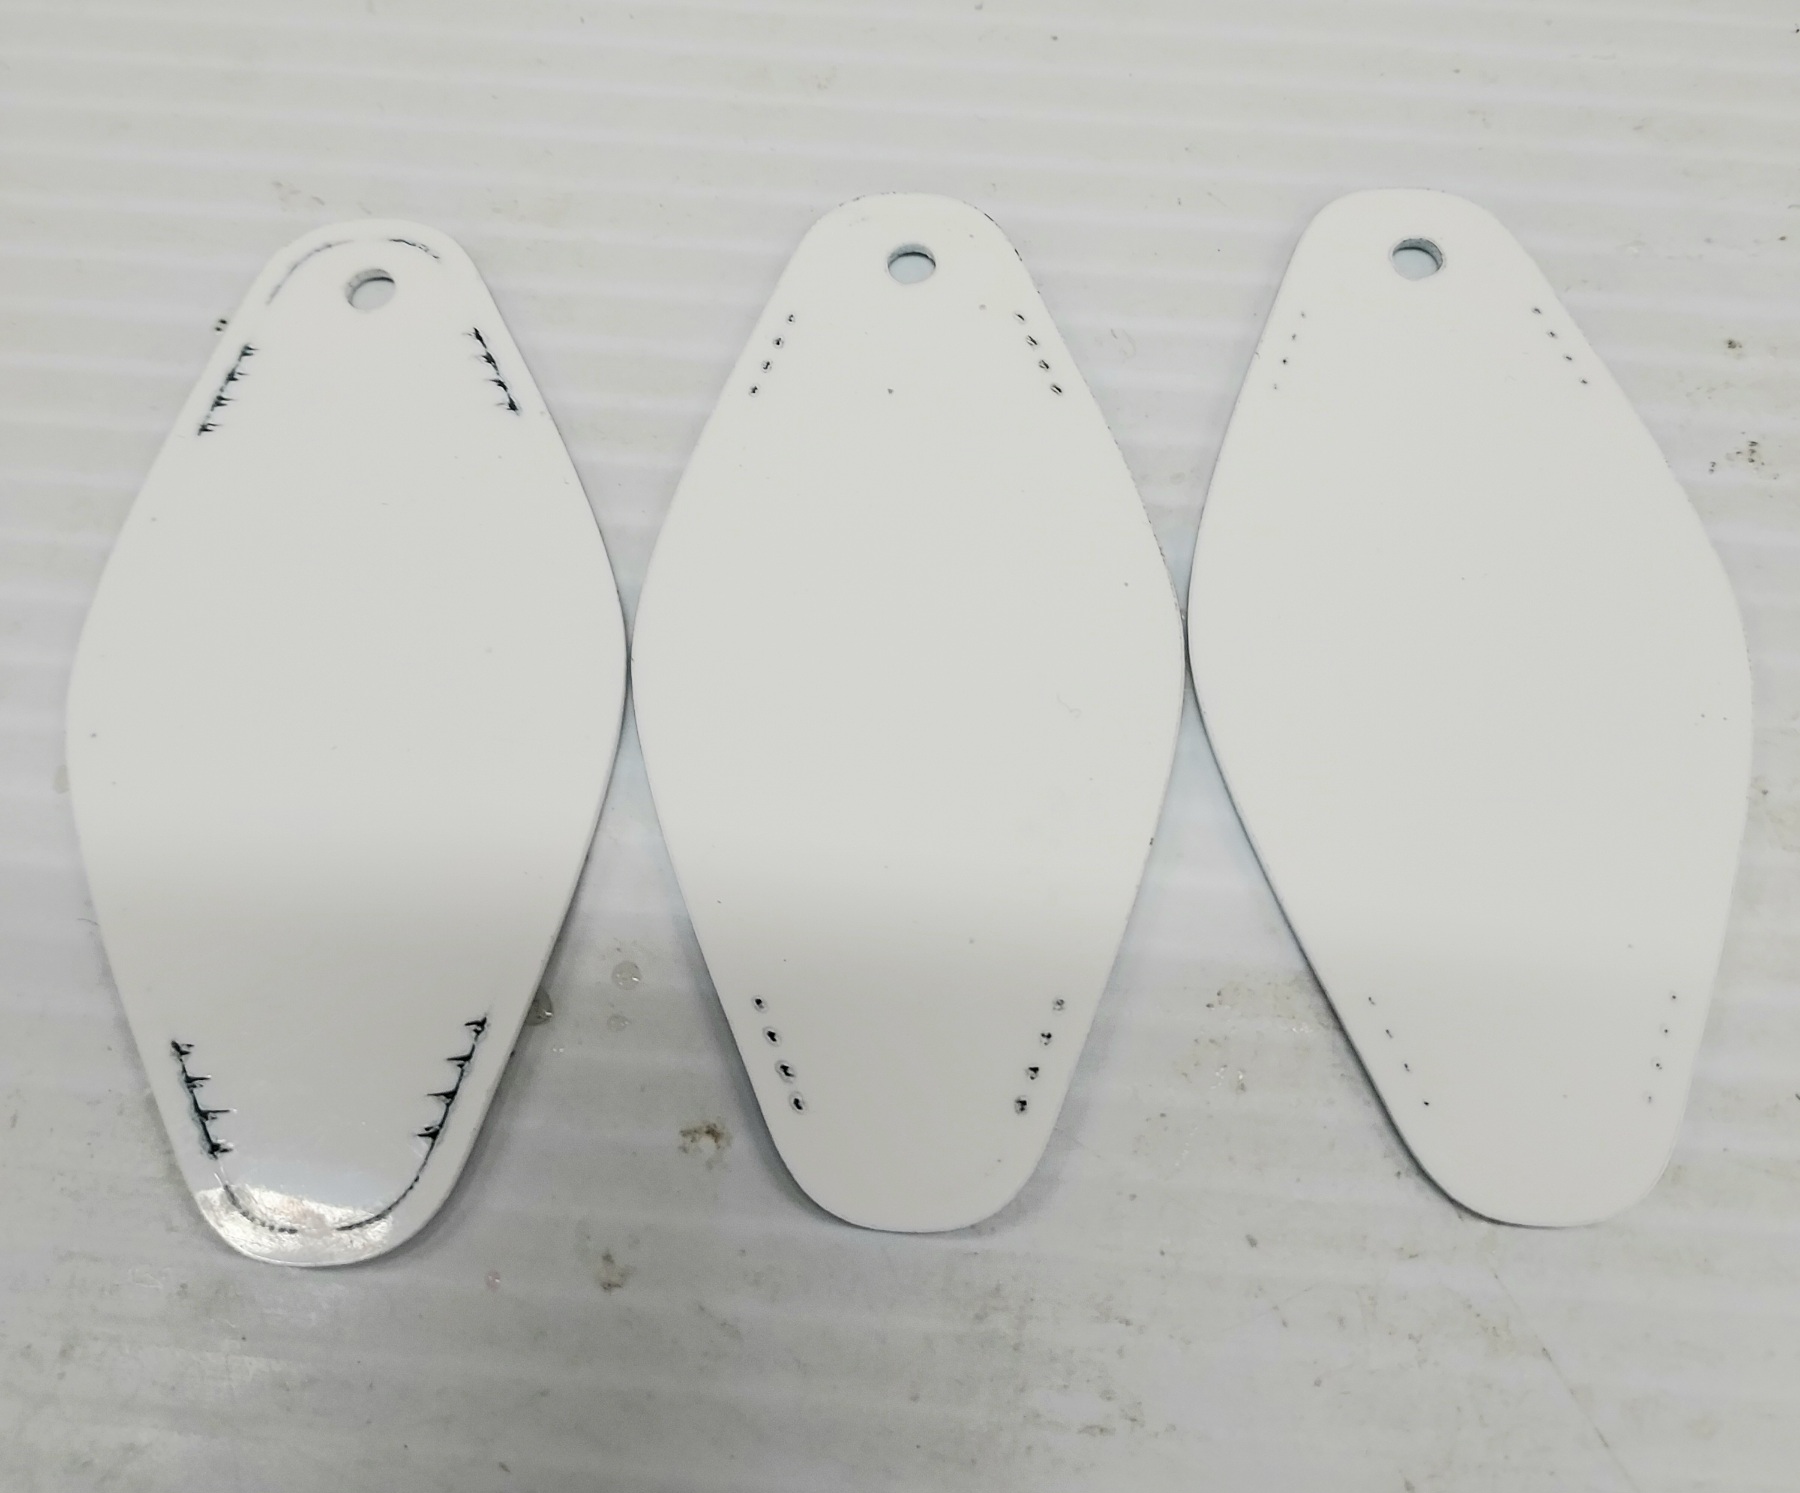
Update: Here is the backside obviously. I’ve adjusted the power/speed 3 times for the oval marking. I’m also going to do another one without the horizontal lines intersecting with the outer oval..
Speed 600 / PWR 10. I’m using Isopropal and Mr.Clean sponge to clean. Thanks for the guidance… There may not be any interest in these at the shop at the hotel, but still worth giving it a shot.
Put everything on the same layer and engrave it in one pass to eliminate the burnthrough. This may take longer than optimizing each part of the design, but situations like this call for quality, not speed.
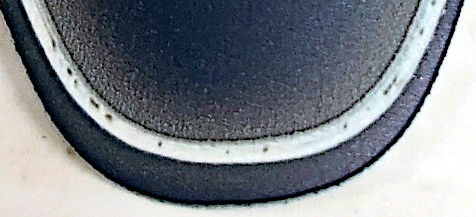
Thanks Ed. I did finally put the horizontal lines top/bottom & the Txt on the same layer. Still having a bit of problem with the white oval part still getting some blue residue in it. Probably not enough for a customer to care, but would really like to get the white… WHITE, not dirty white. I don’t like how dominate the horizontal lines are too. Going to make them thinner.
Thanks Blue… I may just ditch this project. I can’t seem to get white WHITE’s. I made the horizontal lines not so dominate, and the bottom ones are dirty. I saw it as it was engraving, and knew it wouldn’t clean up. I may have to introduce air flow across the piece from the bottom upwards. BTW, I’m not using any masking on these…
I might try some on regular acrylic, and see what it looks like.
 you can try if it is something that can be used or else you set the layer back to what you want. I have not changed power or speed