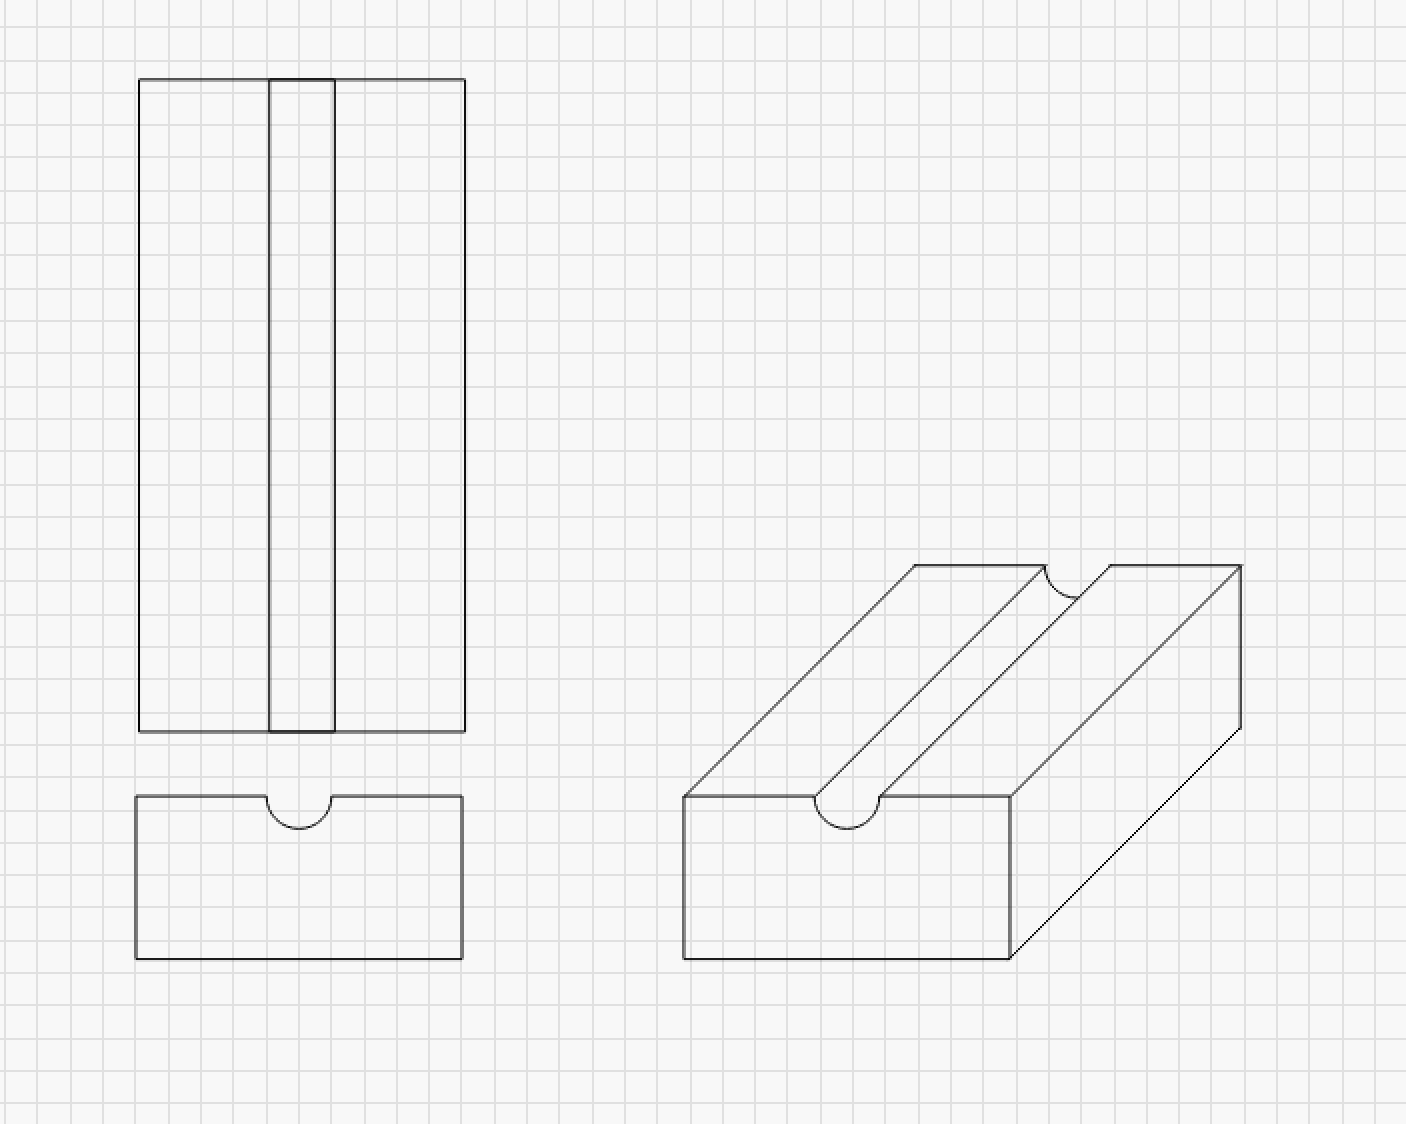
In a wooden block, a semicircular recess must be made. In the sketch, the task is schematically presented. The actual dredging must be 6mm wide and 3mm deep.
What procedure can be used with a CO2 laser machine and LightBurn ?
None afaik, Ramp would give you a V, not a curve. you could probably use offset to make many lines say 0.1mm apart and use different layers with different power settings to go deeper as you get to the middle as a work around.
Use a router for this imo.
I have made an experiment with squares that become narrower by a mm at a time, I have put them to fill. I get some sort of staircase, down to the bottom and up again. Afterwards I have to spend some time refining everything. Below the line it is an acceptable solution. (I only have to make a few pieces)
You are of course right that it is a classic router work, if I was not so lazy I will start my cnc up again ;-), I use my 3040 far too rarely unfortunately.
Thanks for your input.
Hi Bernd, the only way i can think of is, using the end view, use the array and cut multiple’s of those and sandwich them together.
A bit time consuming.
Thanks Chris, I actually made this item in 3 pieces, 2 pieces around the semicircular recess and a complete one as a top piece.
Hi Bernd,
I had a simular problem and I have been experimenting with a gradient bar from white to black to white and burned it as a grayscale.
The problem I encounterd was the combination of the gradient and power, but with some testing and experimenting I had a acceptable result.
It sounds very interesting, I will try to look a little closer at this solution, thank you.
I’m a firm believer in “Give Unto Caesar what is Caesar’s” … 10 seconds on a router… minutes under a laser, and even then, consistency won’t be there ( wood water content, grain, etc… ) … I do recesses sometimes with my laser , for acrylic templates to hold screws below the surface… but not a rounder recess. I’d use my CNC or router to do that … If you do come up with a solution… repeatable… I’d be glad to see it. Good Luck
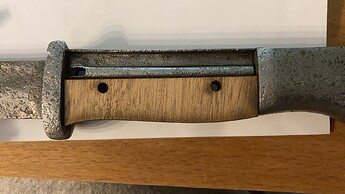
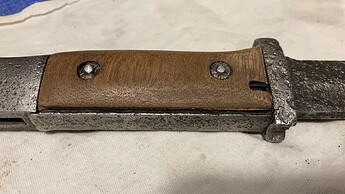
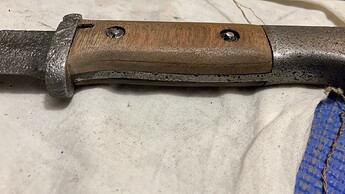
As I have written, I have chosen a “stair system”, but in the end I made a new and different model because it was the smartest solution. I divided my item into 3 parts, 2 bottom parts and a cover layer. I assembled and glued the parts together. Then I sanded the handle until the shape fit the purpose. I’m not completely happy with the holes for the bolts, the large diameter of the holes for the heads is too deep and I have not found any washers yet. It also annoys me that I have not had enough wood to make the new parts in the longitudinal direction of the wood fibers.
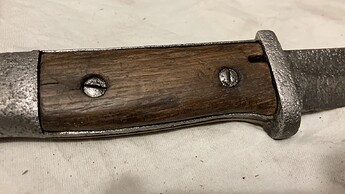
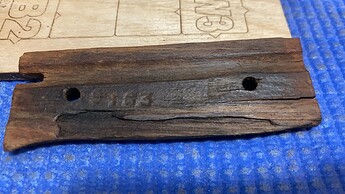
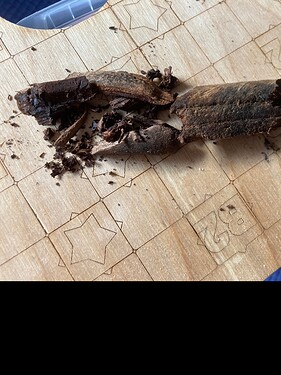
The first 2 pictures shows the other side with an original wooden part, I chose to keep it, but the other side had become earth. The material (I think) is 2x4mm oak. I am almost done with this task, now all that is needed is to brown the metal with heat and oil.
… the narrow 3rd part is not in the picture
… to cut the 4mm oak I used 15mA at 600mm / min.
It is actually quite stable and I would prefer to use as few non-original materials / parts as possible. With my solution, it is possible to replace the wooden parts later when I find something that has the right fiber structure.
But the customer is very satisfied and happy with the bayonet as it is now.
Pictured below is the original handle part.
I would take the piece of wood, drill a hole down the middle and then using a bandsaw or a jig saw, slice it in half.
This topic was automatically closed 30 days after the last reply. New replies are no longer allowed.
