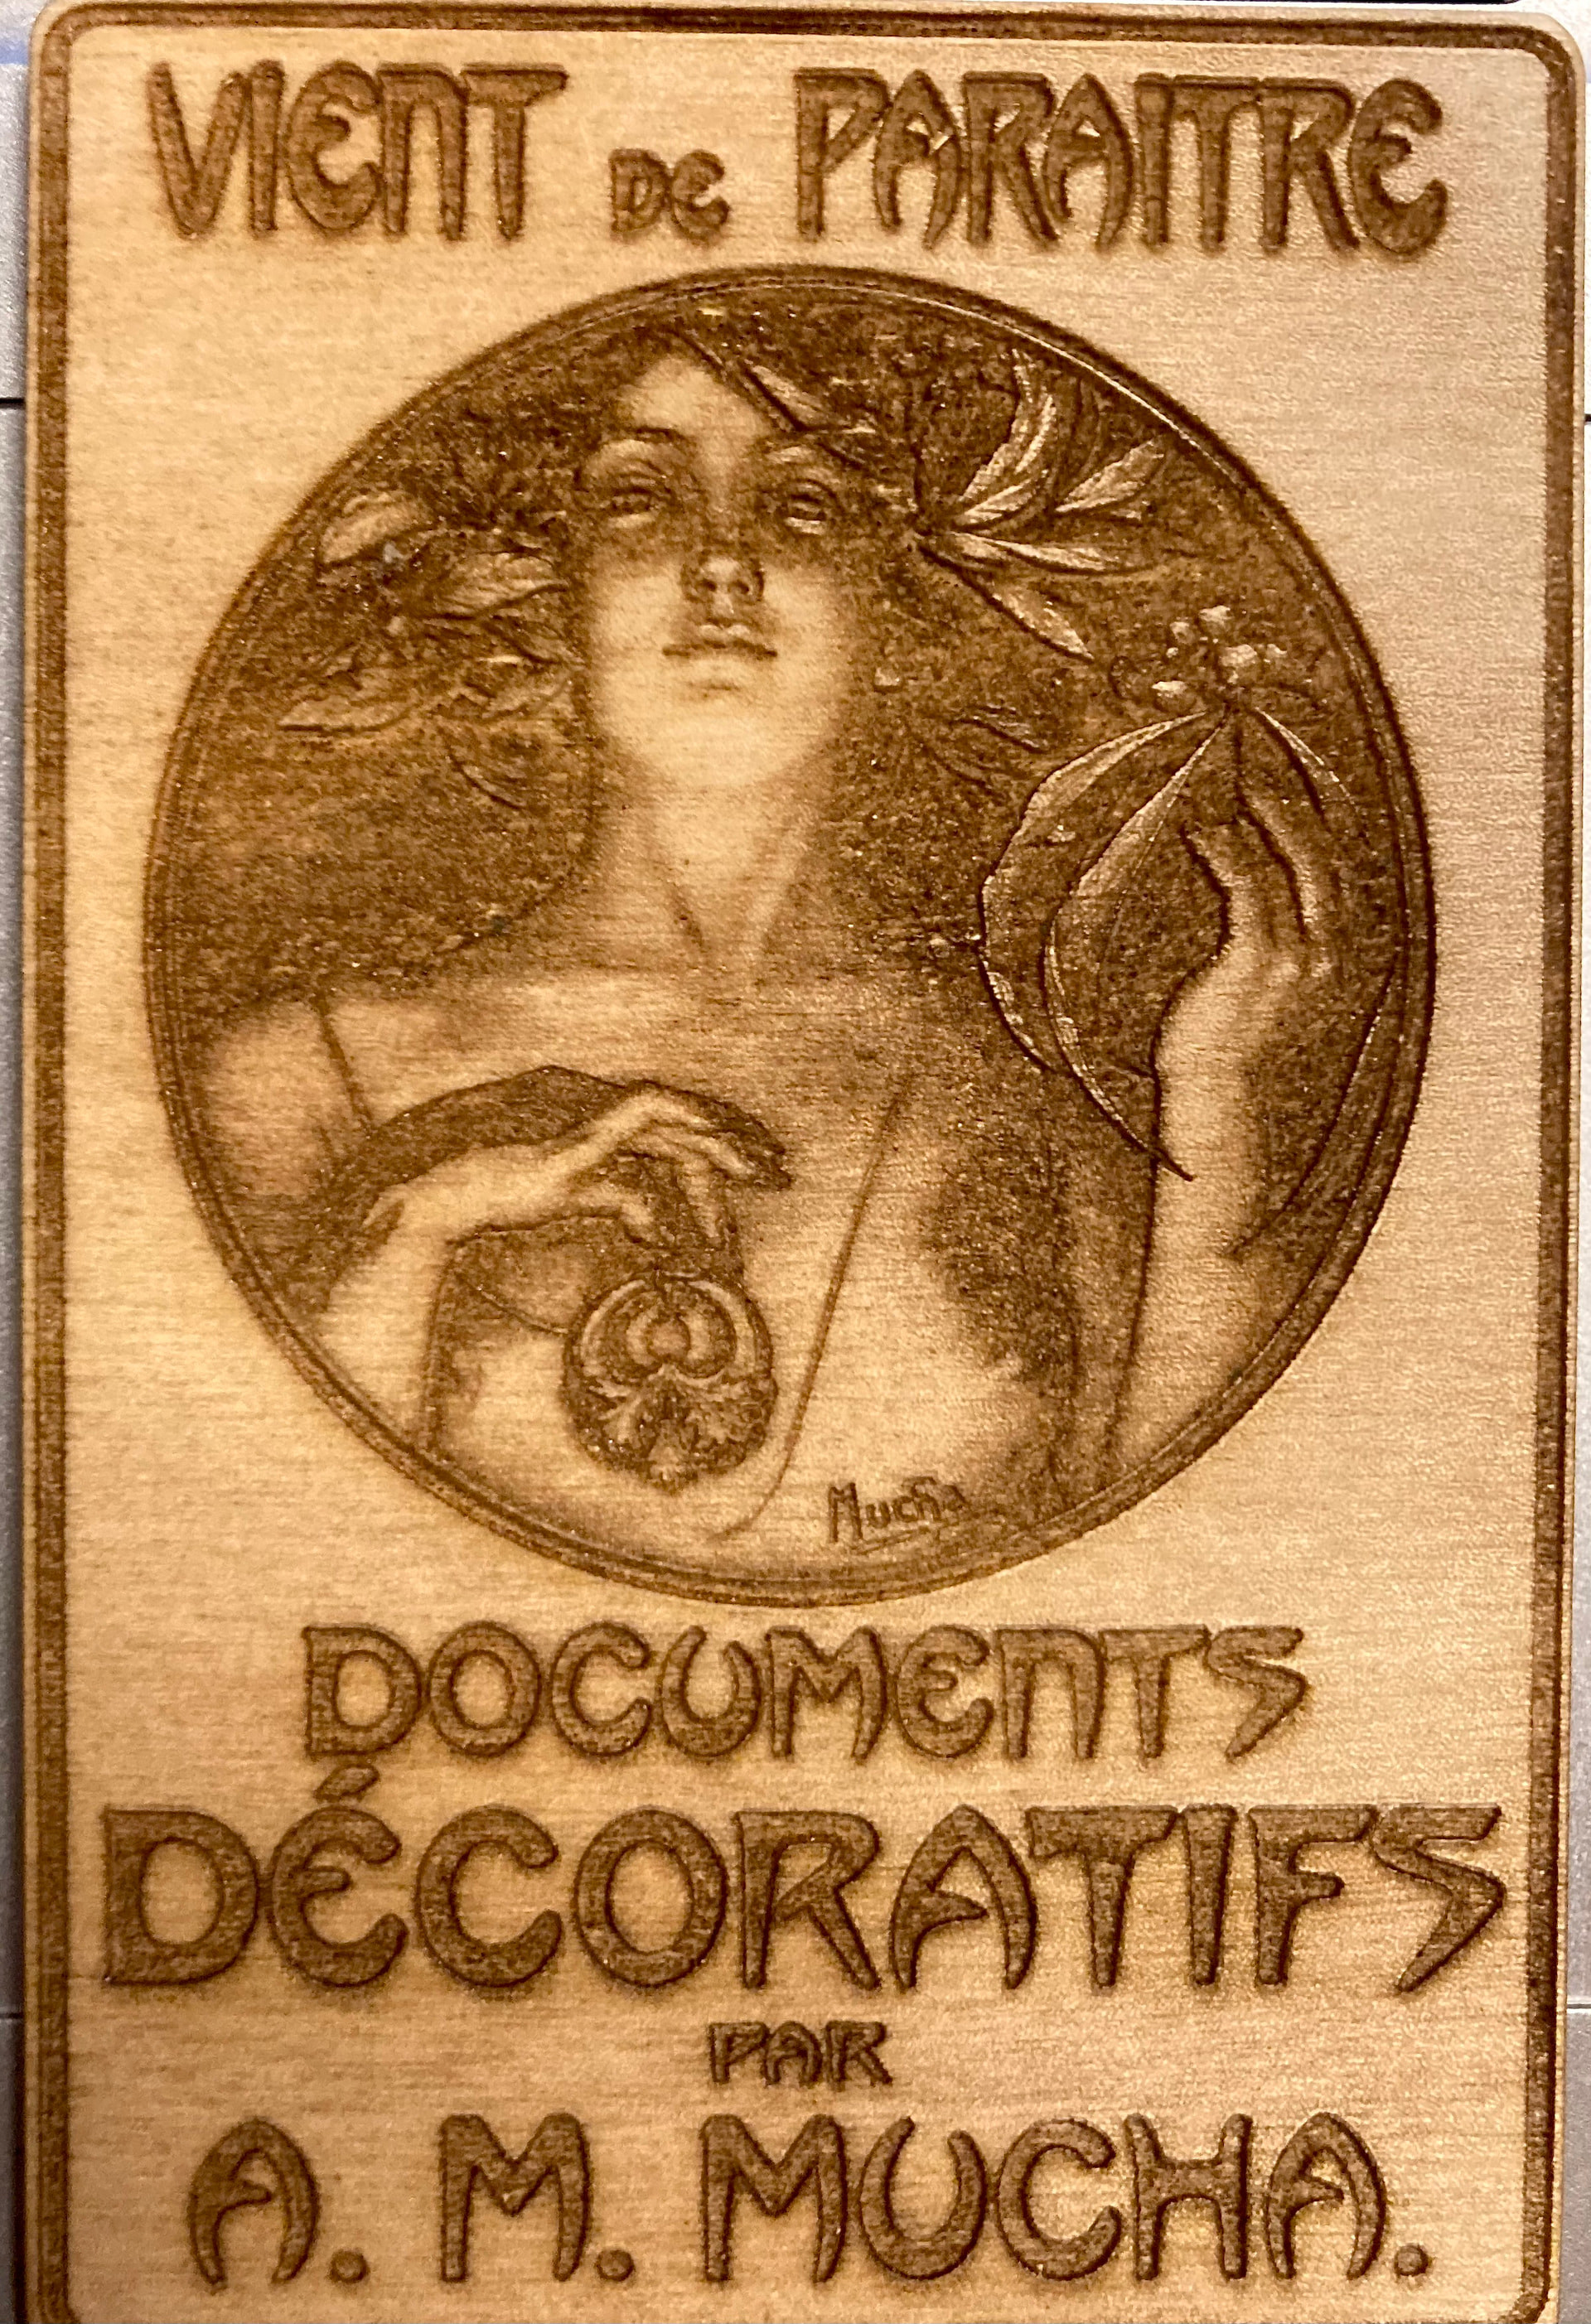
After a rather special day at work I would like to use my CO2 laser for something more enjoyable than acrylic and polycarbonate.
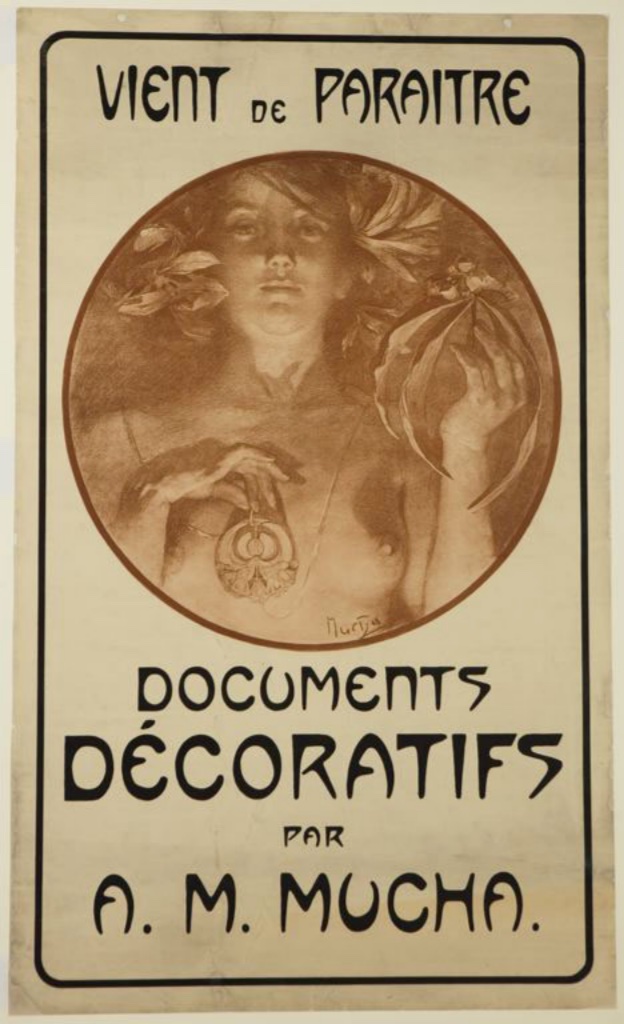
I have some nice pictures with reproductions from Alfons Mucha, who is one of my favorite “Jugendstil / Art Nouveau” artists.
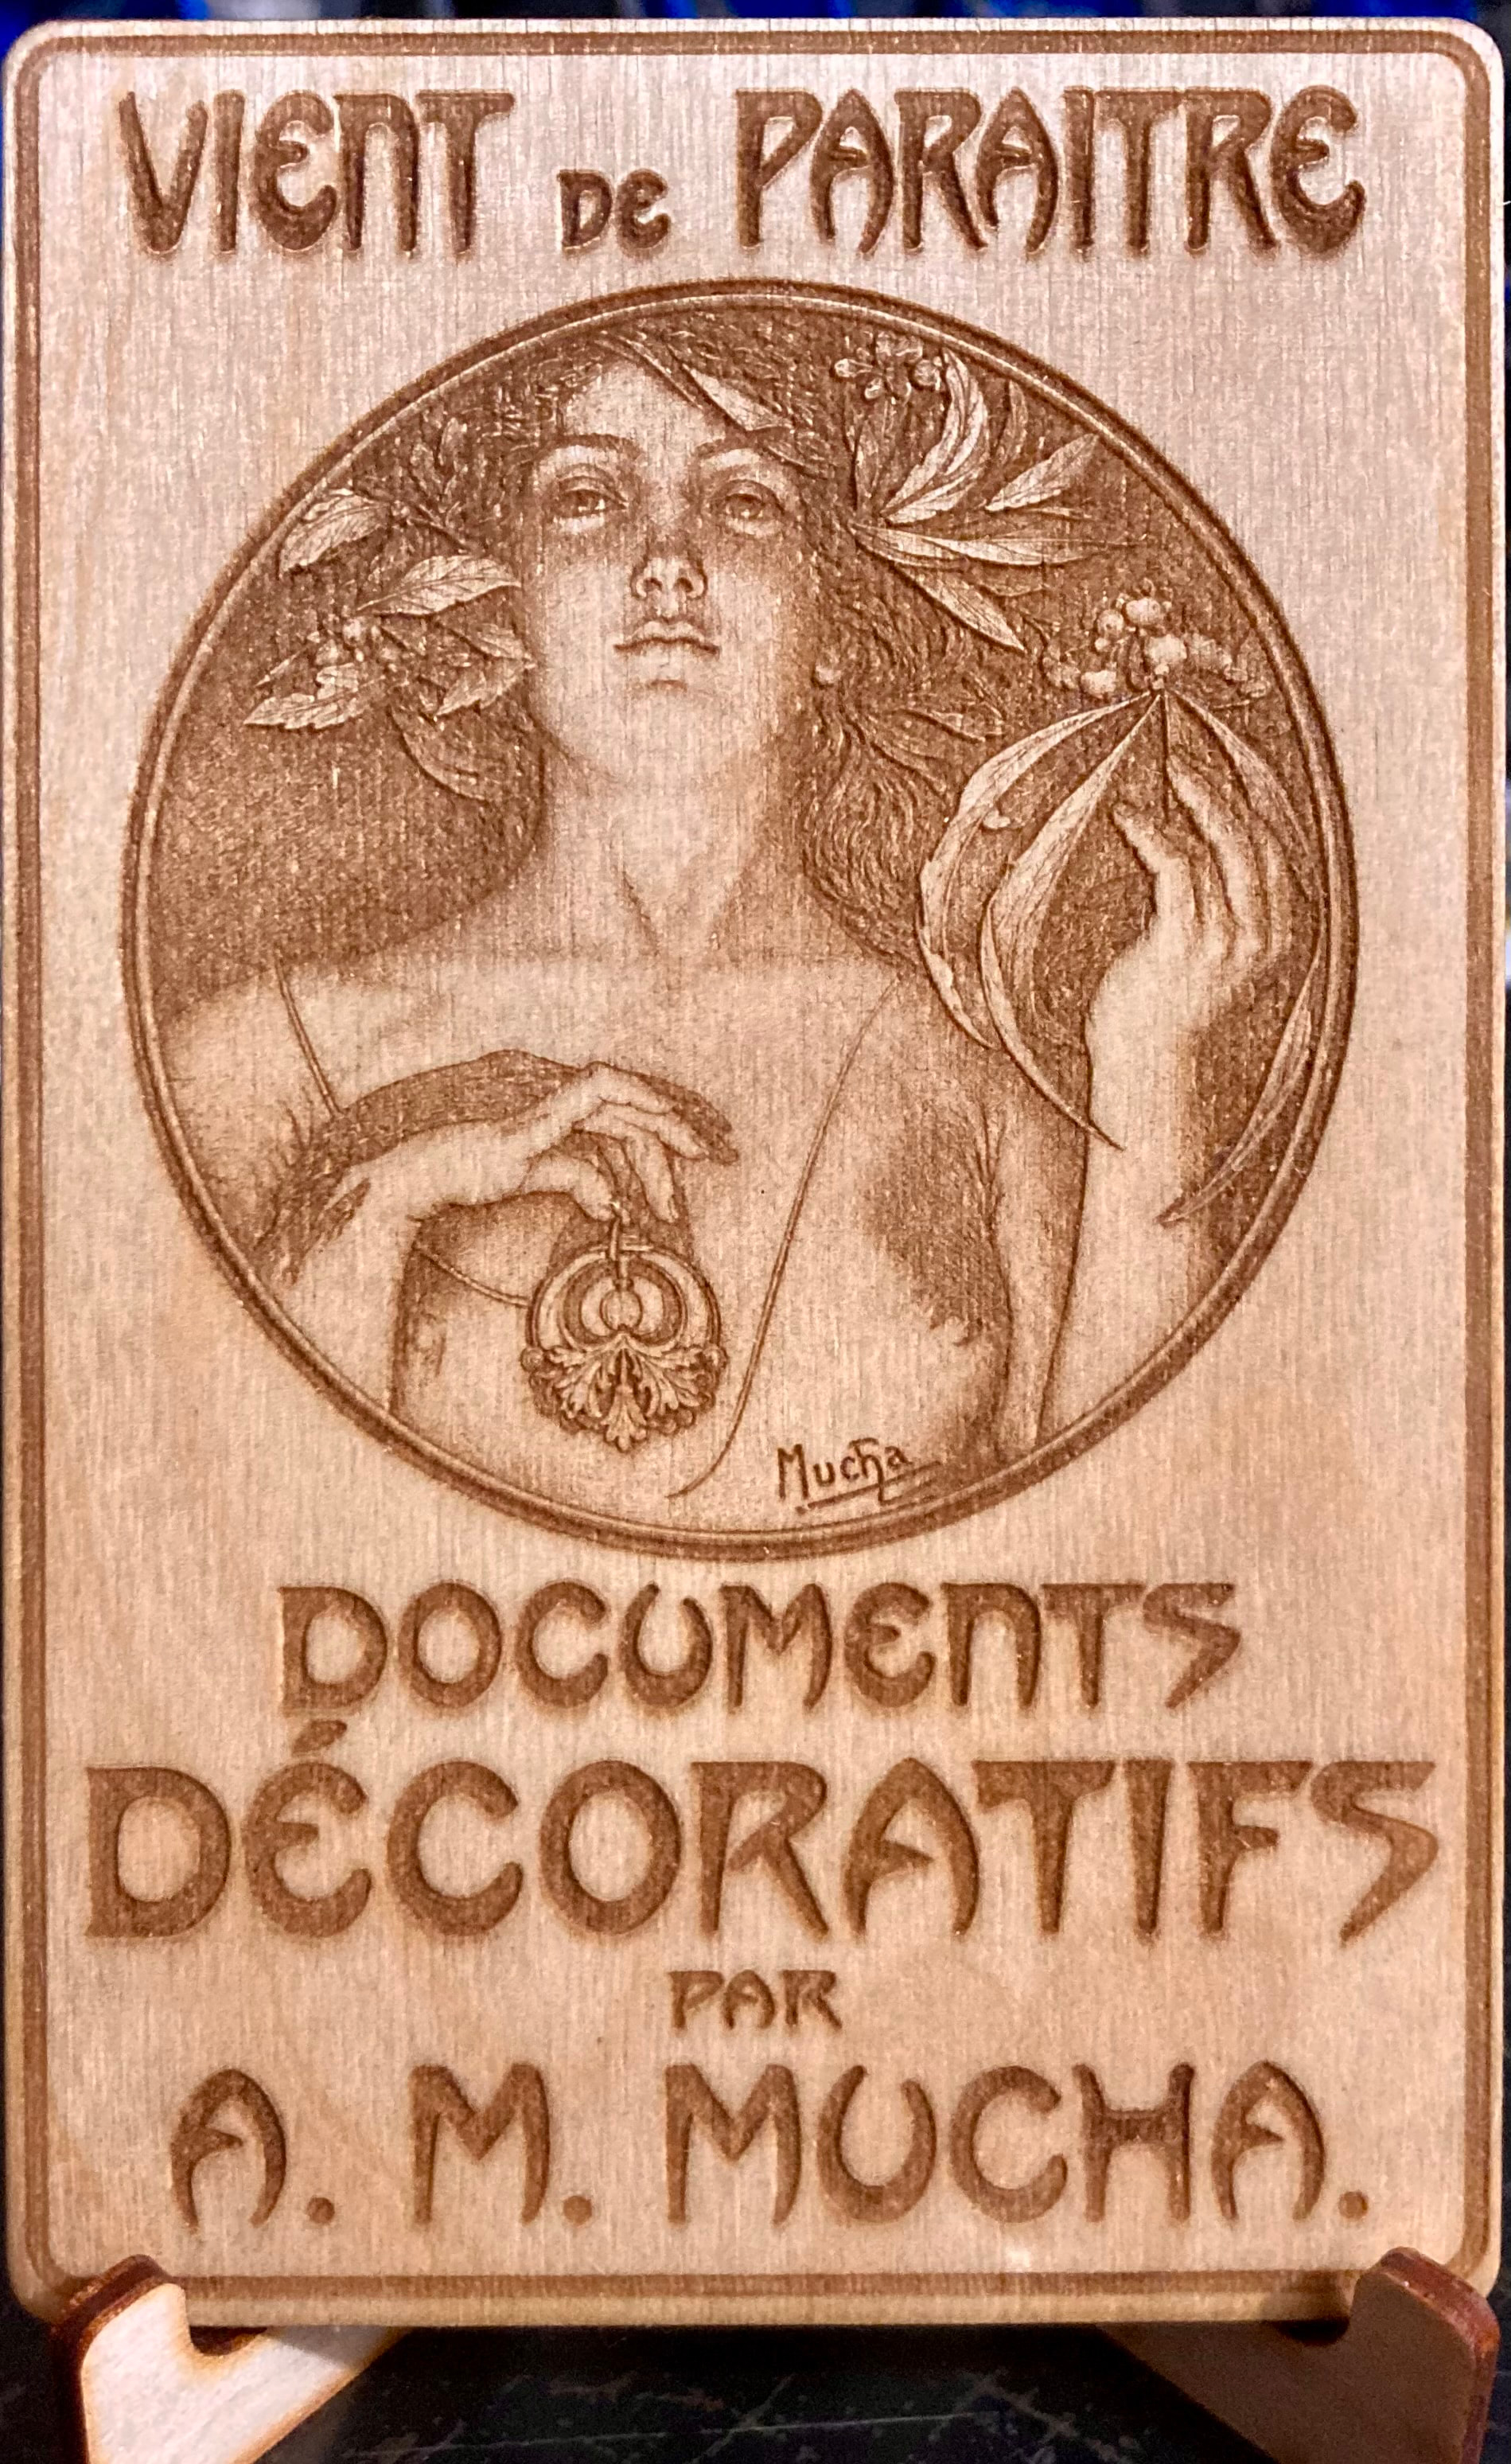
Today I tested if the machine can still make beautiful graphics and it could.
Settings are 200mm/s, 20/8.5% power, 0.08 line spacing and Stucki as image mode.
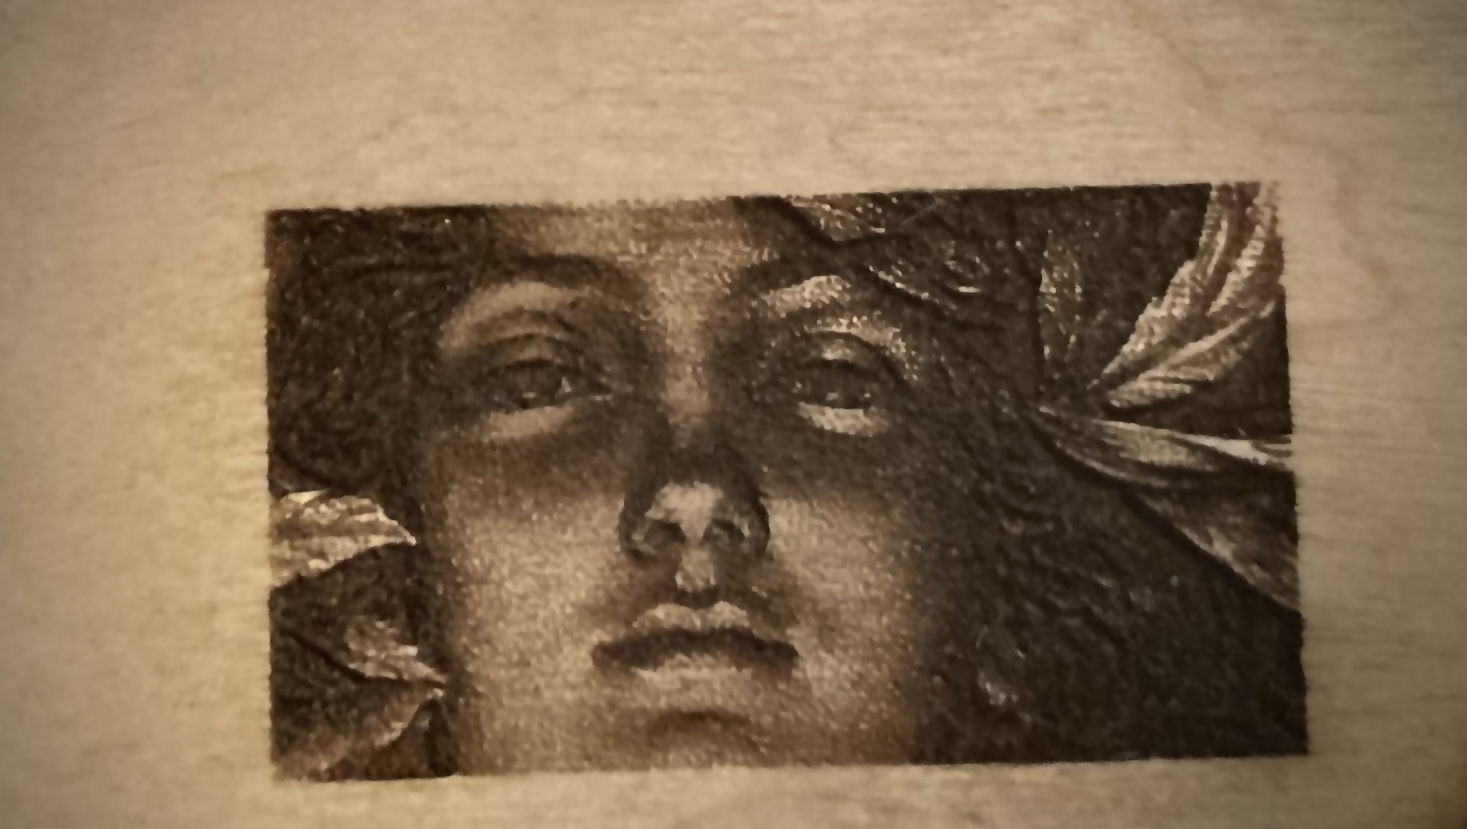
From the test series, each piece of plywood is different. Structure, thickness, moisture content… therefore it is also rare that the image quality is the same.
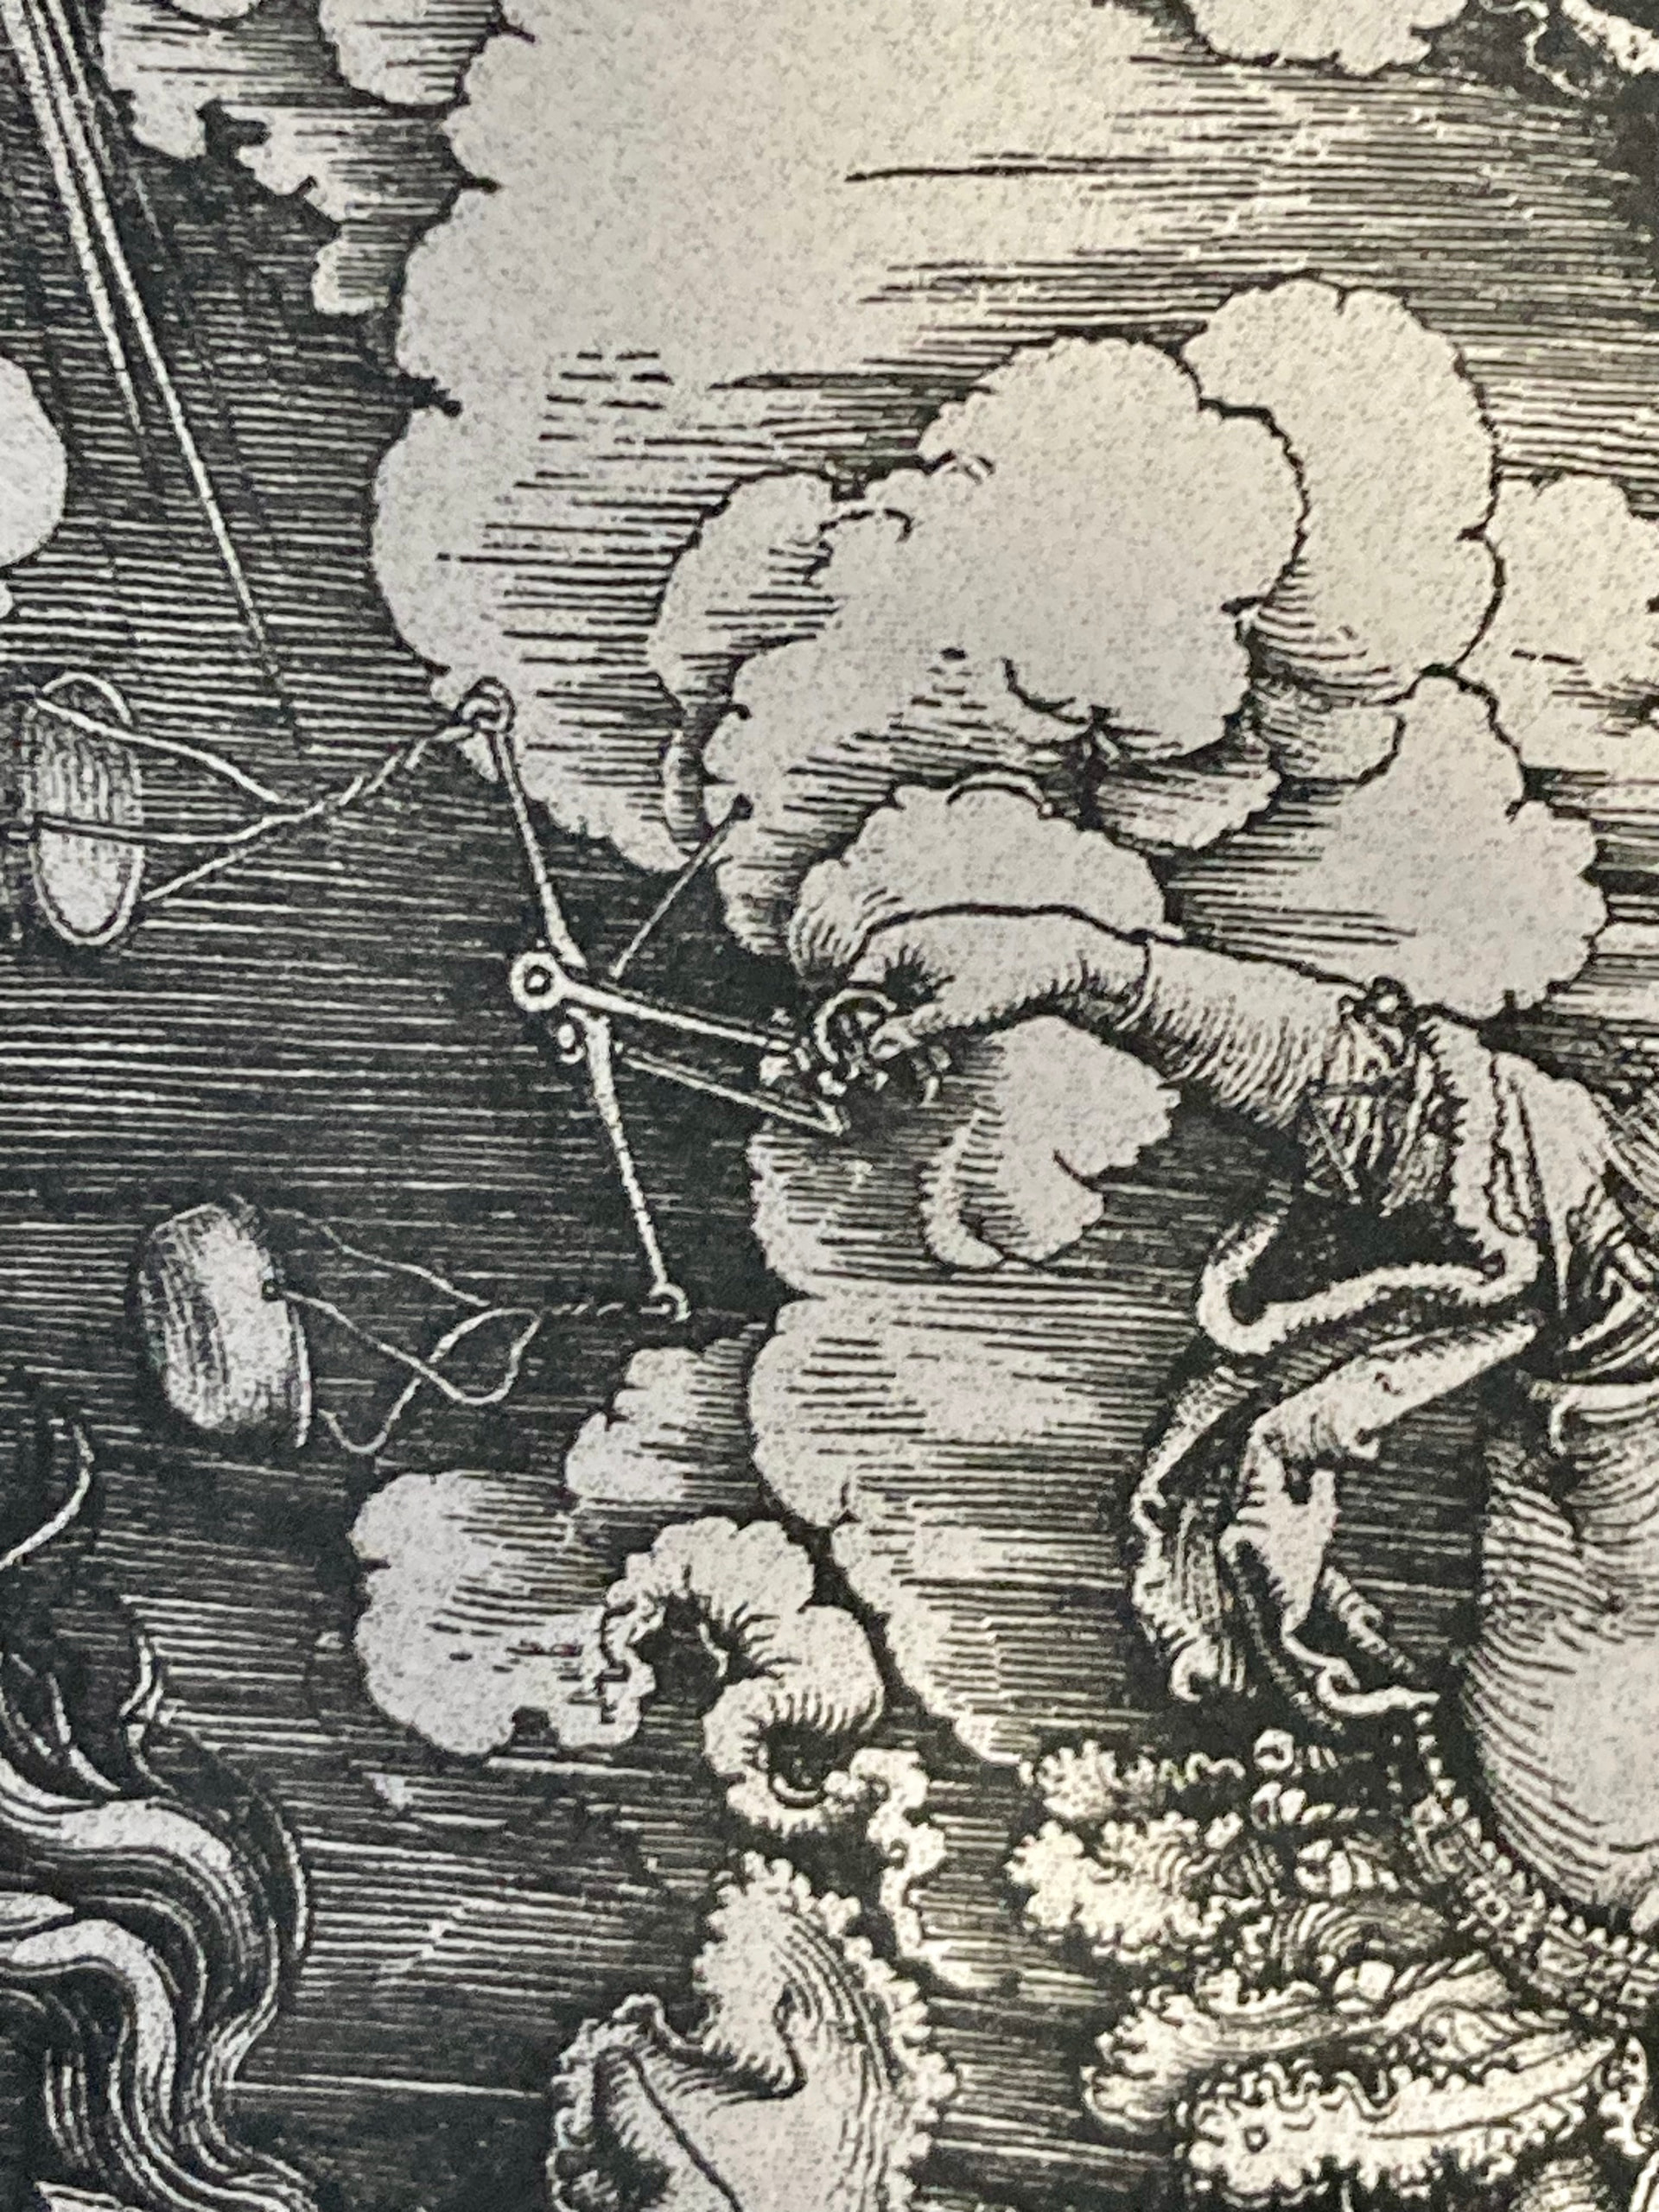
nb. there is actually a little depth in the images, up to 0.2mm I get. By rotating the image you can feel the relief.
Hi Pete, there are about 300 years between both artists and they both represent their own art epoch. According to Wikipedia, Caravaggio belongs to the Italian Baroque while Mucha is Art Nouveau.
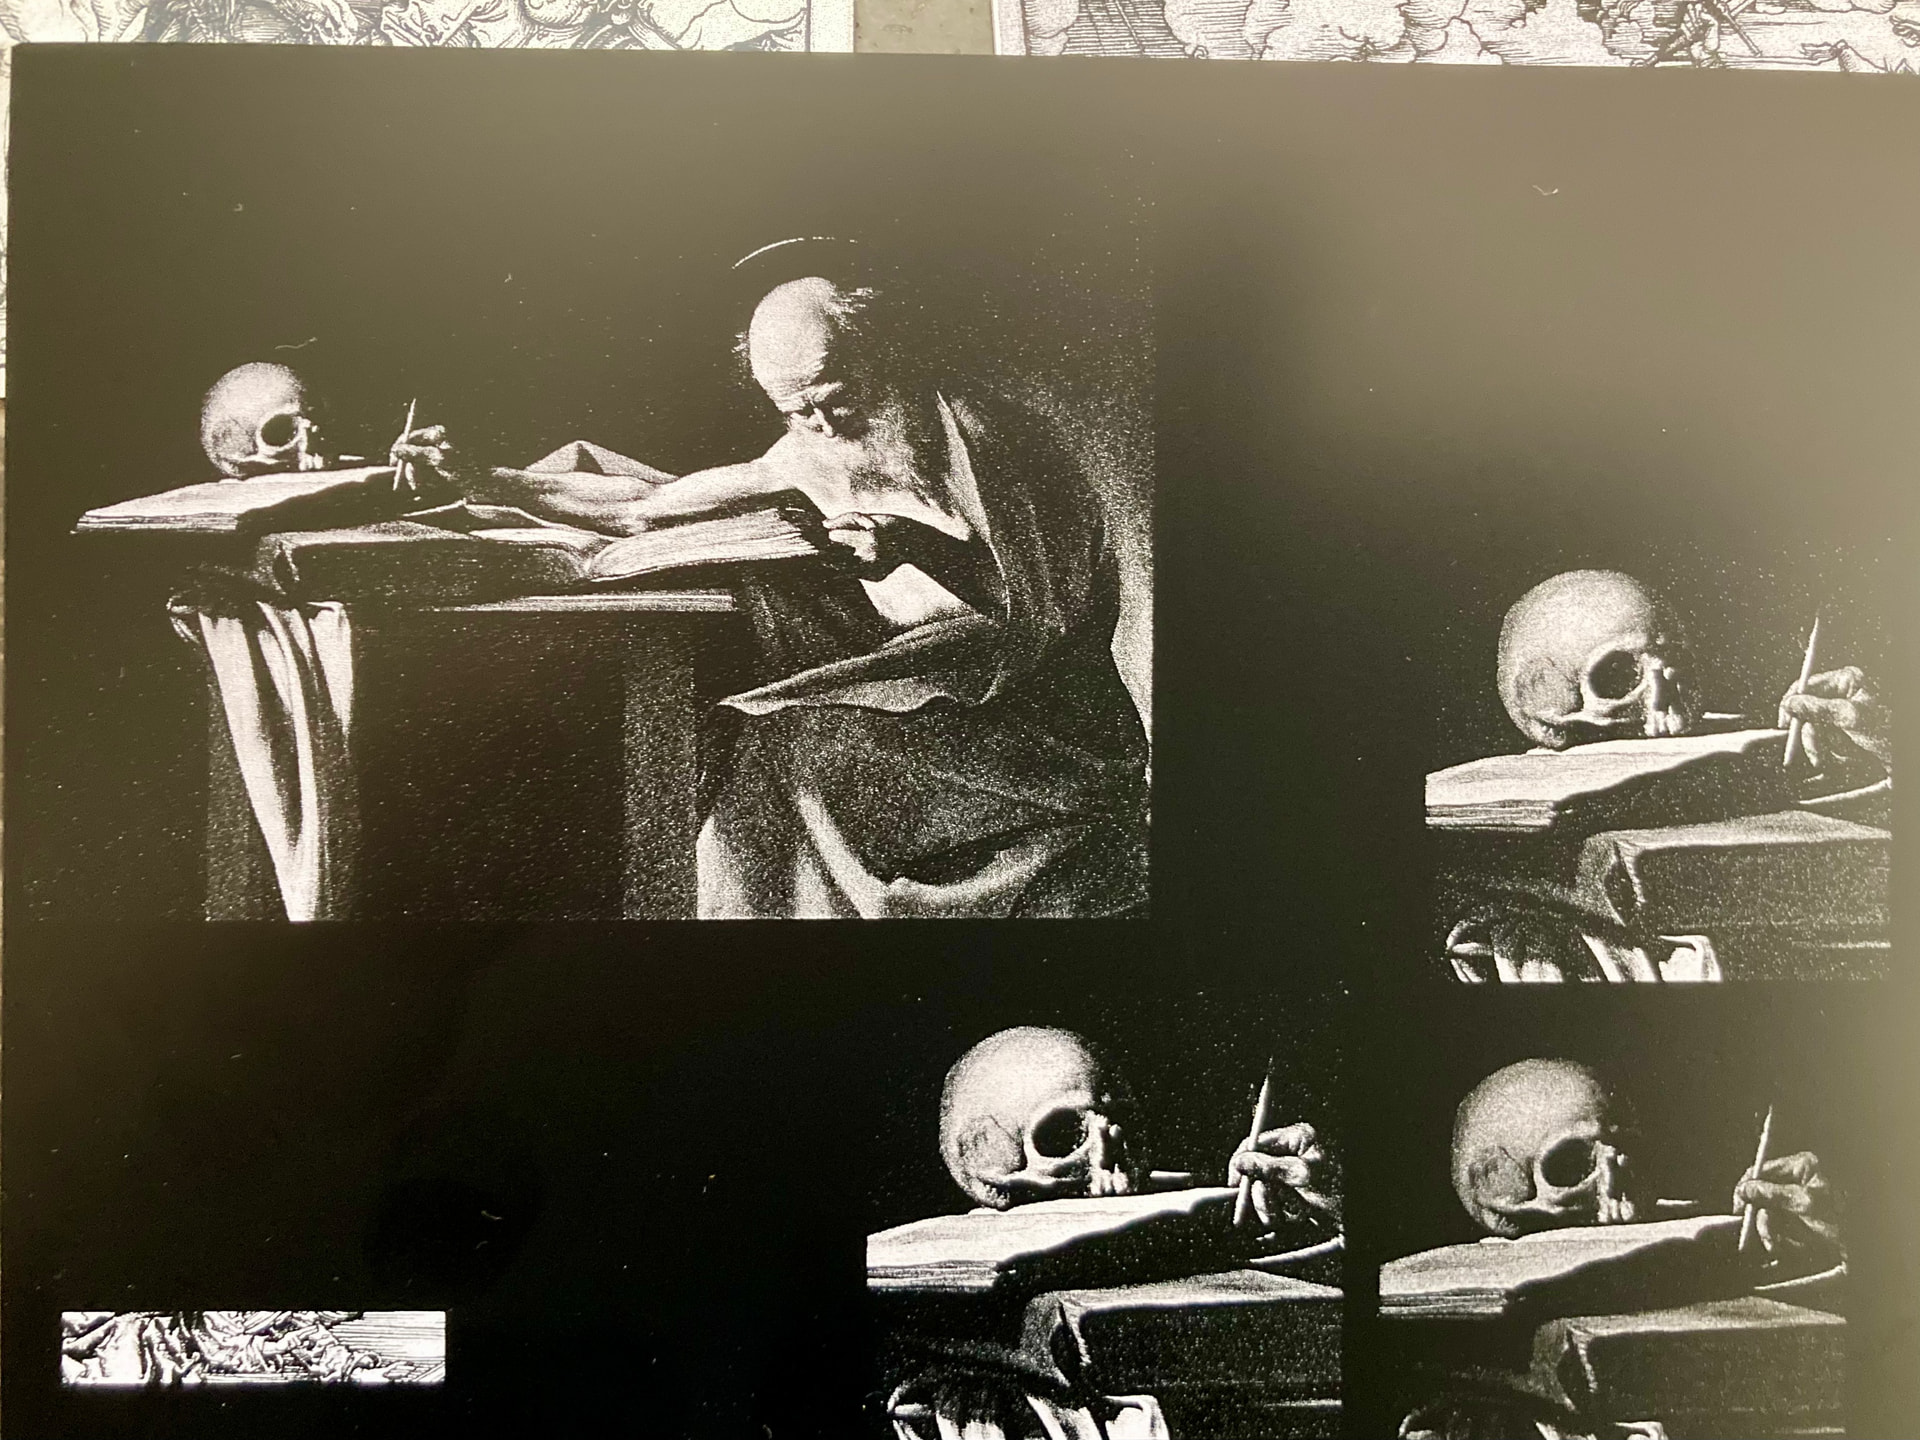
But, just Caravaggio’s style with the enormous light contrasts should be an obvious laser subject.
…I want to see what the possibilities are.
There are quite a few other great Italians, French and Dutch from this epoch, Gerrit van Honthorst is one of them that I also like.
…I just saw that you asked about a more recent artist who uses the style, I don’t know, but Google thinks that Roberto Ferri is a “direct successor”… mmm I don’t really know, and he’s not my style either, it’s just bordering on being a bit tacky/sentimental (for me)
Look up A.M. Mucha on the internet, he has made an incredible amount of art, including advertisements for champagne
He fits my taste for Art Nouveau very well.
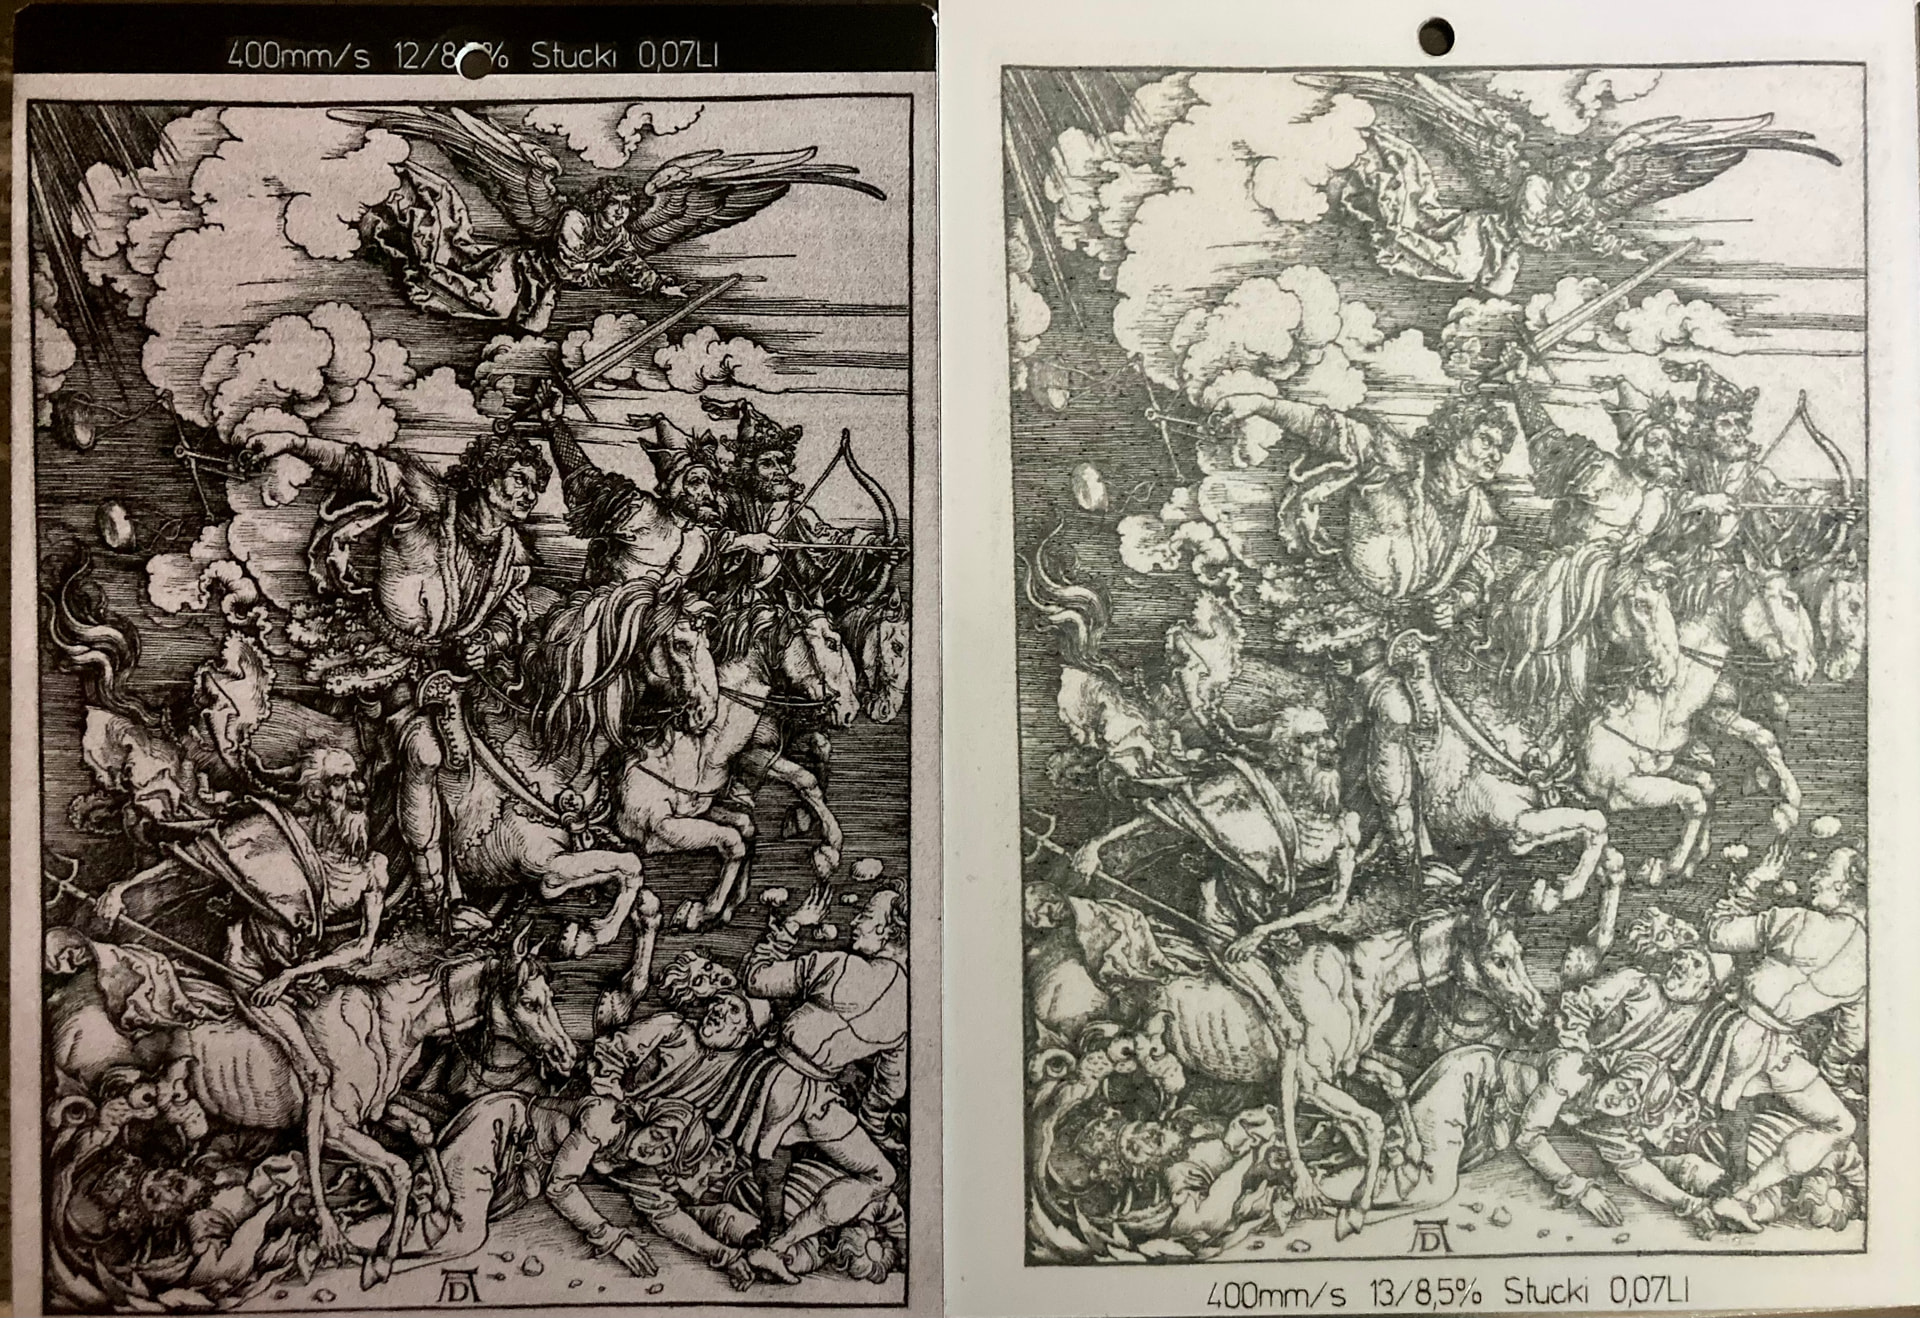
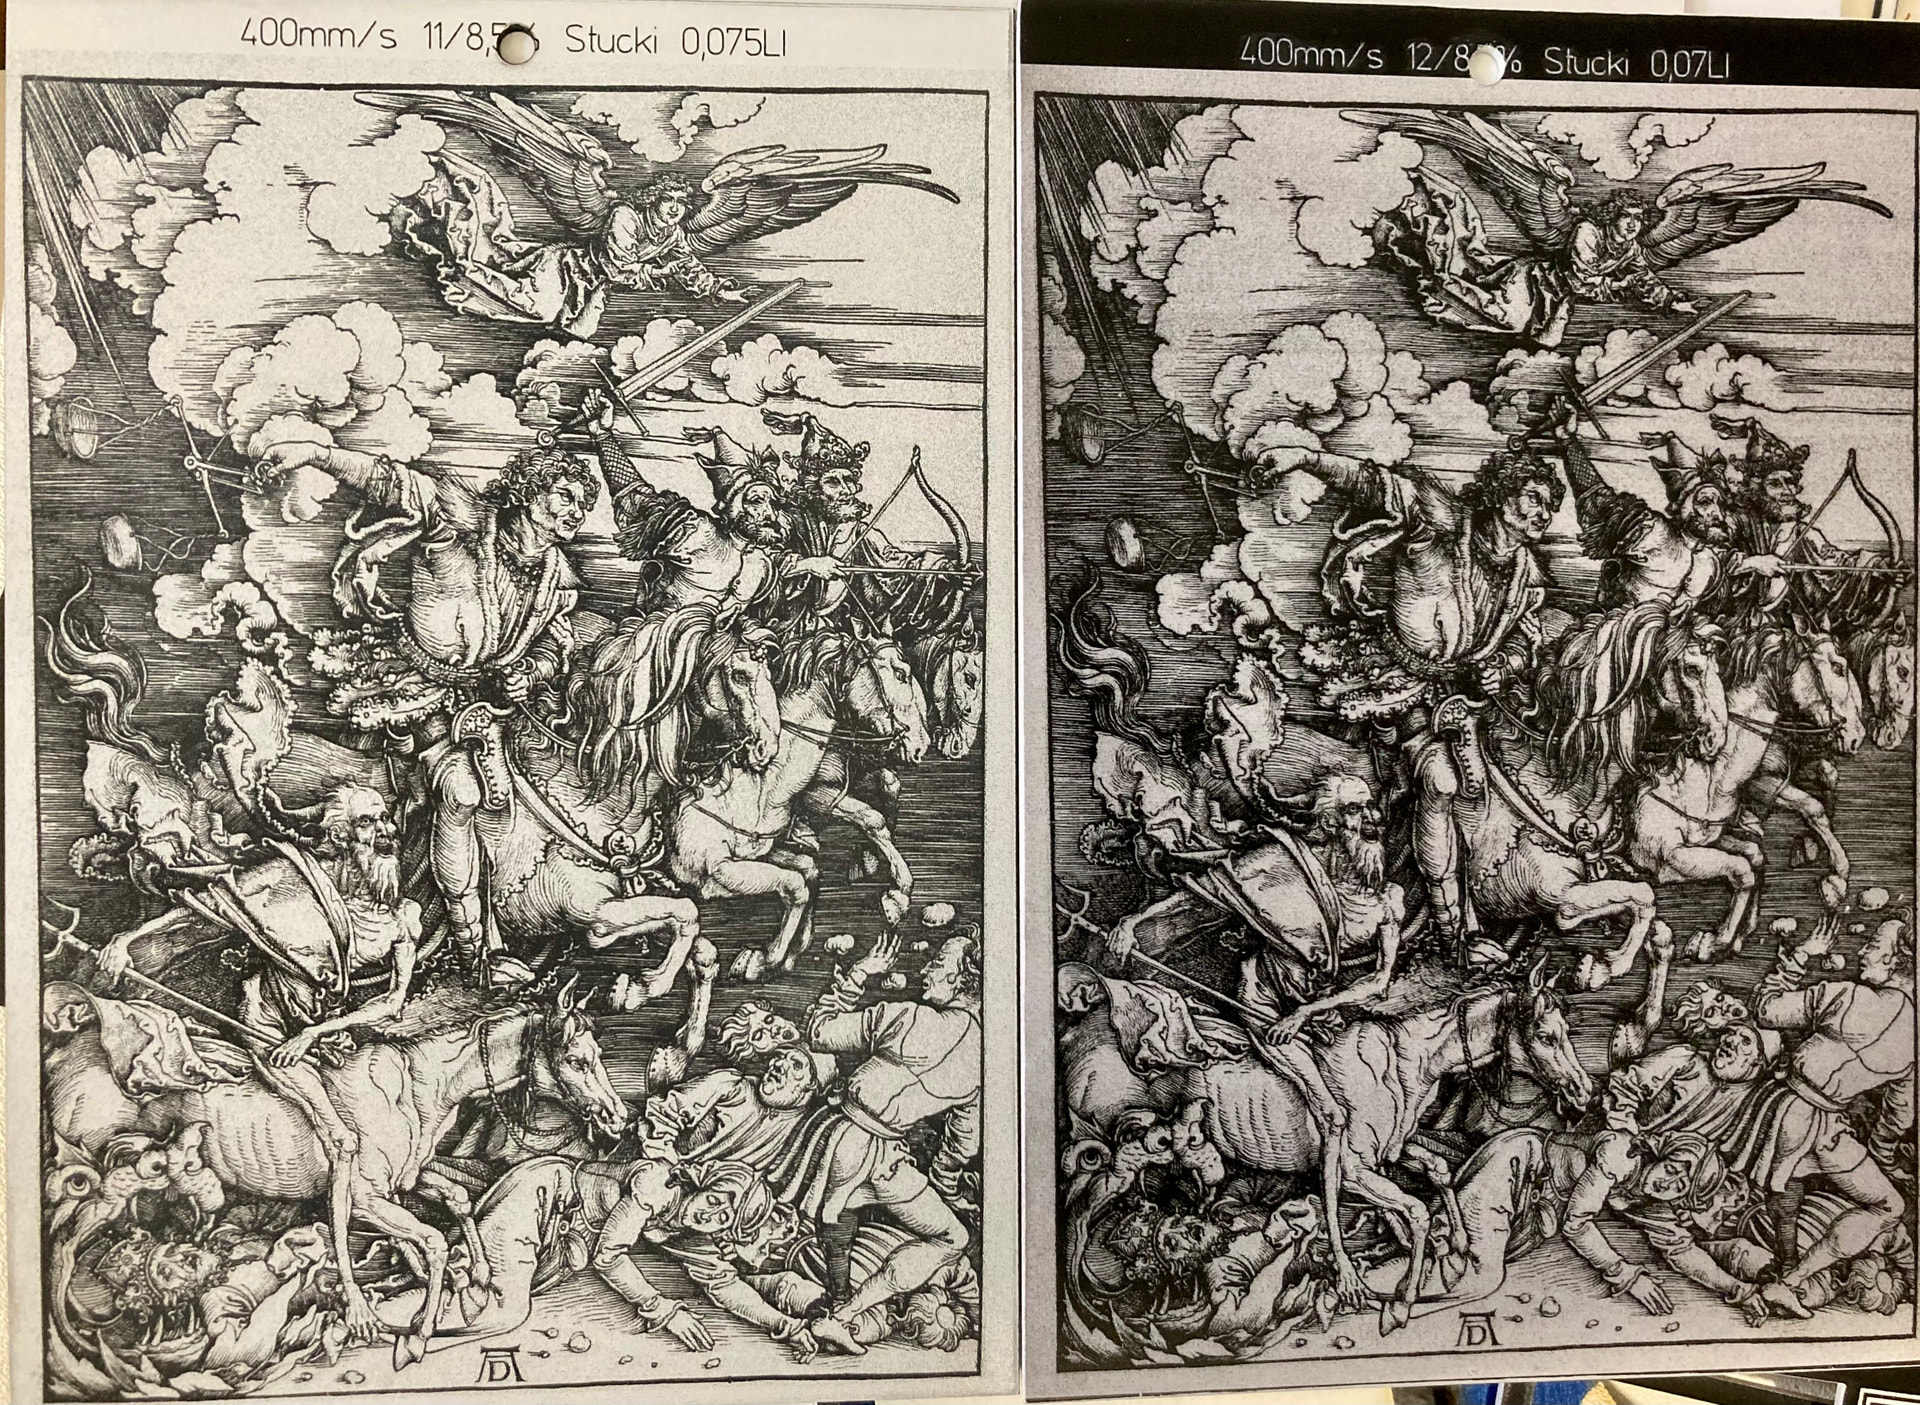
Here is something completely different, it is a copper engraving by Albrecht Dürer, and I thought it would be able to be engraved nicely.
The material is black and white “Sign material” I unfortunately don’t know more about it, it is the thin layer (black or white) that is removed during the process. The values can be read in the pictures.
I couldn’t understand why the “white” material didn’t come out as nice as the black. It turned out to be an “Error 47”.
After removing the thin (PVC?) protective film from the surface, the result came out as nice as the black.
I used Stucki, 300 mm/s 11/8.5% power.
I have the problem that the settings from tests cannot be used directly for the actual “production”, if the size is significantly smaller in the tests, the power settings must be adjusted. This could be avoided by using a much lower speed (approx. 100-150mm/s) but then it takes even longer…
I haven’t really reprocessed the original itself and I’m not experienced in it, but I would like to test AI with such a task.
If I get finished with what I’m working on right now, I will test the last image on wood, it should still give some depth, we’ll see.