(Let me know if this is not the right category for this post.)
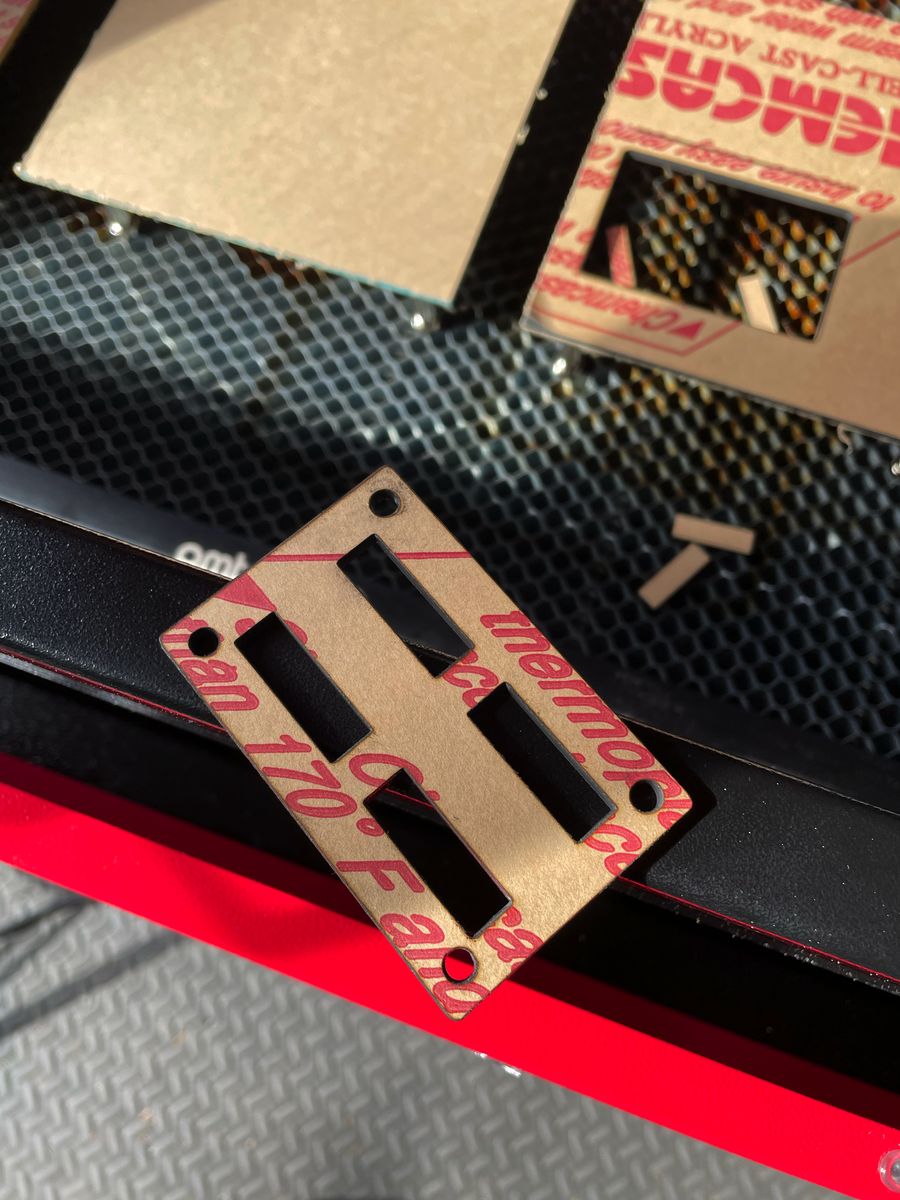
I’ve been cutting acrylic since we got this laser over a month ago, but suddenly noticed a lot of chipping on the underside of my acrylic cuts. (See photo.)
I just switched back to the 4" American Photonics lens in preparation for a big batch of acrylic and delrin cutting, but didn’t notice this when I used the same lens on the same material before.
Any idea why this is happening or how to resolve it? Is it a machine issue or a settings one?
Thanks in advance.
Laser: OMTech 60w (AF2028-60) with Ruida Controller Lens: 4" American Phototonics Cut Settings: 3mm/s | 80% max | 80% min Material: 1/4" Cast Acrylic Sign White from TAP Plastics Laptop: MacBook Pro running Catalina I believe (Due for an upgrade) Software: Lightburn, 1.3.01
Just the honeycomb, thinking I might try adding risers underneath in case its the residue on our honeycomb causing the issue. Didn’t think about reflection, would risers help that too or do I need to put material between the two? Ty!
Cutting acrylic on honeycomb causes Bad Things™ to happen, up to and including nasty fires. The scorch marks around those cuts come from burning vapors inside the cells and the chips are likely burns from the beam reflecting off the honeycomb.
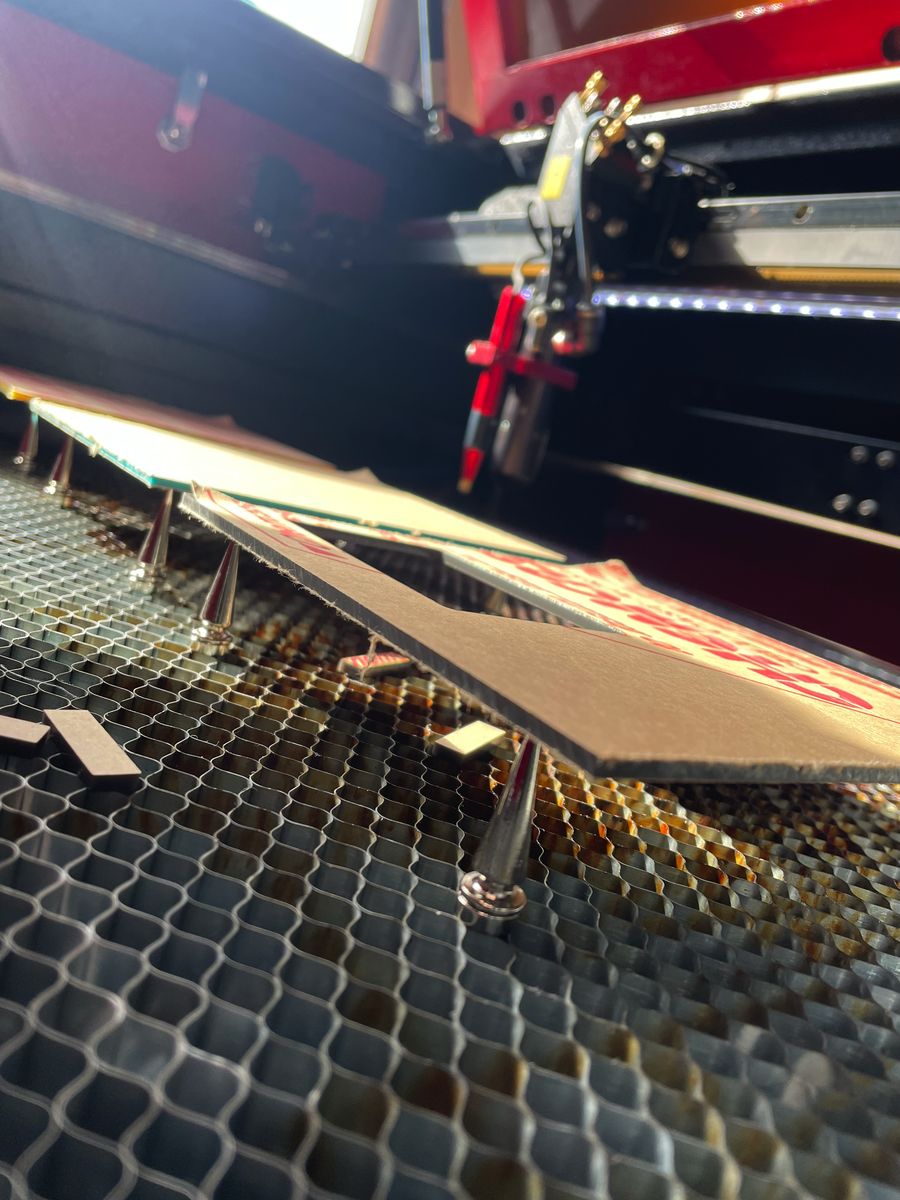
Putting the sheet up on spikes lets the fumes dissipate, particularly if you block the honeycomb to force airflow from front to back.
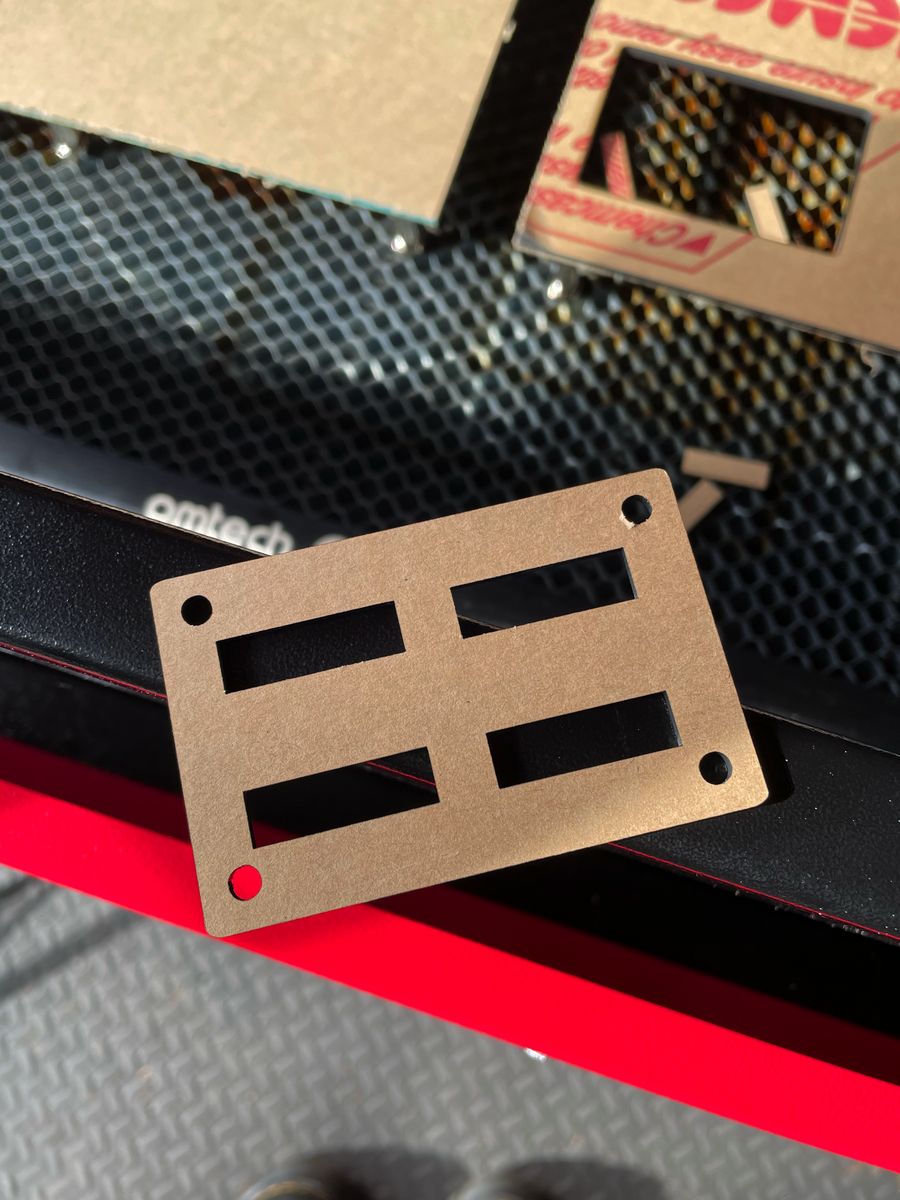
Raising the sheet also keeps most of the crud off the bottom side and gives you a cleaner cut:
One gotcha: you must arrange enough supports to hold up the cutout pieces, because letting them fall free tends to ruin them when they fall a bit out of place and the laser torches them while cutting an adjacent part.
Thank you for the link to the spikes, will definitely give those a try. For the most part the “cutouts” are scrap as we’re creating jigs for hardware, so those getting torched or falling out aren’t a major concern so long as it doesn’t impact the main cut.
The chromed spikes are pretty much indestructible and don’t give off fumes when the beam hits them.
The MDF widgets jam into the honeycomb, which pretty much requires slightly moveable corrugated strips, and the chromed spikes sit on magnets requiring a steel honeycomb. Check those assumptions against whatever is in your machine!
You are amazing, this makes the underside so much better quality!
Question, what is your solve (if one exists) for any two pass cutting? I saw an alternate suggestion to cut on wet paper towels directly on the honeycomb but I love the spike solution except for the case of cutting a second pass for edge cleanup. I assume that won’t be feasible if it falls through. Not something I do often but have seen it suggested before so thought I’d ask.
Although I’ve used tabs to hold chipboard and plywood pieces in place, with some fine tuning to almost cut through the tabs for E-Z cleanup, that doesn’t seem feasible for acrylic.
Depending on which piece you want to clean up, you might be able to arrange three spikes under each cutout piece to hold it in place. I’ve actually had that work, although not for second-pass cleanup, and it’s not reliable enough to depend on.
My laser platform has moveable knife-edge bars (under the honeycomb) that I use for bigger pieces. Smaller cuts fall right through into the charred chaff in the bottom, though. If yours has a similar arrangement, perhaps you can arrange the bars to support all the pieces long enough to finish the second pass.
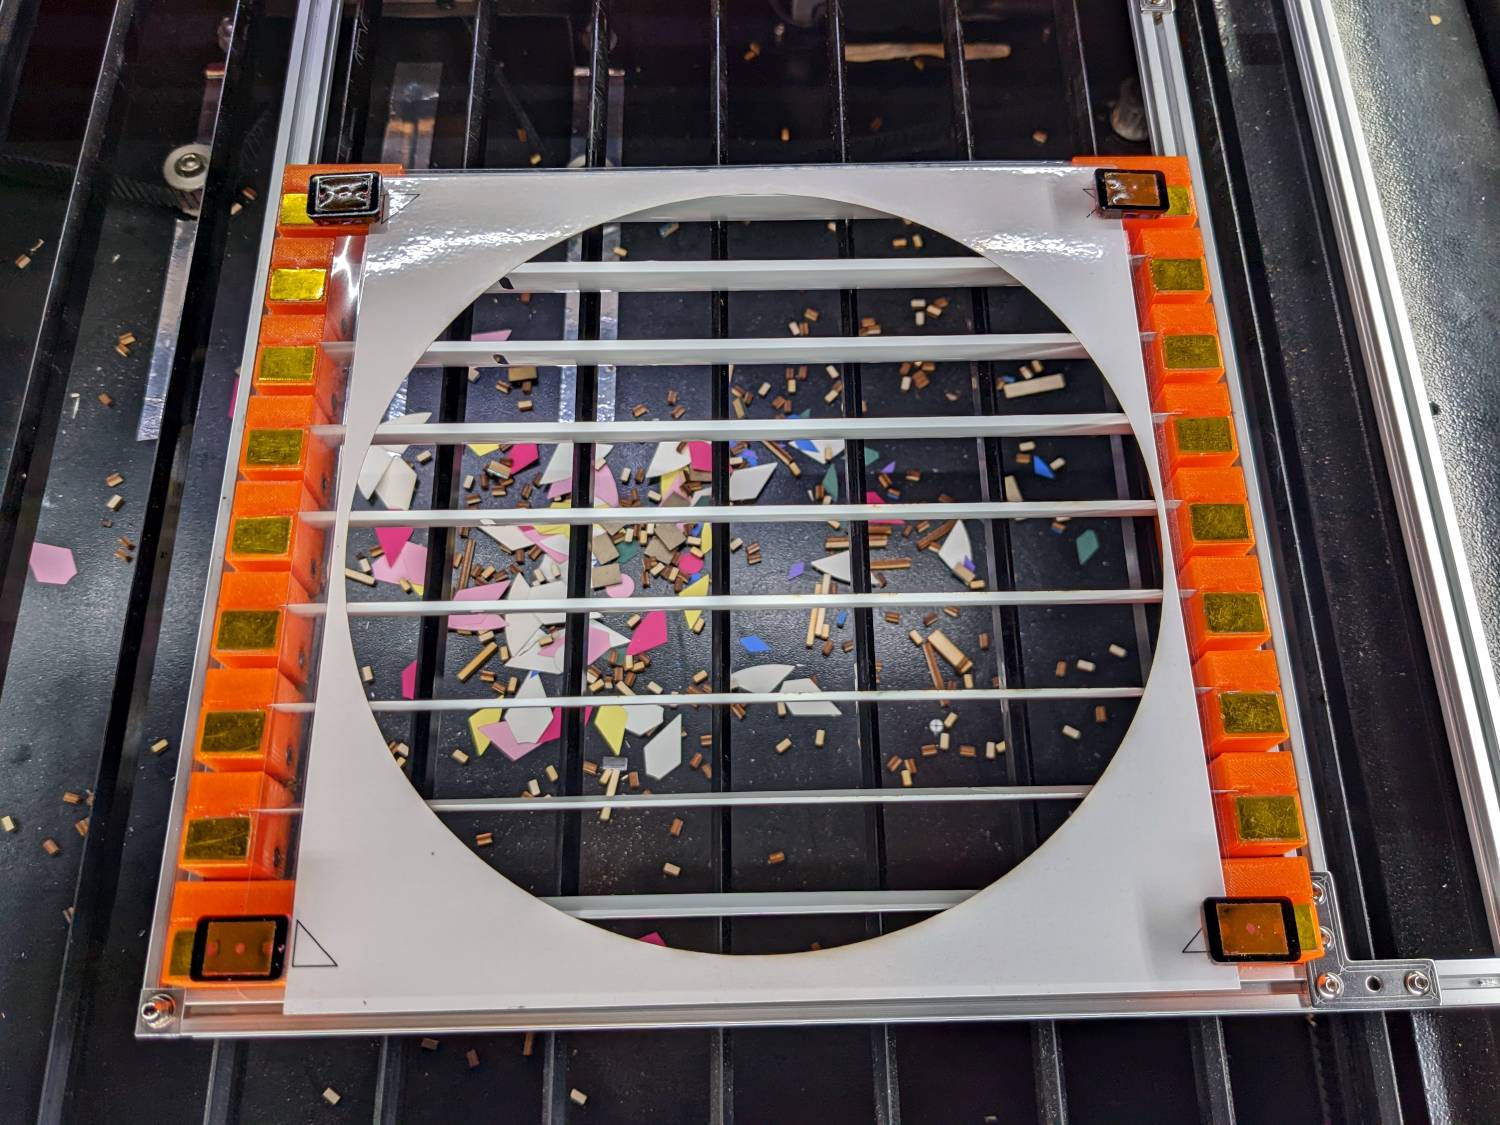
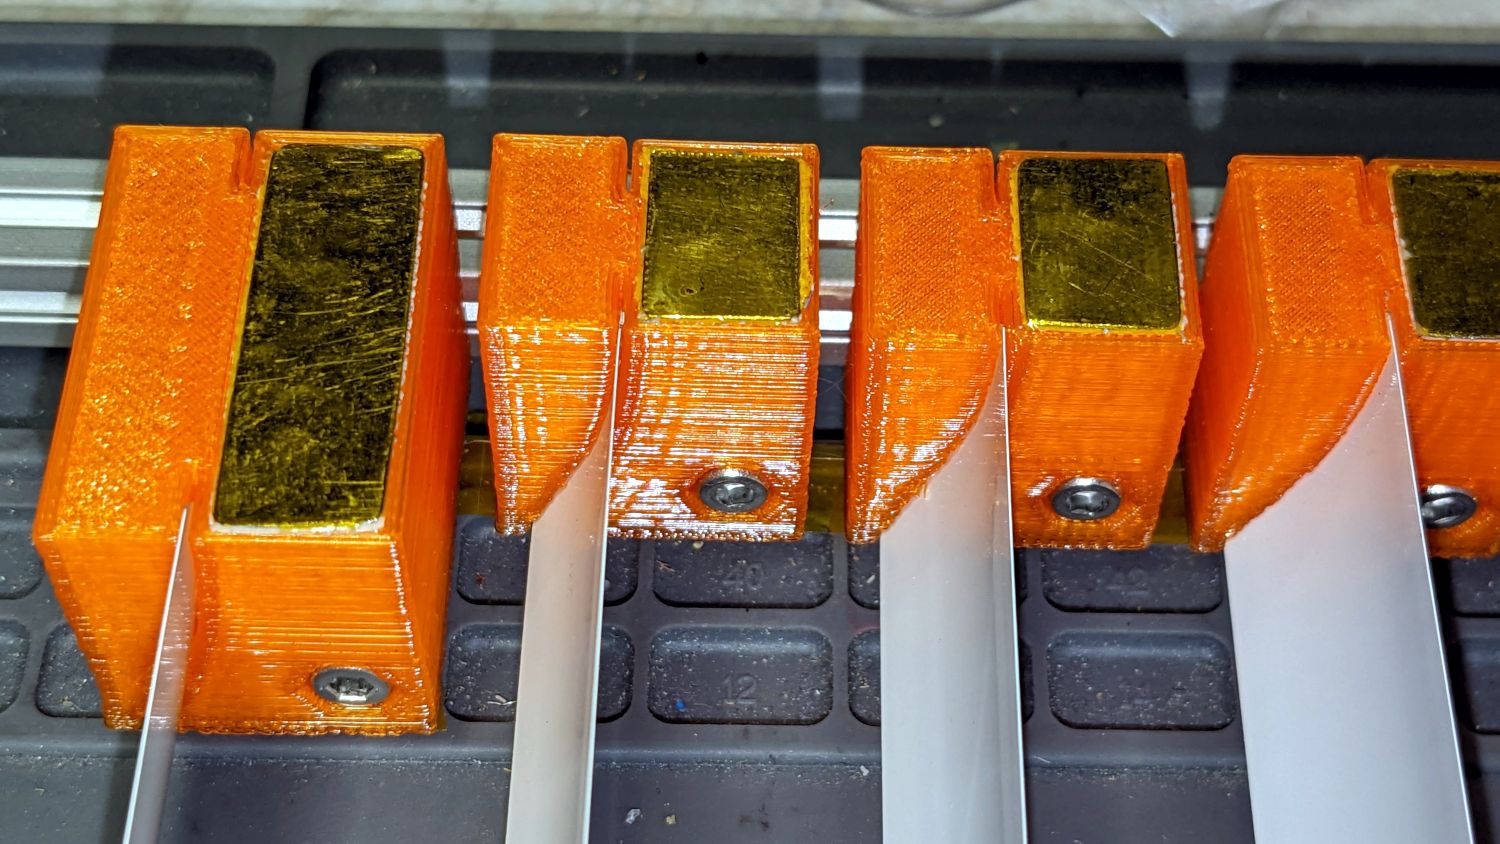
Something like the thin slats I’ve been using for small paper pieces might be scaled up for larger slabs:
The general idea is to provide the least possible target for the laser to minimize scorching. It works surprisingly well, but when the laser moves slowly enough along a slat, the poor thing warps from the heat and, man, does that paint stink.
Thank you so much for the in depth suggestions! Your solutions are so ingenious. Will definitely look at the slat and 3D printed brace idea, we have a new 3D printed on the way now so that will open up some possibilities for laser bed accessories.