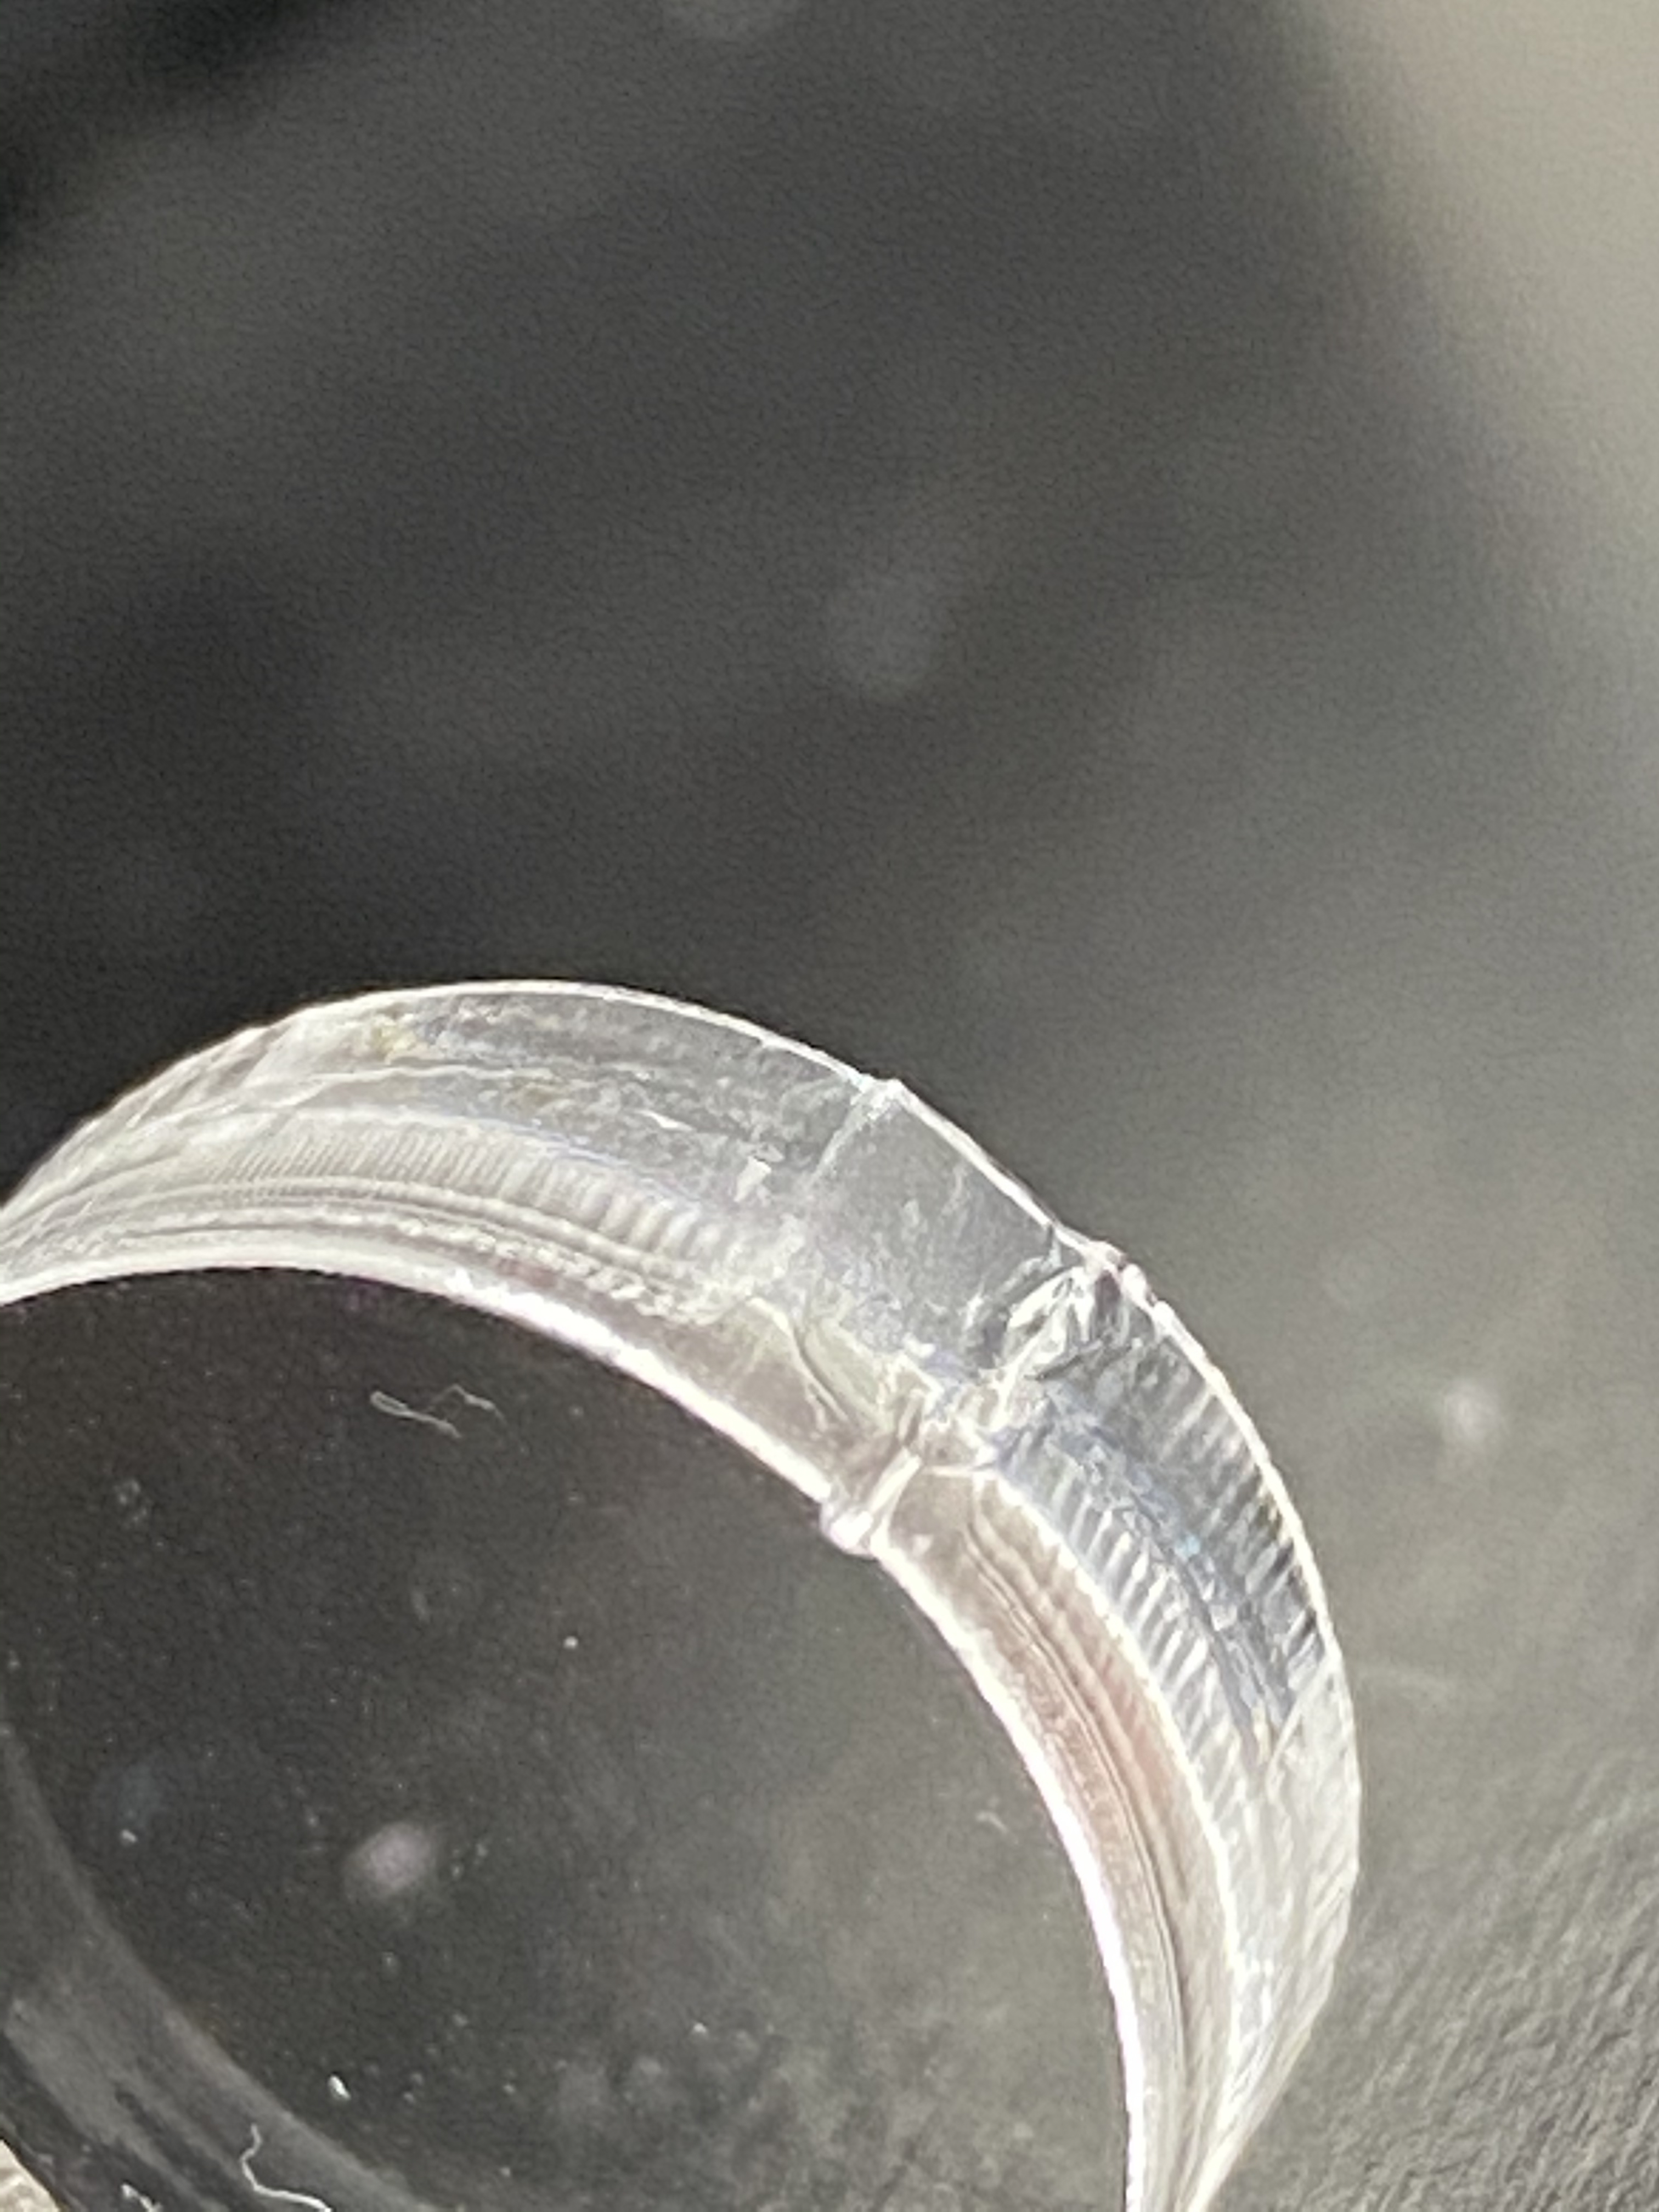
I’m having issues with my start end point on 1/4’ acrylic. It started as just a straight overburned line so I’ve been messing with lead in/out. This attached photo is one of the best attempts I’ve had. Speed, number of passes, focus height adjustments, on pins vs on honeycomb, I still end up with this similar things happening at the start/end of the circle. This photo was with 60degree lead in/out at 8mm long arc. I have attempted line style with results that look like using no lead in/out at all. The circle cutout is about the size of a dime. I feel like I’m missing a setting or I have something really out of whack. Please help.
Try using two passes with less power or more speed and see if that helps. What are your min / max power settings when you do this?
1 Like
In this specific photo the settings were 11.5 mm/s 80% max 0% min two passes. I was getting similar results all the way down to about 50% power with speeds between 9-13mm/s. Anything faster than 14, I couldn’t get through on 1 or two passes.
I am going to try to run tomorrow morning without air assist to see how that impacts the result.
I wouldn’t try no air assist as you can get flare ups. Try absolute minimum air assist and you should get a more flamed edge. Put the nozzle tip in a small amount of water and adjust the blow until you just get a few bubbles.
Cheers
David
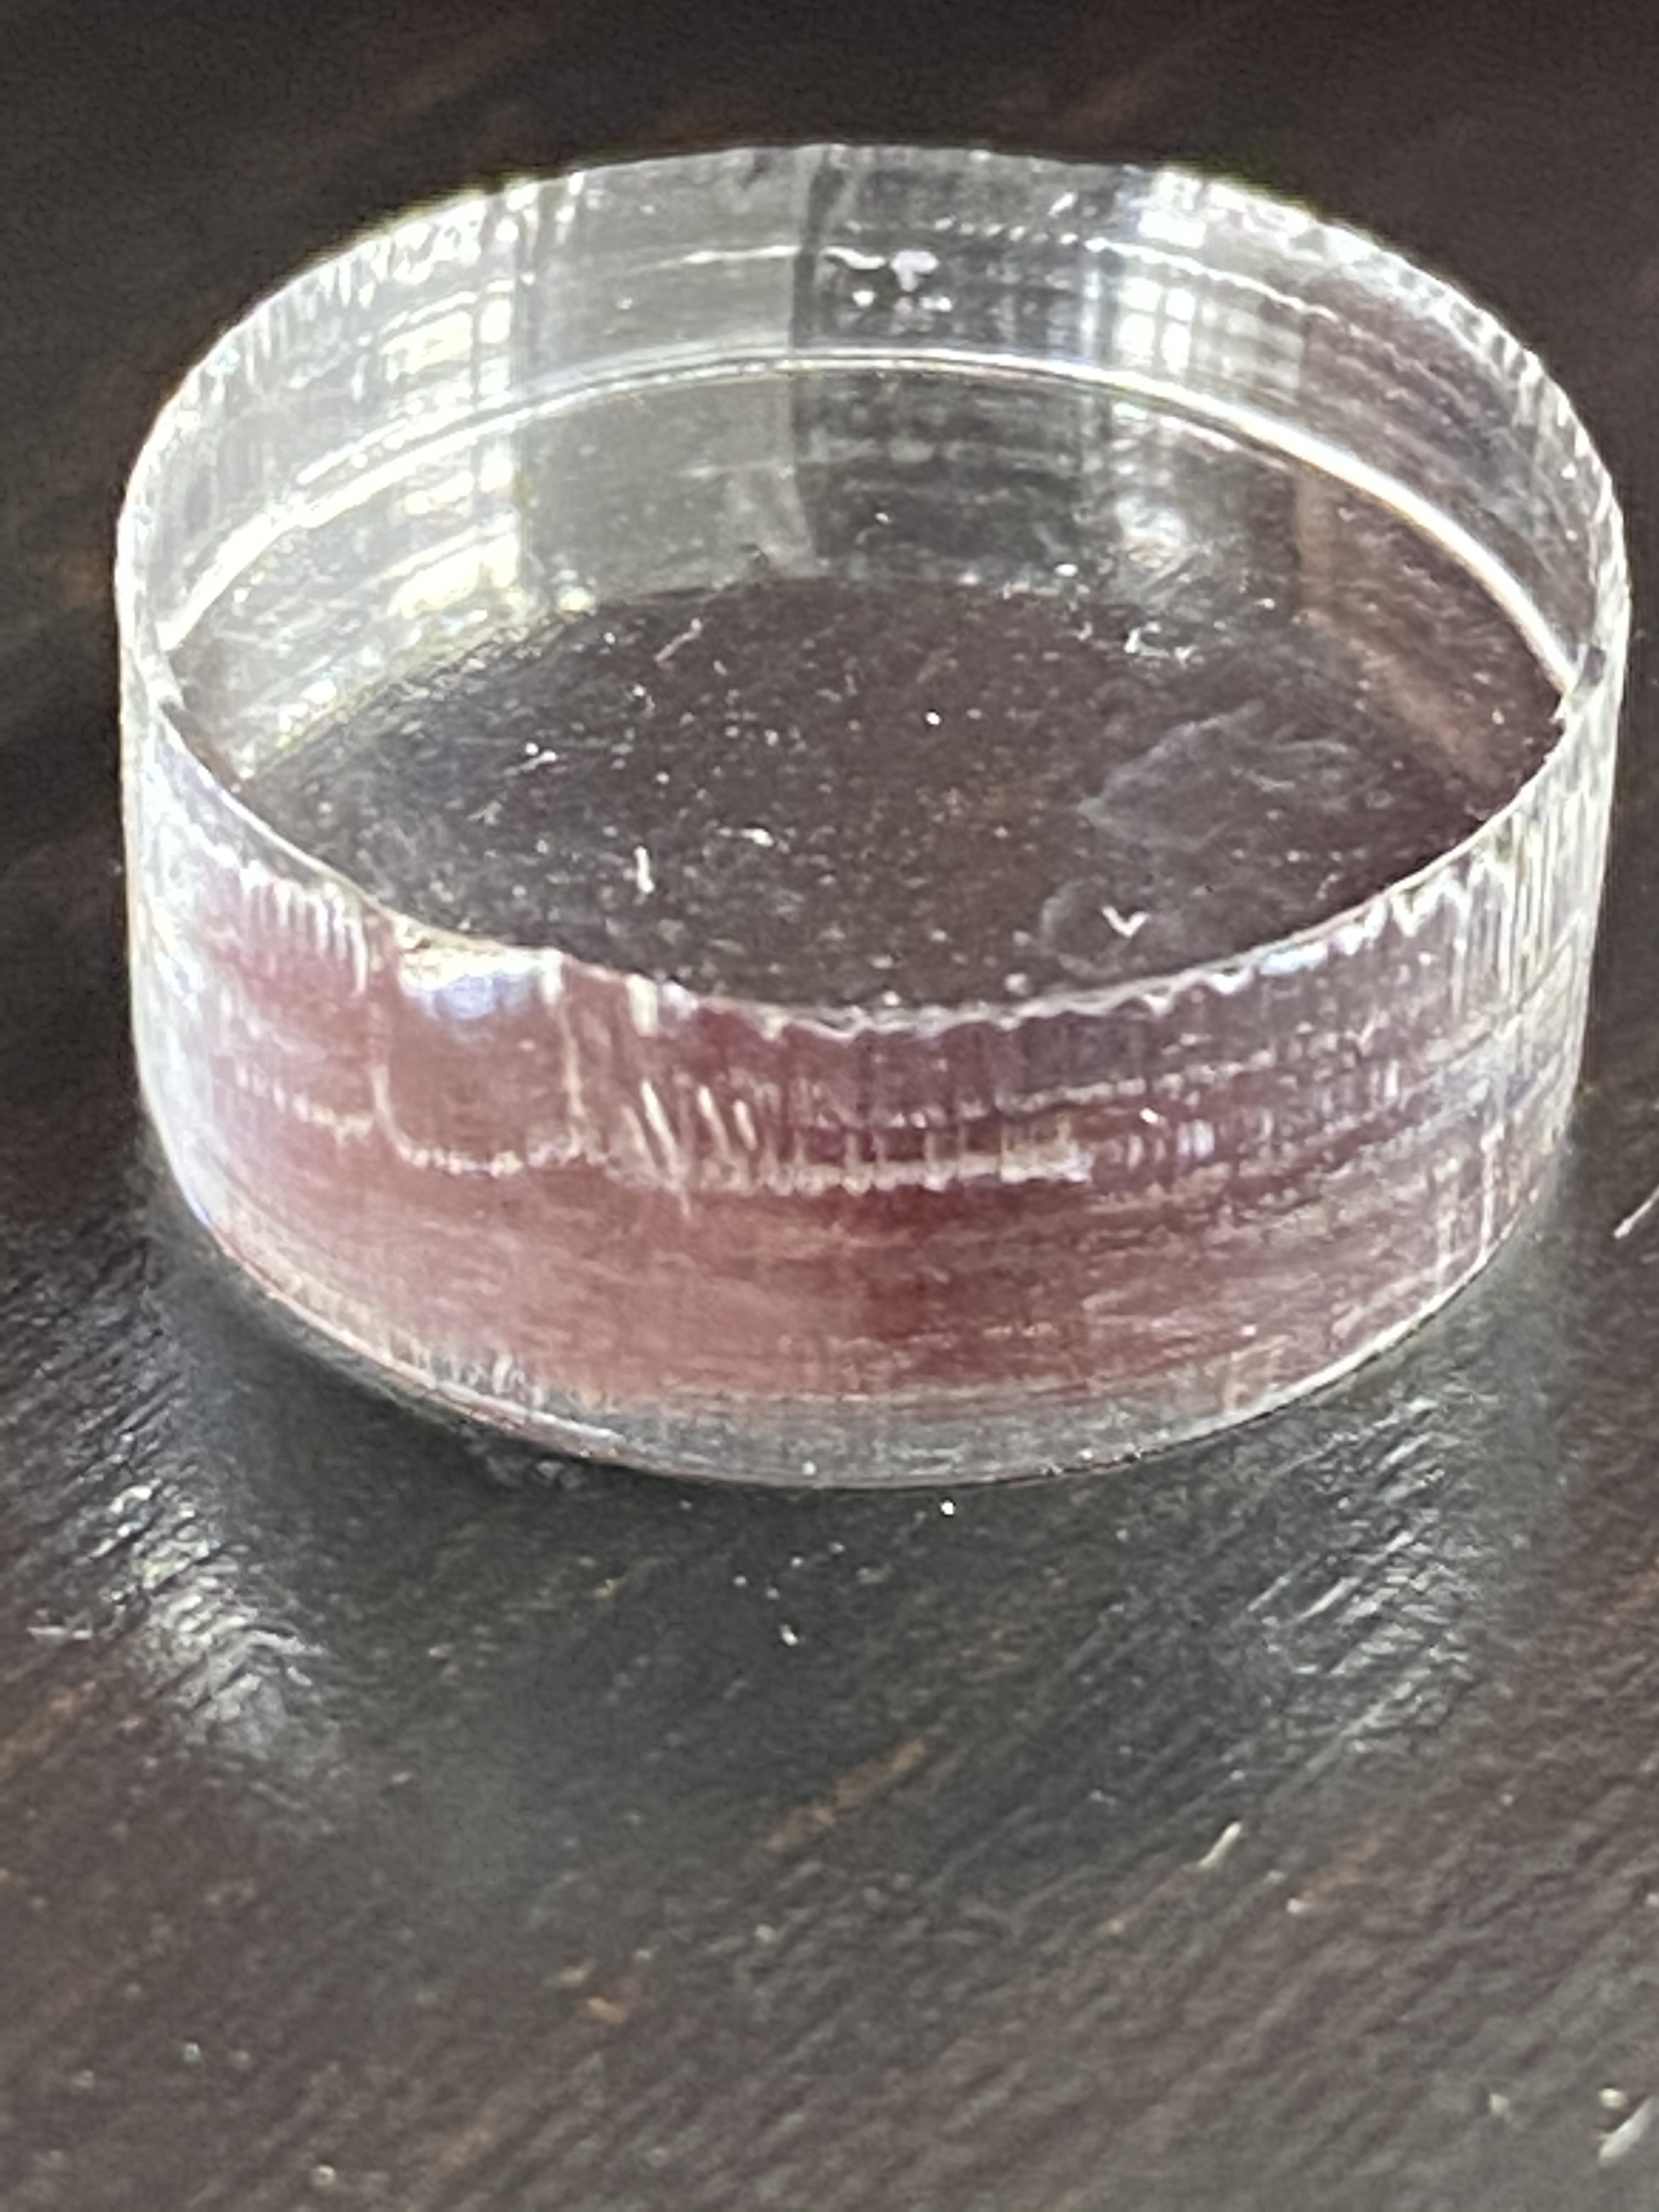
@DavidF Thanks for the tip. I went ahead and tried it that way and it seems to be much better. I think the chunk I’m seeing is when the piece is falling out it’s getting hit by the laser. Does this piece look like what I should expect from a 65w? Or should I be trying to further refine my settings? Attached photo is 13mm/s 45% power 2 passes with lead in/out enabled.
This might offer some more suggestions:
Let me know how it goes.
Cheers
David
3 Likes
Thanks, lots of good information in there. It looks like I need to slow my speed way down and maybe mess with the frequency a bit to see how that impacts things. Out of laser time for today, will give it another go tomorrow! Cheers!
Makes sense to have it a bit slower to again get the flame cut edge effect. Have fun…
If you have an aquarium pump compressor, the ripples are likely from the pulses of air, not the laser. Using a tank-based compressor with a regulator will smooth out the airflow and help get rid of those surface ripples.
1 Like
@LightBurn Thanks for that tip, I was thinking that was part of the issue. Now I have an excuse to buy a compressor for the laser  Thanks again guys!
If you have an aquarium pump compressor, the ripples are likely from the pulses of air<<
I originally thought the same thing. This video explains a counter argument worth considering though: https://www.youtube.com/watch?v=29L-3TpL8ws . For background, Russ starts to introduce this theory here in an even earlier video: https://youtu.be/hpjTGrtnru0?t=795 at about the 13:15 time point.
maybe mess with the frequency a bit to see how that impacts things<<
Your profile doesn’t list your equipment type, but if you have a glass tube CO2 laser, changes to that setting most likely aren’t going to have an effect like the author of that article describes because I think that author’s point of reference was a probably a Trotec laser with an RF laser versus a glass tube.
Thanks for the videos. There was some information here that I had never considered before. Totally changed my view of the laser beam, lol.
I do have a c02 so I won’t waste my time messing with the frequency, thanks for the heads up on that. I will have to run more tests to get it refined even further. Thanks everyone for the tips!