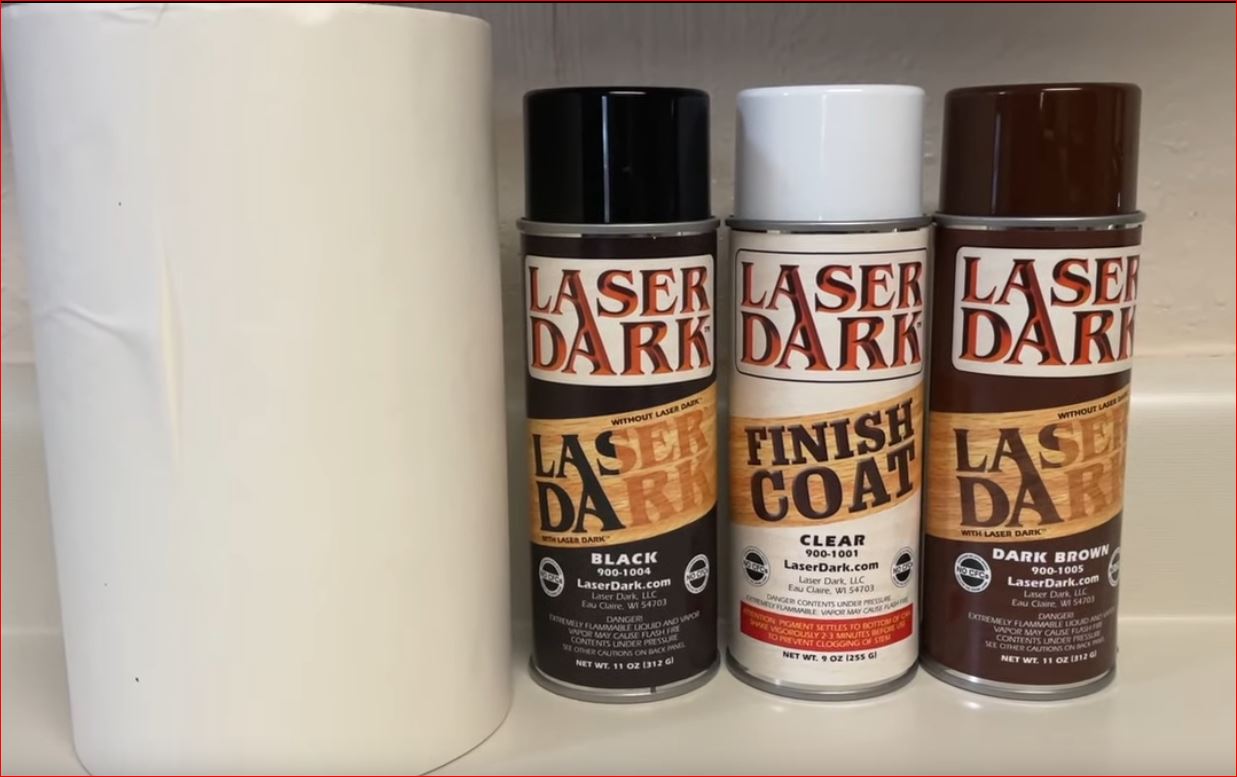
Well I decided to re-install the Laser tubes Red dot attachment again after the first try that failed due to extreme low power reduction…
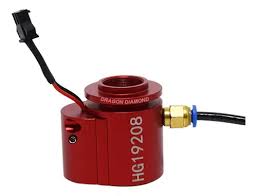
Edit: This is a Yhongli Red Dot specifically made for the Yhongli 80-150w tubes, screws directly on to the tube end.
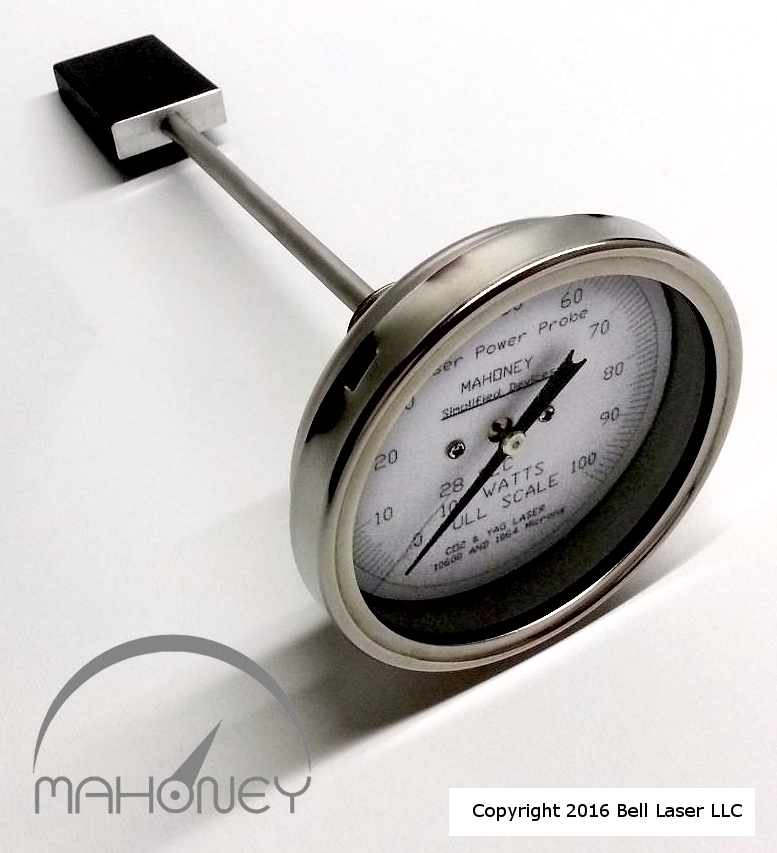
When I first installed it I did a bench mark power test with two power meters HLP-200 and the Mahoney 200 watt version.

Ed Nisley did a great write up on the HLP-200
https://softsolder.com/2024/12/25/hlp-200b-laser-power-meter-first-measurements/
I found an almost 15w drop in power, so when I found time to investigate, I tore apart the Red dot unit and took a good look at the lens installed… It was in, “not so good shape”,
scratched around the edges a bit an just did not have a consistent coating, looked patchy… So I found a replacement at American Photonics and ordered one to give it a try.
The specs on their beam combiner lens was 99.8% transmission…I’ve spoke with the folks at APC a number of times and bought custom 3" lens and mirrors, and all of the products were super quality, so I figured the Beam combiner lens would also be the same…
After I recieved it and installed it in the Red dot unit, it was titme to do a power test…
I had my bench mark test, Fixed positon on the bed , Front and Center as I wanted a true power value thru the Red dot lens as well as mirror 1 and 2.
Set to 50% power,
Bench mark read 68W on both power meters.
Now I repeated the test with red dot… Exactly the same, actually read 1/2w higher in the HLP-200, but the bottom line was, the lens was working as I hoped… Success…
This was good to see as I hated the ‘hanging red dot’ indicator off the lens…
Now I had to alight the Red dot, welll after three hours, finally got it to with in 1/2 mm of the pulsed dot test on some birch wood 20% power 30ms pulse. Happy with that for now…
Next I had to install a 4mm air hose to the Red dot unit for cooling, I used a wye adapter off the Monport small air asisst pump and piped it up to the Red dot unit and plugged it in…
I still need to install an inline water filter to help keep the air flow dry which now goes to the nozzle and the Red dot lens.
The next issue was drop the intensity of the red dot, as we all know the dang red dot is bright, so using the power cable in the head that was attached to the original red dot hanging unit, I installed a 250ohm pot on the back side of the laser head for easy access and wired it in series with the 5V going to the New Red dot beam combiner… Had to play with the Resistance values for this unit and found 250ohms worked well to drop the intensisty to about ‘off’.
So now it is nice viewing on the materials, and I can increase it as needed, like on acrylic…
That was a 6hr project but well worth the final outcome.
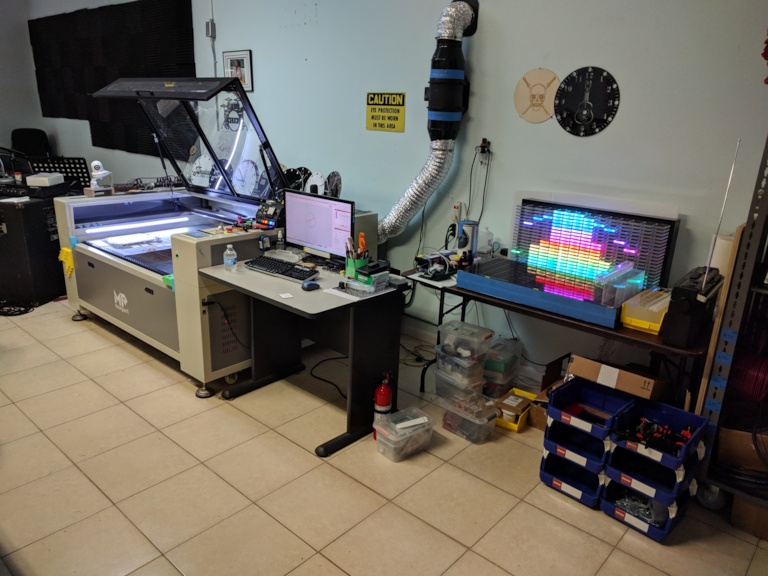
Next: I had been working on a project for a few weeks.
Two piece 3D printed case for easy access.
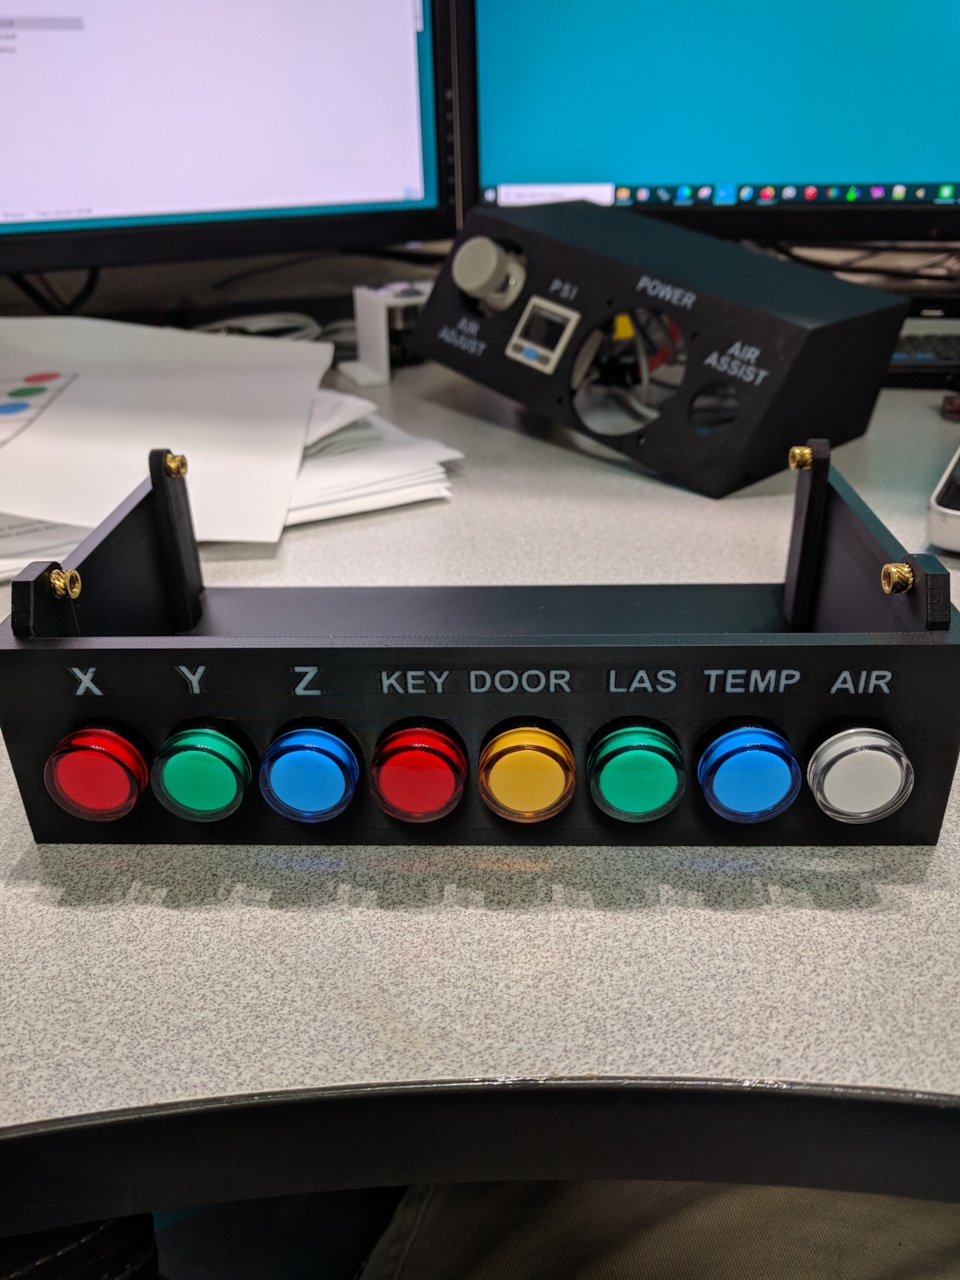
This was born from having a loose Y-axis Prox sensor come loose and hear the machine go into the ‘chatter’ fit when trying to home position. ‘yikes’
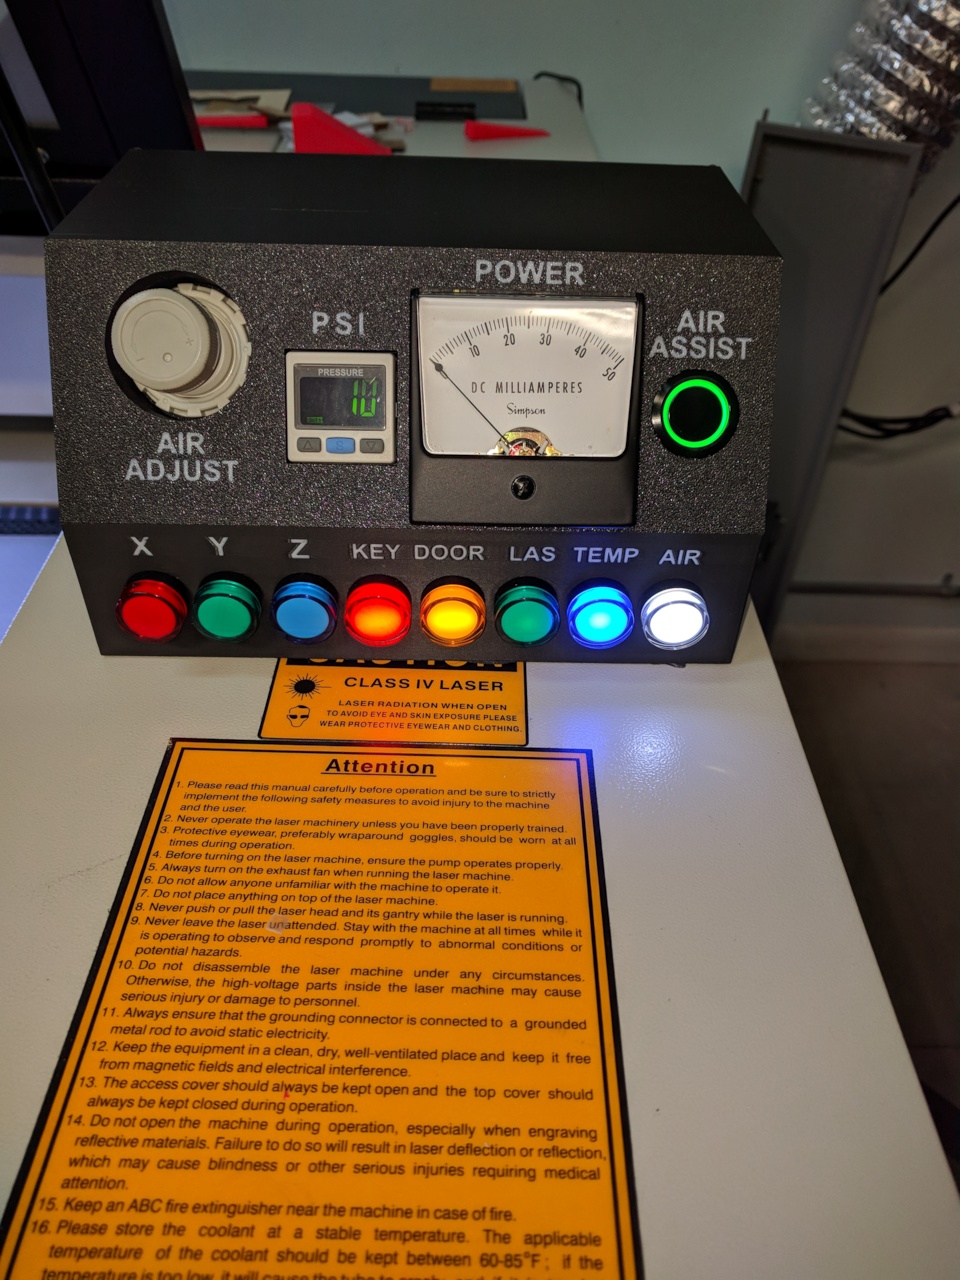
So I decided to just go whole hog and design a complete information sensor unit and also bring the air assist and current meter into the same unit.
I now have a handy air adjust source right at my reach when needed along with all the basic indicators.
Prox Sensors X Y Z
Key Turn on for laser power, which then Triggers the TEMP light when the chiller water flow is good.
DOOR of course show when the lid is down, OR I have a bypass button I installed on the front of the laser next to the lid prox sensor to leave the lid open during power testing etc…
LAS indicator turns on when the Laser is ON
AIR is the added Air assist I have wye’d into the nozzle from a external air source tha can deliver (set to a max) of 25psi. I usually use 10psi for cutting acrylic to keep the flame up down, but not enough to cool down the cutting … Or ‘damage’ value that Russ likes to use ![]()
I use 20psi for cutting Wood items, found this value give a ‘no corner burn , clean cut’ on most all wood, mostly birch and pine, that I have tried.
Of course I have the Simpson Current Meter for easy viewing when needed.
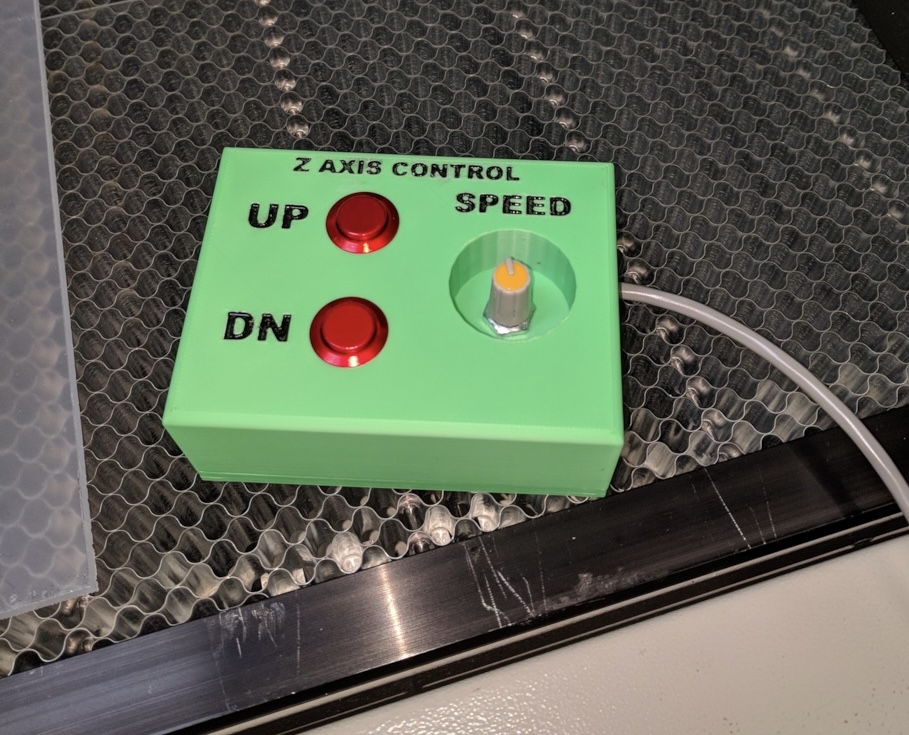
I still have to hook back up the Ruida control to the Z-axis after I installed my external control unit for the Z-axis making it handy to raise and lower the bed for focus distance when changing materials.
So I have had a few things I’ve played with lately…
one was trying the TIO2 slurry on Tiles, that was intersting…


They came put ok but only after I found IMO the perfect solution, or one of them, to coating the tiles with a consistent layer of the Tio2 slurry…
First: Clean the tile with something the will remove all the finger grease and other grime to allow the slurry to stick to the tile surface.
Next: get a large enough tray to hold the tile FLAT Face down into and still be able to hold and manipulate.
Mix your slurry very well, to get the glue, powder, water mixed as well as possible, there will always be some lumps but that wont be a problem… coming up…
I don’t shake the holding jar, but rather swirl the jar around to mix, shaking makes bubbles… not good.
Pour about 1/4" in the pan after mixing very well.
Take the tile and lower it face down into the pan to completely coat the face of the tile…
Lift it out to inspect the coating, if you see any blotchy areas, you may not have cleaned it good enough, then with a finger gently rub those areas , thus cleaning again, and re-dip until you see a nice even coating… raise the tile out and holding it vertical, allow all the excess slurry to drain off, rotating the tile in 90Deg rotations will help.
The lumps If any will have settled to the bottom of the tray, so when lifting out the tile, just before breaking the surface, move the tile back and forth to dislodge and attached lumps, if any…
Note: this whole process is a pain and messy, OMG messy wear blue surgical gloves and have a dedicated work area tha can get messy… but it is worth it in the end.
Next: stop and set the tile up to dry in an almost vertical positon to continue to flow off excess slurry…
Now be patient and let the tile dry over night, in a dry area, if your garage or work room tends to be cool or have moisture in the air, find someplace else, the goal is to not introduce any room moisture back onto the tile surface. Keep it vertical !!!
Now you should have a nice uniform layer to engrave on.
Some factors that matter in the final quality of the blackness is:
The thickness of the coating will dictate the power level needed:
TIO2 mixture… Document, exaclty how much water, powder,glue you use in the mixture to be consistent from batch to batch, especially the glue, scrap the cup clean ![]()
Also , of course, you will need to experiment with power and speed setting as you would with any engrave process…
Lastly I would add, try not to pour the mixture down the sink drain when washing off the dried coating after the engrave process, as here in Florida we are mostly on Septic systems and the slurry over time will play hell in those systems…
But even keeping the slurry out of your home pipe drains is a good thing.
I Use a bucket outside with a hose to clean the tiles, not sure if the grass likes the slurry but time will tell …
If you try this… Drop a picture of your work, let us see how it went !
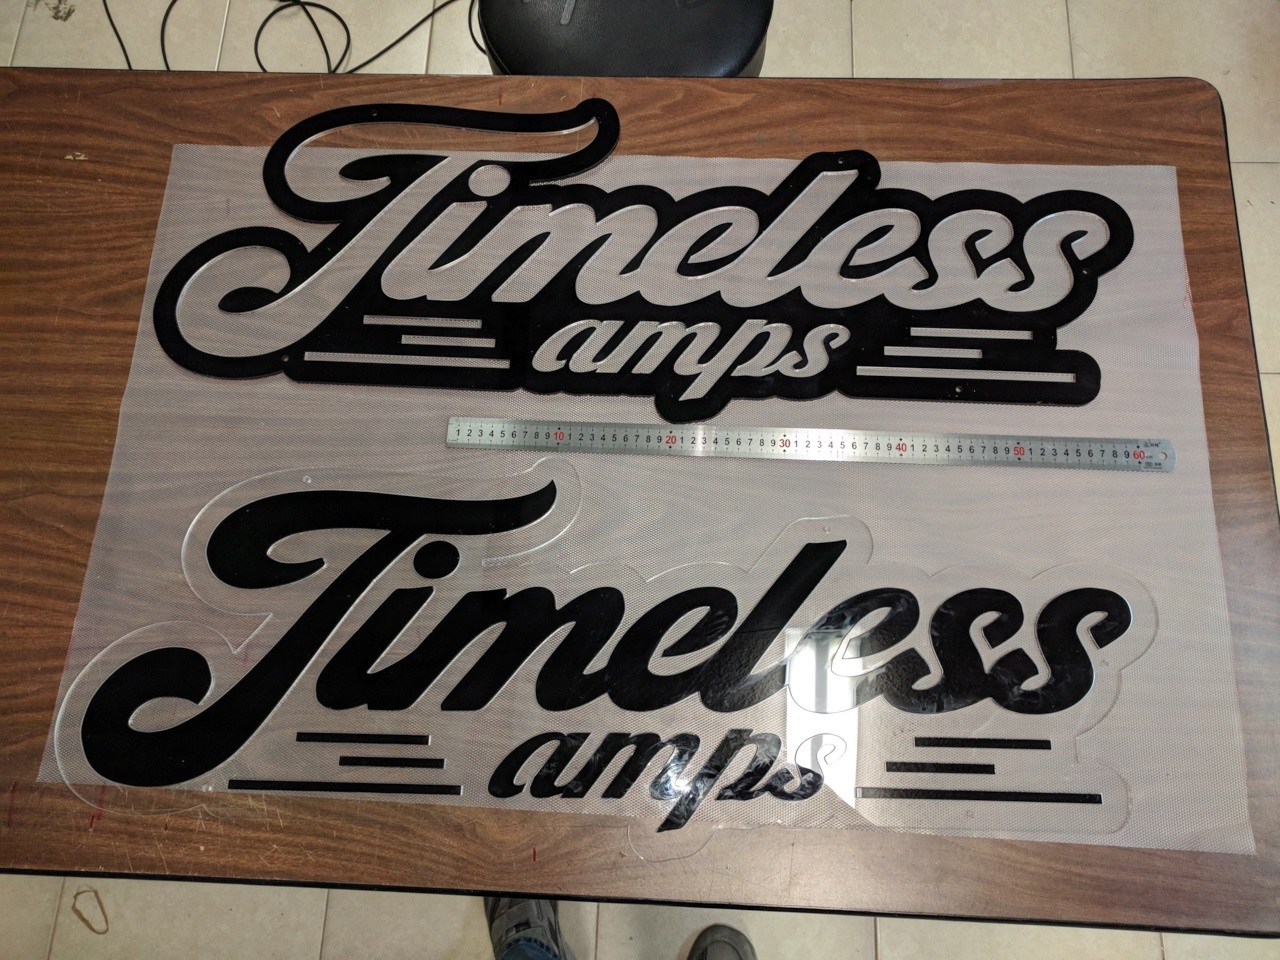
Another project, I was making a few items…
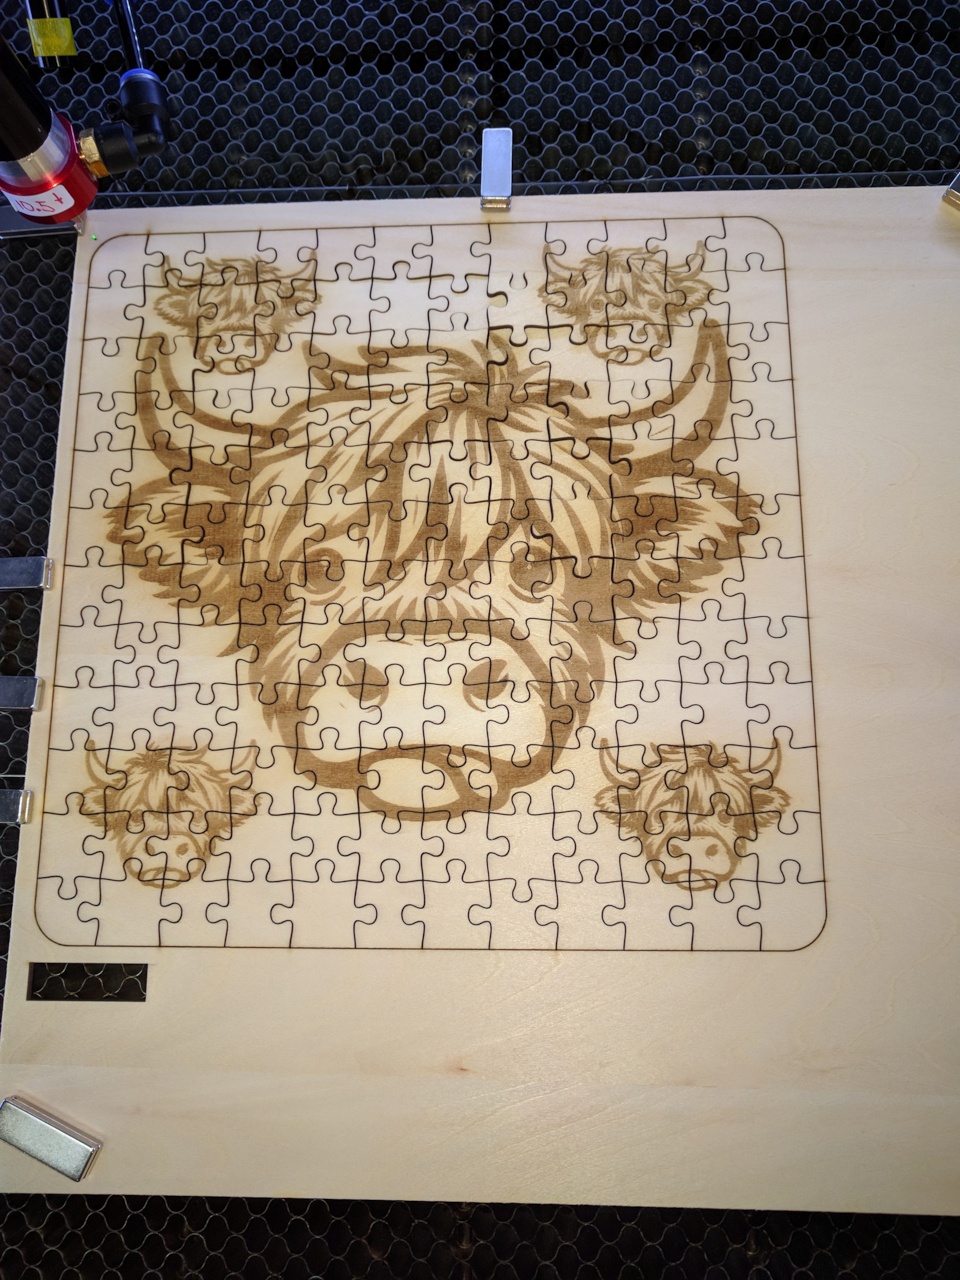
DID Puzzle for a friends wife. you can se the 20psi keeps the cut corners clean.
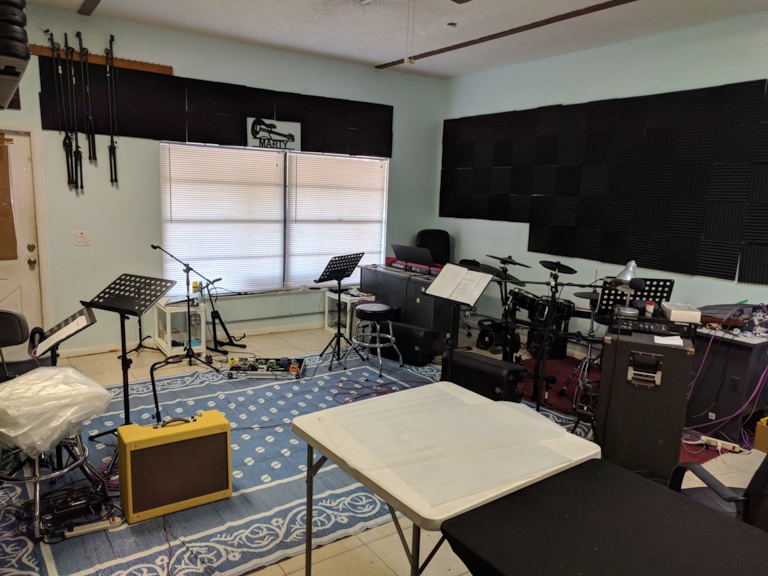
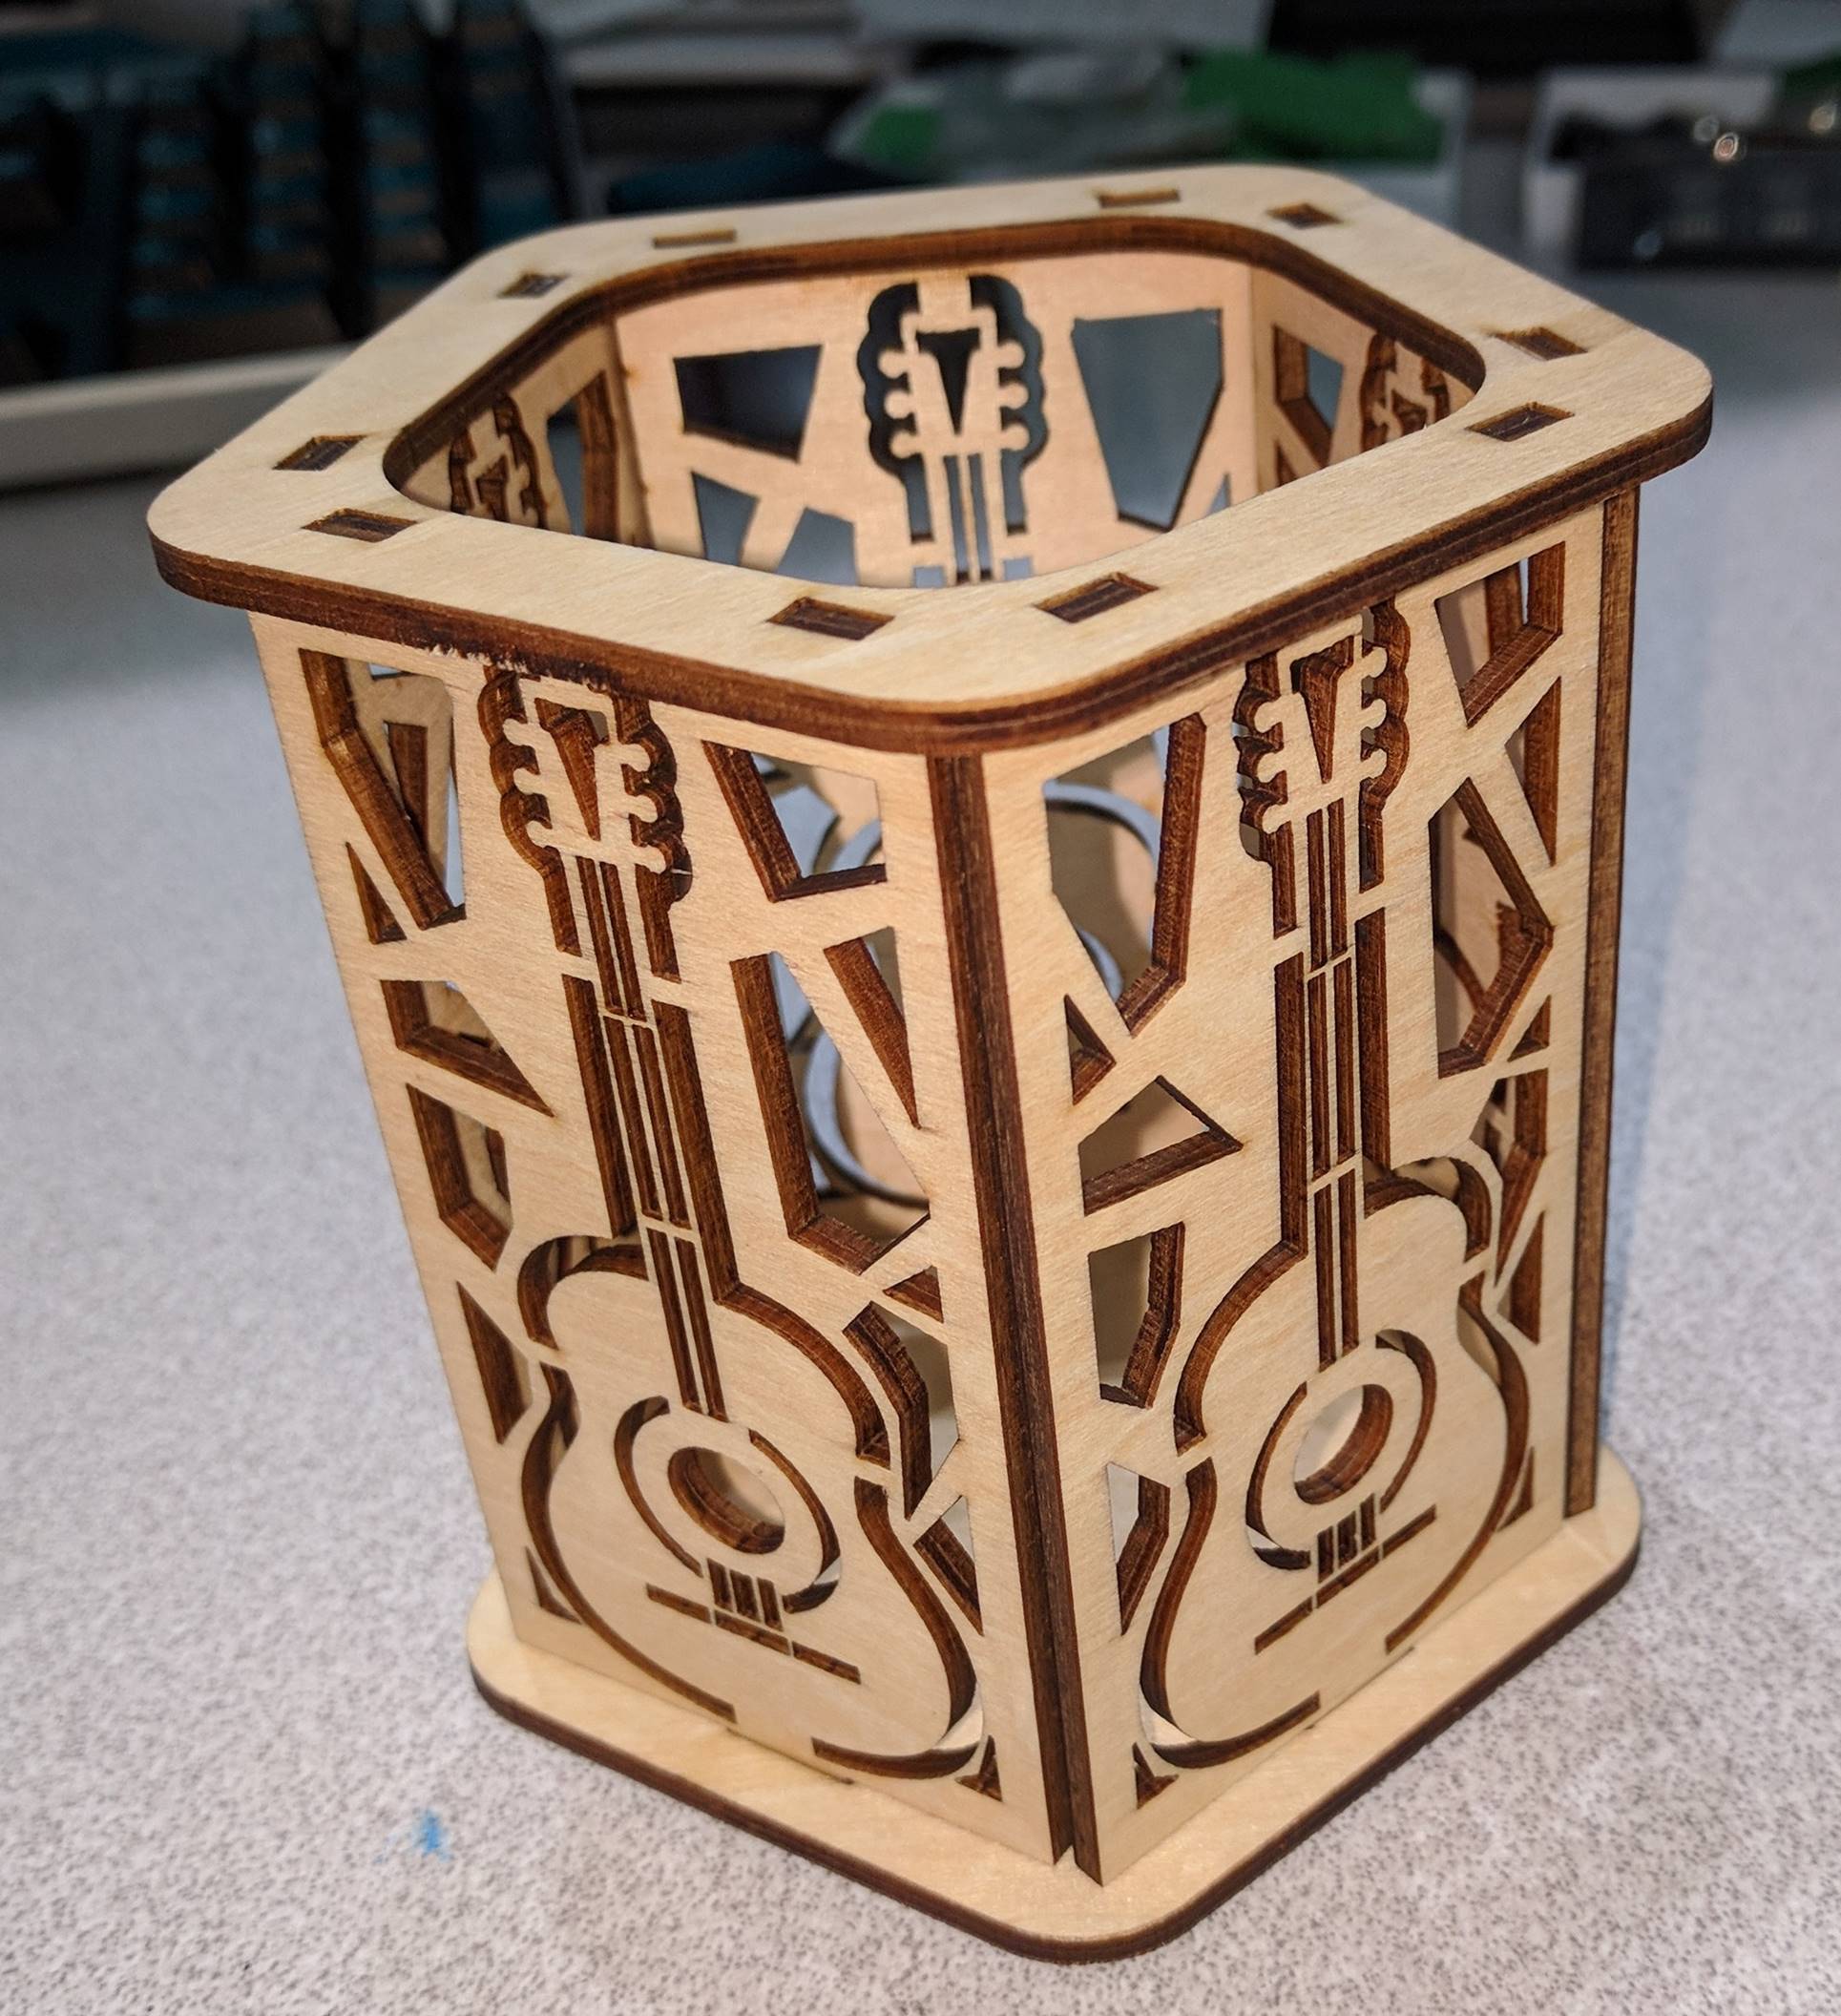
Guitar wall holder, engraved the lightly line cut to give it some outline.

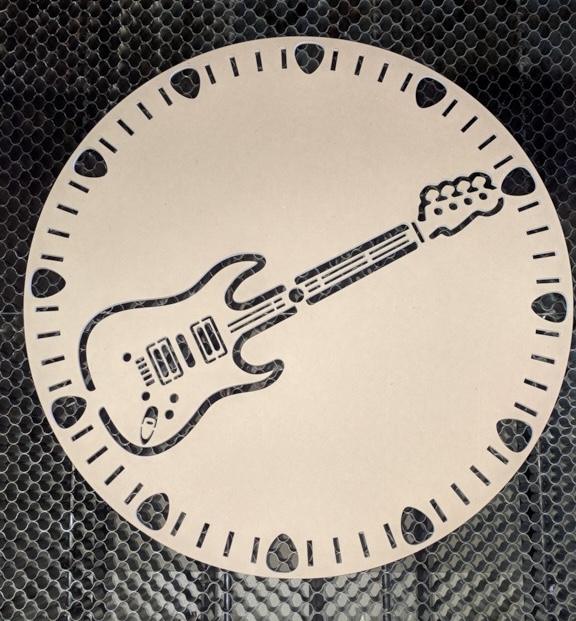
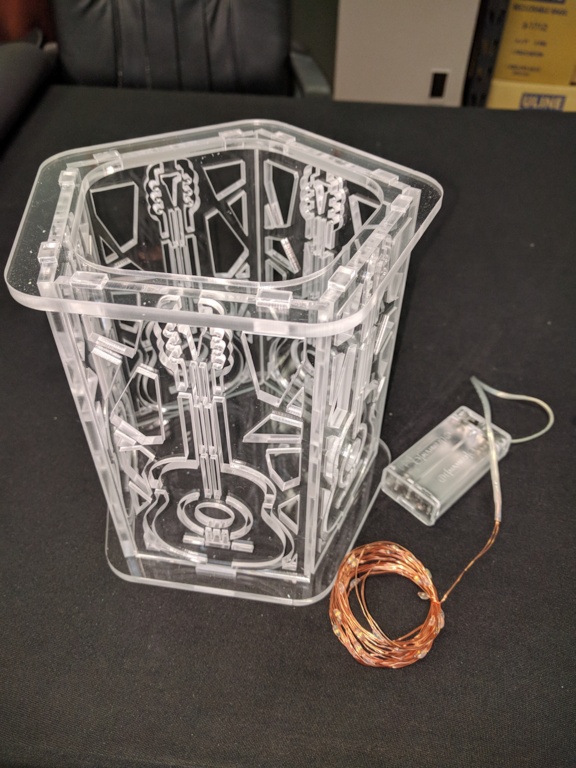
Tea light flameless holder for your side table…
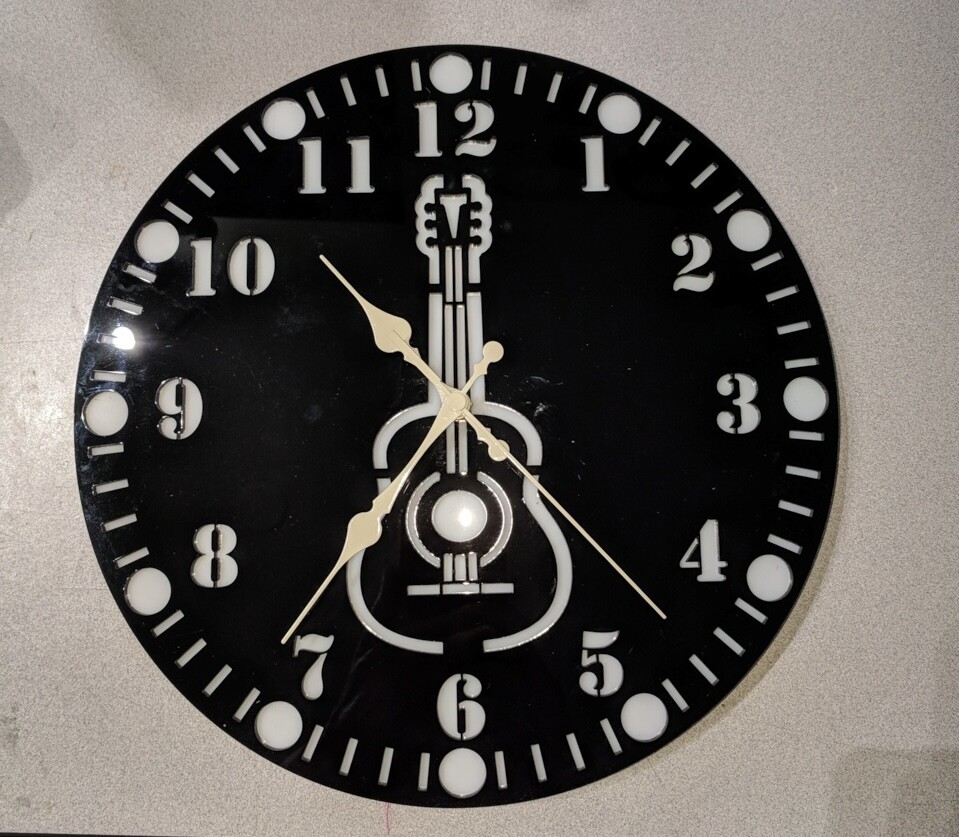
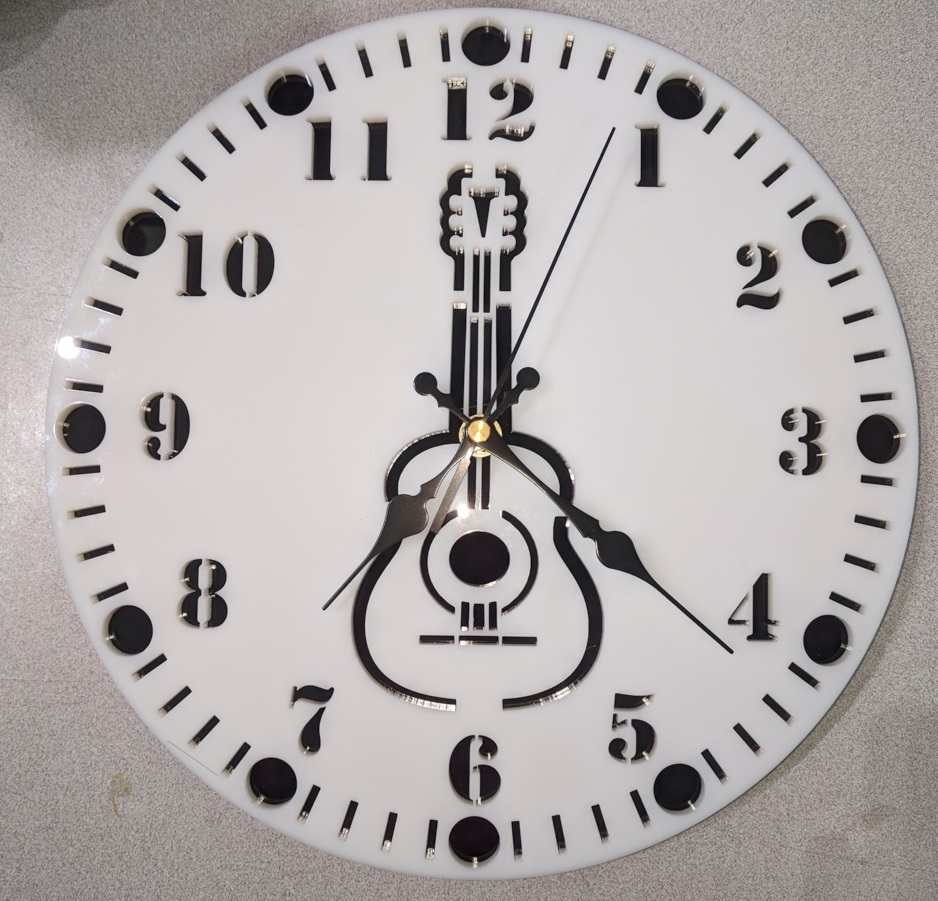
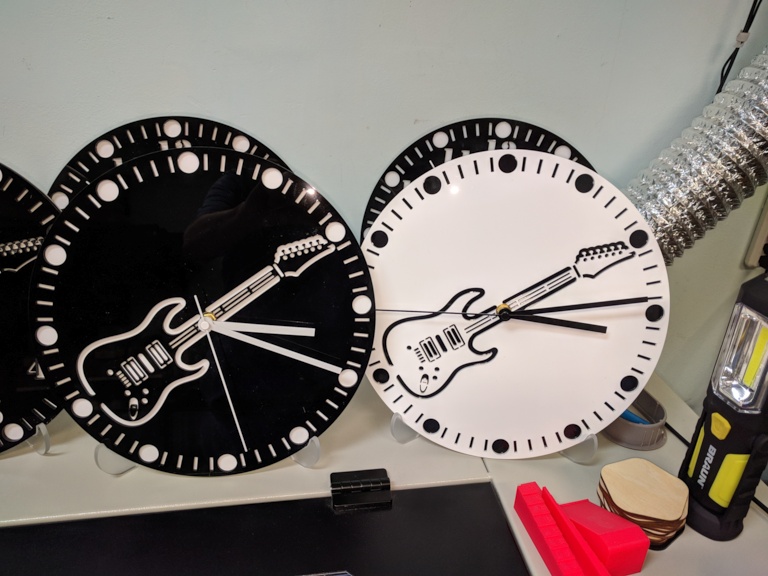
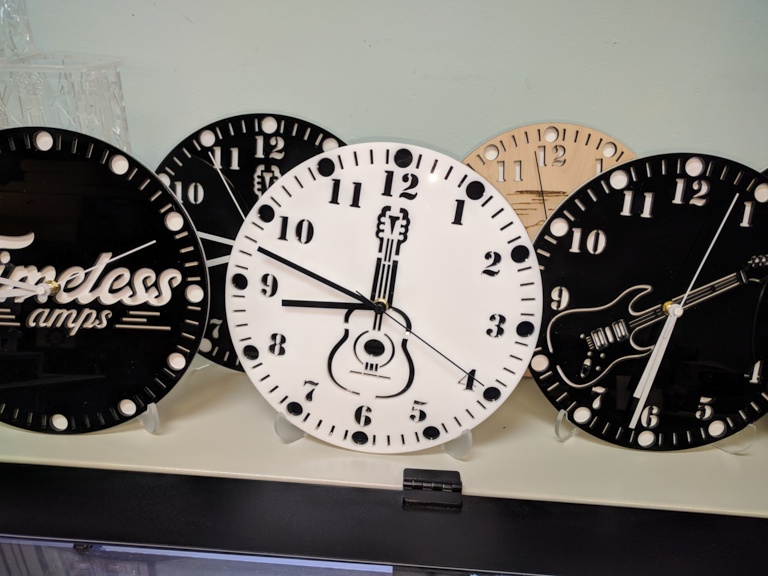
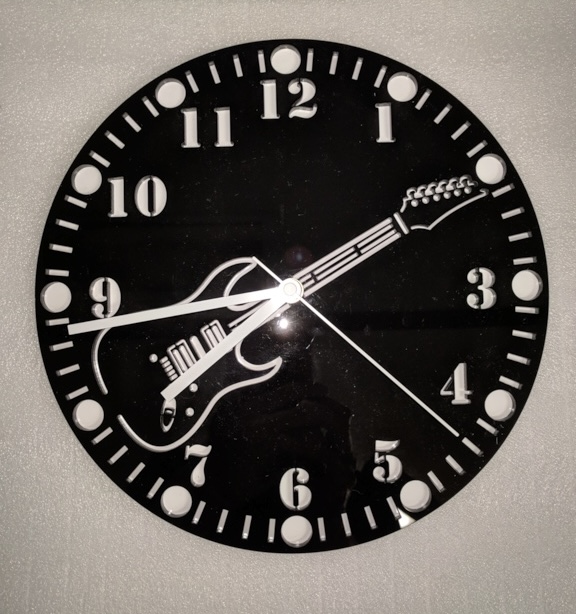
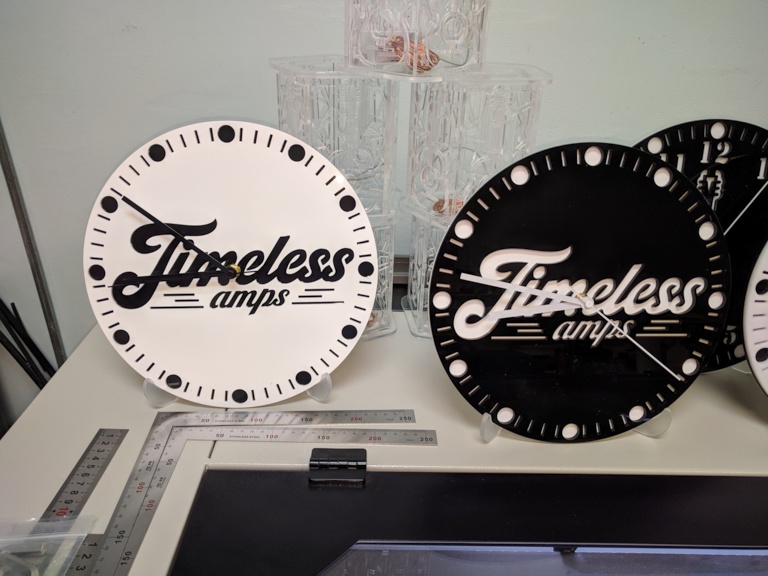
Wall clock 5mm Black acrylic, with a chip board backer…

well I tend to go one and on… so for now thats it…
Hope there is some useful info here for the folks that you have liked !
Possibly more to come on the entire wiring of the control panel system and air hookup…
Chuck