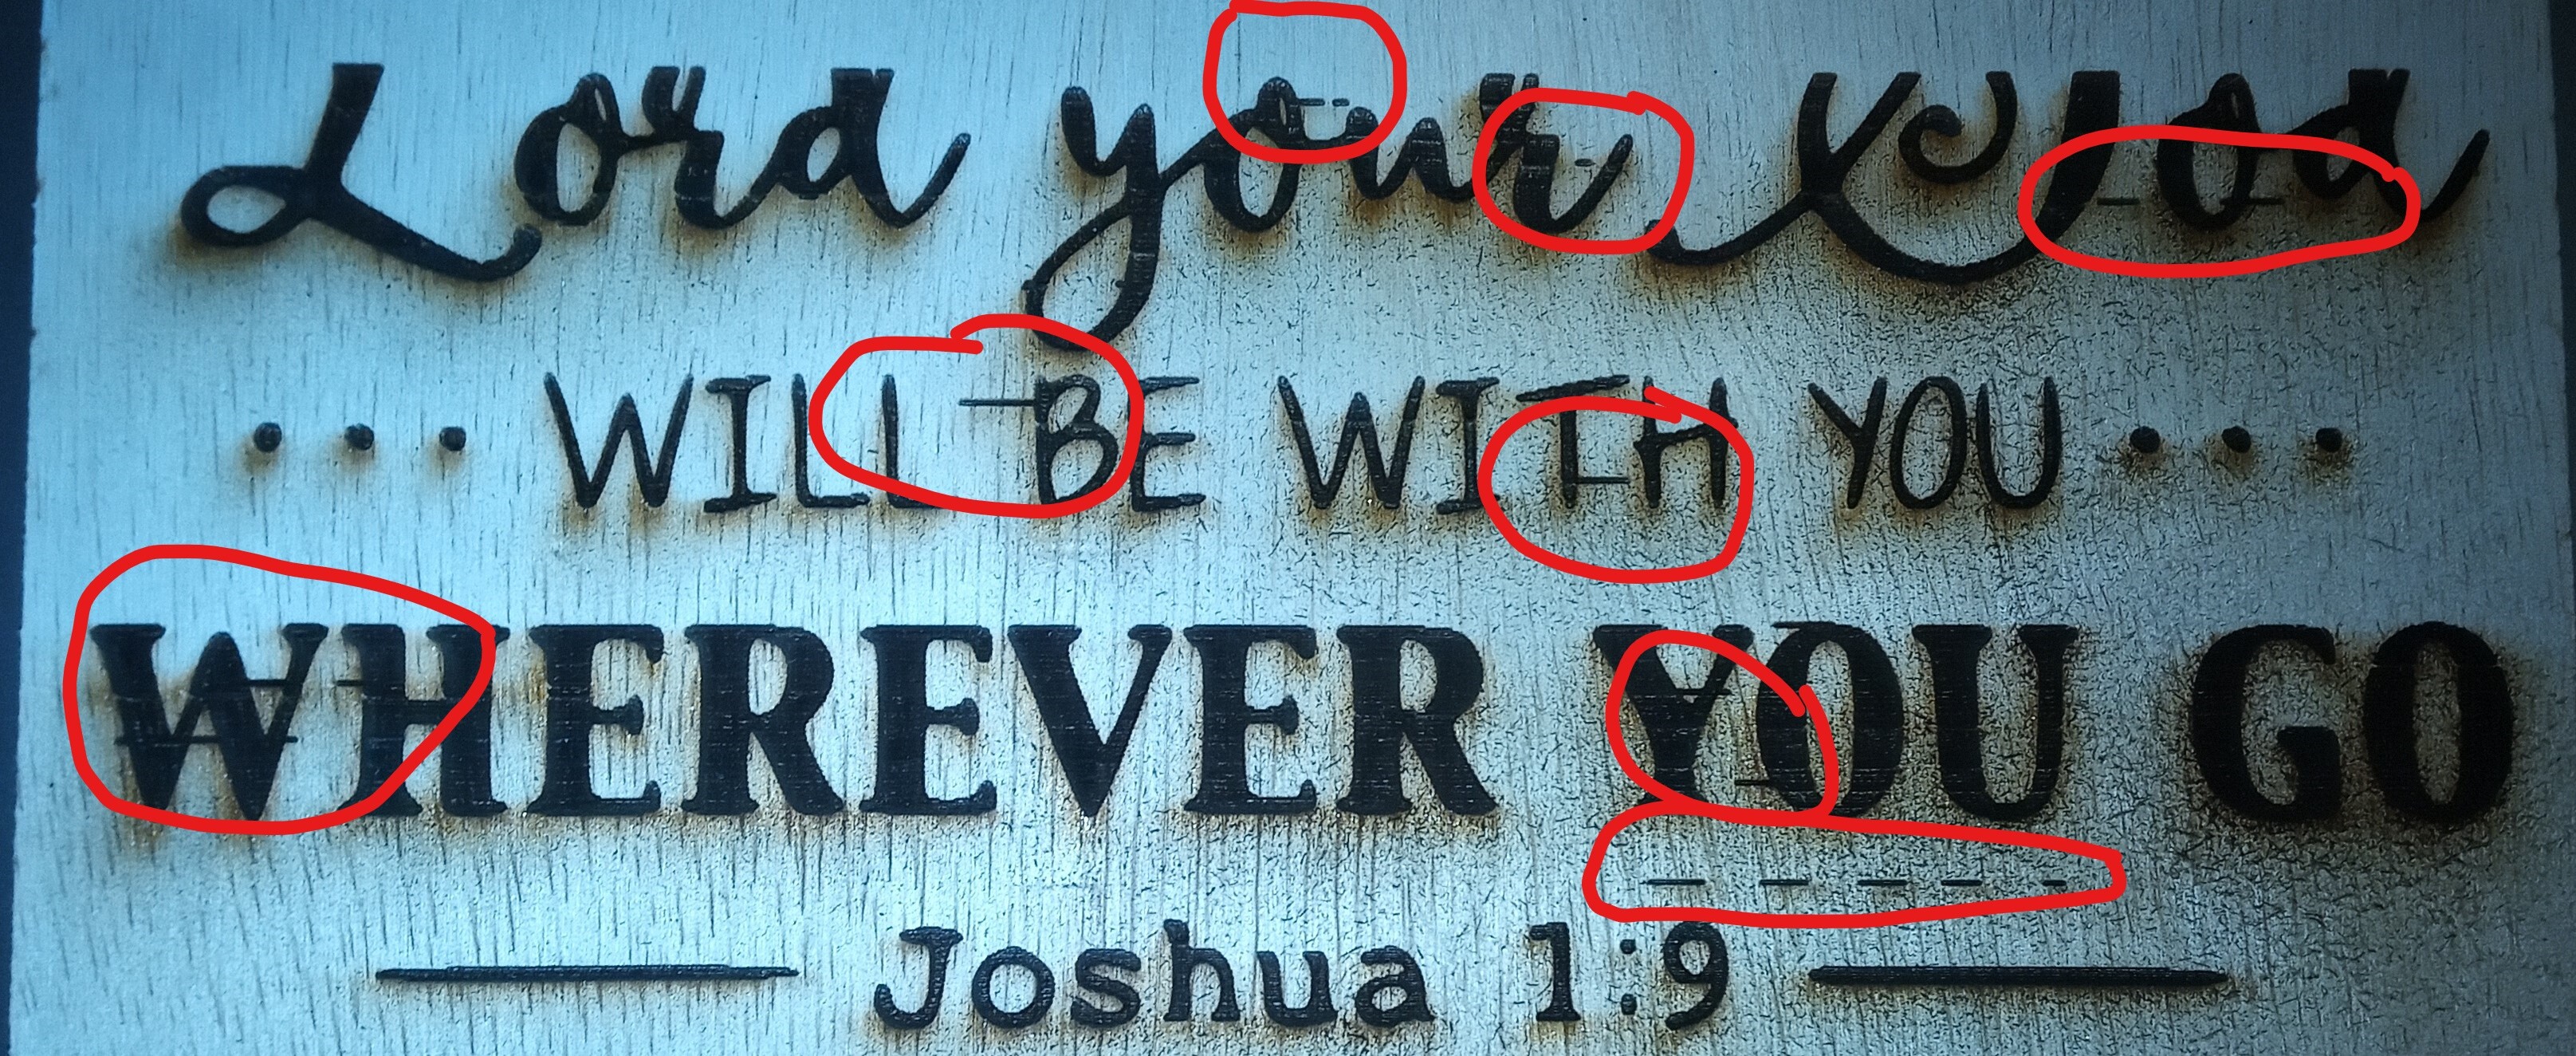
Getting burn lines ONLY when I do more complex graphics. If I section this up into small sections, it burns without any problems. When I try to do the full burn (38 mins) it starts adding these lines in the direction of travel. It has done this since day one, about 3 months old. The ebay vendor gave me a credit to buy a new controller, which I did and installed today. Immediately, this is what I got - same ole same ole. Using a Ruida RDC6432 controller. Previous controller was Ruida 6442G controller. Both do the same thing.Now they are telling me it’s probably Lightburn. Seems odd. Again, if I section it up into 10-12 minute sections, I can burn without any extra lines added.
Sure could use some help - love Lightburn! Thanks in advance.
Almost exactly the same for me just today.
I’m using a generic 900 x 600. 6445G controller, USB coms (packet setup) windows 10 setup.
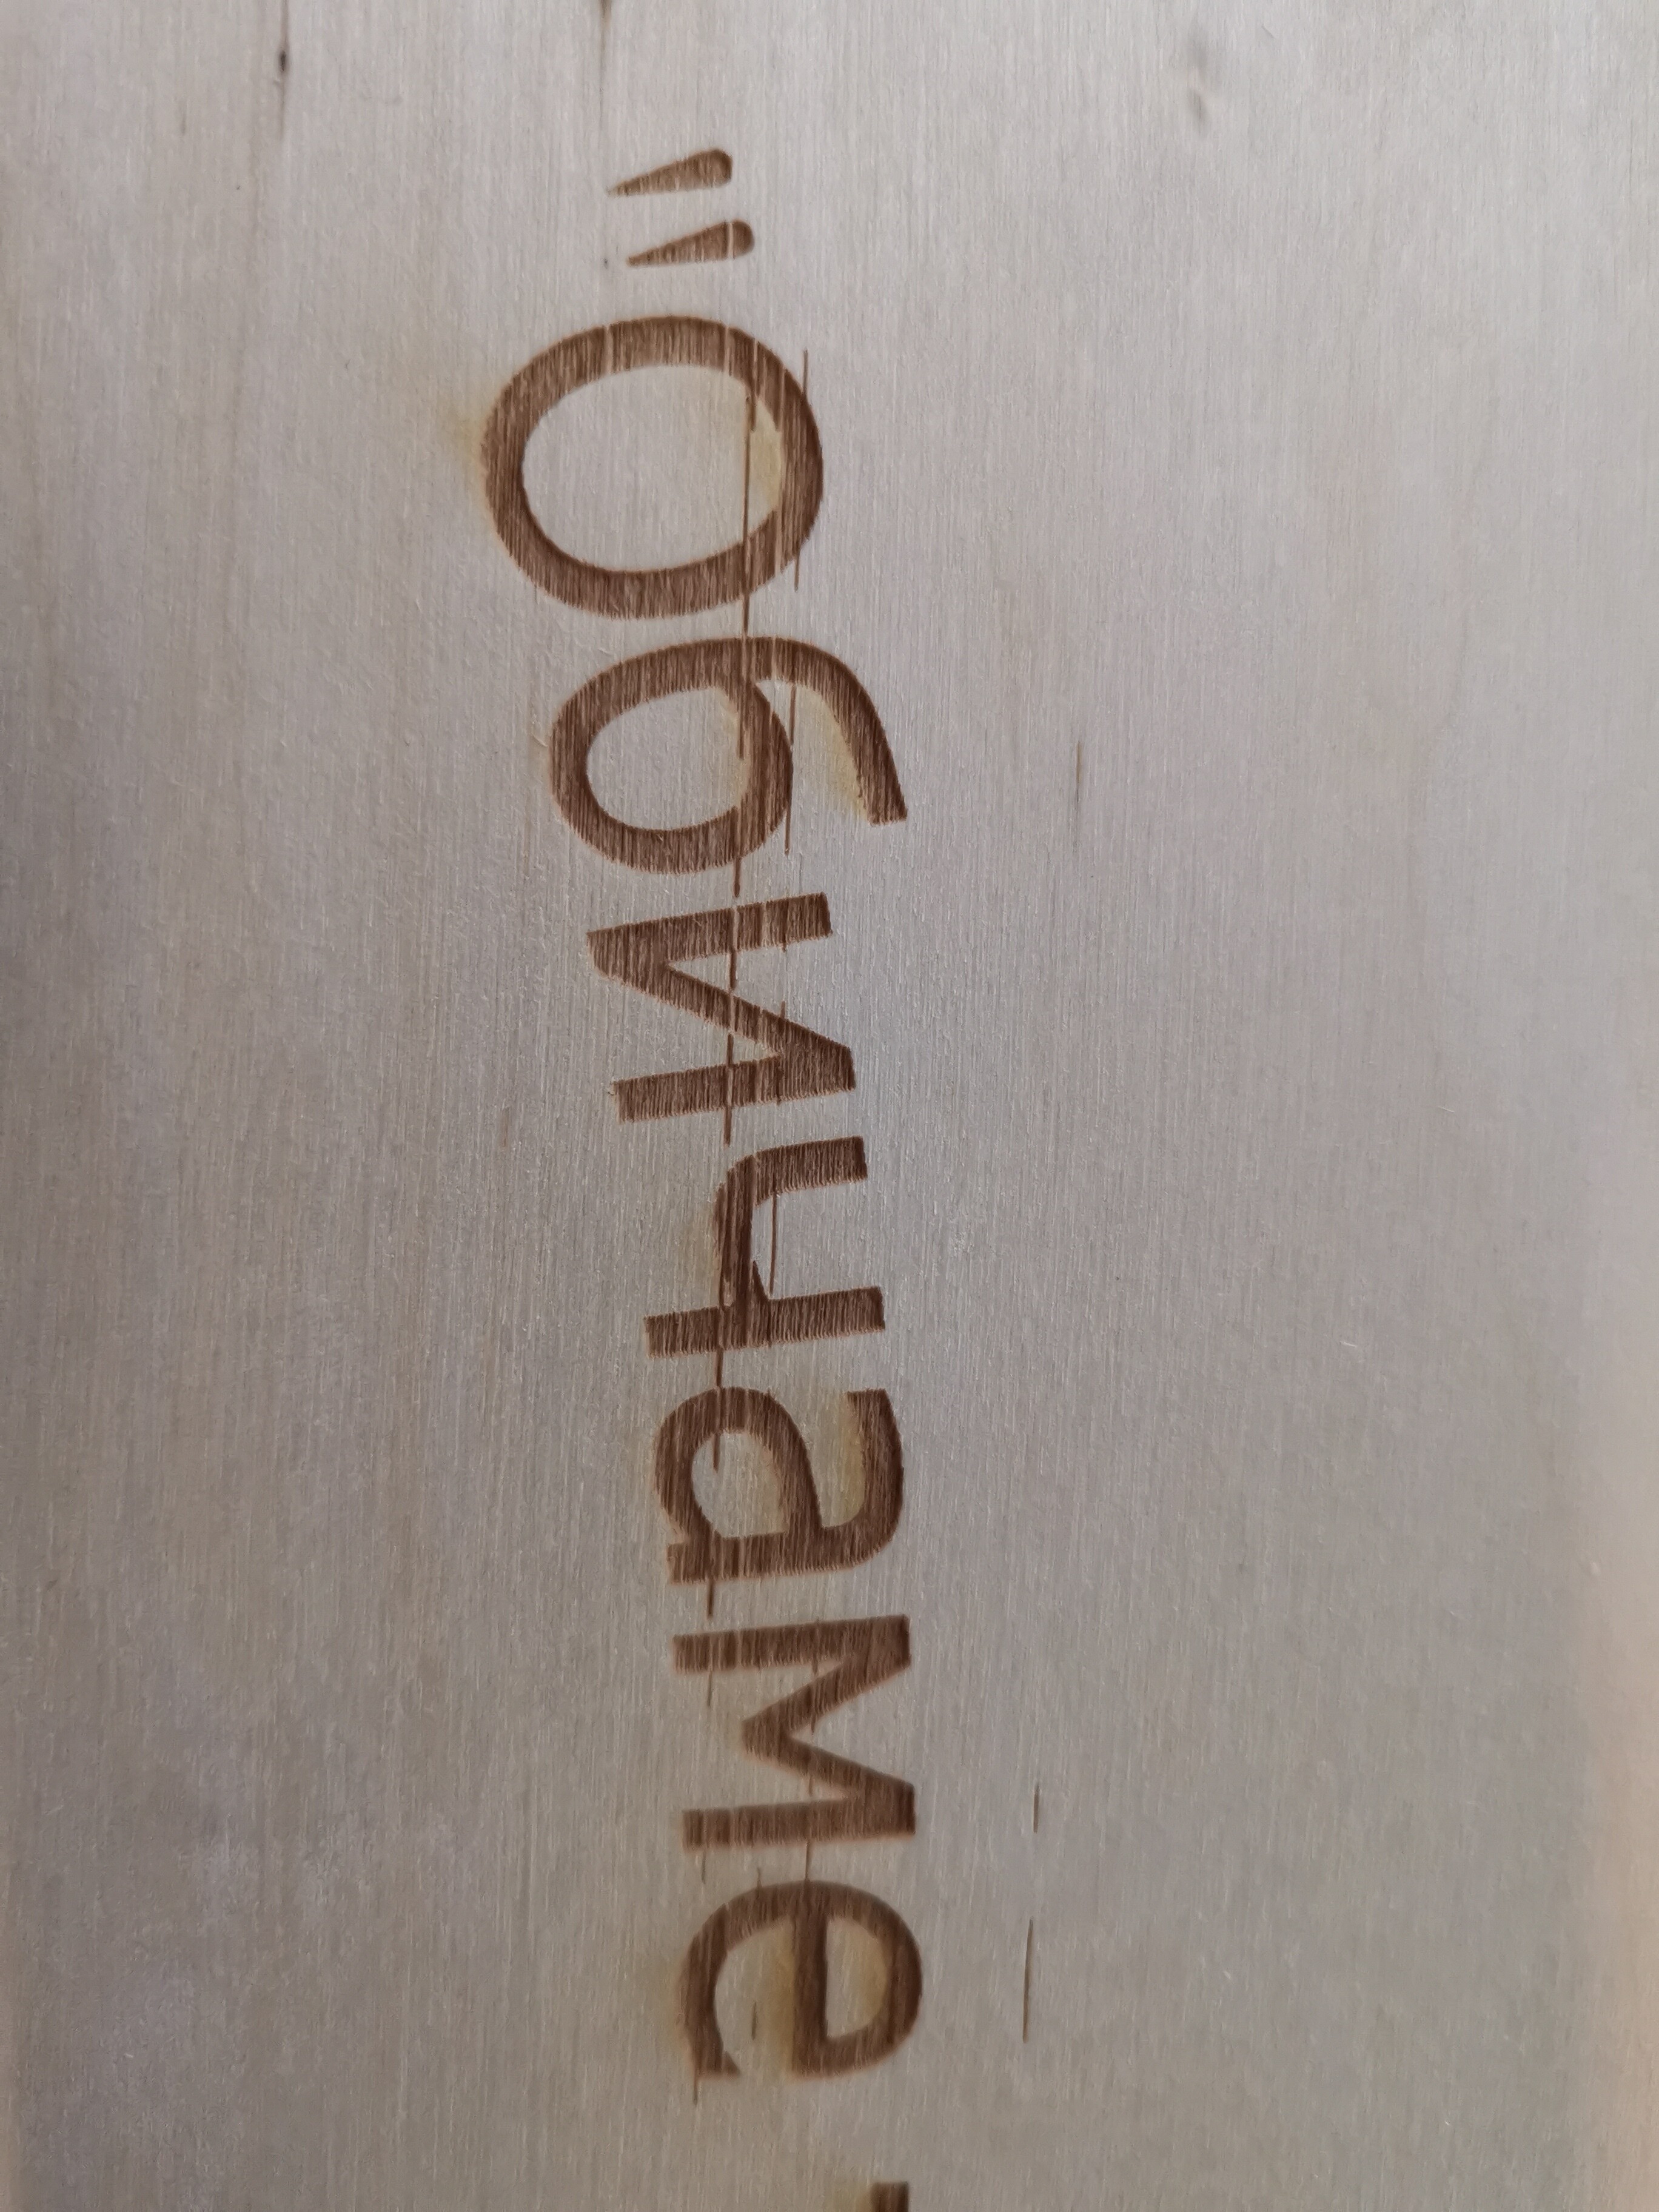
This morning I was doing an image with text above.
I decided to “send” the job to the laser, cuts etc ready for the first side.
The first layer, a fill, started, went to about 50% complete and then started jumping around by a few mm on the y axis then throwing in a few x axis errors like yours.
I stopped the burn.
Then I simply “Started” the job from the laptop instead.
Interesting, mine is not jumping around at all. And it will work perfectly if I divide the burn into multiple jobs at about 10 mins per job instead of trying to burn it all at once.
If you send the job, then you start the job, you are sending it twice.
They are two methods of doing the same thing
‘Send’ sends it to the controller for you as a named file, to run from the panel, ‘Start’ sends it to the controller and starts it running without making it a named file for repeated re-running.
Ruida USB is fairly primitive - nothing in the way of error-correction. If you have a noisy cable, it will pick up the noise.
Is there a reason that you don’t use the internet interface?
I will try the ethernet connection. I did some tests yesterday, it appears if I start it from the panel on the laser engraver, it works. Although, trying to figure out how to set the starting point is killing me for some reason. Could it all be this simple, don’t start from LB?
I have also just set up the ethernet connection and all is well
As for the starting point thing.
Set a NONE OUTPUT BOX around my work the size of my material
Set down my material on the bed
Go to Absolute coordinates
Run Frame…
Then simply select my lightburn design and using the left/right/up/down move the design over my material.
Until I get more practiced, this is working like a charm
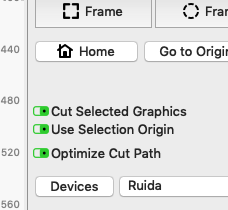
If you set to ‘use selection origin’ and ‘cut selected Graphics’, your job will start from wherever you have your origin on the machine set to.
My normal practice is:
Place the workpiece on the machine and align it. Move the laser head to the workpiece and press the ‘origin’ button on the machine. This sets the zero point at the place you have the head right now. Every job from then on will start at this point.
Highlight the object you want to cut and run a quick frame from LB to ensure you have it in the right place, and that you have enough material for the job.
Send/start.
This gives you a couple of benefits - repeatability and you can move the head out of the way to remove a piece, and when you send the next job, it will move back to the origin you set, then start. Very useful if you use a jig to align your workpiece.
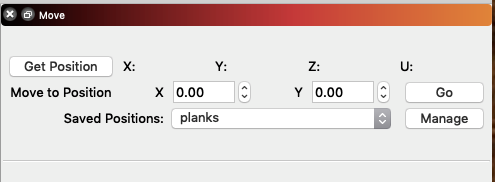
When I have a lot of pieces to do that use the same material, but the content might change - like a lot of personalised signs, I make a jig, position the laser, set origin and save the place using the get/manage function of the move panel - that way, I can come back to the job later after doing other work and have the setup already ready to burn. I recently made ~480 signs over a few weeks and this was a life-saver.