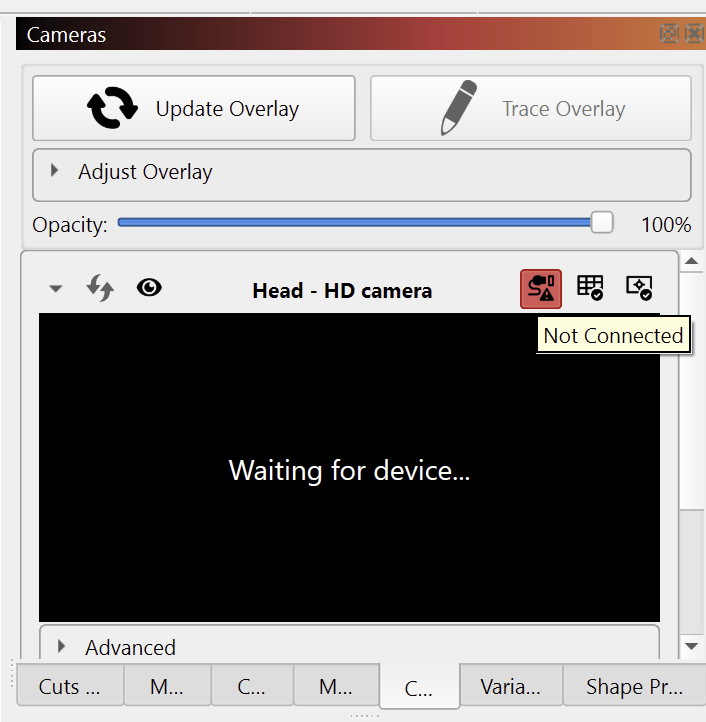
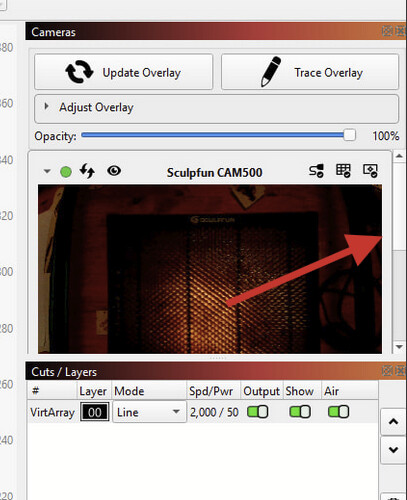
My camera, Sculpfun Cam500, was working fine(ish) with Lightburn. At least I could position objects on the cutting board, see them in the program and align accordingly. However, since updating to v2.1.0 the Camera Overlay does not work. It just shows a black square of the camera view area.
The program is showing that the camera is installed, working, has been calibrated and aligned but no longer shows what is on the cutting board. The camera is working fine in other spps, just not in Lightburn. Any ideas please ?
It’s the preview (I haven’t tried using ‘capture’).
Normally I’d see what was on the cutting board and could position my work objects, but under the latest version, I don’t see the cutting board or my objects. Just a black square.
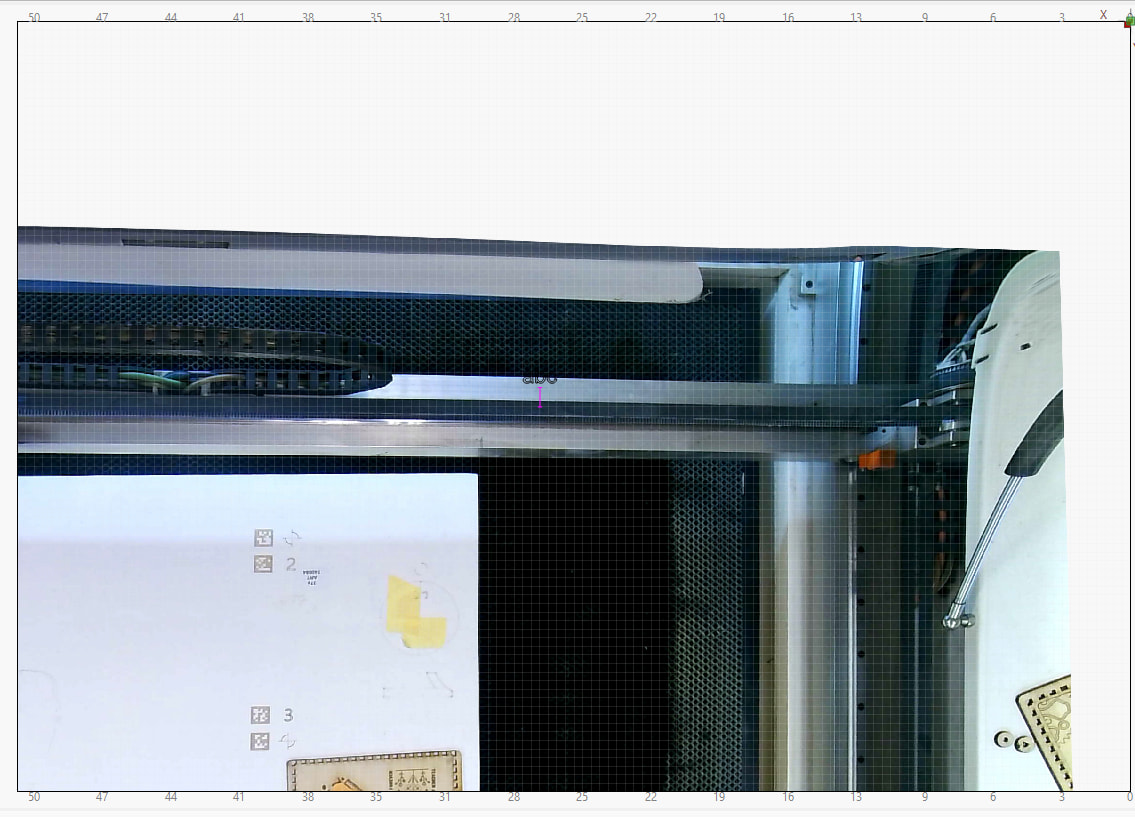
I am having similar issues with my lightburn camera. Works great in version 20.05 but I cannot get the work table alignment to work. Captures 8 of 8 icons. When I go to updated overlay my screen shows the out line of my work area but the actual photo shows only abut half of my work area in the lower left. NOTHING in the upper right. Suggestions please. Thank you.
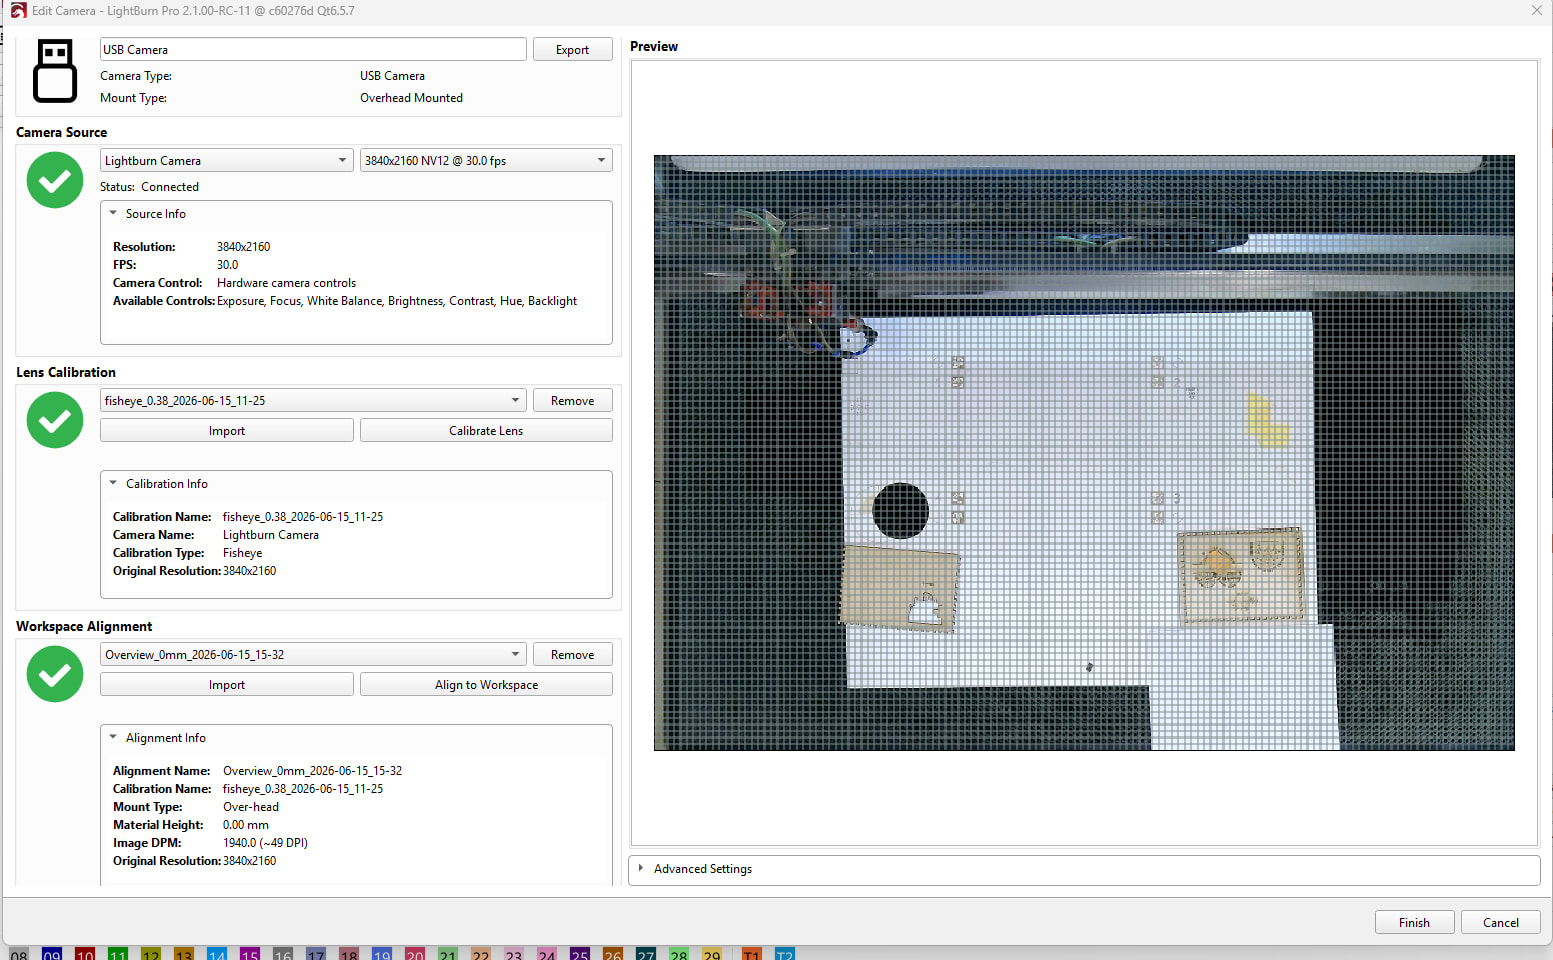
You are running an old PreRelease version RC-11!
We have since launched version 2.1, and two additional patch fixes. Some of those might have already targeted the issue you’re showing.
Install the latest version from here:
The PreRelease, and Release versions have independent settings. Use the User Bundles to move the settings over.
I wasn’t able to confirm this from your screenshot, but if you are running in inches, that’s likely correct. Please double-check to ensure.
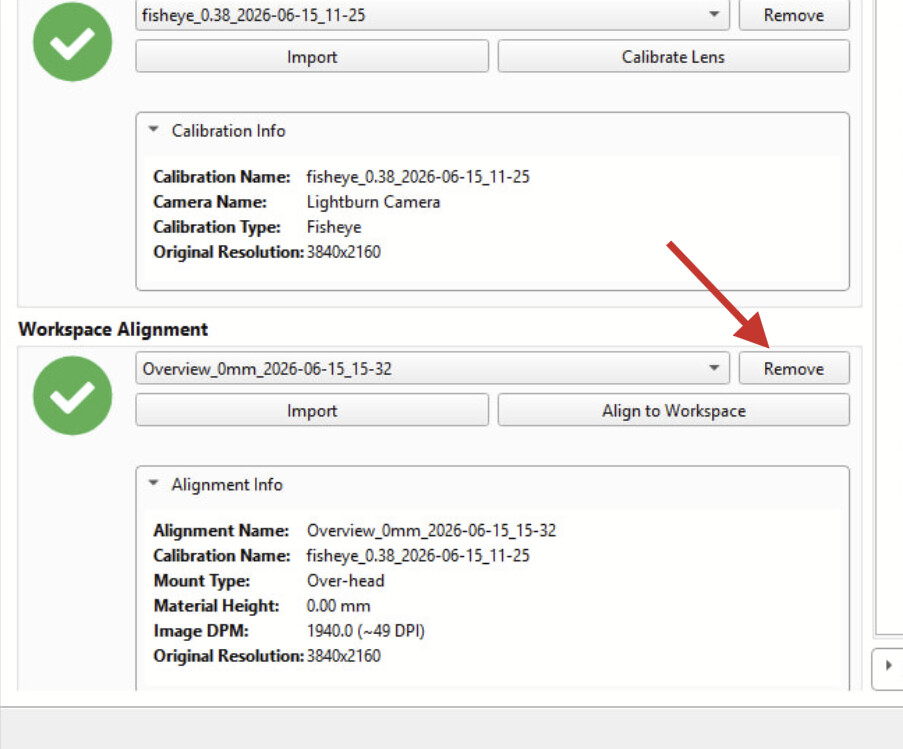
When you re-do the alignment, remove the old one first in this window and start the process with “Align To Workspace”
It looks as if you had a light shining from behind the honeycomb, but that could be the reflections on the table.
The Camera is setting the exposure to this bright spot in the center, darkening the other parts.
Try if the image is improved if you place the honeycomb on a dark background and, if possible, increase the lighting on the bed.
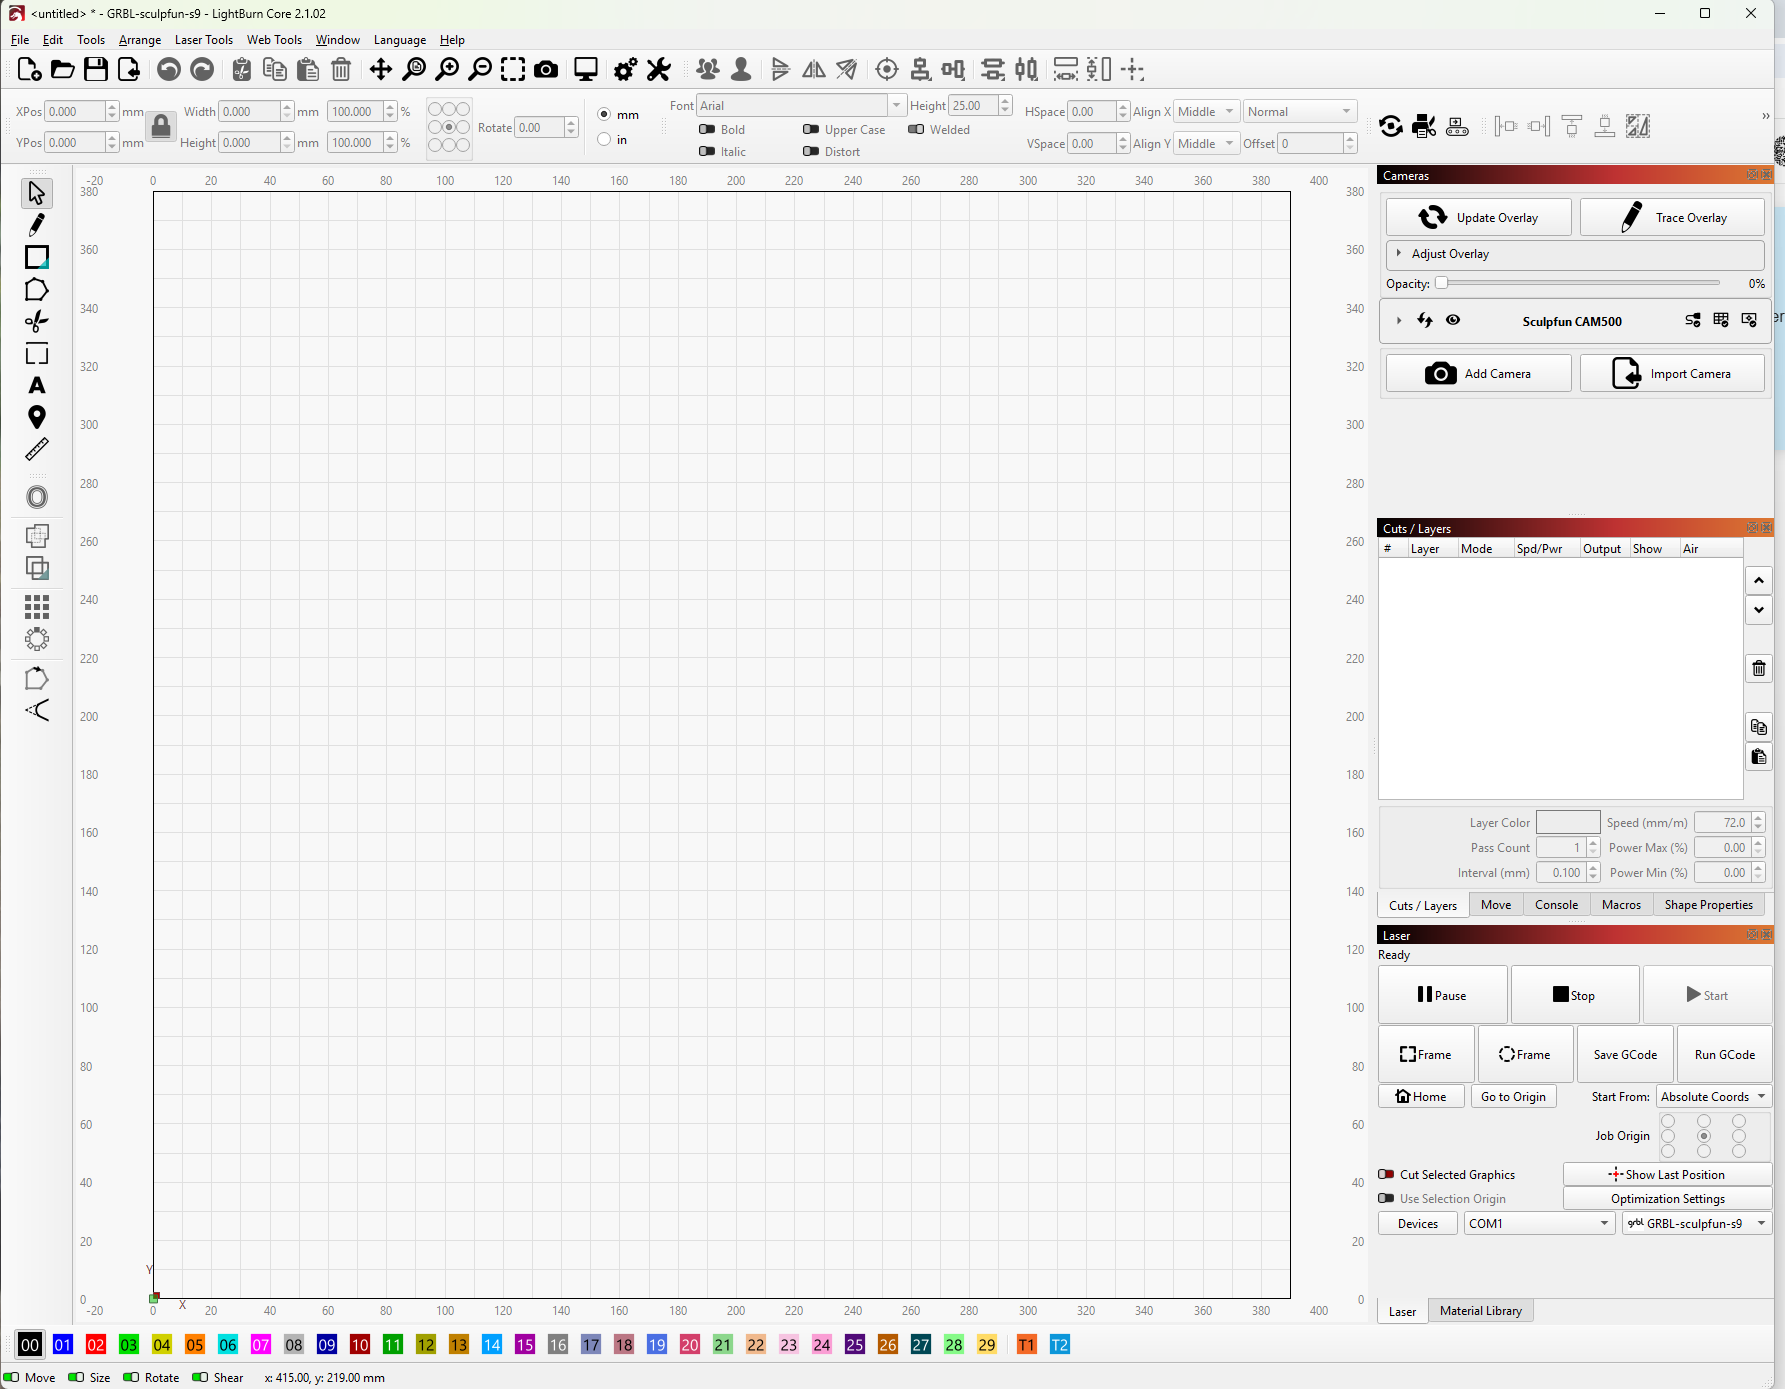
Set the the “Opacity” slider to the left. This slider replaced the “Fade” button we had in version 1.7.
This is the view with the Opacity slider to the left. As you can see, no image of the worktable is visible at all
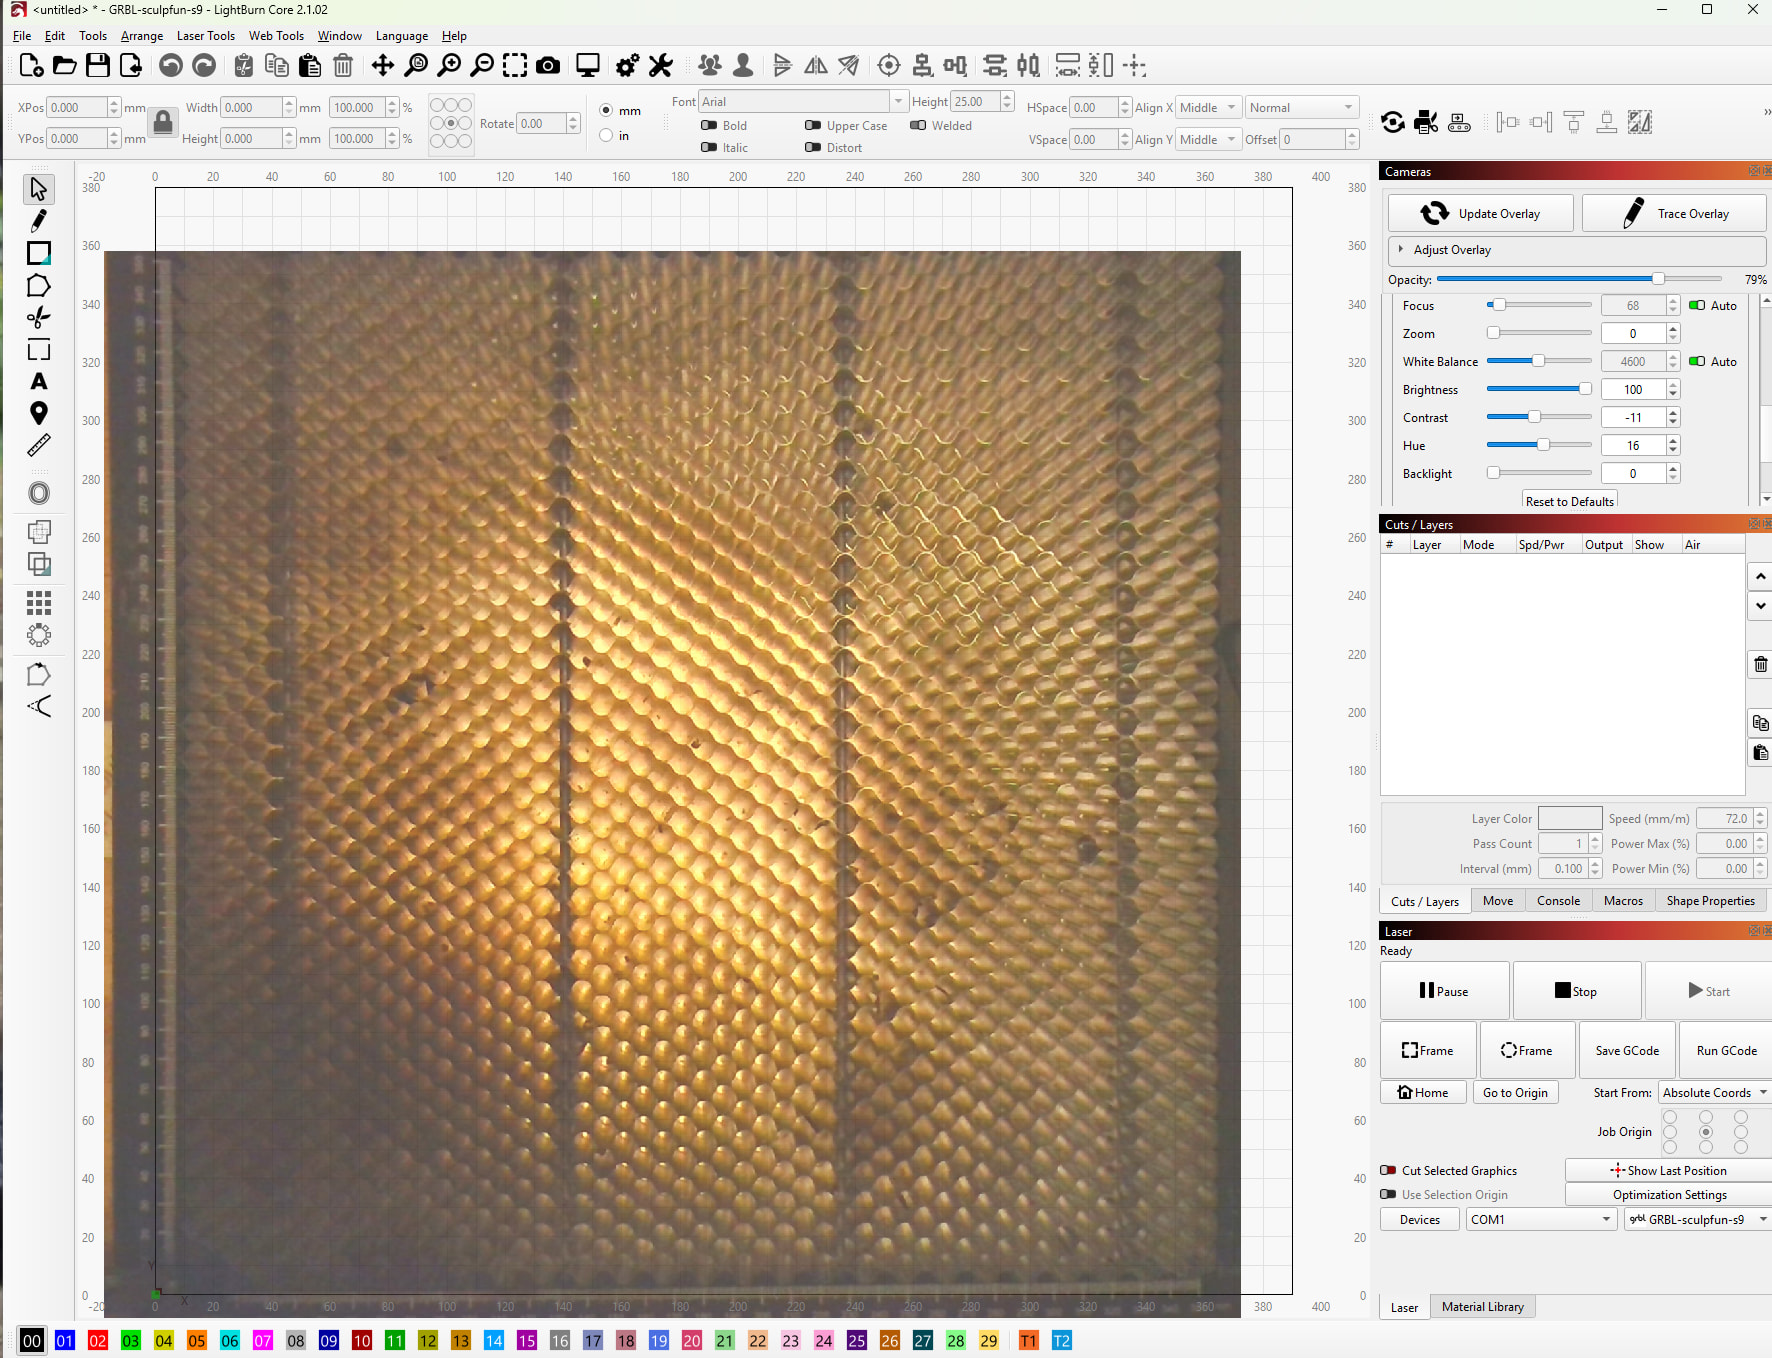
As you can see, from the earlier screenshot of v2.0.5, it worked fine and I can see my workspace, the objects to be engraved and my designs, but v2.1.02 is unworkable.
I’ve found the brightness and exposure etc controls and adjusted the brightness to 100%, which is slightly better than before. Adjusting contrast, hue etc makes no difference
This is as expected. With the opacity slider at 0%, the overlay is literally invisible.
Did you see this suggestion? I bet this will improve your camera image.
Your last screenshot looks good to me.
The white edges here tell me that you’ve used “Adjust Overlay” to shift the alignment. This should not be needed, and usually indicates a different issue with the alignment.
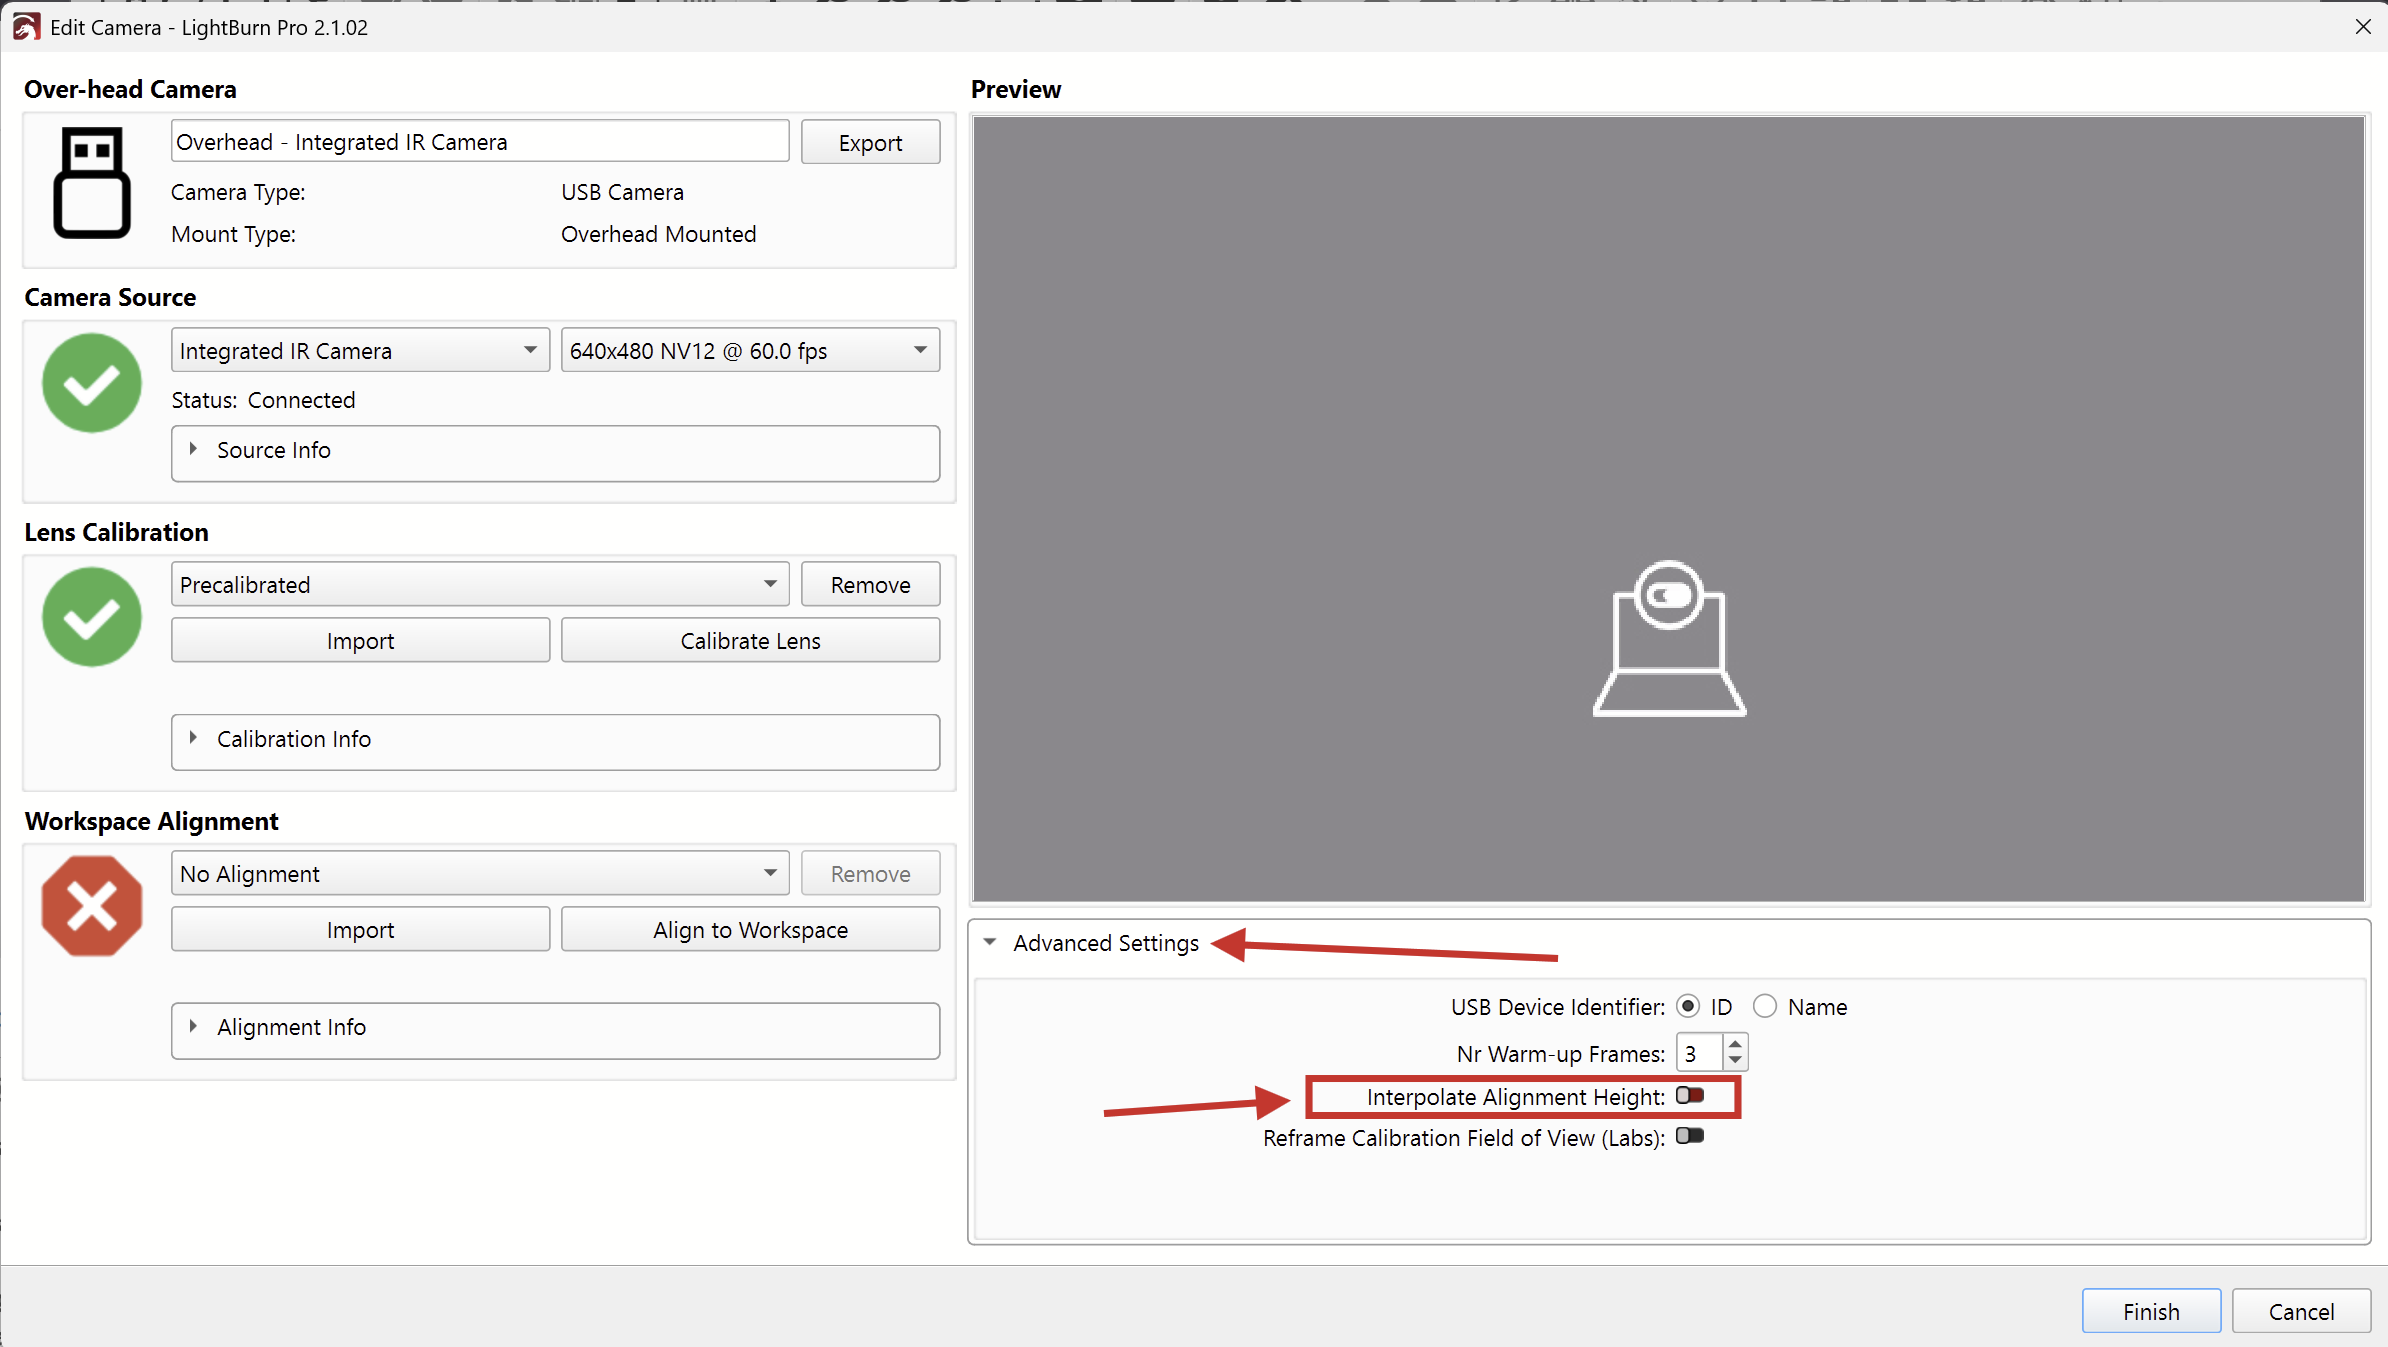
If you’re still trying to work this out, please do this for a more radical approach:
Double click the camera preview to open “Edit Camera”
Open the “Advanced Settings” and disable “Interpolate Alignment Height” here: