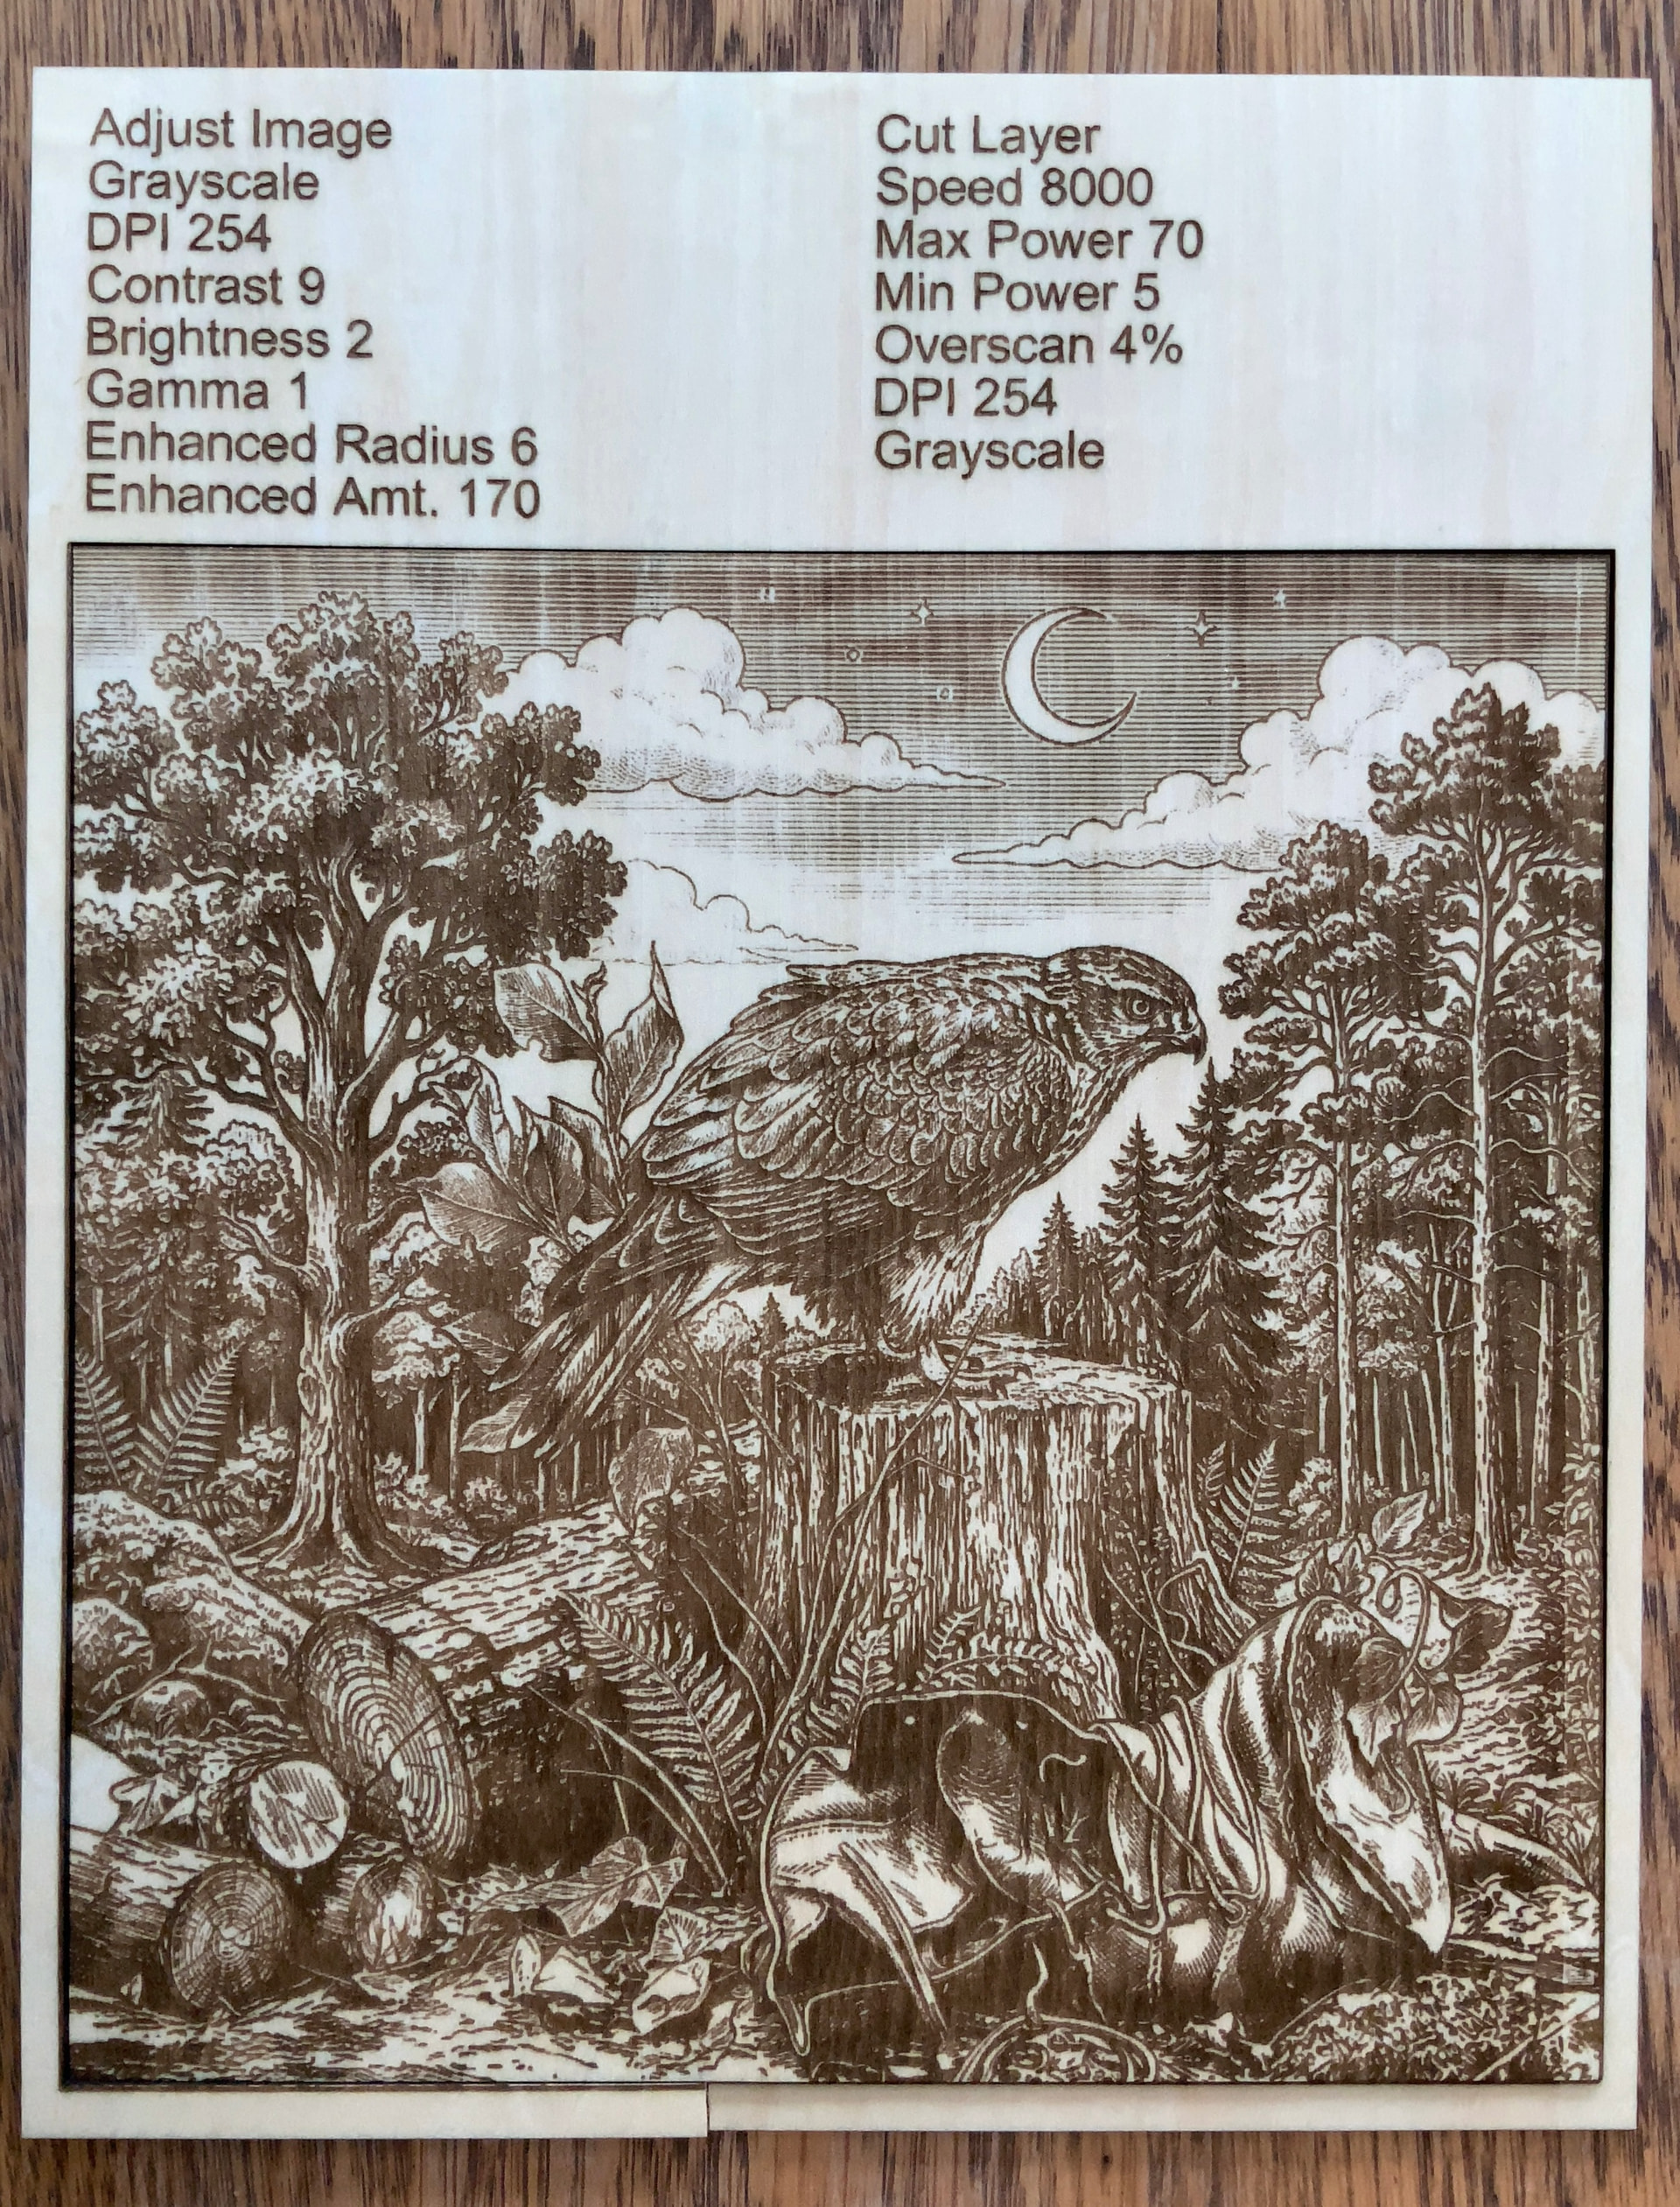
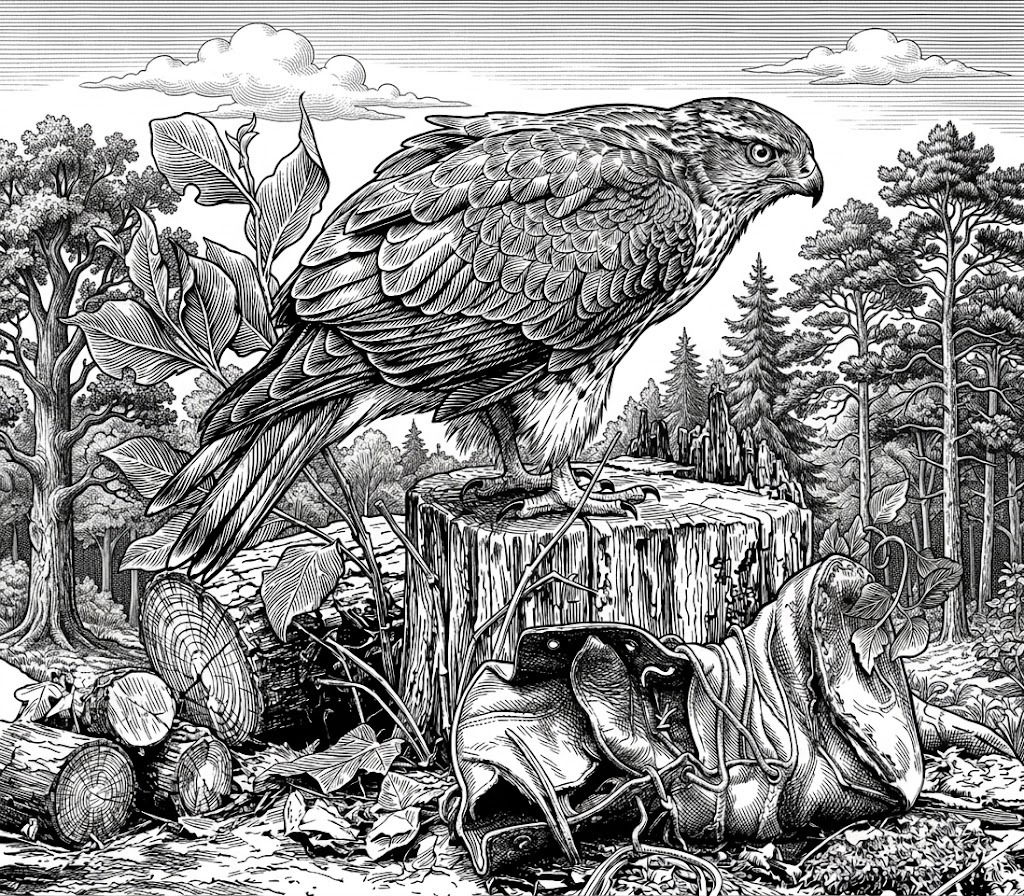
It looks very nice, especially for of use of grayscale.
Have you watched the video by Laser Everything entitled The COMPLETE Photo Engraving Guide Part 1 | Fiber CO2 UV and Diode. It’s applicable to all hobby type lasers, although done on a 30W MOPA, the process is sound. It also explains dpi very well. Some items such as dot-width adjustment are only available using a fiber galvo machine.
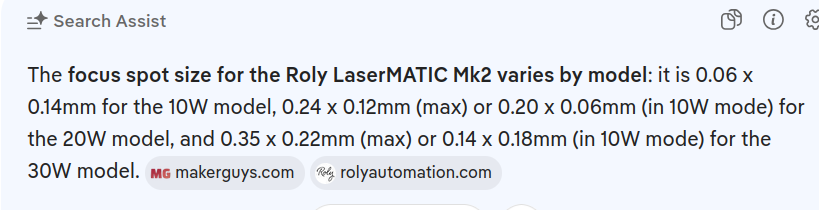
A good use of AI is to ask something like how big is the spot size for a particular machine. It also tells you where it got the information. That’s nice, I don’t totally trust AI.
You don’t mention which model you have. Can’t guess spot size.
What is does show is that the 10W model has a 60 micron by 140 micron spot size. Seems kind of odd that one side would be over twice the size of it’s other side. I don’t led laser anymore so I’ve kind of lost touch with what they can do.
Might also look at Lightburn documentation on Dealing with irregular beam shapes. You can see how much it effects your machines results.
Your work is fantastic for what you’re doing and I’d like to see you excel for more range and detail, at the least.
How high of a resolution you can reasonably expect is based on the beam size and the material. The best resolution in this case is beam size. The largest side is 140 microns (0.14mm), so the best you could hope for is an interval of 0.140mm or about 181 dpi.
Bottom line is with an interval of 0.10mm (10 microns) the Y axes will cover over twice the area it can step. You are getting multiple passes over the same area one way, too short if it the 60 micron side.
I found that I can’t get much higher in the gray scale than about 70%. Balance between Speed and power is crucial I haven’t tried a lower dpi setting. I might get a little more range.
I used basswood ply because it engraves more evenly being that it is a softer grain. Birch ply isn’t that great for finer detail.
I have found that you have to sharpen the heck out of the image.
I basically figured all this out in an an afternoon by accident just fooling around. I had no real expectations. I was in the printing/graphics business for 25 years, so I have an understanding of resolution grayscale images. Trying to apply that to laser engraving is the tricky part.
Thanks for the reply
It took me a couple of hours to get things dialed it.