I purchase the Algolaser smart camera to use with my Algolaser DIY KIT MK2, i am going through the tutorial video on their Youtube channel exactly, and having no problems with the calibration process, but when testing the engraved pattern is always away from the one created on the software screen, as you can see in the attached Photos, any help please or tips?

It looks like the objects you put in are very high. Be aware that the camera calibration is ONLY valid at the height you did the calibration on. If you did the calibration using a 3 or 4 mm thick cardboard / plywood sheet, you only can use 3 or 4 mm material. If you want to use thicker ones, you need to re-do the calibration at that height again.
See background details here:
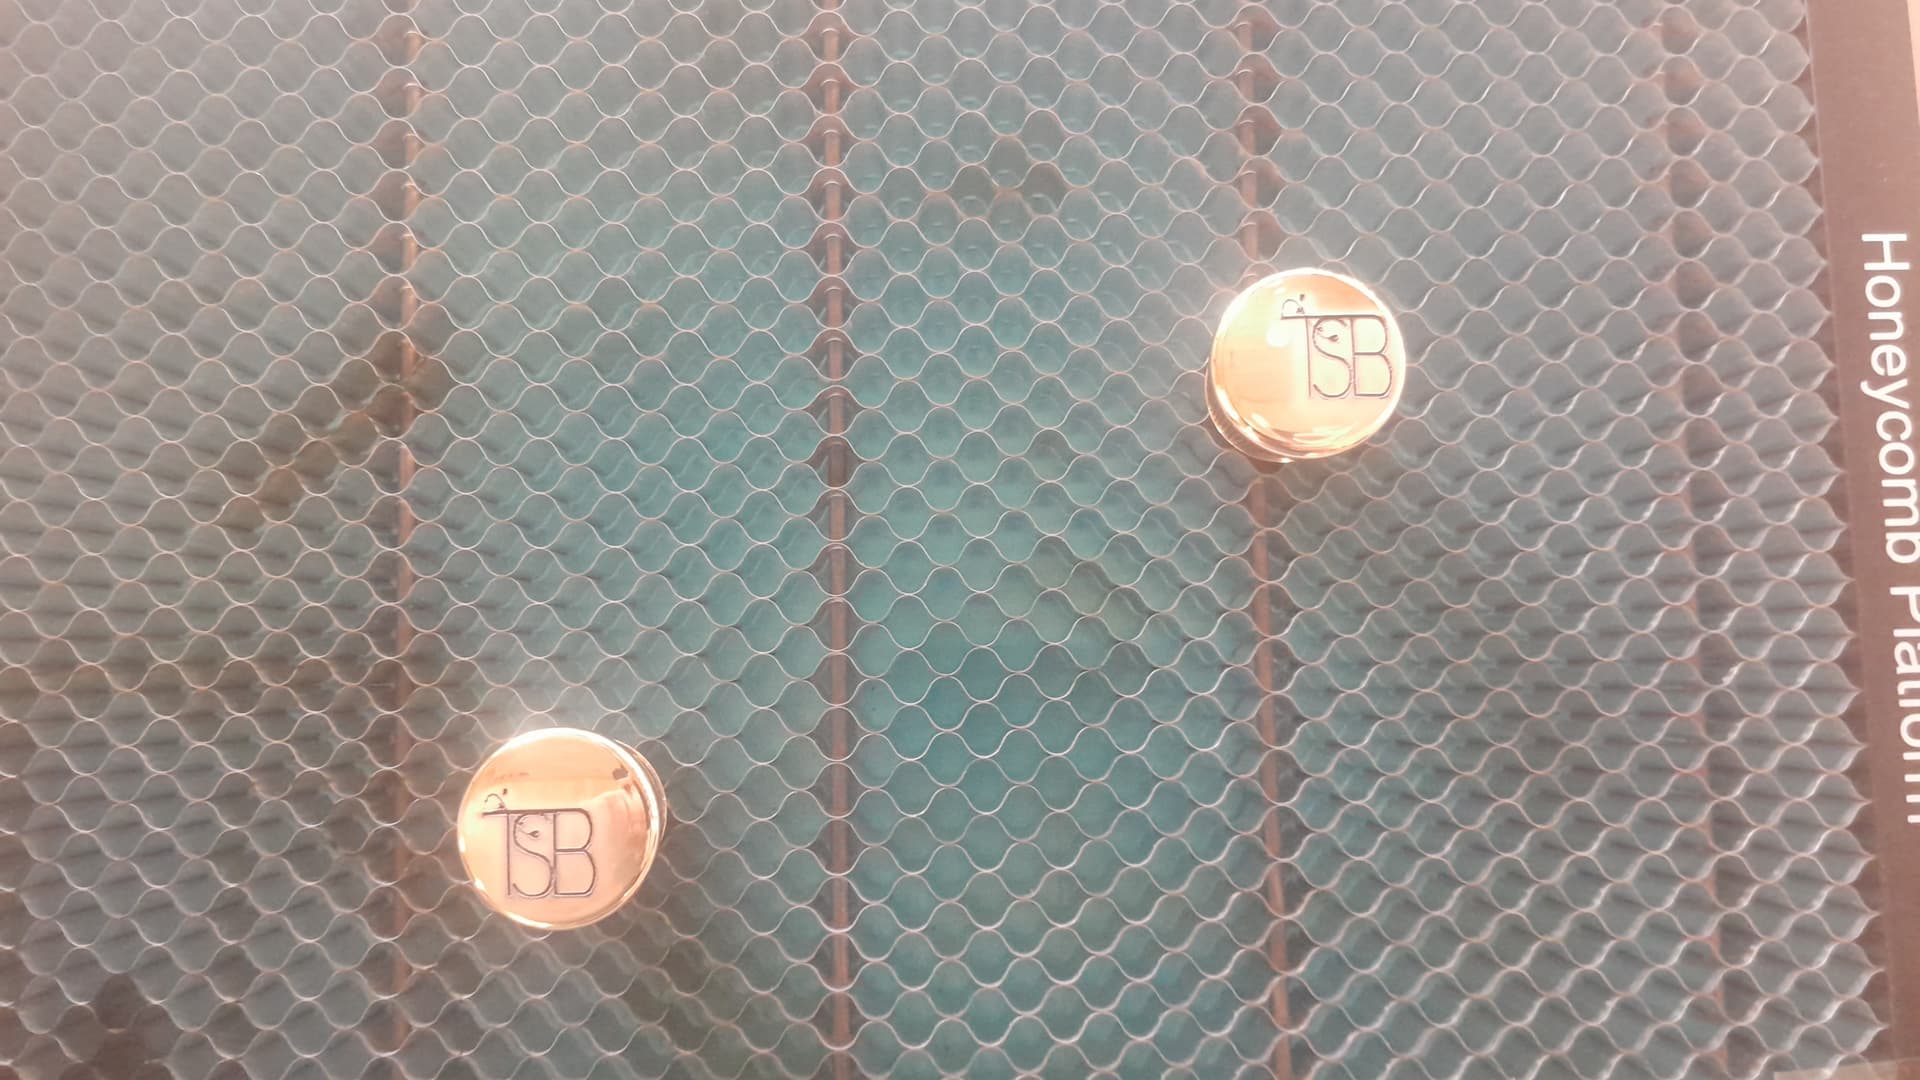
I have a similar issue I have calibrated the cam for 3.5 mm board, and have cut out various shapes and use the board as a jig , . So I have my layer cut out to make my jig holes , when I update my background the layer does not match the burn/cut it is always and estimated 3mm high and 3mm to the right. Am missing something that I should be doing and have not , or if anybody could give any tips/advice it would be much apprciated.
If the height of your objects is constant, just do the calibration again.
This topic was automatically closed 30 days after the last reply. New replies are no longer allowed.