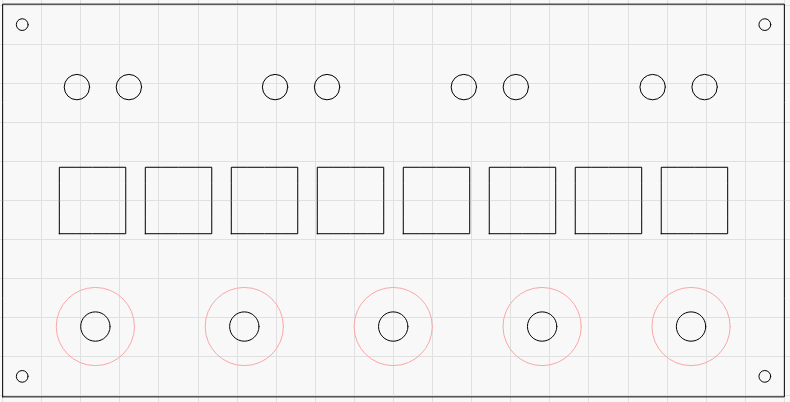
This white front-plate is spray painted (2 layers of primer and 2 layers of black paint) and the next step is to laser engrave the text and circles below. (blue & red)
Print and Cut would work fine. However, given that you have a very regular outside shape it would be just as easy to just run a continuous frame operation and carefully position the material until the material aligned perfectly to the frame.
I would clamp down a piece of cardboard and cut just the outline of the plate. Maybe offset outward very slightly. Then drop the plate into the hole and run the engraving. Should be perfectly located if you don’t bump anything.
I have tried cutting out a piece in cardboard but the cut and print option worked best for me. It’s funny how happy one can get when you make your first working project with cut & print! Thanks all for the advice!
There are two print and cut options - scaled and non-scaled. If you’ve verified your CNC cut part it so scale as expected, you’ll likely want to use the non-scaled version of print and cut