I’m a new Mira owner, coming from 4 years with Glowforge. With GF, a user can import a file and move off of the “working area” what they’d like cut at a time. Leaving the other components to the side (usually b/c they’re needing other materials to be loaded). I know with Lightburn you can change the “output” and the “show” but that’s not quite what I’m looking for. I’d rather not create 3 separate files for one job if I can help it. Does this make sense? Thanks.
In LightBurn, it is "cut selected graphics” that does what you are asking for, if I understood you correctly.
How is this used?
Sure, like this:
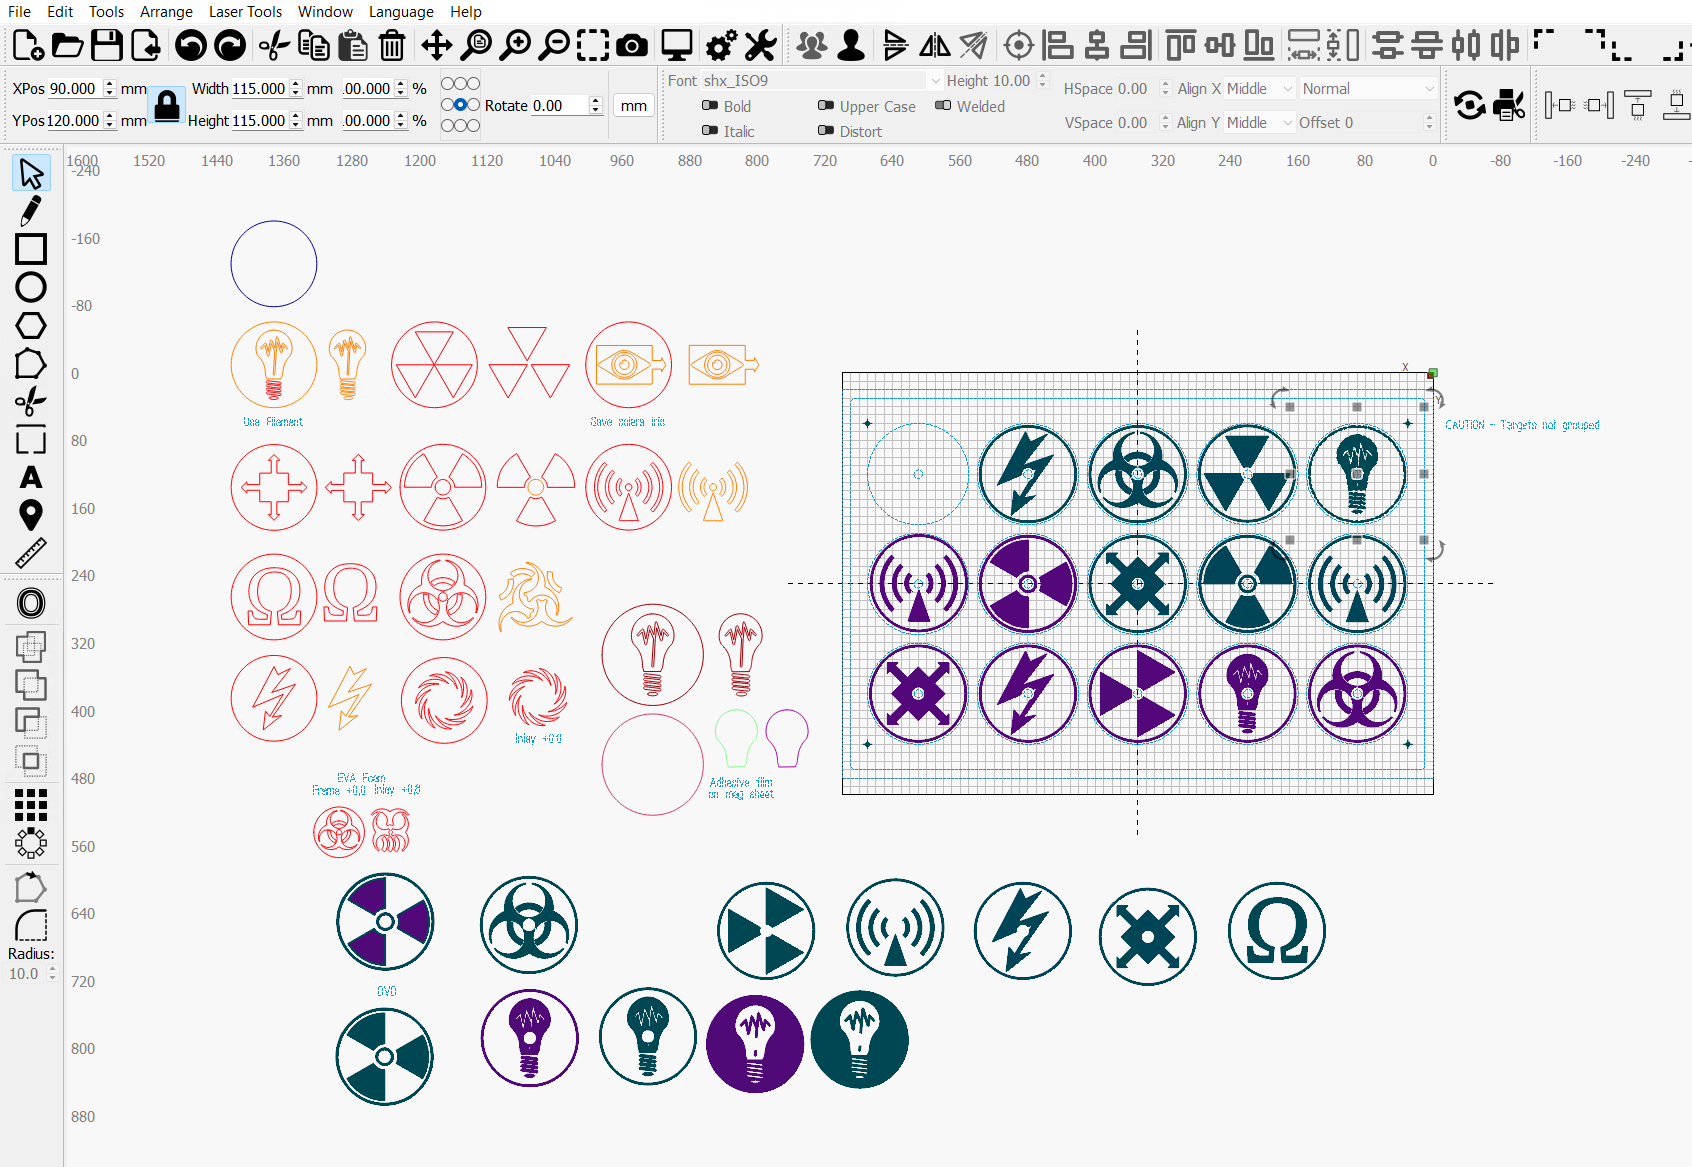
The red-orange patterns on the left are for chipboard / plywood / MDF / cork.
The green-purple ones along the bottom engrave into scrap CD/DVD discs.
The blue grid is the laser’s 700×500 platform & LightBurn’s workspace, with a template for 15 discs locked in position. Targets in the corners of the template let Print and Cut align the template to the fixture on the platform.
Drag-n-drop patterns into the template, select the ones to process, and Fire The Laser: everything not on the platform and not selected just sits there and does nothing.
Works for me …
OMG, so simple. I had no idea you could zoom out that far… It’s as simple as GF in that way. DUH. LOL. Thanks!
How is the point of origin determined on each part of the file so the laser knows where to start?
If you mean “how do I tell the laser where the object is out there on the platform”, then there are as many ways as there are users and you’ll find plenty of techniques around here.
The doc will give you the basics:
How it works for me goes a little something like this …
I almost always use Absolute Coordinates, so the LightBurn workspace exactly matches the physical platform.
A camera mounted inside the laser’s lid provides a corrected view of the platform with accuracy around a millimeter, which is good enough for lining up pretty nearly anything I’m cutting from surrounding material. Basically, slap a blank sheet on the platform, update the LightBurn workspace from the camera, drag whatever pattern I’m working with to the right spot, select it, then Fire The Laser.
Like so, for cutting rags into shop wipes:

For multiple things (like those CD/DVD discs) or a single thing requiring exact positioning (like layered paper art), I use a template matching the fixture to hold them, with targets for Print and Cut. Slap the fixture on the platform, align the template with PnC, drag-n-drop patterns onto template, load blanks in the fixture, select things, then Fire The Laser.
Like so, for epoxy mixing sticks:

I depend on object snapping to align things-to-cut with their templates:
Now, if that wasn’t the question you were asking, wrap a few more words & maybe a picture around the idea and we’ll back up and run over it again. ![]()
This topic was automatically closed 30 days after the last reply. New replies are no longer allowed.