Hello forum members
I have a project
which will take about 48 hours to burn.
Is there any way to pause the laser, and continue the next day without it being delayed ?
I have a J-Tech 44W fitted
X-Carve machine
Kristian

I’m surprised you can even send it to the laser from LB, such a large file won’t have a chance of being executed here.
May I ask how big the file is or what is causing it to run for 2 days?
3 Likes
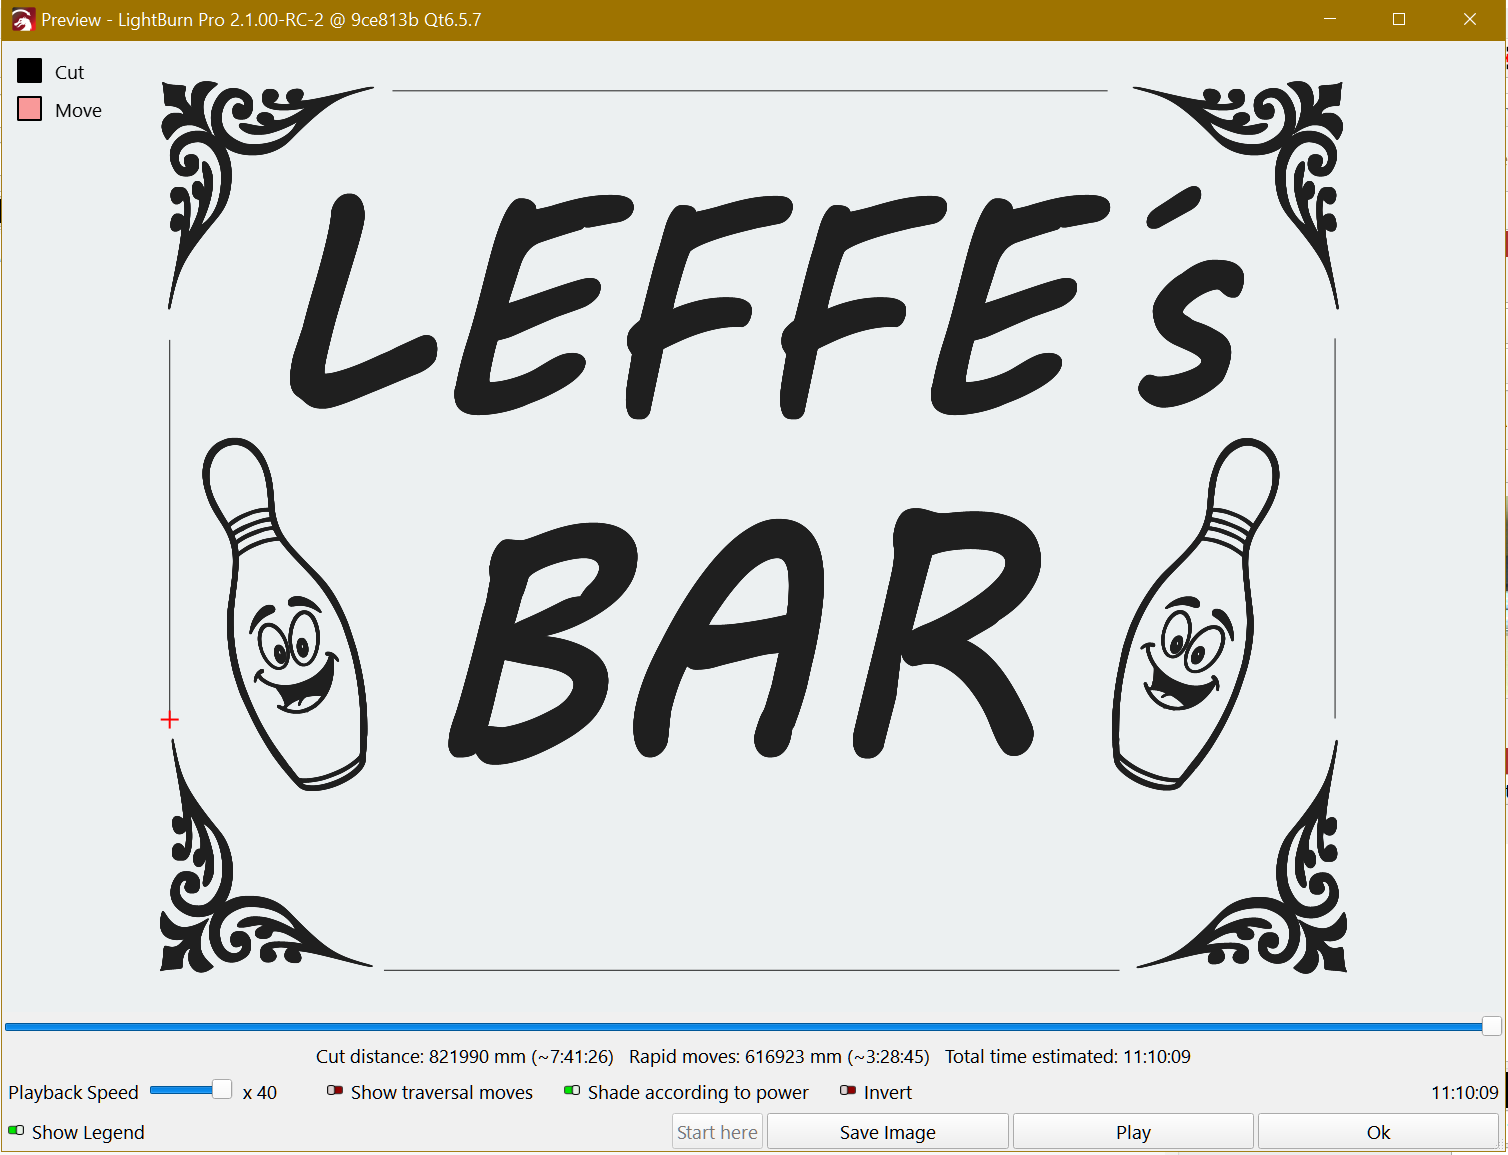
this is the picture
Leffe´s bar.lbrn2 (152.8 KB)
Thank you for the file.
As Bernd suspected, there is potential to optimize the job runtime!
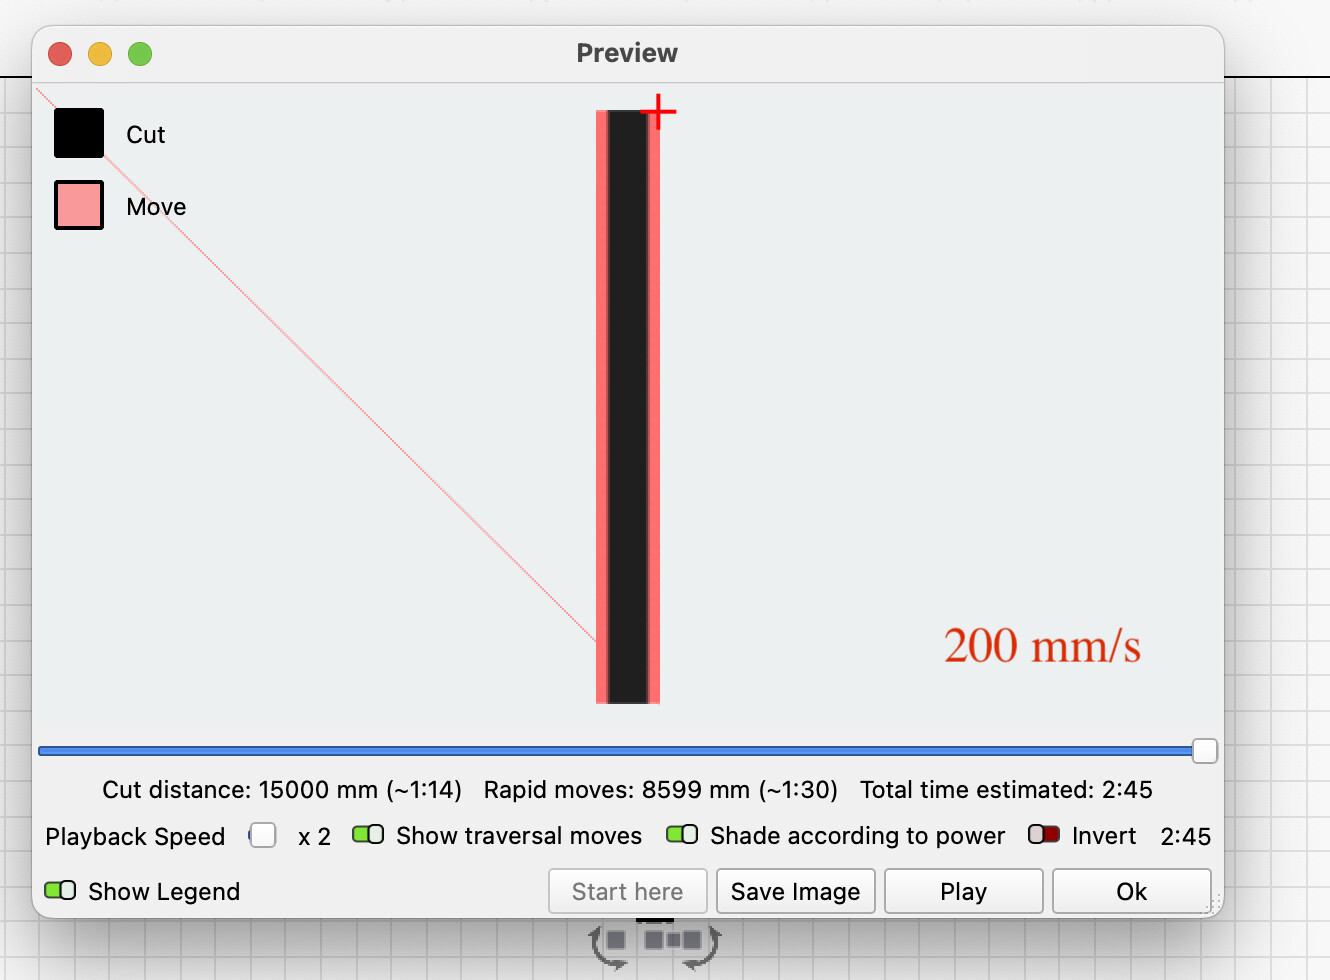
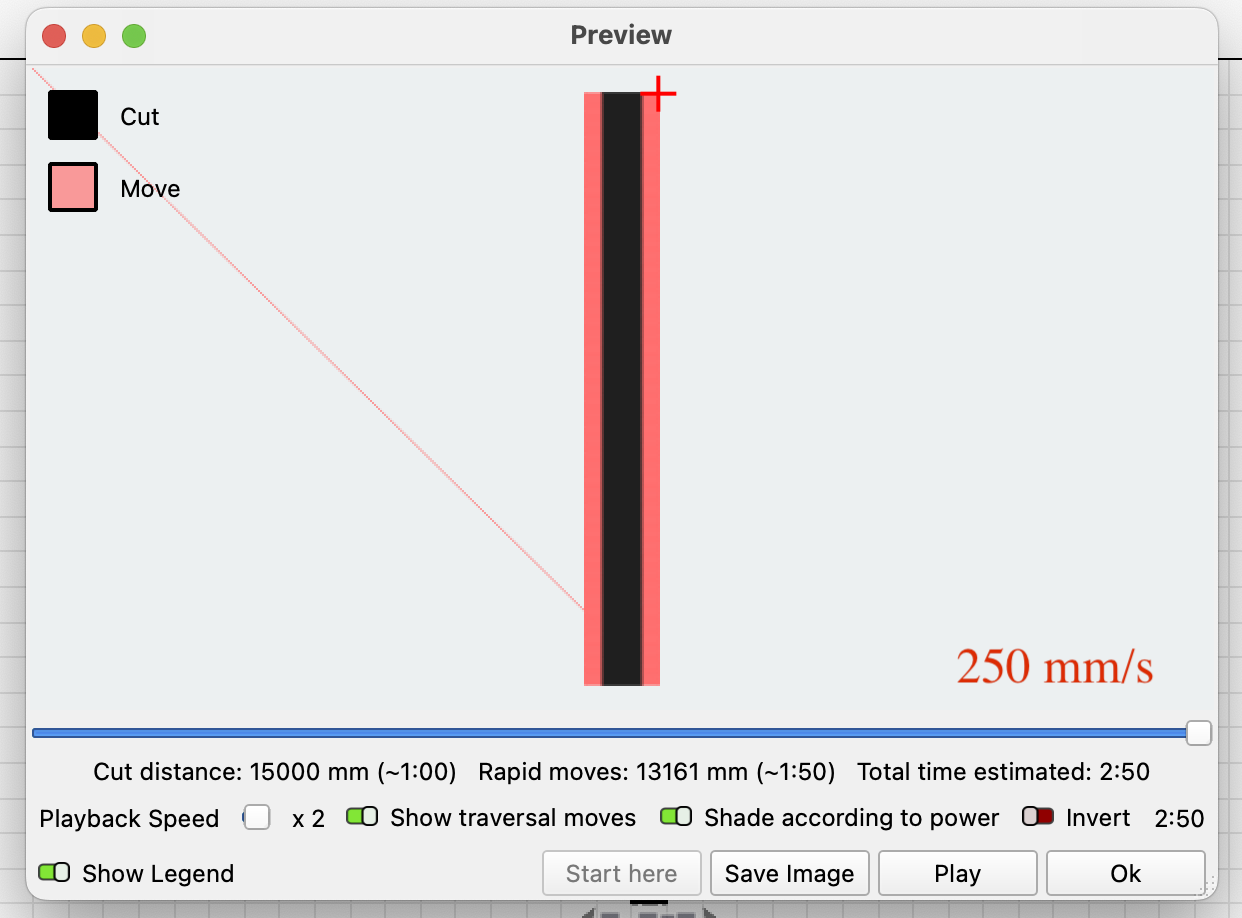
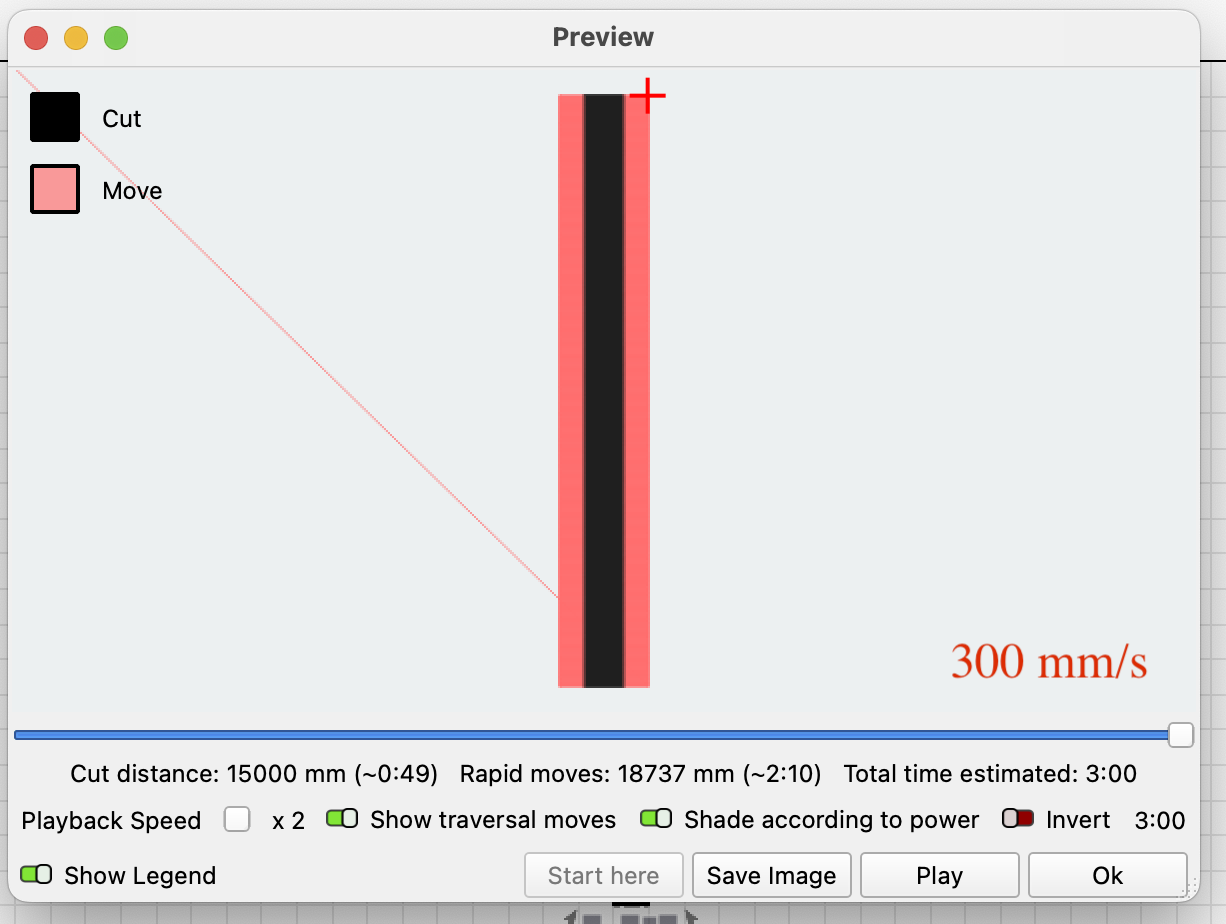
- The speed at 11.67 mm/sec is very slow. If your J-Tech source is in fact 44W, you should be able to run this 20 times faster, depending on the material in use.

If you enable “Show traversal Moves” in the Preview window you can see all the extra distance the laser has to cover:

(Notice, how the estimated time is already down to 4h 23min after I changed the speed to 400mm/s
Then, open the “Optimisation Settings” in the Laser window and change them to this:

The “Reduce Travel moves” option does exactly this, and brings down the job duration to just over two hours:

3 Likes
Aaron has already shown most of it, however I have a design change and a “technical” adjustment.
The 4 lines in the sides I have assigned an offset on both sides with 0.3mm. This together with a much larger line spacing still gives fine lines in the end result.
I defocus everything I can when I make signs of this type. I typically have up to 0.5mm line spacing and adjust the defocus and power accordingly. A final round with a line - to mark the contour, it gives a fine finish, but it costs about a minute of total time.
Because I do not know your diode laser I have only assigned 0.25 line spacing and a moderate 400mm/s. (it will take approx. 41-45 minutes)
On my CO2 I will not be able to get above 300mm/s, more realistic is 250mm/s, but with a LS of 0.5mm and corresponding defocus, it takes 28-30 minutes to make your sign.
(this is not theoretical talk, I have done this kind of thing a few times)

1 Like
Aron..
I have set everything that you showed in
the answer, but I don’t get a reduction of
the time.
I have also changed to 700mm/sec. and 40% power
How does the Preview look if you enable “Show traversal moves”?
As Bernd noted, 700mm/sec is a bit fast for a gantry-based machine. around 300 would be more realistic.
Also, review Bernd’s reply about increasing the Line Interval and defocusing. This should significantly reduce the runtime.
(he brought it down to less than an hour!)
It is a good idea to test and know your machine/limits.
The pictures show times achieved with different speeds. (700 mm/s is only for demonstration purposes and not realistic for my machine) It is also worth noting that there are limits in the machine’s basic settings for maximum speeds, i.e. you may be able to specify 10000mm/s but the settings will only allow, for example, 6000 mm/s.
The optimal speed must and can be found by tests of this type, for example, and is further limited by the mechanical structure of your machine.
Nb, there is no point in driving at a speed where the machine takes off from the ground and shakes until it breaks.

1 Like

Did you ensure that you changed the Optimisation Settings as per this?
This is how i looks
I have done a wallclock in the same way, and same settings. And that one took only 2 hour with the same material
You can achieve a lot of time reduction by double-clicking your C00 Cut Layer and selecting Fill Shapes Individually with only 3000mm/m in speed.


2 Likes
Sorry, I don`t get under 34 hours
Kristian, explain what you don’t understand about the recommended adjustments, and we’ll take it from there.
I’ve been folowing this thread and there are a couple things I think I can add. You state that you’re running at 700 mm/sec, which is an insane and impossible speed for a Gantry CNC with a laser attached. 700 mm/sec = 42,000 mm/min. I downloaded your file and the black layer is set to 700 mm/min, not mm/sec, which is actually a bit slow for engraving.
That being said, do a test engraving to get the ACTUAL speed and power setting needed dialed in. Then, choose Fill Shapes Individually in the Cut settings Editor as suggested earlier. This will make a huge reduction in the time needed.

Once you have that done, if the time is still longer than you can devote at one sitting, Enable cut Selected Graphics in the Laser Panel. Select one element at a time and engrave. You can stop after any element and return at a later time to finish by selecting elements that haven’t been engraved yet. I would recommend not turning of the CNC or computer until the project is finished though.

2 Likes
Try using offset fill, time will drop to 5 hrs. it has a lot of travel time
We haven’t been told yet what Kristian’s max engraving speed is.
Have you tried any of the things Aaron and I suggested at the beginning of this thread and which Tim has explained nicely again further down here?
1 Like
Kristian would you be willing to share your X-Carve $$ settings to check your axis speeds? $110 $111 $112 $120 $121 and $122
If your machine is “unable to reduce” the job time you may have to break your job in 3 runs. I did 3 groups re-centered your project C02 layer and added a Tool Layer.
I believe you already now this, you can use a Tool Layer as a ref to put the other shapes in a repeatable place:
Leffe´s bar_centered.lbrn2 (363.9 KB)
I removed more 5 hours from your full project down to 11H10:
Leffe´s bar_11H_centered.lbrn2 (364.0 KB)