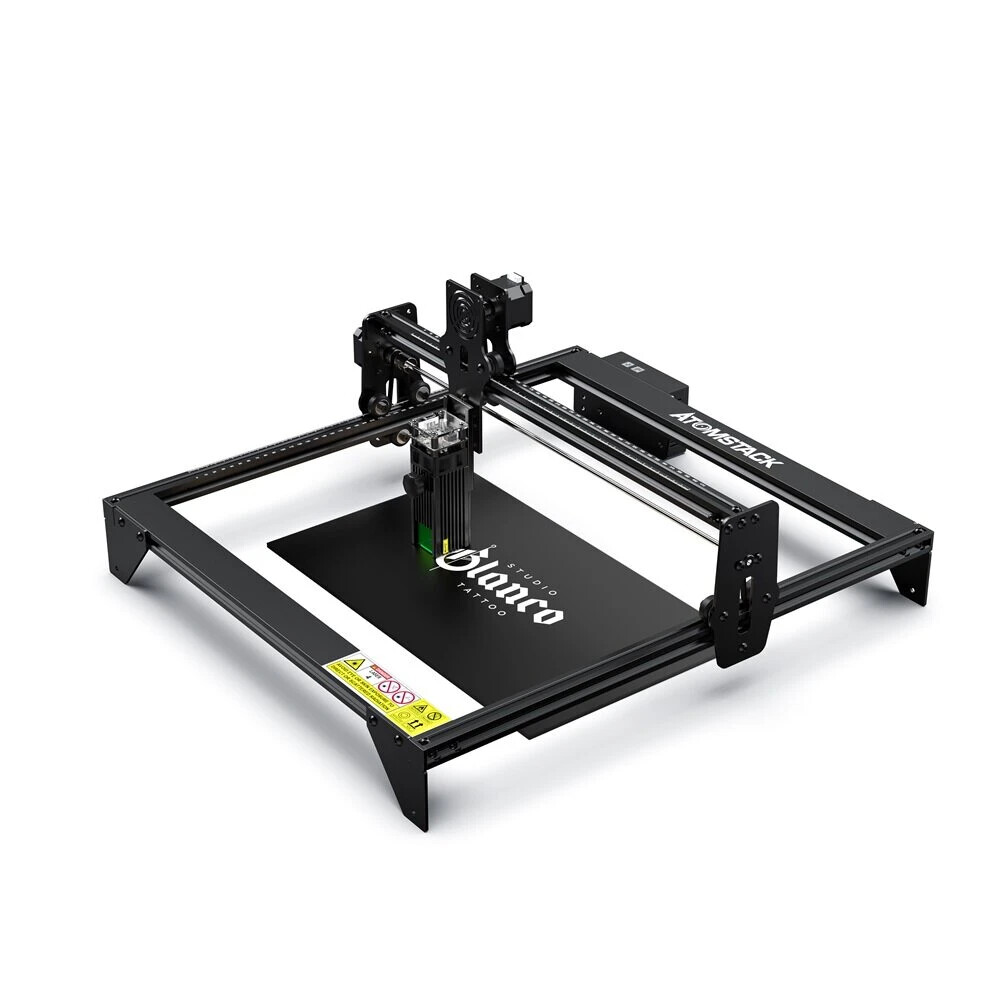
So I have an atomstack A5 30w laser, I’m not sure how fast I can push the machine but it took me like an hour to do a simple design?

I was running 40% power and around 40mm/s.
What would you guys recommend because that’s just way to slow.
So I have an atomstack A5 30w laser, I’m not sure how fast I can push the machine but it took me like an hour to do a simple design?
I was running 40% power and around 40mm/s.
What would you guys recommend because that’s just way to slow.
100% power and 50mm/sec. I have the 40 watt A5 Pro and depending on the wood, I run from 65 mm/sec to 50 mm/sec at 100% power depending on what effect I am trying to do. I might go faster speed 2 passes for a bit better engraving and overall speed/quality, but that’s me.
What wood is that and how big is that design? Guessing it’s Oak or Maple and roughly 7" x 6"
It’s actually sassafras wood, the design was like 7inches wide. You crank your power all the way to 100?
I’ve not tried Sassafras wood. yes I run it at 100%. It’s not a CO2. It’s already overdriven and even 80% power is better than 40% power. If my AtomStack dies, no big deal, there’s better Diode lasers out there. By the time it dies there’ll be a better Diode to replace it for cheaper. But I do not intend to upgrade as it’s not worth it TBH.
AtomStack claims 100k hours on their diode, so I can either waste hours of my time or I can have a shorter diode life. I am OK with that.
EDIT: AtomStack says 10k hour working lifetime. If I assume running the diode at 100% reduces it’s life by 75%, that’s still 2,500 hours of life or 104 days at 24 hour days. I am fine with buying a new diode then.
That makes sense man I’d read in another place to run it at 100 percent, I wasn’t sure about how that would effect the lifespan, I’m definitely gonna speed it up
It’s a personal decision. Diode lasers like ours are probably at 100% when we run them at 80%, anything above that is overdriven. A 20-30 watt diode is less than $200 so to me, time is money. I am still setting up my 60 watt CO2 so if the AtomStack dies, no big deal. But even at 100% I don’t have enough time in the day for personal small production. It is a hobby laser after all.
Try some tests for yourself. If you want to cut anything running it at 40% will take you HOURS. Make sure you get an air assist to help with everything, it probably speeds it up by 10% or so but makes cutting doable as well as helps the engraving.
I’m not planning on doing a lot of cutting with it just because I have other tools way better suited for it, mostly just engraving signs and wooden coasters and stuff. If I do have to replace the laser I don’t have to buy the whole outfit again just the laser part I’m assuming?
I engrave 7x11" pine Whiskey Flight Boards with lots of detail and a lot of fill and line space and I run it at 60% mm/sec 100% power (no cutting) and it takes me about 50 minutes to 1 hour and 20 depending on design and passes.
Baltic Birch Coasters take me anywhere from 12 -23 minutes (no cutting) at that same speed/setting. I have maybe .5 output watts than you at best.
You can just replace the laser module directly with one of theirs if you like. I still like air assist because the smoke builds under the laser and makes smoke marks on some woods, with air assist no problem at all. As for the 30 watt module, I’d look around for a replacement first. You could go down to a 20 watt for $118 but to go up you’d need to upgrade power supply etc. If I were to go another diode and I probably will in the future, I’d just get a whole new one with better gantry, adjustable etc.
Thank you so much for your feedback I’ve looked online a lot and couldn’t find anywhere that had any info about what you can realistically run this machine at just their recommendations which is way to slow, I’m a machinist by trade which helped a lot when it come to the software and I was familiar with G-Code
I’ve seen all kinds of figures. You really can’t trust them at their word because they say this thing can cut 1/2" ply. Um… no it can’t.
I’d wager you can get a good 10k hours out of it at full power as long as it stays cool. I don’t run it for hours on end, maybe 2 -4 a day at most. I’m just not worried about the diode or replacing it.
My CO2 will be run at it’s 80% to lengthen service. TLDR I wouldn’t worry about it too much. Maybe run it at 90% instead for peace of mind. Run a few tests at full power to find that sweet spot. Guessing based on your settings and that wood that you can go 65 mm/sec at 90% power and reduce your time near half. Line after fill adds a bit of time and most of the time the fill is just fine without it.
That’s me like this isn’t the only way I do wood signs I have a cricut and do iron on vinyl and just make stencils and paint, I bought this mostly to do pretty intricate and cool designs on stuff there’s no way I’d depend on it to cut out my stuff. I also had a hard time today with it trying to go past it’s limit switches, finally figured out I had to move it over to x0,y0 by hand then write in G92 x0 y0 on the console and $10=0 to setup my home position and just run it absolute off the front left corner which I like, this is my second day I’ve owned it. If this was the only way I did wood designs then I would’ve bought a better setup, my buddys got a fiber laser that is water cooled and that thing absolutely flies.
Also you mentioned hooking up air to it what do you use to cool it?
You cannot permanently write to the controller. I put in abs. coordinates and turn it off then on again so it knows it’s home. I either have my jig set from this point or just set it where I want it.
If you have a 3D printer or know someone who does, I’d just make one. I bought mine off Etsy. It appears he no longer sells them. It replaces 2 of the side panels with 3D printed ones that have air nozzles pointed at the work space. IMO he made them a bit too large a diameter so my pump needed to be stronger. I initially heated the PVA up and made them narrower but that was a bad idea. I filled them with putty and drilled them out to be about 1/3 smaller. My 150 (?) GPH aquarium pump is now sufficient.
As far as cooling I had looked into all kinds of things like another CPU fan for the top or even rewinding it for high speed. I looked into making a water cooled jacket. Or even Peltier cooling.
https://www.amazon.com/gp/product/B07ZNVT6Y5/ref=ox_sc_saved_title_8?smid=&psc=1
In the end, it’s just not worth the cost/hassle. I’ve not dissected the laser module itself, but I am fairly certain you can use another diode of the same power in a like jacket and hook up the rest and it would work fine. I intend to hot rod a diode laser one day when I have the money as a kind of challenge, but not anytime soon.
Thanks man one more question, my laser seems like it’s not very stable like mine just has the knob in the front and it keeps it’s height but it don’t take anything for it to move backwards and forwards, and even when I zero it out with the measurements on the actual machine my laser is literally rubbing my back rail do I need to tighten something up?
Knob in the front?
You mean the laser module itself? Yeah it has a bit of play which gets worse as the wheels wear. It’s why I am not too worried about the unit. Next one will have better gantry etc. I have zip for metal working tools so no way am I going to hack and stab at this thing.
You might have the bed size input incorrectly. It might think it’s 410 wide etc. And I usually run the designs about 10 mm away from the rails to prevent this from happening. It’s an OK unit but the little stuff makes it irritating.
When doing lines I have to run it around 25 mm/sec to prevent wobbles.
Yeah the knob in the front is for like locking in the height on your laser, mines got the wobbles already I just thought maybe something was loose on the laser module or where you actually mount the laser
And also like if I move it by hand to where the the lines match up zero it’s rubbing my rail that’s why I think something is loose somewhere
Ah, I see now. Mine is fixed by two allen screws. The machining on the aluminum head mount stripped first use so I have some knurl knobs to hold and make it easier. There are some people 3D printing mounts with easier Z height adjust.
Their mount design is terrible. Someone with a metal CNC or plasma/laser cutter could have a very tiny niche with that if they wanted. the fill which scans left and right work fine because it’s a bit more stable there, the front to back the head will wobble. Be sure to remove and clean the belts from time to time. If small particles get under there it’ll make massive wobbles.
Poor design and manufacturing unfortunately. You can only tighten the wheels and maybe one of the sides is bent. I just run my design 10mm or so away from edges at all times and it’s fine.
Brother I appreciate all the info this makes my life easier thank you
Eh, I’m still new so I’m not much help. I am just now realizing the flaws in this laser and work arounds. I’ll have more time soon to dig deeper and learn as well as time for trial and error, and I need it as parts are piling up and I don’t even have the tube reinstalled for my CO2. Need to run to Home Depot for wood etc.
Best of luck Jerry, welcome to the forum. Lots of friendly and helpful people here. Not too many of us AtomStack users.