Atomstack a5 pro plus

$0=10

$1=25

$2=0

$3=0

$4=0

$5=1

$6=0

$10=1

$11=0.010

$12=0.002

$13=0

$20=0

$21=1

$22=1

$23=3

$24=300.000

$25=3000.000

$26=250.000

$27=1.000

$30=1000.000

$31=0.000

$32=1

$37=1

$40=2

$100=164.041

$101=78.049

$102=51.200

$103=100.000

$104=100.000

$105=100.000

$110=6000.000

$111=6000.000

$112=6000.000

$113=1000.000

$114=1000.000

$115=1000.000

$120=1000.000

$121=1000.000

$122=1000.000

$123=200.000

$124=200.000

$125=200.000

$130=410.000

$131=400.000

$132=4000.000

$133=300.000

$134=300.000

$135=300.000

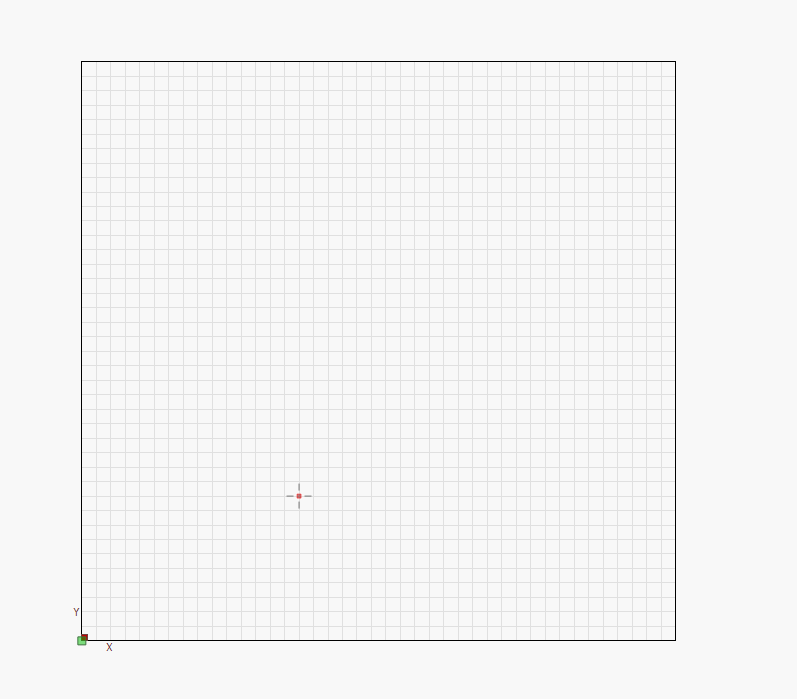
Dear all, I have searched all the forums available on the internet, but my Atomstack, despite what I believe to be correct settings, keeps hitting the edges, which it shows in a very alarming way by grinding. For a few months, I have been trying to set it so that it fits within the given size of 400 by 410 Y and X, but despite changes and many attempts, my laser still does not work as it should. I also know that I do not have pins that stop the laser at the edge. I am sharing the current configuration script and hope that someone can finally help me so that I can enjoy my hobby.

Thank you.

Do you mean limit switches?
How do you set home?

Exactly , limit switches

How are you setting home position?

If the machine does not have home switches, then you must disable GRBL’s automatic homing cycle, because that requires home switches.

To disable homing, set $22=0:

Then you must follow this manual homing procedure every time you turn the machine on:

Manual homing is not as precise as automatic homing, so you cannot depend on exact repeatability from day to day.

1 Like

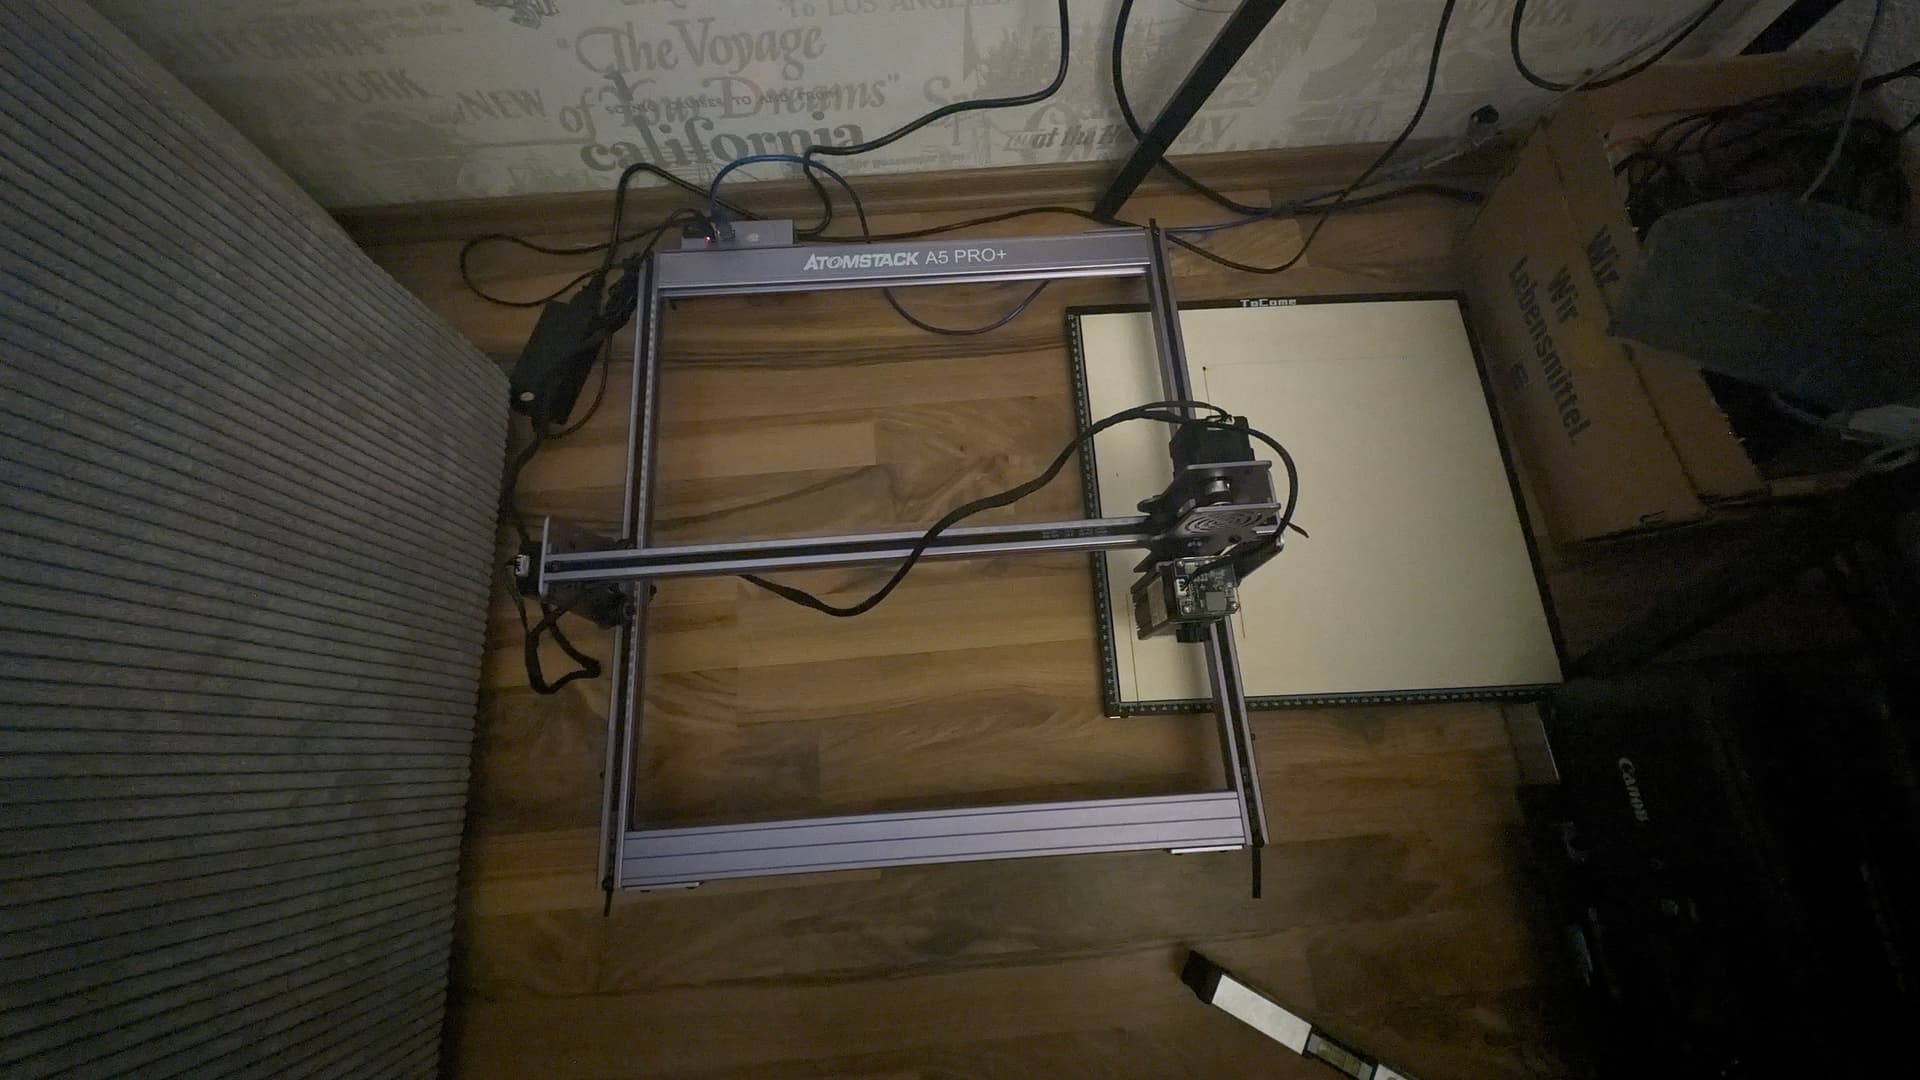
I’ve tried a few solutions which, in my opinion, should work, but I’ll attach a screenshot and a photo. The laser in the X position doesn’t correspond to the point on the program. I also changed the device to GRBL M3 1.1, but that didn’t change anything either

$0=10

$1=25

$2=2

$3=0

$4=0

$5=1

$6=0

$10=0

$11=0.010

$12=0.002

$13=0

$20=0

$21=1

$22=0

$23=0

$24=300.000

$25=3000.000

$26=250.000

$27=50.000

$30=1000.000

$31=0.000

$32=1

$37=1

$40=2

$100=164.041

$101=78.049

$102=51.200

$103=100.000

$104=100.000

$105=100.000

$110=6000.000

$111=6000.000

$112=6000.000

$113=1000.000

$114=1000.000

$115=1000.000

$120=1000.000

$121=1000.000

$122=1000.000

$123=200.000

$124=200.000

$125=200.000

$130=410.000

$131=400.000

$132=4000.000

$133=300.000

$134=300.000

$135=300.000


Hi there!
I believe you have your settings wrong in Firmware
In console window please type
$RST=*
Press enter.

Then try homing again

2 Likes

Added note, please.
Did you just assemble your machine?

I believe your X axis is inverted. In other words, the laser is facing the back of the machine and should be facing forward.

This does matter because the X motor inverted will always MOVE in the oposite direction of what is seen on the screen.
image

1 Like

It’s exactly as in the instructions, I really feel stupid because I usually solve such problems myself, but this time it’s beyond me. I used the command you gave me, there is some change but not an improvement because the laser keeps hitting the barriers

You are 100% correct.
I am used to all machines having the motherboard front, not the back.

So all you would need to do is the $RST=* in console and your steps per mm should be resolved.

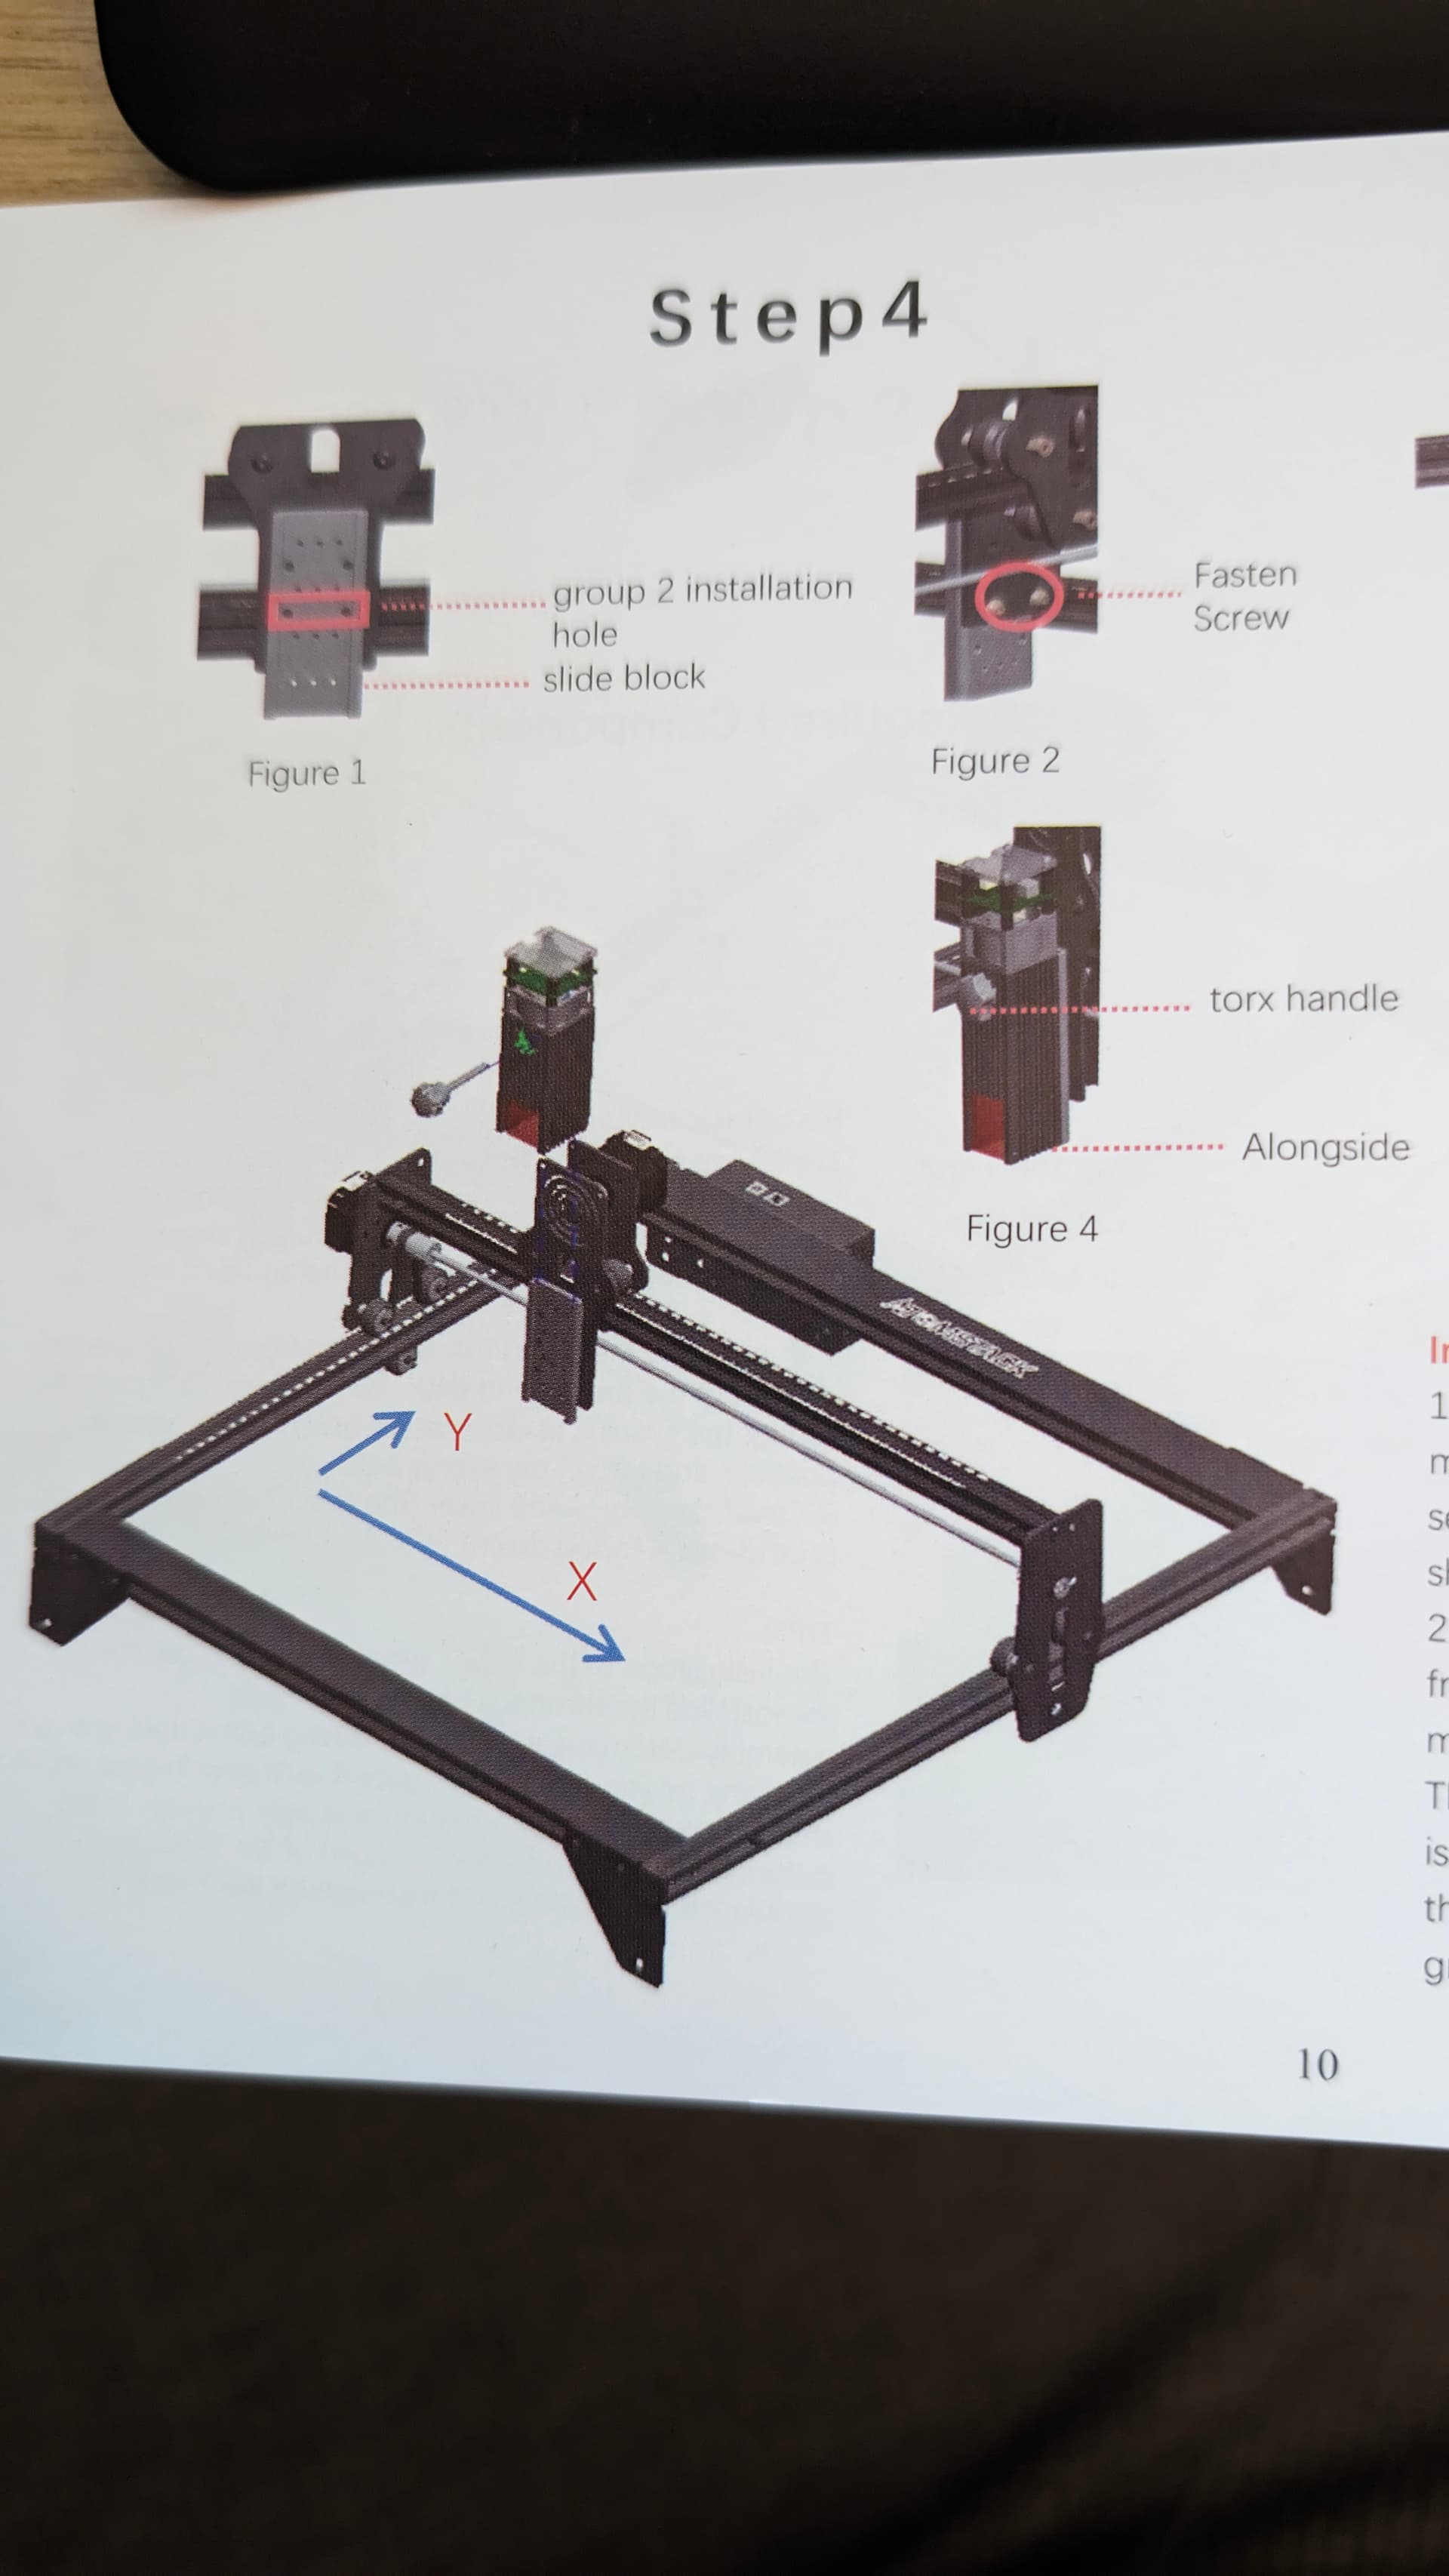
The machine does not have limit switches correct? So homing should also be disabled.
(Edit > Device settings - make sure homing on connect is not ticked on)

1 Like

I see the possible issue

We might need to go through the “start up” procedure on a no Homing machine.
Just to be sure we are in the same page.

Normally lasers have limit switches, an when you power the laser on it goes into a homing cycle, clicks the switches and defines home (X0 Y0)

In the case of your laser this is not the case so, confirm you are following these steps:

  • Move laser head by hand to front/left corner
  • Power on the Laser
  • Connect to LightBurn
  • Click STOP button once
  • Navigate to move pannel, and click Get position. Do you see X0 Y0?

Download this simple test pattern and open it please

Dot Test with Angle.lbrn (46.3 KB)

Now important step
Laser panel - make sure you see “start from” absolute coordinates.

If so, set a bit of cardbord or wood near your front/left corner, and focus the Laser.

When ready, press Start.

2 Likes

So, the laser is in the zero position and starts cutting your example. Tomorrow, I will try to cut a larger piece and will let you know if it works, but it looks like it will.

1 Like

Also, turn off hard limits ($21=0) and turn on soft limits ($20=1).

You have no limit switches, so it can hit the rails expecting one. Soft limits uses software to determine how far the head can move, based on your $130 and $131 settings. These settings should be a little less than the physical travel capability of the machine. These slight reductions will allow for a stopping distance during fast moves.

Hello,

First of all, I would like to thank everyone for their help. Now, briefly, if you are a user of the Atomstack A5 Pro Plus and intend to use Lightburn, set the laser size to 10 mm less. Also, change the stoppers to hard or soft, as we do not have automatic switches. Always start your work by setting the laser in the bottom left corner and then turn it on – this is our starting position.

Once again, thank you.

This topic was automatically closed 30 days after the last reply. New replies are no longer allowed.