The cable to the Yaxis motor is unplugged and plugged into the rotary motor. If it does not fit, tell us what you have for the connectors (pin count). If the rotary is an Atomstack unit, it should fit.
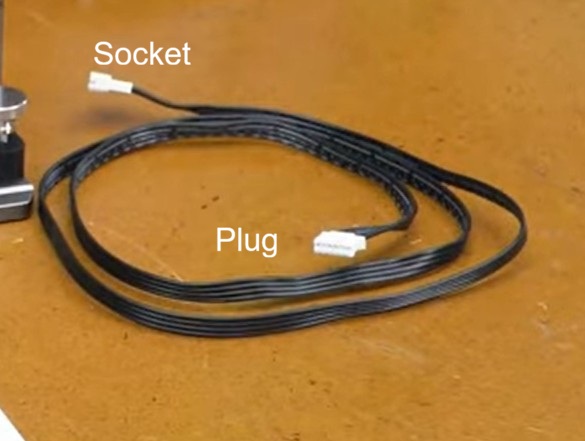
Can you post an image of both ends of the white plug wire? Also include an image of the rotary power connector. The manuals have poor images.
The black plug wire is just a cross-over cable, sometimes needed for other laser or rotary models.
I have no idea why they listed that USB port for a rotary. A USB cable is normally not rated for the amount of current the stepper motor in the rotary would require.
I am pretty sure those micro fine wires used in the cheap USB cables would be stressed to pass even 2 amps. EDIT: It finally dawned on me a reply was not needed…
That white cable is an extender cable. It has a plug (which goes to the rotary motor) and a socket (where you plug in the cable that goes to the Yaxis motor). You unplug the Yaxis cable from the Yaxis motor and plug it into the socket end of the white extender cable.
Once you get it hooked up, do the Lightburn Rotary Setup as described in the rotary manual.
My Y axis servo is on the front of the machine under the carriage but yours may be in a different place. As mentioned above you don’t connect the R1 Rotary to a USB port but to the Y axis servo motor.
You either have your steps per rotation or your Object. Diameter / Curcumference set wrong. Or possibly both are wrong. Start with steps per rotation. When this setting is correct, the chuck will make one complete rotation and return to start when the test button is pressed. If it does not, you must make the changes to steps until it make exactly one complete rotation. Once that is set correctly, it will never need to be changed. Then, and only then can you set your object diameter / circumference to the diameter / circumference of your workpiece.