Background image

Ok I need help. So I’m wanting to take an image on put in onto a black tumbler. I’ve found the image I want and done a trace, the problem with that is the cups black. And it doesn’t give me the effect I’m looking for. If I just use the image its great if flipped the Negative. but it also cuts the white space around the image into the cup. And I want the white background taken out…

It might be time to learn some photo editing skills then.

You might be able to change power output in such a way that it doesn’t fire on the parts you don’t want engraved. That’s just speculation though.

I did edit ( kinda ) I drew line around the image and tried to weld them together. No luck…
I’d think on the powder coating even with low power it would at the min. change the shading.
I have tried a photo editing program but couldn’t find the area to take out the background …

Please show the art you are wanting to use so we can maybe offer you a workflow that could work for you.

XDS.lbrn (499.6 KB)

I found a program called Gimp. and was able to take out the background.
That being said when I send it to the machine and the rotary. its either fill it all in or a line.

Here are the settings I find when I open this file. Please double-check to ensure they are as intended.

I am not understanding what results you are looking for and what you are asking. Can you please re-word for clarity?

As an FYI - You mention that you used GIMP to edit and remove the background. I see what you produced is a file of vector shapes, and not an image with the background removed. I am not trying to be difficult or nit-picking when saying this. It matters because the setting used to achieve a similar result differ when considering bitmap images vs vector work.

Using the same starting bitmap, LightBurn allows you to do the same thing. I imported the image you posted, then selected ‘Tools’→’Trace Image’ which brings you to a screen that helps you produce a vector trace of your art.

This what what I came up with just a few clicks.

I put the results on a new layer and then hit ‘Preview’ to show that here:

1 Like

What does Cutoff do ??? I don’t even have that as an option. Above my threshold is the image!
Ive done the vector trace ( keep in mind this is my first week ) That being said If the CUP was Black and the laser cut all the purple lines. youd be left with black in the dogs face ( cup color ) and silver where the laser hit. correct?? I was the that reversed. I hope that makes it a bit clearer…

I do greatly appreciate the help, sorry if im not saying the easiest way to understand

You have not said what version of LightBurn you are using. In my sample of ‘Trace Image’, you will see that I do not have any ‘Cutoff’ set and have the ‘Threshold’ set to 85. All other settings are defaults. When you do the same, are you saying you do not get the same results?

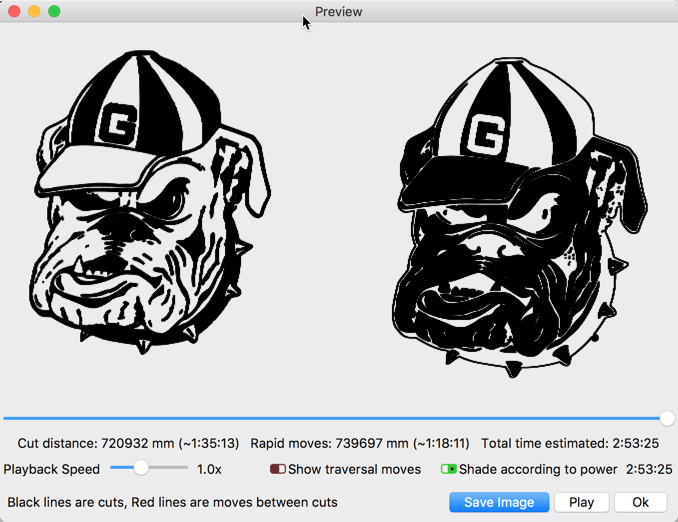
Not really clearer. Things that are showing as black in the ‘Preview’ are the cuts defined in the job. You can “see” this if you zoom way in. If you want to invert the area cut in the job, you need to add an additional bounding or small offset to the art.

Here is a post that describes how boundaries are used to define what gets filled in your artwork.

1 Like

You are awesome Sir thank you so much! I have been beating myself to death for 3 days over that stupid dog… I added a fill line around the image and it wasn’t perfect ( but it gives me something to work with.

im using version 0.9.09

But again thank you a ton!

3 Likes

This topic was automatically closed 30 days after the last reply. New replies are no longer allowed.